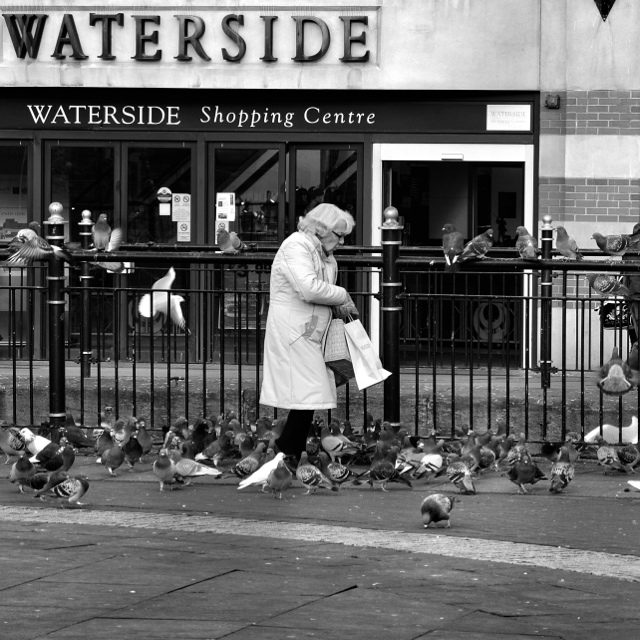
A trip into town for a coffee, was also a chance to shoot a few photographs. With the dull weather, I decided Black and White was the order of the day.
This was a quick snap converted to Black & White with the iPad’s SnapSeed App.
Family, Photography and other misc news
A trip into town for a coffee, was also a chance to shoot a few photographs. With the dull weather, I decided Black and White was the order of the day.
This was a quick snap converted to Black & White with the iPad’s SnapSeed App.
When I have some free time, and there is local model available, it’s great to spend a few hours in the Studio, just messing about with different lighting affects, brollies, soft boxes, snoots, barn-doors, naked bulbs and even coloured gels.
The other weekend I had some free time so it was off to a local studio to play.
I tried to replicated different lighting effects, from simple portrait setups, the famous page 3 setup (boring) to more adventurous techniques.
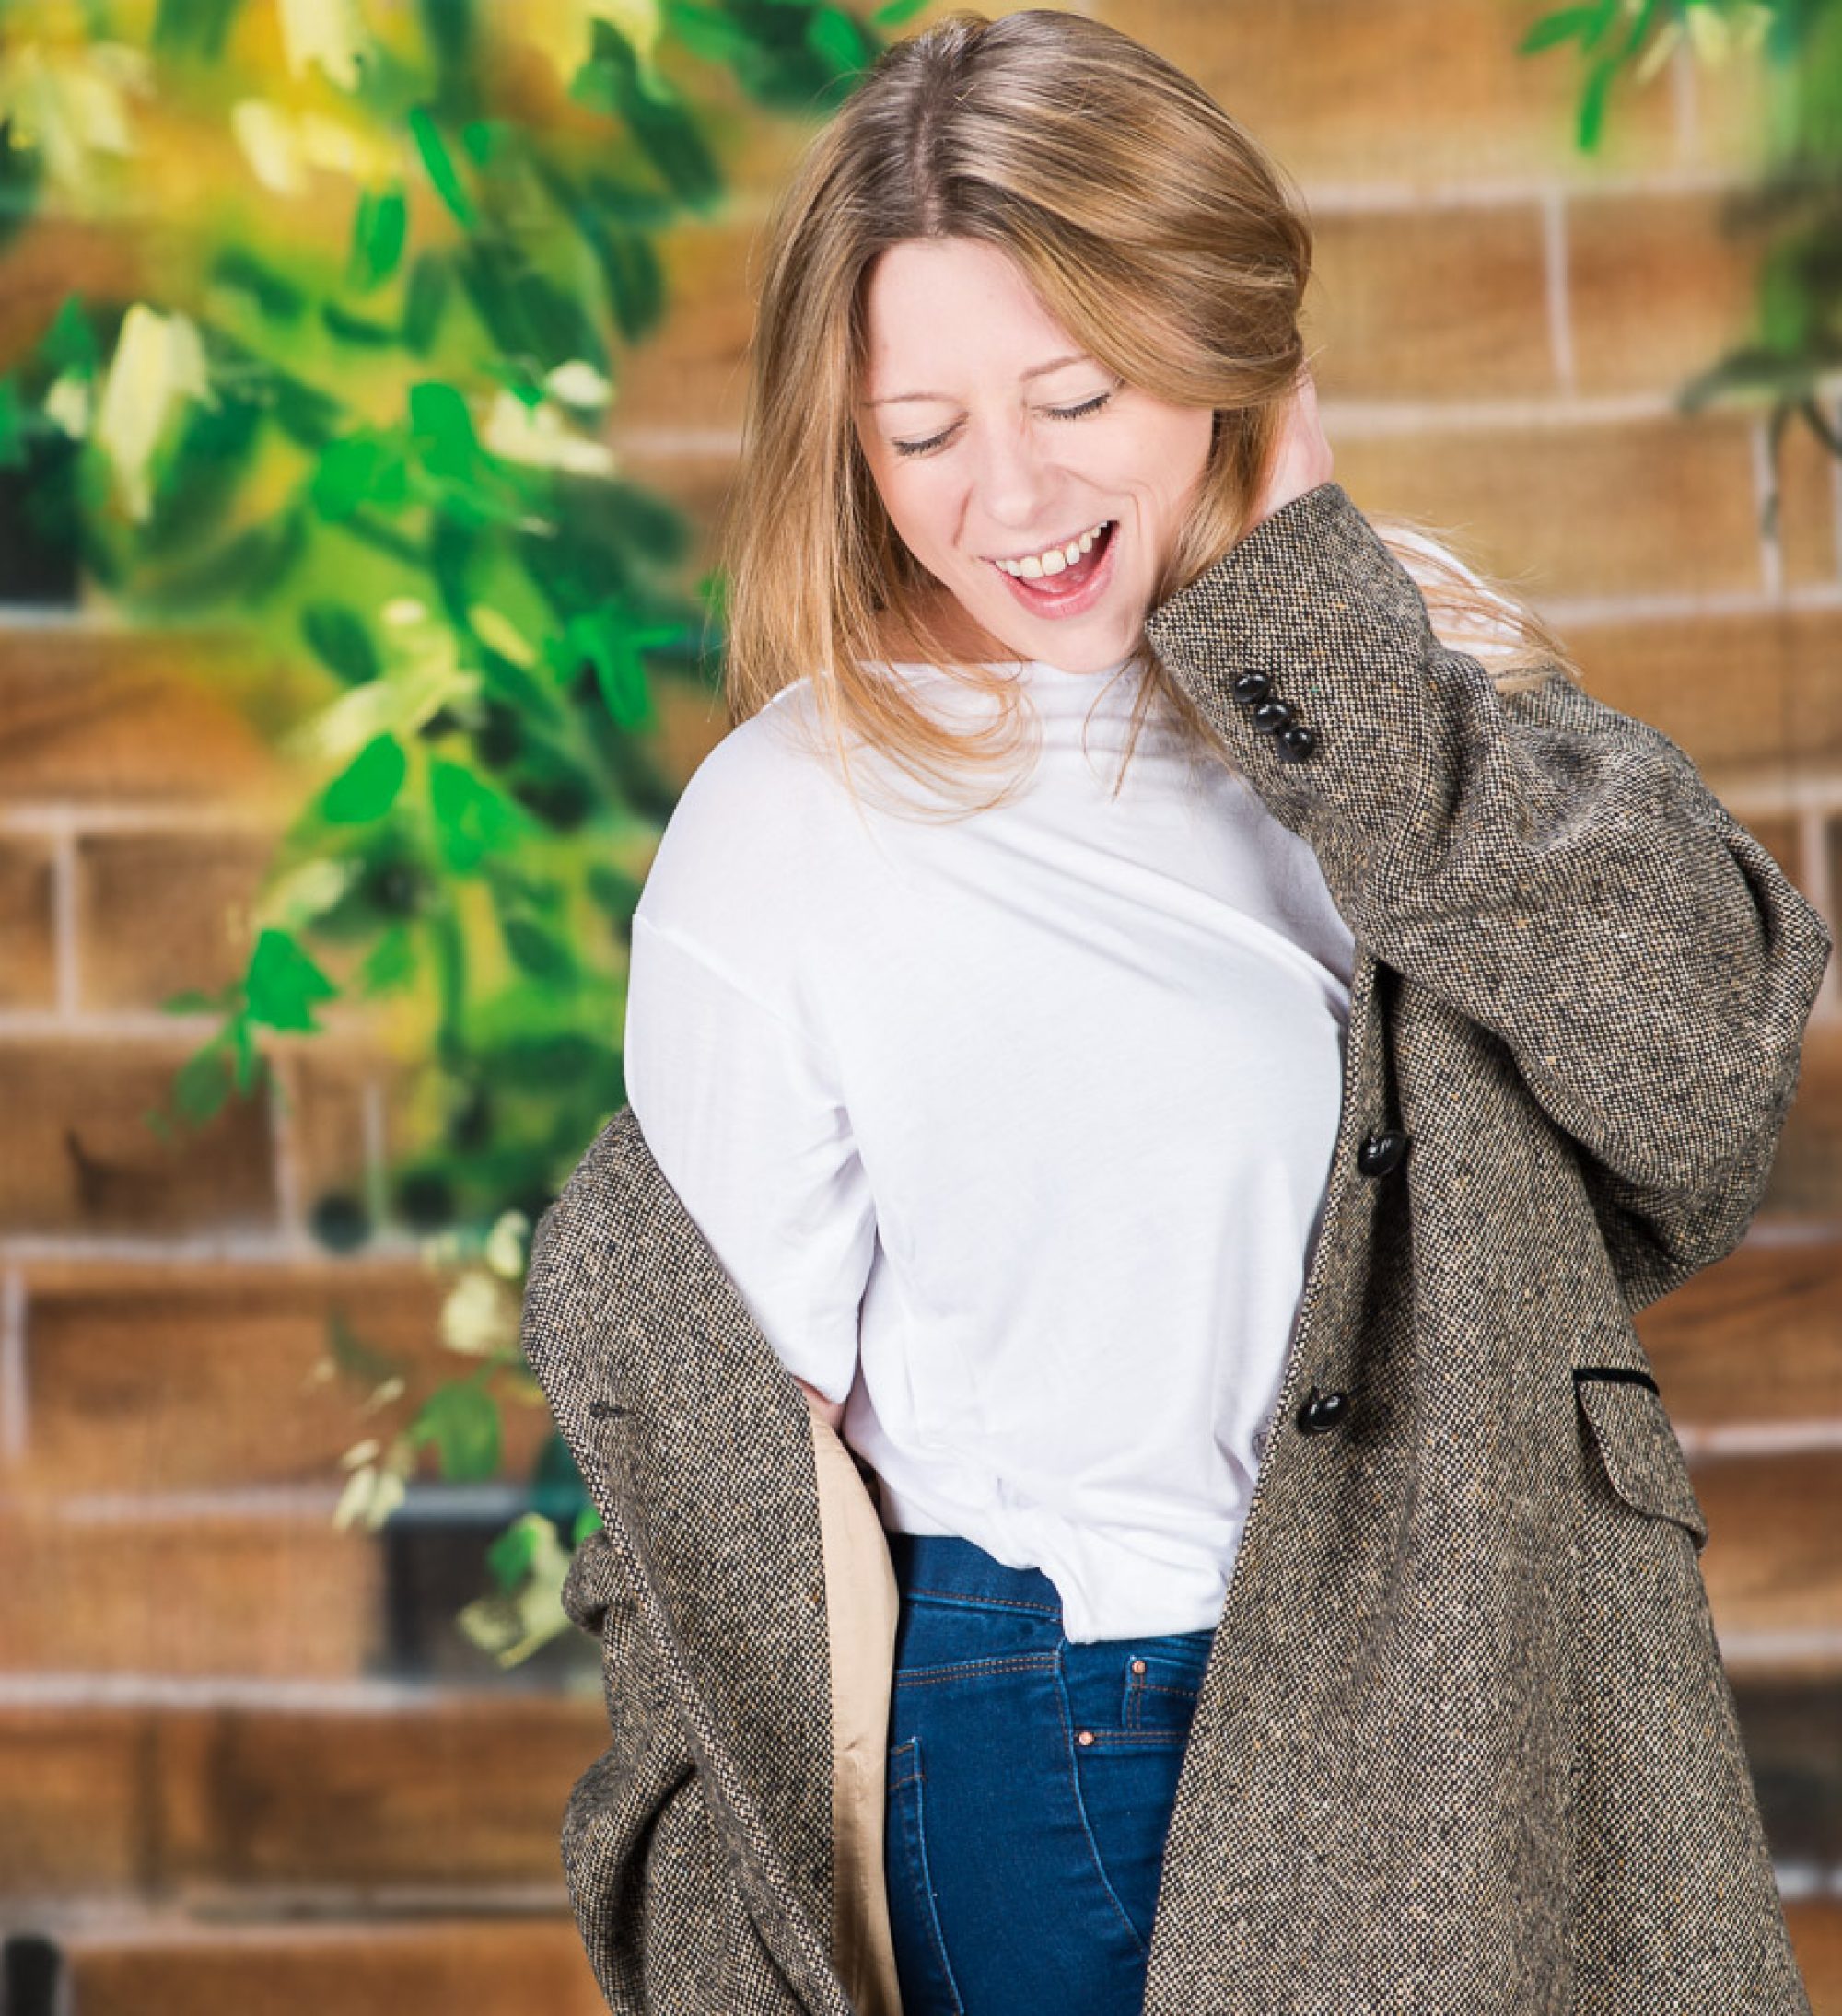
The one we had the most fun with, was trying to replicate the iTunes advert.
 A white background heavily lit, but no lighting on the model. She then repeatedly jumped in the air, and I tripped the shutter. We got a number of great poses, and the background being a nice clean white, was then easy to photoshop a more colourful iTunes inspired background onto.
One of my faviorate iPad Apps has won Apple’s iPad App of the Year.
Its a tremendously useful photo editing application, but one of the key reasons I purchased it was that it can deal with RAW files.
On all the photographic trips I have undertaken this year, I have left the laptop at home and just taken the iPad. I can backup my photos to it, and using Snapseed tryout some editing ideas.
A great app and well worth it, if your a digital camera shooter and have an iPad.
See Scott Kelby’s website for more details.
Heres a few Photographs I edited with Snapseed on the iPad.


When shooting Landscapes on Small Format, I expect my technique is similar to most SLR users.
Modern Digital SLR’s have great dynamic range and we snap away generally trusting in our modern matrix metering.
A quick glance at my histogram is usually enough to see if my exposure is in the ball park. I tend to follow the digital mantra ‘Expose to the Right’, but I try not to over expose or clip.
Unlike film, digital at the extremes of the black and white points is a cliff face. There is nothing below 0 and nothing after 255 in our binary capture world.
I know the recovery slider in Adobe camera RAW and Lightroom can bring back a surprising amount of detail, but this is detail held in your capture, your not really recovering anything.
When my exposure looks bad it’s here I either reach for the Exposure Compensation Button (I usually shoot in Aperture Priority). In really tricky situations I use my camera’s spot meter.
If the dynamic range of the subject exceeds my camera’s dynamic range, then I generally bracket my exposures. Once back home I then resort to HDR or digital blending, sometimes both. Products like Photomatix Pro and of course Photoshop make HDR very easy now.
Getting it right in Camera is always the holy grail, to this you have to resort to careful metering.

If using my medium format camera, then this would be with my handheld spot meter. I actually start with an incident meter reading first, this usually puts me in the ball park. With the meter in its incident mode, you place it in the same light as the subject you want to photography, and point the metering dome at your camera and take your reading.
I usually have my meter set to EV readings. My Hasselblad has markings for EV and an EV lock, so I can set the exposure then adjust my aperture and the shutter speed will automatically change to maintain my set EV reading.
This incident reading is my starting point. I then try to determine the dynamic range of the scene. First of all I try to find the brightest part in the scene, once found I set this in the memory of my meter. I then try to find the darkest part of the scene. Once again this gets set in the memory of my meter. I then hit the averaging button and note the average. This is usually close to the incident reading if the dynamic range is now too high.
With the meter in averaging mode, you can then meter around the scene with the spot meter, and it will display the how many EV’s above or below the average that part of the scene is. You can then ensure the important parts of the scene is exposed correctly and will maintain detail in your photograph.
With my meter, it has a clever trick in averaging mode. It displays a graph at the bottom showing your lowest and highest reading, together with the average. Now that is not the clever part, the clever part is that I can upload from my computer custom Dynamic profiles for different cameras, films, and for each iso. So on the meter you can select your camera or film and the meter will show if your exceeding the dynamic range available, and you can then adjust your exposure as needed.
If you are exceeding the dynamic range then the choice is to allow what you want to go back/white. With your meter you can easily determine what that will be and make an informed choice.
Often at this point I will often bring out the filters. A one to two stop gray graduated filter usually drops the dynamic range by enough to resolve your issues.
In many respects I am quite old fashioned in my photography. I believe in using the right tool for the job.
Though I also believe any camera you have with you can produce a master piece.
When it comes to Landscapes the bigger your film or digital sensor the better, though one should also remember that depth of field reduces as sensor/film size increases.
So while I have taken great Landscape images with my iPhone, I feel my best work has been done with Medium Format or Large Format.
Surprisingly I feel this has less to do with image quality and more to do with thinking more about the shot.
Having to set up my tripod, camera, choose the right back, lens, filters, and then spend time time metering the scene to work out the dynamic range and exposure really focuses the mind and makes one concentrate on a great composition.
I’ll talk about the basics of metering in my next post.
This week I finally got round to updating the software in the Sony A55 (Don’t worry I am still a Nikon User).

Its a simple executable you run while your computer is connected to the camera via USB. There is a Windows version and a OS X version for Apple Macintosh’s.
There was one slight hiccup. The Mac version is 32 bit only and will not work if you have the 64 bit kernel. I run OS X Lion on my MacBook Pro and the software would not run.
This was easily fixed via a quick reboot while holding down the 3 & 2 keys on the keyboard. This forces the computer to restart with a 32 bit kernel, and then the software would run.

The update went smoothly but once it had finished the Camera would not operate. Removing the battery and then putting it back fixed this and we were operational again.
For more details check out the Photography Blog.
Last month’s Photo of the Month, is unusual in one respect, it was taken with film.
It was not the shot I was after, the conditions were not right, but I still thought it was worth a record shot.
This is a low quality scan of the original slide, but it gives you a basic idea of what the real image is like.

There are lots of arguments over what is better, film or digital, and many get caught up in the technology race and the race for more megapixels.
What people seem to forget is that for the majority of people, who have no intention of producing prints larger then A4, then 6mb is all you need.
The other point is that film and digital are not the same and are difficult to compare, they act differently at the extremes of light and dark. To a lesser degree it’s like arguing between Oil Paintings and Watercolour Paintings.
If your producing an image for a job then you tend to use the quickest, easiest and most cost affective method.
An Estate Agent wanting a picture of a house to help sell it, is not going to use Paint or Pencil, but may have 100 years ago, technology moves forward. Today it’s likely to be a digital compact.
If the image is personal or ‘art’, then use what you most enjoy or is most suitable for the effect you want to achieve. Pencil, watercolour, oil, chalk, charcoal; film in all its different sizes, colour, black & white, negative or slide; Digital, whether a cheap camera phone or a hundred thousand pound digital scanning back on large format.
Digital is not better, it’s different.
Shoot/Draw/Paint More, Enjoy and lets not argue over what is ‘best.
Now where is my iPhone, that sunset is stunning.

Hasselblad 503CW
Hasselblad 80mm f/2.8
1 Sec at f/22, ISO50
Fuji Velva RDP 50 120
Today 35mm film is just about dead. I shoot a roll of 35mm in my Nikon FM2n about once a year, but even most die-hard film users will admit digital has replaced film for 35mm users.

Most of my pictures are taken with my trusty Nikon Digital SLR’s, but when I shoot Medium Format or Large Format I still use film.
In the medium format and large format worlds, things are still a little more film centric. With full frame digital SLR’s getting so good now, many medium format users moved down a format to full frame digital 35mm SLR. Some stayed with film or bought the still very expensive digital backs. For others they moved up a format, to large format, where today film is still king.

Its great to hear that over the last couple of years, film sales have stopped decreasing and have actually increased, especially for black and white users. Even 35mm black and white sales are increasing.
Many new photographers are enjoying the experience of developing film for the first time. I have to admit it is quite good fun, though I have not developed my own film now for nearly ten years.
While developing film is experiencing a resurgence, printing still seems to be in decline. While developing a film is relatively easy, and no dark room is required thanks to tools like my own trusty Paterson Development Tanks, printing in the dark room is much harder, and can takes years to master to produce consistent high quality prints.
Today, once you have got your negative then once again digital takes over. Negatives are scanned and then the modern computer printer produces the final print.
This month I shot two rolls of Medium Format 120 Fuji Velva, and on Saturday I got the results back. I have to admit, its a bit like Christmas opening the packages.
 I was extremely pleased with the results, and my metering skills are certainly improving. I look forward to my next film day with some anticipation.
Tonight was the last episode of Autumn Watch. If your a wildlife photographer, BBC’s Spring Watch.& Autumn Watch is well worth watching. Lots of tips about wildlife, lots of inspiration and lots of great imagery.
Looking forward Spring Watch next year.