Viewfinders

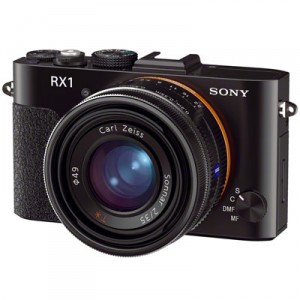
The purpose of the view finder is of course to enable you to compose the image; many feel that the new EVF or electronic viewfinders are the ultimate viewfinder and what we should all be using them and get rid of our big heavy DSLR’s.

Currently even the best EVF’s do not come close to an optical viewfinder.  The best of the current breed of EVF’s now are 60 frames a second refresh, that means you can have a lag of up to 200ms, this is no where near as good as a modern DSLR, you need a frame rate of about 240 fps to match the black out period of a SLR.

So for a least the next two to three years we are still going to have optical viewfinders out perform evf’s.
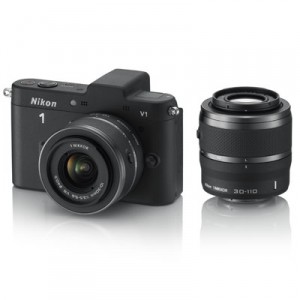
The SLR is great in that you have a view that accurately depicts what the end picture will be like, but because of the large mirror you are never going to have a small light quite camera.

If your going to get rid of the mirror then for now an optical viewfinder is still the best, but then you have focus issues and parallax issues.

Camera’s like the Leica M range and the Fuji X range try to over come these issues but neither actually shows the image you are going to get.

Many though say that the range finder view finder which does not accurately represent the photograph is an advantage.  For a start it shows more then 100% of the image, what can see around the frame, everything is in focus and you can see what is about to enter into your image.  The ‘decisive moment’ is easier to judge.

In many ways the Fuji X100 and X-Pro1 with their hybrid viewfinders that can be optical or an EVF depending on which you want, the best of both worlds.

I have been seriously tempted by the Fuji’s but have concerns over the image quality, but the idea of a hybrid viewfinder, being able to switch from an optical to an evf when needed is very tempting.

http://chromasoft.blogspot.co.uk/2012/05/demosaicing-fuji-x-pro1-and-its-x-trans.html
GAS – Gear Acquisition Syndrome

They say the equipment is not important but how you use it, and to be honest there is a degree of truth to that.

Most of us would be better of using our current equipment more and dreaming of the latest, newest equipment less.

Still new equipment is exciting and can help inspire us to take better photographs. While a artist should not blame his equipment it is true some equipment is easier to use then others.

So what inspired me to write this blog post today, well I made the mistake of visiting my local camera store today and managed to get my hands on the new Sony NEX-6.

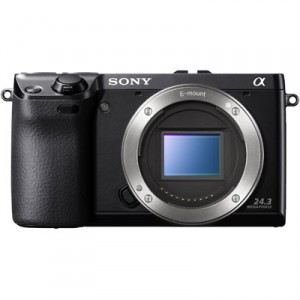
Like the NEX-7 it has a build in electronic viewfinder (EVF) and decent handling. It many respects the handling is better then the NEX-7: the biggest problem I have with most none DSLRs can be summarised by three things.

  • No Viewfinder
  • Tiny sensor
  • Poor Ergonomics

Over the last five years we have gone from having no decent small cameras to a large number that our very close.

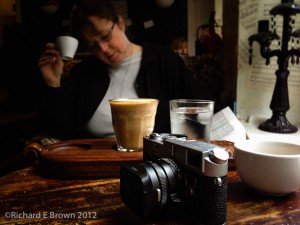
The one camera I currently own that ticks all of my boxes is my 40 year old Leica M4, stunning large optical viewfinder, perfect ergonomics and class leading lens available. The down side for most people is that it takes film, and running a film camera now a days is not cheap, unless you develop and scan your own results, and then it’s the time factor to do all of this.

So it was with a great deal of interest that I tried out the NEX-6. I don’t know if the viewfinder is the same as the one in its big brother or not but it certainly seemed better to me. The menu system of the NEX is still one of the worst going. My Nikon V1 has a very simple menu system that’s quick and easy to use, then it has to be as the external controls are poor in comparison to the NEX-6 & 7. Sony should really think about porting the menu from the Alpha Range to the NEX.

It was a very brief play but I have to say I was even more impressed with the NEX-6 then I was with the NEX-7, currently the two cameras are very similarly priced so the NEX-7 is the better value but it certainly made me think.

Film Friday – Large Format Testing – Lincoln Cathedral

Post dated post – 21st July 2012

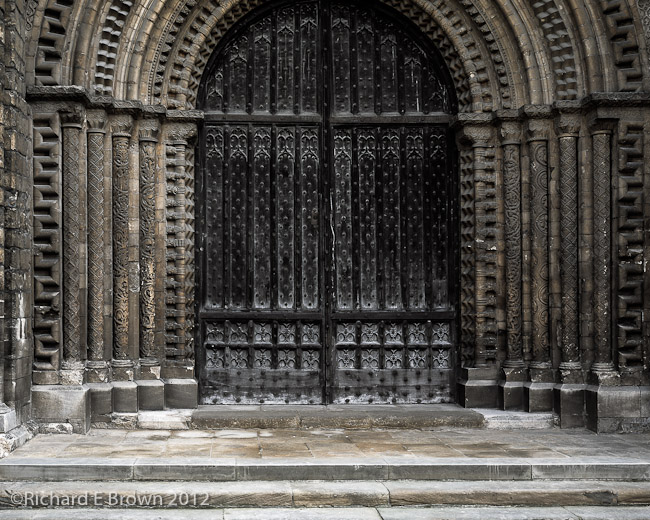
Last July I spent some time at Lincoln Cathedral, doing some large format testing.  I still have some difficulty visualising the field of view from my 5 x 4 camera.  Practice is what I need so I went out to capture a few shots.

Ebony 45s, Fuji Provia 100, 150mm Nikkor f/5.6, ex f/25 1/4 second

My first shot was of a door, I have a long term project shooting doors and windows, and this will join this.  The high-lights were metered at EVA 12.4, the darkest shadows at 10.5, this gave me an average of 11.6EV.  So I set the lens to f/22 with a shutter speed of 1/4 second.

Inspecting the film with a lupe, the level of detail is simply amazing, yes medium format digital or a 35mm digital stitch on say a Nikon D800 could also produce this level for detail, but there is a simple joy in using the Large Format Ebony that makes the whole shoot an event to enjoy.

There are some wonderful features and details to Lincoln Cathedral and i’ll certainly be going back again to shoot large format again there.

Kodak Sensors – Truesense announce m4/3 sensor

As many of you are possibly aware Kodak over the years have produced some great and class leading CCD sensors for digital cameras.  Many of these are used in Medium Format Cameras and in Leica M Digital cameras.

With the troubles that Kodak have been having, they sold off the sensor division and its now know as Truesense.

They have recently made some interesting announcements, first they are going to produce some m4/3 sensors and a monochrome only sensor like that in the Leica Monochrom.  The bigger surprise is that these are going to be CMOS based sensors, so we will also get video and live view.

I doubt any of the main stream camera manufactures will pick up the monochrome version, its mainly going to be used for scientific uses in specialised areas, but maybe one of the small players or a new upstart may produce something with this for the enthusiast photographer.

Competition Etiquette

There was a Landscape Photography Competition recently that has produced a lot of controversy on the Internet photography forums.

The main controversy was the winner. The photograph was a blatant copy of a picture from another photographer. What made it obvious was he had a link to the other photographer who he admired.

The other entires generally were commented on because of the excessive Photoshop work and composites.

The extend of the use of Photoshop should be defined in the rules of the competition, general touch up and editing is one thing but the heavy combining of elements from different images is less photography and more computer skills. Unlike many, I do not have a problem with heavy use of Photoshop, many of the techniques can be and were replicated in the darkroom by the greats. It was Ansel Adams who said the negative was the score and the final print the symphony. Many think similarly of the RAW file.

It’s the blatant copying I have a problem with. It’s one thing to try and replicate a well known photography in order to learn, but another thing to present it as your own work.

After the comments that have appeared on the internet the winner has now been disqualified.

and the Cold Marches on

We are in November now, and this morning I finally resorted to full thermals and silk liners in my gloves for my morning commute on the motorcycle.

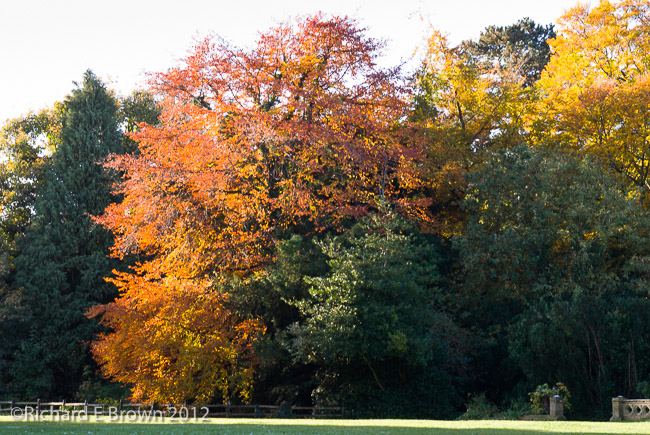
A week ago I visited Hartshome park to try and get my Autumn leaves photographs, it was also bitterly cold.  It was a good job I managed to get out when I did as over this last week the trees have now lost most of their leaves.

With the change in the weather and the leaves being lost, its been quite a bleak view on my morning commute as I look towards Lincoln Cathedral.  This morning though was very different.  The trees whilst bare were shrouded in a gentle mist with the low sun casting a warm glow over the Lincoln West Common.

I may have a go at capturing it next weekend, or if its as cold as last week at Hartsholme Park, I may just chicken out and spend the day in the studio, like I did yesterday.

Wildlife Inspiration

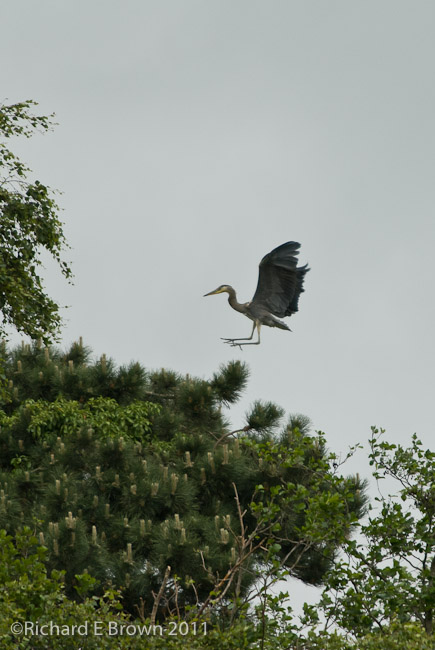
Wildlife photography is tricky.  To get good results does cost money, expensive professional DSLR’s, and pro fast glass costing thousands of pounds.  But good knowledge can help you get closer and get good images with cheaper equipment.
Modern cheap cameras such as the Nikon D3100 have reasonable performance and when combined with a good quality 70-300mm lens can produce good results, if you can get close in good light and when the subject is not moving too much.

TV Programs like the BBC Autumn Watch provide excellent inspiration and enable you to increase your knowledge of the natural world.

Whether you have all the gear or just a basic compact, knowledge of your subject and enthusiasm can take you far.

Judging Cameras

Some photographs were published on the internet this week claiming to be the output of the new Leica M.  Whether they are real or not, there was a great deal of discussion over the image quality.

It never ceases to amaze me how people feel they can judge the image quality of a camera from low quality jpegs published on a web page.  It is just not possible.

Wait till the camera is released, read reviews from people you trust but most of all, do what I do, visit my local friendly camera store with a spare memory card and do some test shooting yourself.  If you cannot get hold of the camera to test yourself, then see if you can locate some sample RAW files, process them yourself and judge with your own eyes.

Also remember; the way a camera handles is just as important as image quality.  A camera should feel good in the hand, a camera you enjoy and want to shoot with will do wonders for your photography.

Creating a Mountain Lion Install Disk

It was with some degree of controversy that Apple released OS X 10.6 and a download only.  Many people wanted the physical media, something I well understand.

With Snow Leopard and then Mountain Lion, I never got round to creating a bootable install disk, but I am thinking of upgrading my hard disk and putting in a solid state disk to replace my current traditional hard disk.

Creating a disk is not hard but does require a degree of patience.

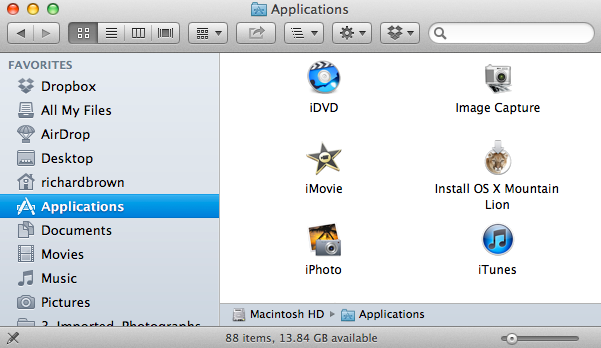
The first job is to get hold of the install files. Not as hard as you might think.  If your have not bought it yet then just purchase it from the App Store.  If like me you purchased it sometime ago, you will find the install will have deleted itself after use.  Just Option-Click in the Store to re-download it.  It will download into your Applications folder.  I suggest you save this file into a safe location.

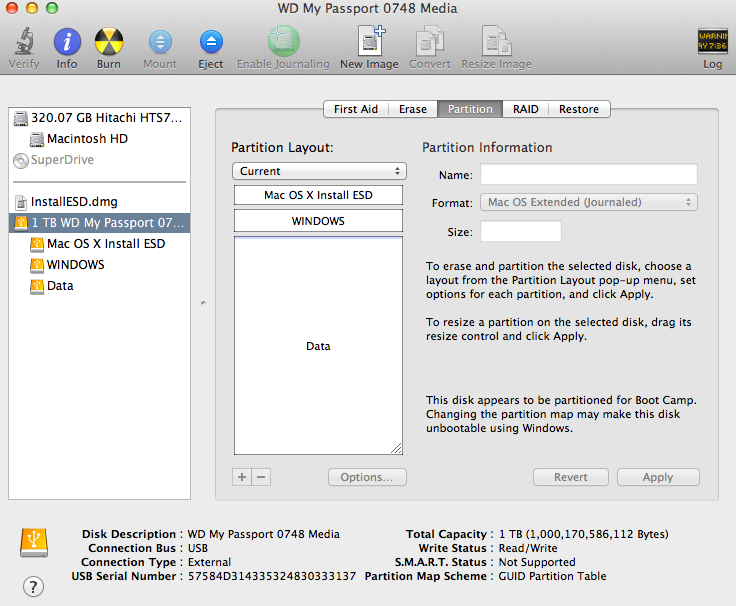
To make the re-install faster, I am creating an bootable external hard drive.  Launch Disk Utility and create a 10 GB partition.

Make sure you make it a GUID Partition, via the Options button, on my disk above, I have a small 10 GB partition for the Mountain Lion Install, a small Window partition and then a native OS X partition.

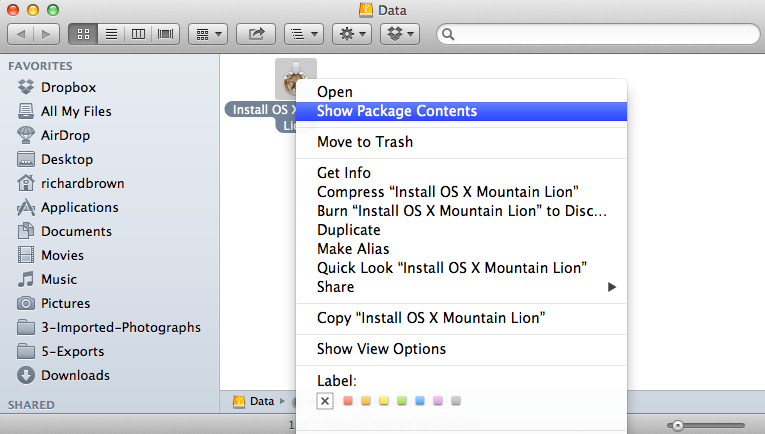
Right click on the downloaded Mountain Lion Install file and select show package contents.

Browse to ./Contents/SharedSupport/ and Open InstallESD.dmg, this will mount the image.

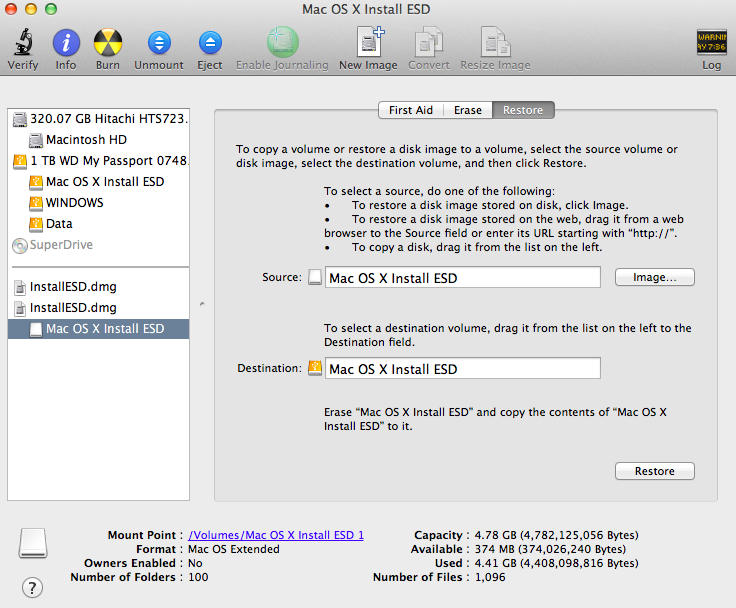
Now go back to Disk Utility and select Restore;

Now drag the newly mounted image into the Source box and then drag your destination Disk Partition into Destination, then just click restore, depending on the speed of your disk you will have a bootable disk within a few minutes in which to use for rebuilding your Mac.

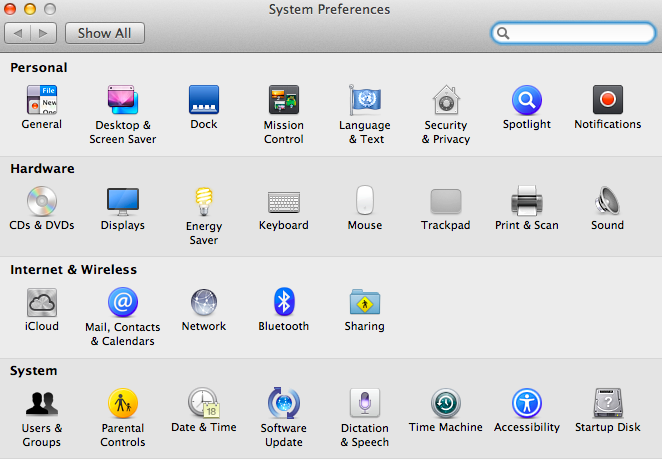
Finally to test your disk, go into System Preferences, and select Startup Disk, then select your new Disk Partition to boot from.

Easy, when you know how.