Scanning

With two rolls of Kodak Tri-X all developed and now dry, it was time to get down to some scanning.

As I have blogged about this before, this is a bit of a re-cap; getting everything clean is the first and major step, after that it is relatively simple.

My scanner is an Epson V850 Pro and instead of using the bundled Epson Software, I use SilverFast.

Step One clean and mount the film and scanner plate

Select Pre-Scan, at this point it does a basic scan
SilverFast and Frames

  • Select Frames, Find Frames and select the appropriate film holder, in this case Filmstrip 35mm
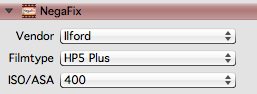
SilverFast 35mm Film Settings

  • I then select my resolution 6400 ppi for film and then select the film Vendor, film type and ISO.  Most common makes are there from Ilford, Fuji and Kodak.
  • Then its a tweak to the Midtones to make the files a little flatter and easier to working on post production, I use +5.
  • Select Copy settings to all frames

Now for the time consuming part.

  • Zoom into the first frame and adjust the frame to capture all the image
  • Tweak the histogram if necessary
  • Go to next frame and repeat

Once all frames are done I then select batch scan and have it uniquely number each file and place them in a watch folder.
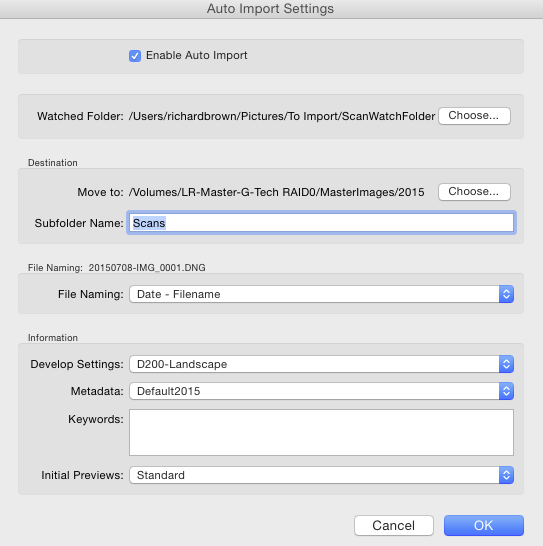
Lightroom auto import
Its then over to Lightroom where I configure Auto Import. I have found the the default developer settings I use for my Nikon DSLR are a good starting point and I have Lightroom add the current date to the scans filename.
I now go off and have a cup of coffee and leave the computer to do its stuff, the scanner putting the images into the watch folder and then Lightroom automatically importing them, adding some developer settings and meta data and adding them to my main Catalogue image store.

Learn to Play Day 2016

Learn to Play Day

I am not a brilliant musician, whilst I used to be in the choir as a child, I am now limited to poor banjo and piano playing.

Not enough people play an instrument in the UK, which is a shame.  To help encourage people this weekend is learntoplayday.  As with many of these things its just not advertised enough.

Coffee accessories – Tamper

Tamper

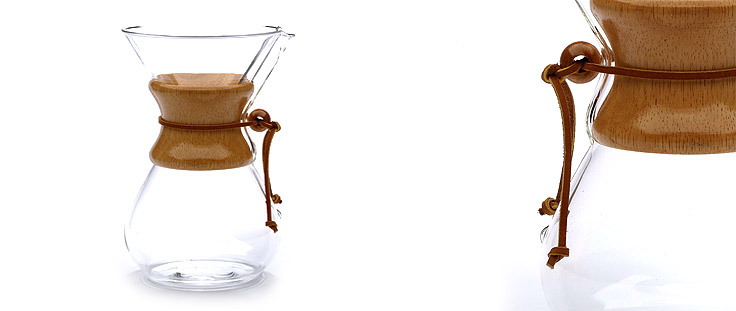
Over the last few years, I have really gotten into high-quality coffee. During my free time, I have even started to experiment with the coffee I drink to get the best taste and have even got a milk frother from this link after reading through the various frothers reviews available on it. For home and office use, I generally drink brewed coffee.  At home I make it in a Chemex.

Chemex

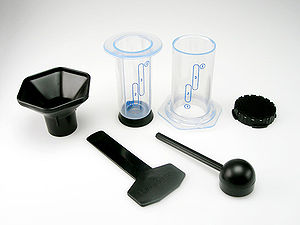
While when at the office I use an Aeropress.

Aeropress

I have a cheap basic expresso machine at home but tend not to use it much, getting much better results with my brewing methods.

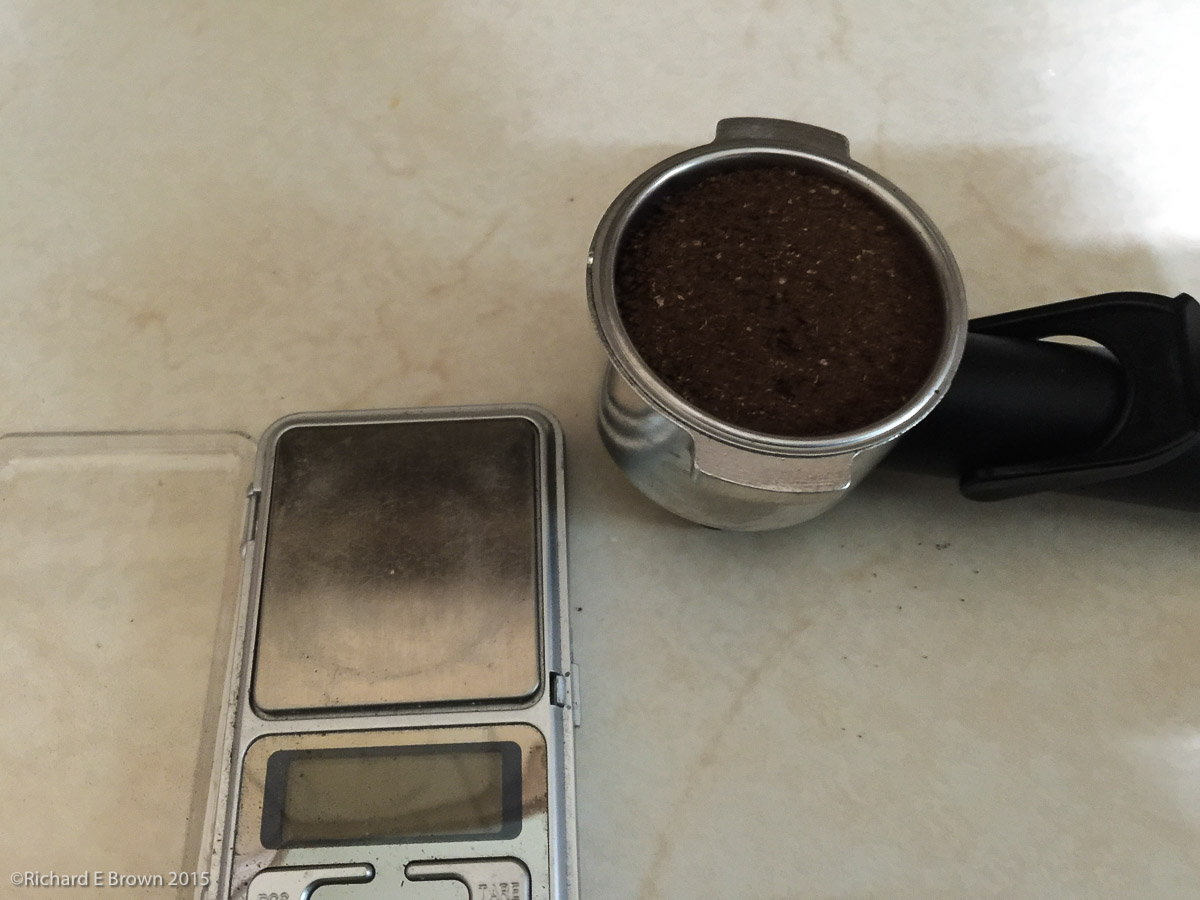
But I enjoy a good espresso, and espresso based milk drinks, and I would like to make that at home, so this past few weeks I have been practicing my technique using my basic espresso machine.

The internet is a wonderful tool for learning, I have fixed my plumbing from watching YouTube videos, so I have been researching and learning how to make reasonable espresso using basic equipment.

Tamper-2

I have mastered the milk and can now make wonderfully sweet creamy steamed milk with lots of microfoam.  So now I have been experimenting with the espresso itself.

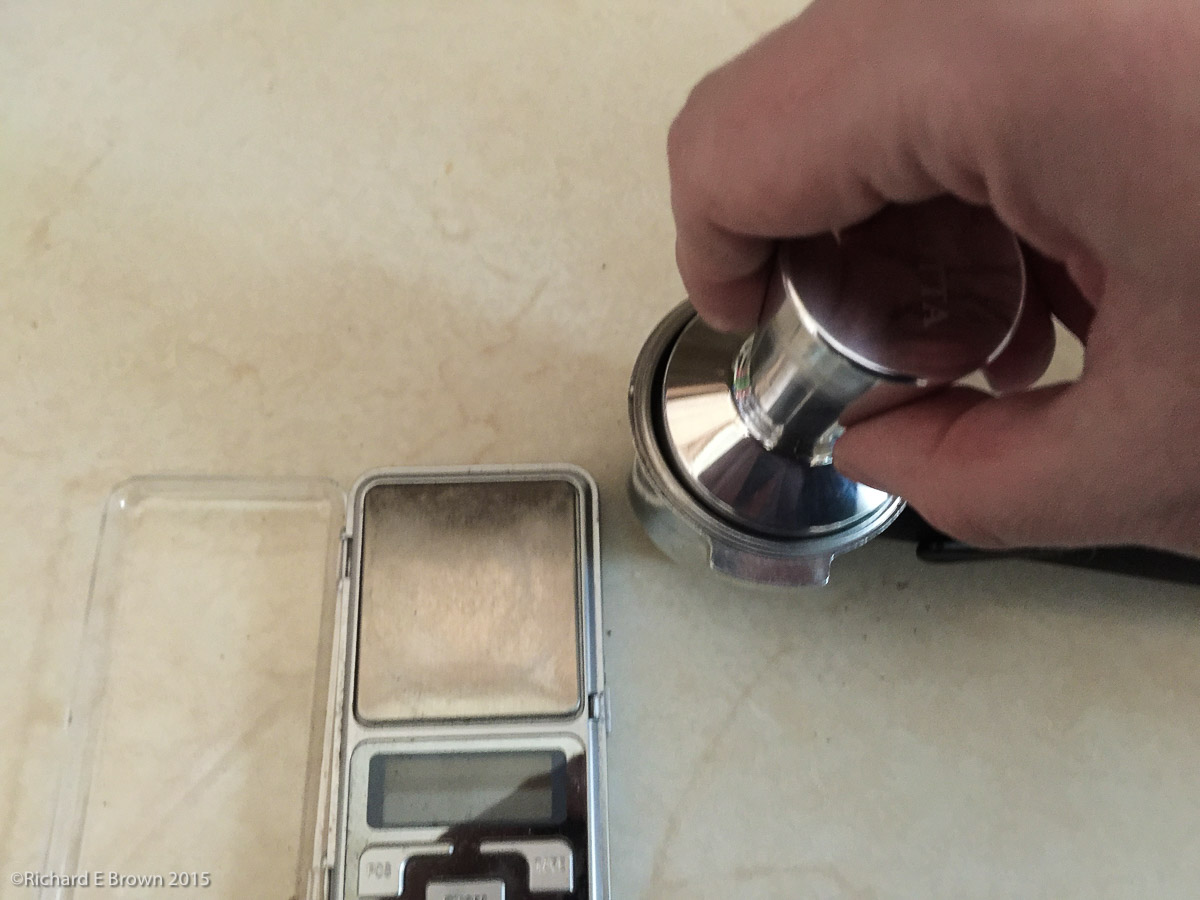
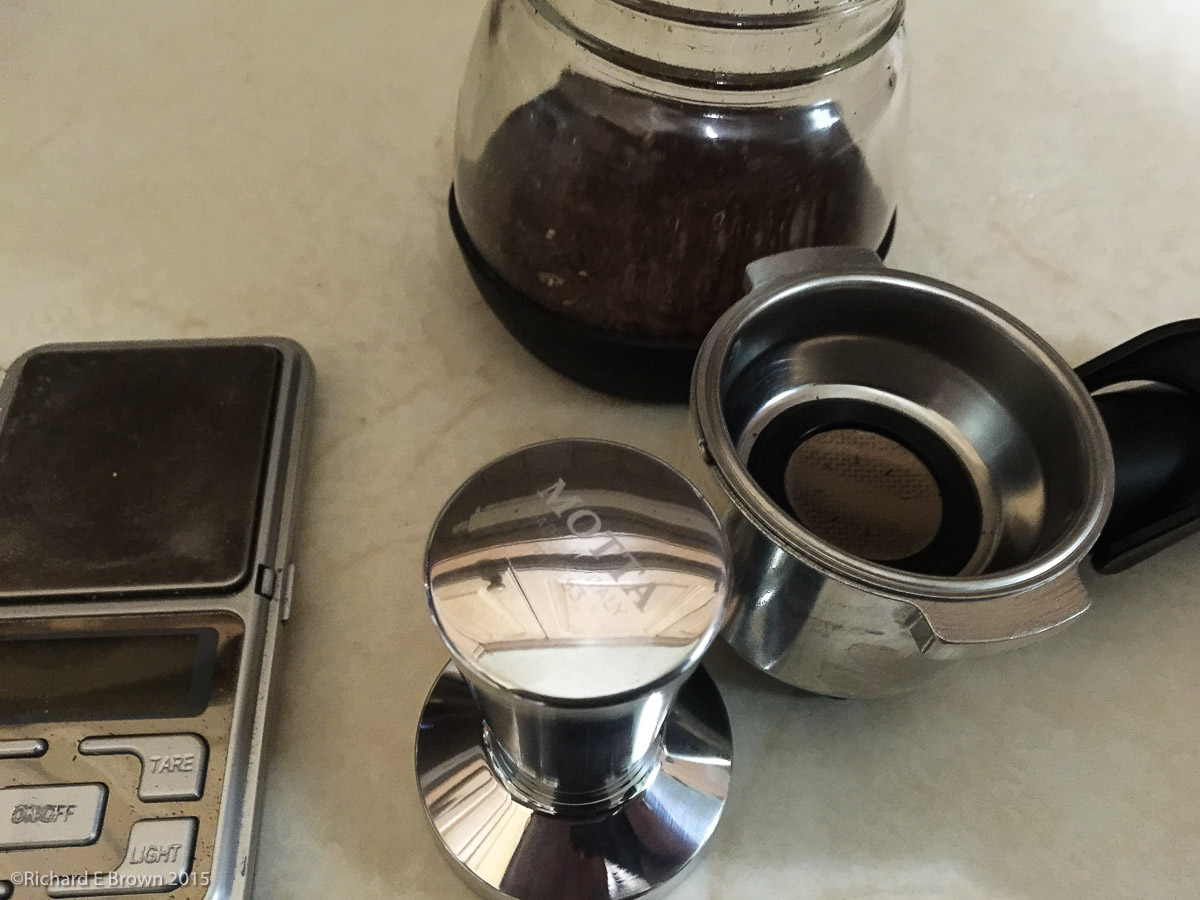
While changing the grind and dose has improved things, I was getting too much expansion blocking the flow of water so it was time to buy a real tamper.

Tamper-3

Tonight it arrived so I have been experimenting with different pressures, grind and dosing, so far its looking good and it will be interesting to see how far I go with this.

Gardening and getting things shipshape

OnionsThe weekend was our own so what did we do?  Gardening, and the chickens helped as well; when they were not showing too much interest in our onion and garlic sets.

The main job of the weekend was clearing the patio of all the mess we had dumped there while digging out the pyracanthas that was blocking where the new fence needs to go.

Once that was cleared away we then filled it again, as we set to and dug out the last pyracanthas that currently buries the fence near the out buildings.

Apart from a temporary move of the composter, there is now nothing getting in the way to having the new fences installed.

Sunday I finally got out and shot some wildlife which I’ll post about later.

Sonos add Apple Music Support

Music Man

I love music, and used to play the guitar and currently play the banjo and piano.  I now have my Hifi setup in the end room which has been turned in a music/library/studio room.

I also have some decent powered speakers in my office linked to my MacPro and my iTunes library which mostly consists of ripped CD’s.  Where we listen to the most music is in the kitchen which with our love of cooking and baking we both spend a lot our time.

For my birthday last year we have had a Sonos One in here, its pricey for what it is but does perform very well and needs little else to make it work.  It came with one years free Deezer subscription which is now coming to an end, and so I was pleased to see that Apple music in beta has now arrived for the Sonos.  Once my Deezer subscription expires i’ll give the Apple music a trial and see how that goes.

The think to remember with most of these streaming systems is you need to invest in the time and energy to let the service learn about your musical tastes.  Of course once a service is setup how you like its hard to move and go through that again which is what most of them are hoping.

The End room starts to get furnished

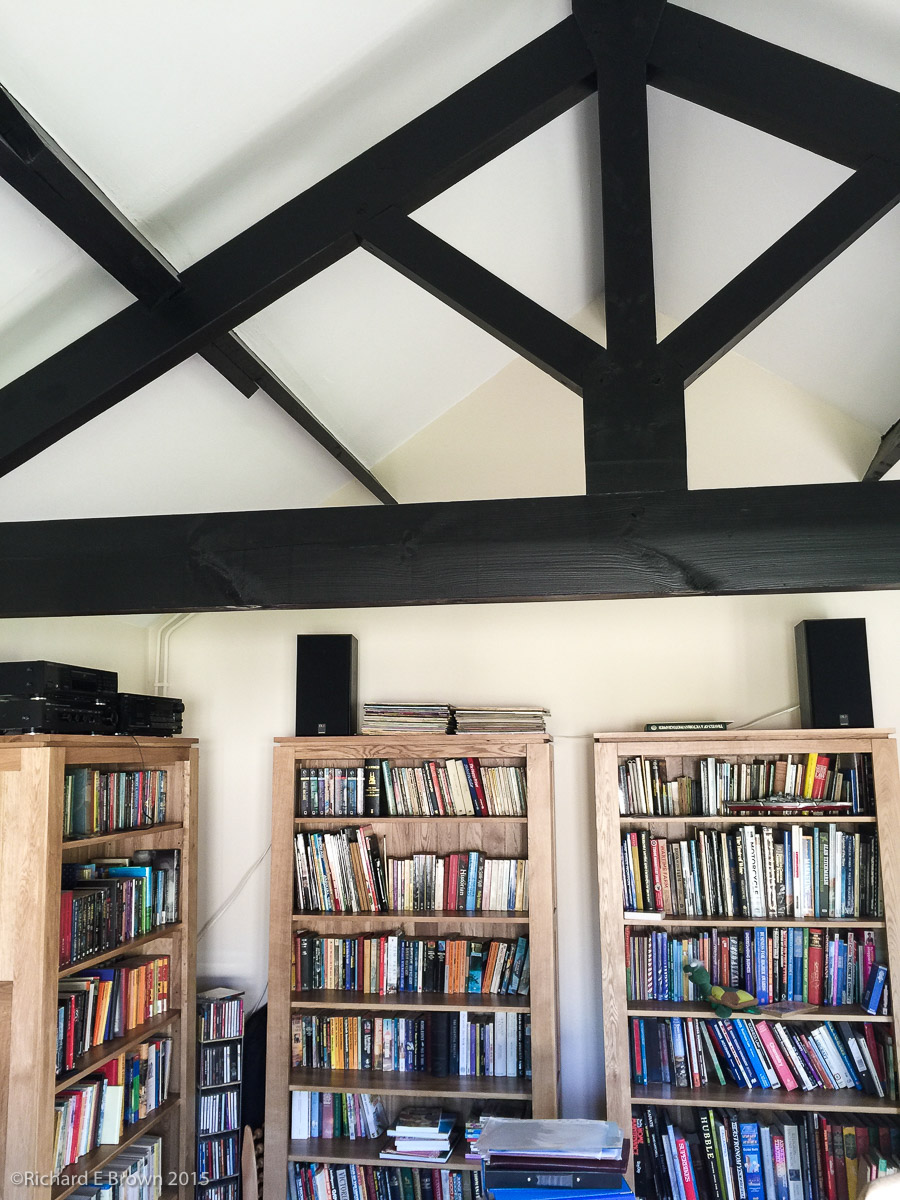
new room-2 new roomJust to quick snaps of the end room, now with three large book cases at one end.  This means we can finally unbox our books that have been in storage or blocking up the wing hallway for the last two years.

Not only that but I have unboxed my hi fi so we now have music in there.  Currently only two sources set up, CD and a wired input from my iPhone.  I am thinking about moving the main Apple Wireless Extreme from the living room into hear and getting a newer model for the living room.


Mac Sound output

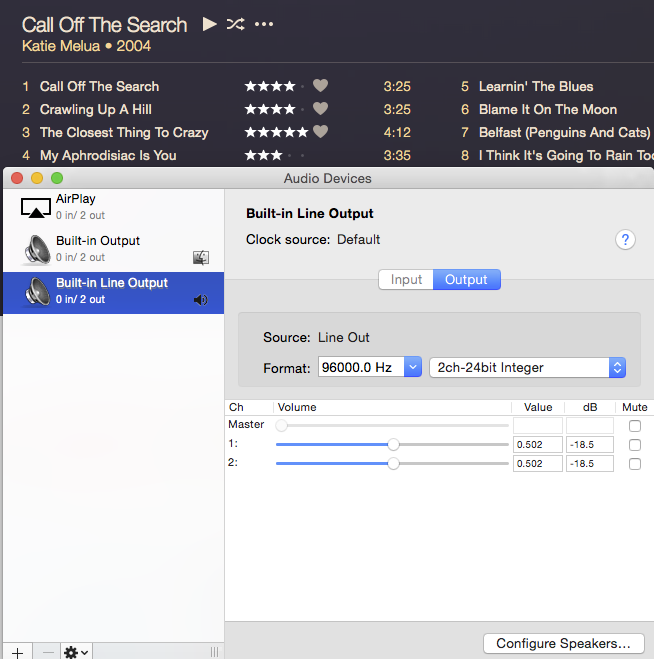
Audio Midi SetupI love good music and HiFi, since getting my new Mac setup the sound quality was not quite as good as I thought it should be.  It was then I remembered that the default output was not as good as it should be.  You need to go into the Audio Midi setup program and configure it to the best settings.

See above.

Having the new Mac Desktop I now have the line out direct into the active speakers giving me better sound quality then Apple AirPlay.


The end room takes shape

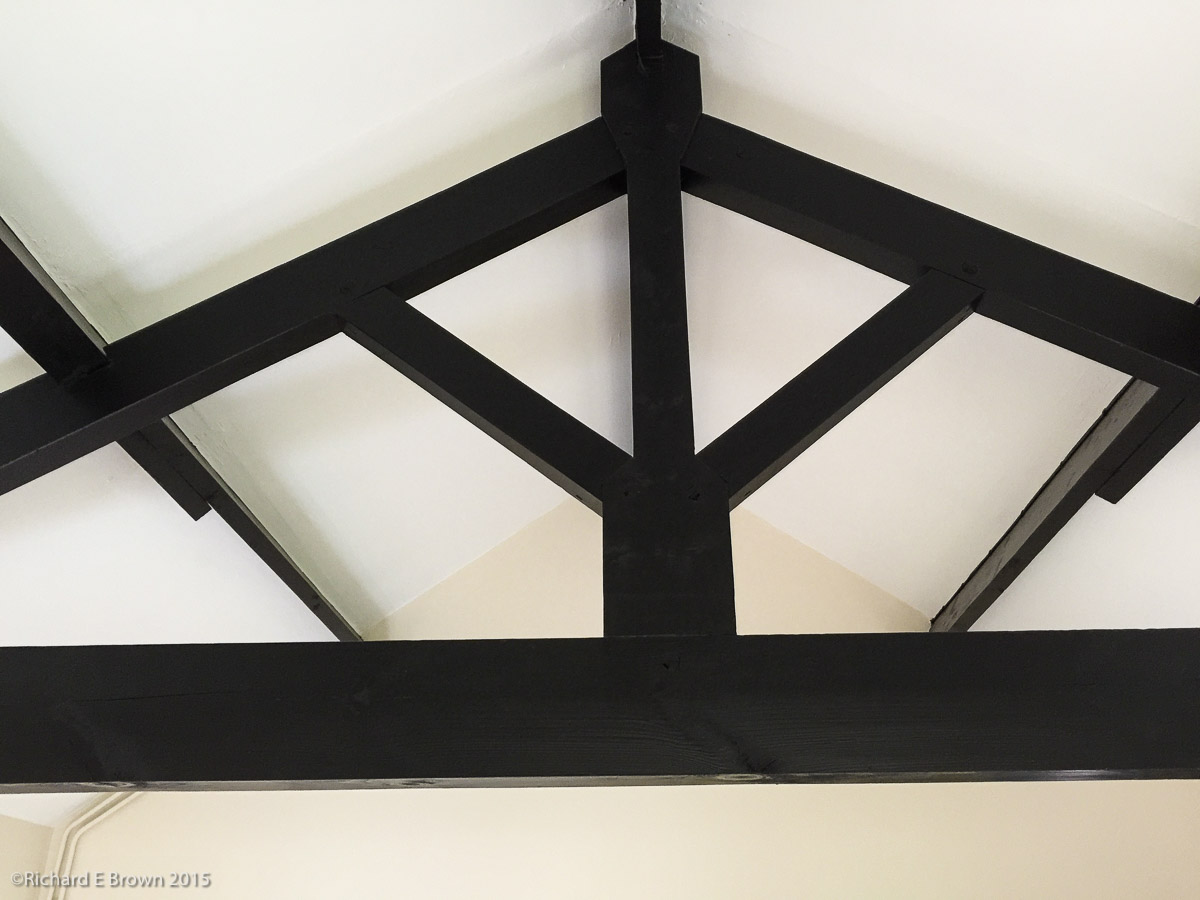
Our spare end room over the last few months has been stripped down to bare walls and concrete floor.  We have plastered painted and decorated. Including painting the roof and open roof beams.studio-2

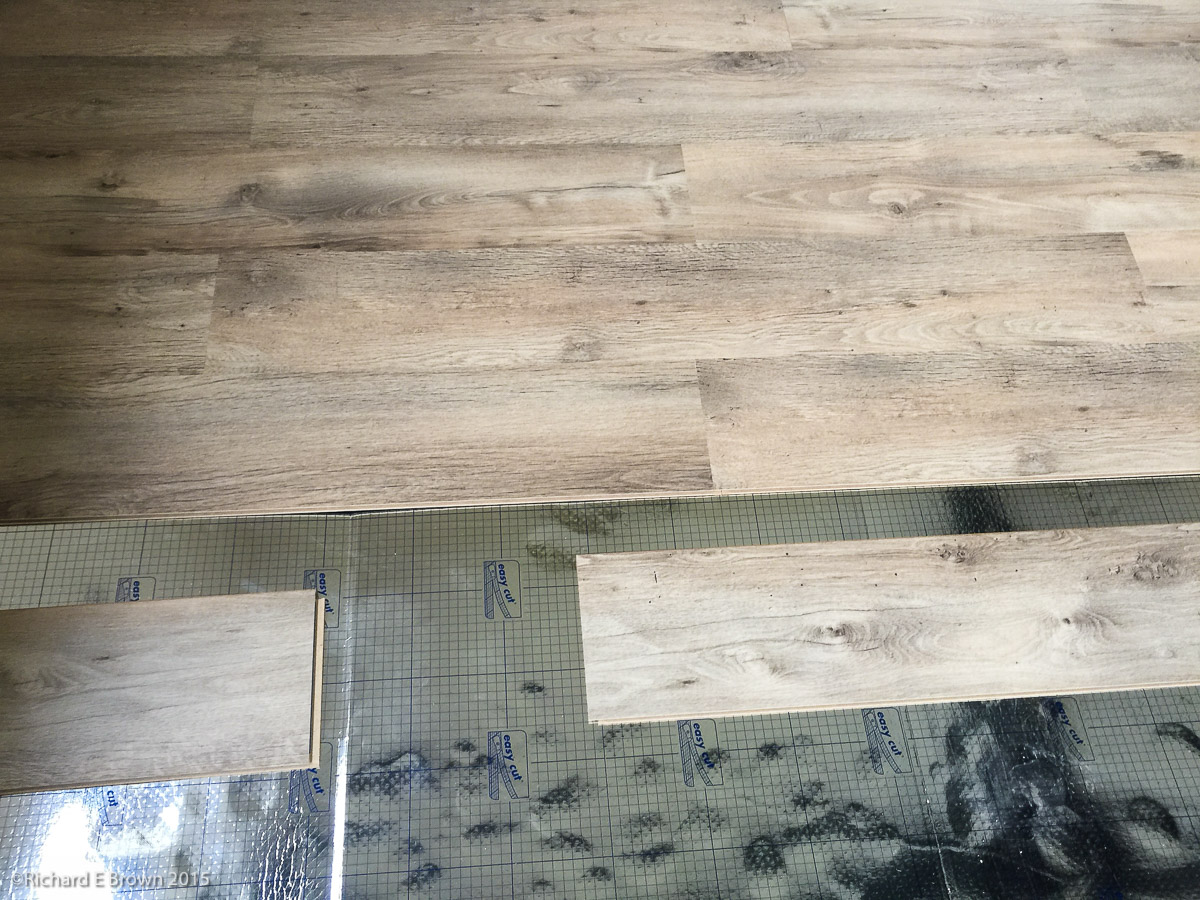
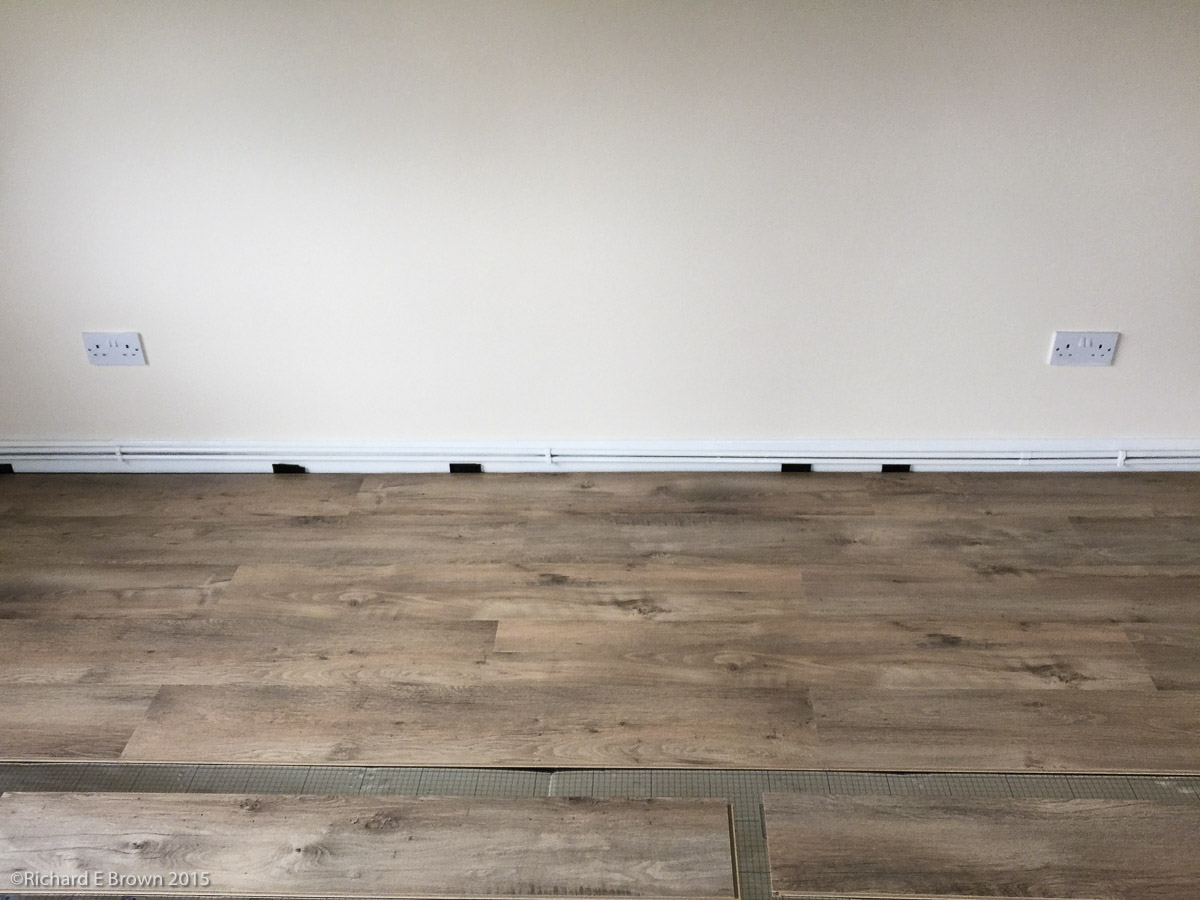
This weekend we finally laid the new floor.

studio-3

We just have the beading left to put round the edge and its finished.

studio

Then its new book cases and we can unbox the books and also finally setup my hifi. Then we have a smart new space which we can use as a reading room, music room and when necessary a studio space and even somewhere to layout quilts.

Hifi in the Office

So with the new Sonos speaker in the kitchen I got for my birthday last year, we have decent music in the house again that is until I finally get my separates system setup in the room we are currently decorating.

Enjoying the Sonos made me think about my office, how to get decent quality sound from the PC without too much cost.

I wanted stereo so another Sonos was not going to cut it, purchasing two would be more then a quality set of active speakers, plus I also wanted to stream from other sources not just using the Sonos app.

Quality wise, CD was good enough, most of media is either vinyl or CD and also sat in my iTunes library at 16 bit at 44 kHz which is CD quality.  I do have a few other audio files which are at studio master quality 24 bit and 192 kHz but thats just over kill for a simple budget office system.

I am lucky enough to have an Apple AirPort Express in my office, as well as providing wireless internet I have my large format Epson 3880 printer plugged into one of the ethernet ports.  The device also supports Apple Airplay at 16 bit / 44 kHz so it could act as the music source for the speakers.

So first I set a budget, then looked at small desktop active speakers that fitted that budget.  By active I mean with built in amplification.  Basically it would be a simple setup.  Apple Airplay sending my music collection from laptop, or iPhone to the AirPort Express and direct into the speakers.  This meant I could keep my current cheap computer speakers and have the computer sounds come from them leaving just the high quality audio of my music streamed to the speakers.  Longer term I might upgrade and add a high quality USB DAC into the system, driving that from the USB port in my computer.

So what did I pick, well first job a trip to the website WhatHiFi and look at what they liked, then a web search to find the best prices.  After that it was a trip to my local Hi Fi shop who offered to price match.  We had a listen, using my iPhone as a source and I picked the Ruark Audio MR1.


June is here and the garden continues to burst with Life

I cannot believe its June already.  Where is the year going?  For us its being a very quiet/busy May; I know that sounds conflicting but we have just not had time to get anything really done.

Caroline’s father has been in hospital having a new knee, so things have been focussed round him, which is why we have been busy.  So on the house and garden front its been very quiet.

I can say that the Peas, Beans, Leaks, Lettuce and Potatoes are going great.  The cabbages though are not surviving, someone is eating them big time and stripping all the leaves off.

Hopefully June will see us back in the garden and also finally laying the new floor in the music/library/studio room which apart from the floor and some furniture is finished.  I cannot wait to have my first studio shoot in there.