Today is National Stockings Day. If I am shooting for my own pleasure in the Studio I always try to get a nice stocking top shot.
Its also a good day to for you ladies to buy some Charnos Stockings or get your partners to. Charnos will donate 10% of the retail price to Breast Cancer Care.
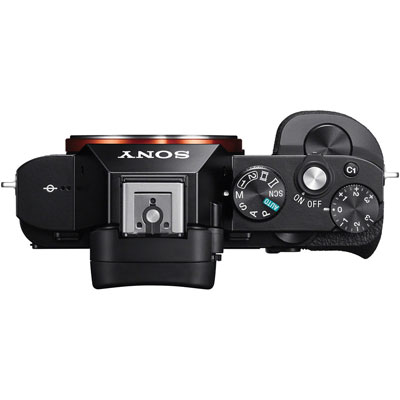
It’s been quite an exciting few days on the camera front. With Panasonic releasing the Photographer Centric GX-7, then today the GM-1, Sony’s new full frame goodies the A7 & A7r based on RX-1 and even Nikon getting in on the action with some very minor upgrades for their SLR’s.
I was hoping to have posted my thoughts and a few demo photographs from the Panasonic GX-1, but I have been unable to find time to test the local demo model that London Camera Exchange currently have. Hopefully i’ll be able to get round to it next week.
One of the more interesting options with the new Sony Full Frame cameras is the ability to take Leica M lens. While this is possible with MicroFourThirds, Sony Nex and the Fuji X interchangeable lens series cameras this is the first none Leica Full frame camera series that can do this.
It kind of crept up on us but Monday was the deadline for the World PhotoWalk. With moving house I had not managed to process any more photographs, so I had to make a quick choice from the ones I had already uploaded to the local Flicker Group.
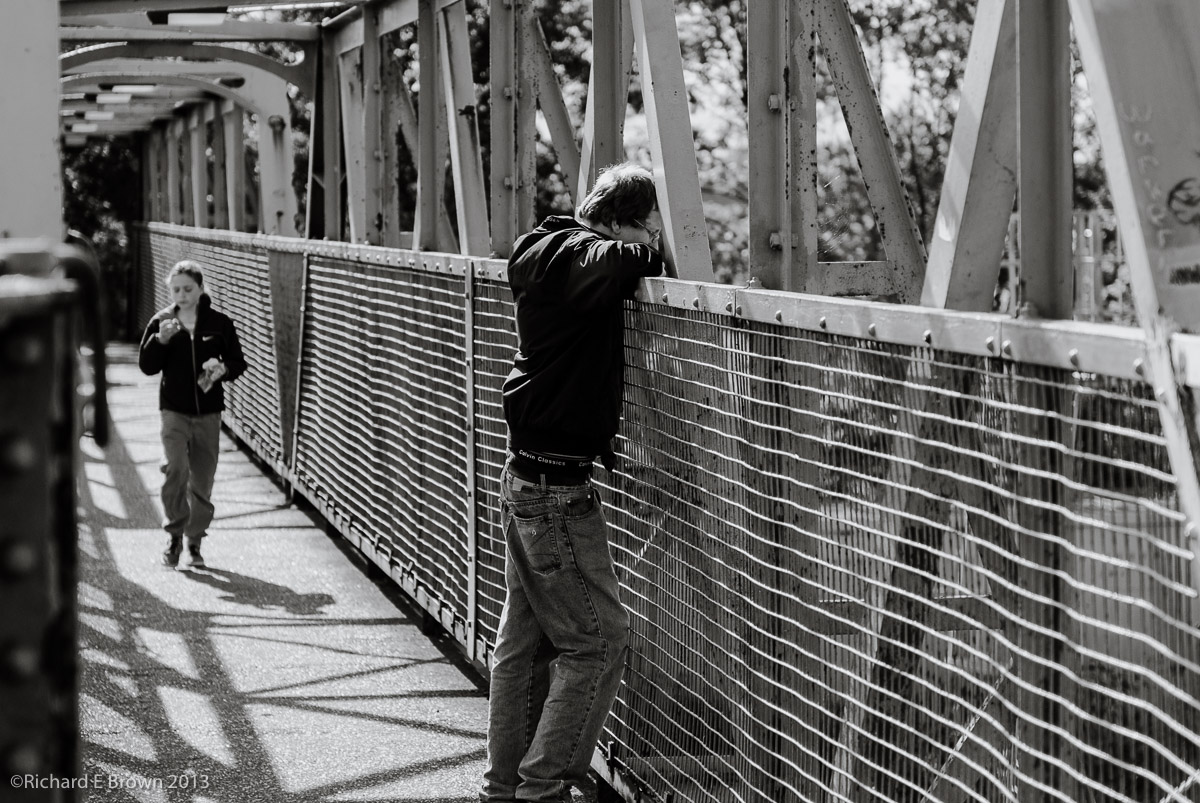
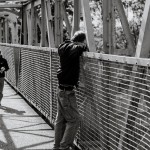
View of the lines
It was a tough choice but in the end I went with this one ‘View of the lines’, I like the diagonal composition with the bridge and the man in the foreground makes you wonder what he is thinking about as he looks out.
Not a great photograph but it is an interesting photograph.
Its sometimes tough, sometimes very enjoyable, but when I started this blog I set the rules that I would blog at least once a month, and where possible four times a week; Mondays, Tuesdays, Thursdays and Fridays.
Well so far I have been pretty good and I have managed to keep to my rule. For the rest of this week though I’ll not be blogging. The reason is that we are moving.
No not virtually but physically. Currently we live in a lovely village just outside Lincoln but it does lack room and when ever I need to use a studio I have to hire a space, either in Lincoln or my favourite studio in Worksop.
Studio Complex Lighting Setup
Well this week we are now moving to another lovely village near Lincoln but this time, we have room not only for my office, but also for my Photographic Studio; and also for Caroline’s Craft Studio. It will be a while before we have everything fully setup, and will be welcoming clients and models to our new place but this week is the start.
So lots of hard work ahead but great times are ahead.
Another great World Photo Walk. A good walk and the standard this year looking at the local flicker group is even higher then usual. I have only edited a few of mine so far which you can see above. The Lincoln shots that the group has put together can be found here:
This weekend is the Worldwide Photowalk, there is still time if you hurry to find a city near you and subscribe. Its free, its fun and you could win some great prizes as well as make some new friends and have a good day taking photographs.
I’ll try and blog about the day next week and publish a few of my shots.
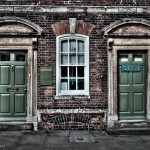
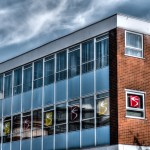
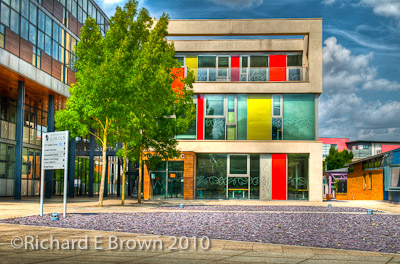
Until then heres a shot I took of the local University on one of the previous photo walks. Photoshopped and HDR used way over the top but I think the building can take it!
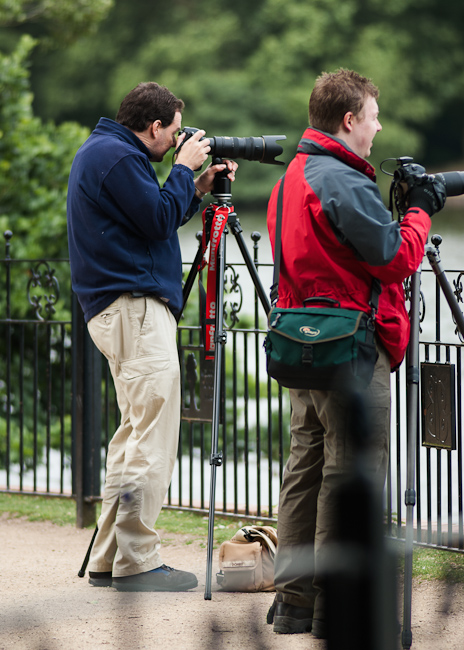
I tend to use a tripod quite a lot, part of this is down to my camera and lens choice. Two of my cameras are impractical to use without a big heavy tripod, and several of my lens are far easier to handle with a tripod then hand held. I have posted about tripods before here, but thought I would mention them with respect to the smaller formats.
My little Leica’s M4 & M8 and my Nikon V1 virtually never see a tripod. Its one of the advantages for these smaller cameras, being small light and mirror less they can be used at slower shutter speeds with less impact of camera shake.
But one of the advantages of the smaller sensor’ed cameras like the Nikon V1 and Micro FourThirds is the reach one can get and the lower cost of long telephotos.
If you have a long telephoto for your SLR then your long lens may come with a tripod collar who one is available as an option, but if you look at the current long telephotos for the small sensor’ed cameras, none of them come with tripod collars. This is a major limitation in my view.
Luckily third parties now seem to be addressing this, lets hope the lens manufactures learn from this.
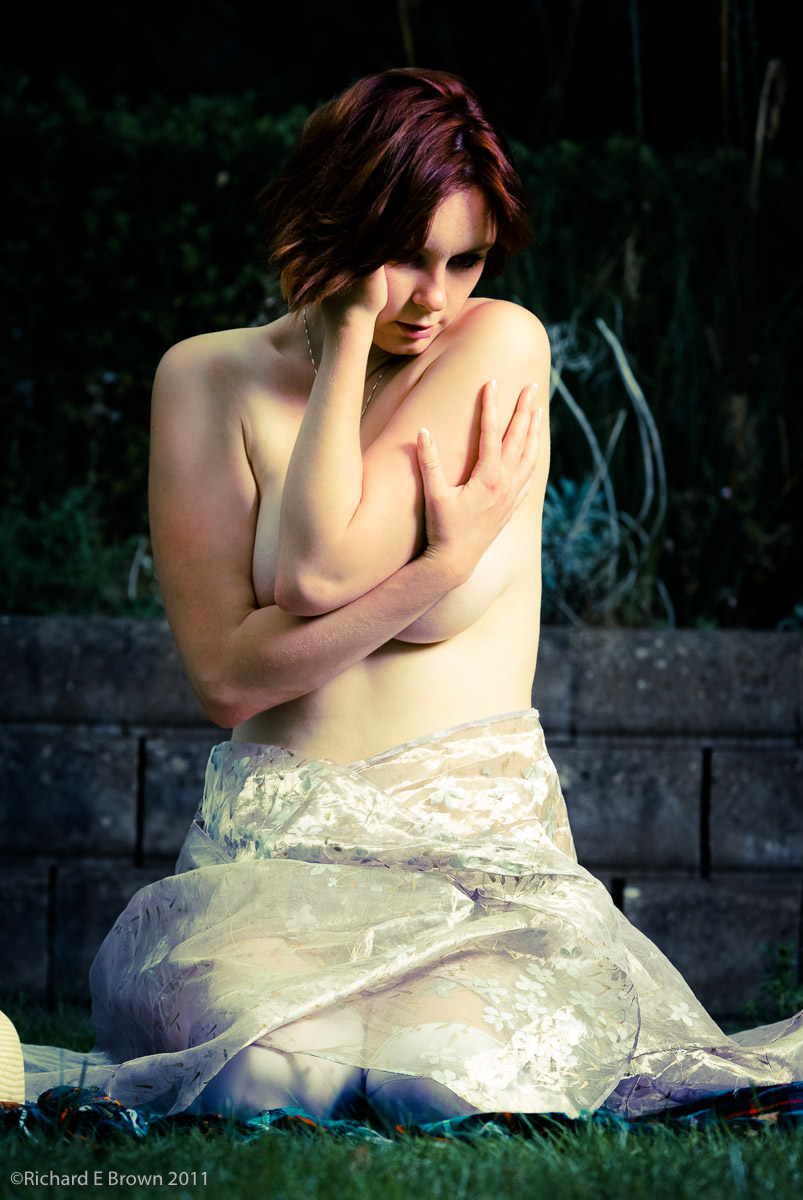
I always like where possible to get things right in camera. The above shot was taken outside in the garden, the sun was a light source but I also used a Elinchrom flash head and large softbox on a C Stand, the flash was actually the main source and the daylight as fill, but often its just not possible to do this kind of thing as the location is not suitable.
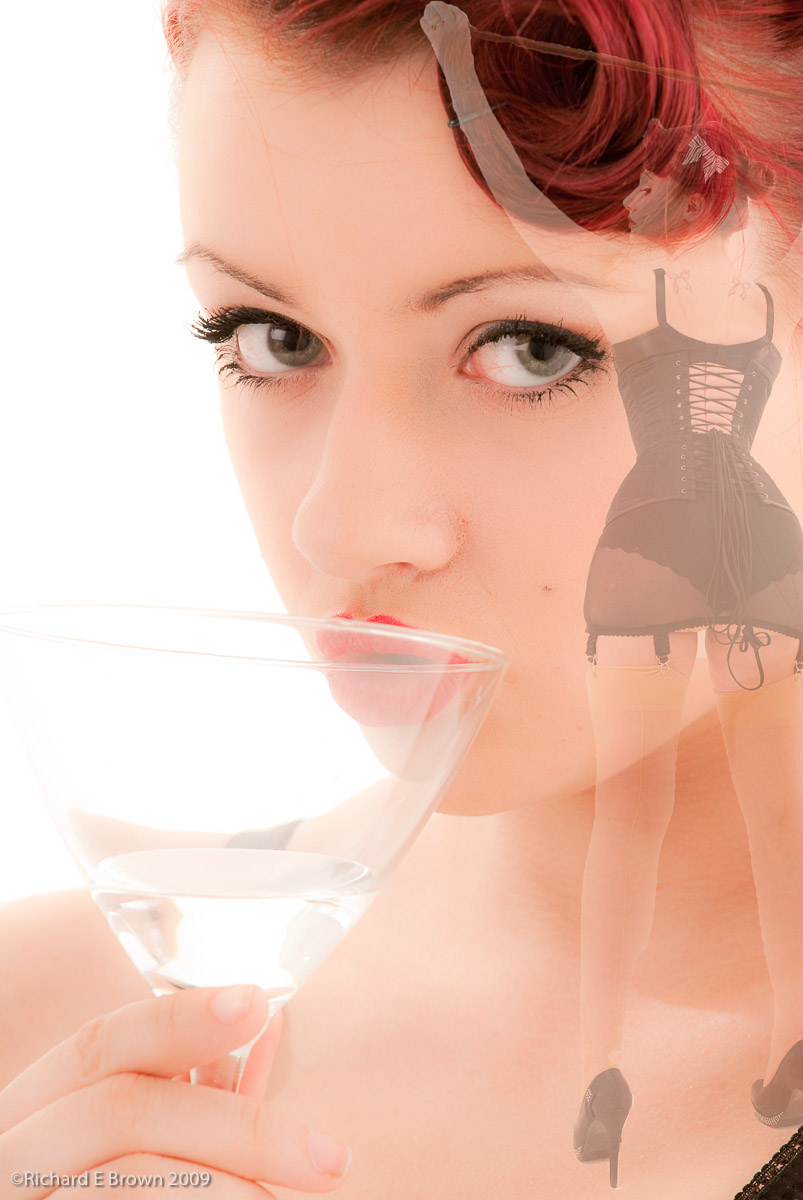
It is in situations like this where compositing can be the answer. You take a photo outside to use as a background and take the main photo in the studio. You then combine the two using photoshop.
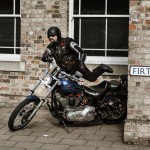
Below is a quick fantasy composite that is not intending to be realistic to show what I mean.
The key to making a realistic composite is making the lighting match and shooting with the intention of making a composite.
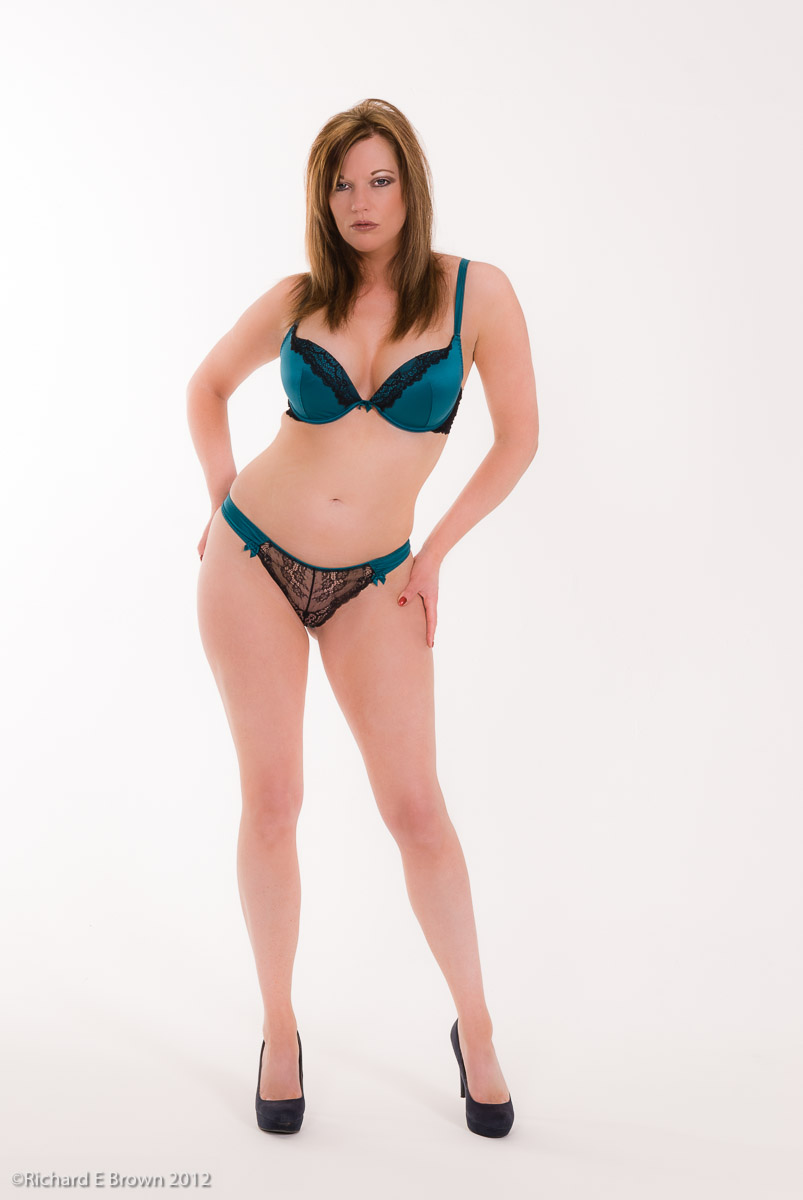
The above shot would make a likely composite. The plain background was due to a seamless infinity curve in the studio, would make it easy to select just the model and place it on a background.
For the backgrounds I have never had a lot of success but then I read some tips on Scott Kellby’s blog about shooting for backgrounds.
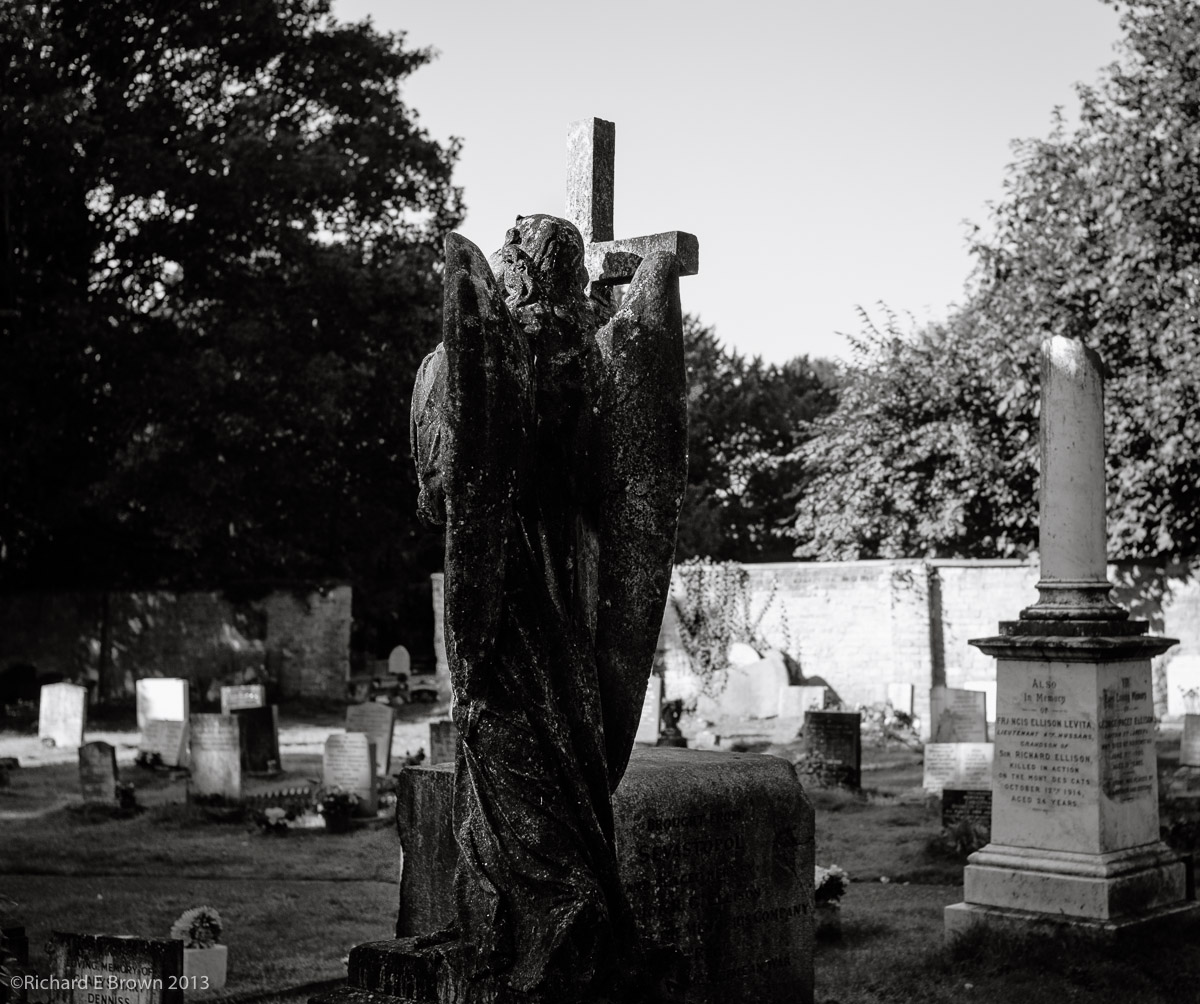
You can find a lot in books and on the web about the quality of light. While good photography can be done in bright light and high sun the low sun in Spring and Autumn does give one more opportunities. Now we are in Autumn a walk in a local grave yard revealed a bit low sun catching the top of the angel sculpture. A simple shot made far better with the low directional sunlight.
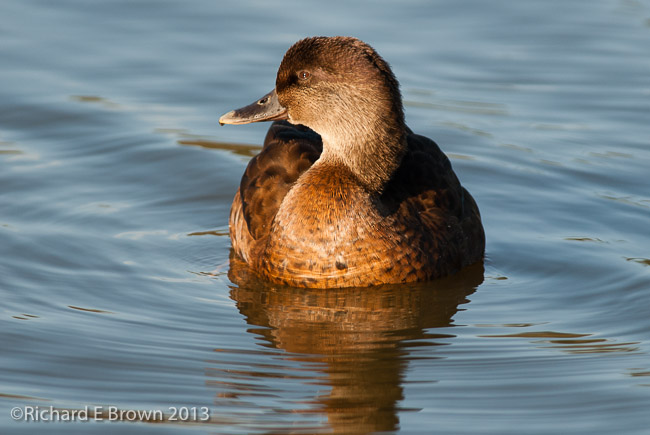
Female Tufted Duck
This shot of a Tufted Duck would look dull without the low sun illuminated it from the front.
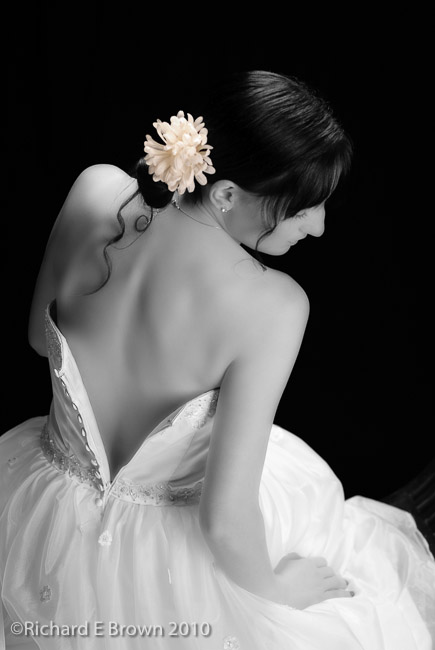
Its also a technique that can be taken into the studio with this shot above used as good example, a softbox close up from the side with a little fill from a top hair light.
One should consider light for its direction and its colour, when using flash the source size is also an major consideration.