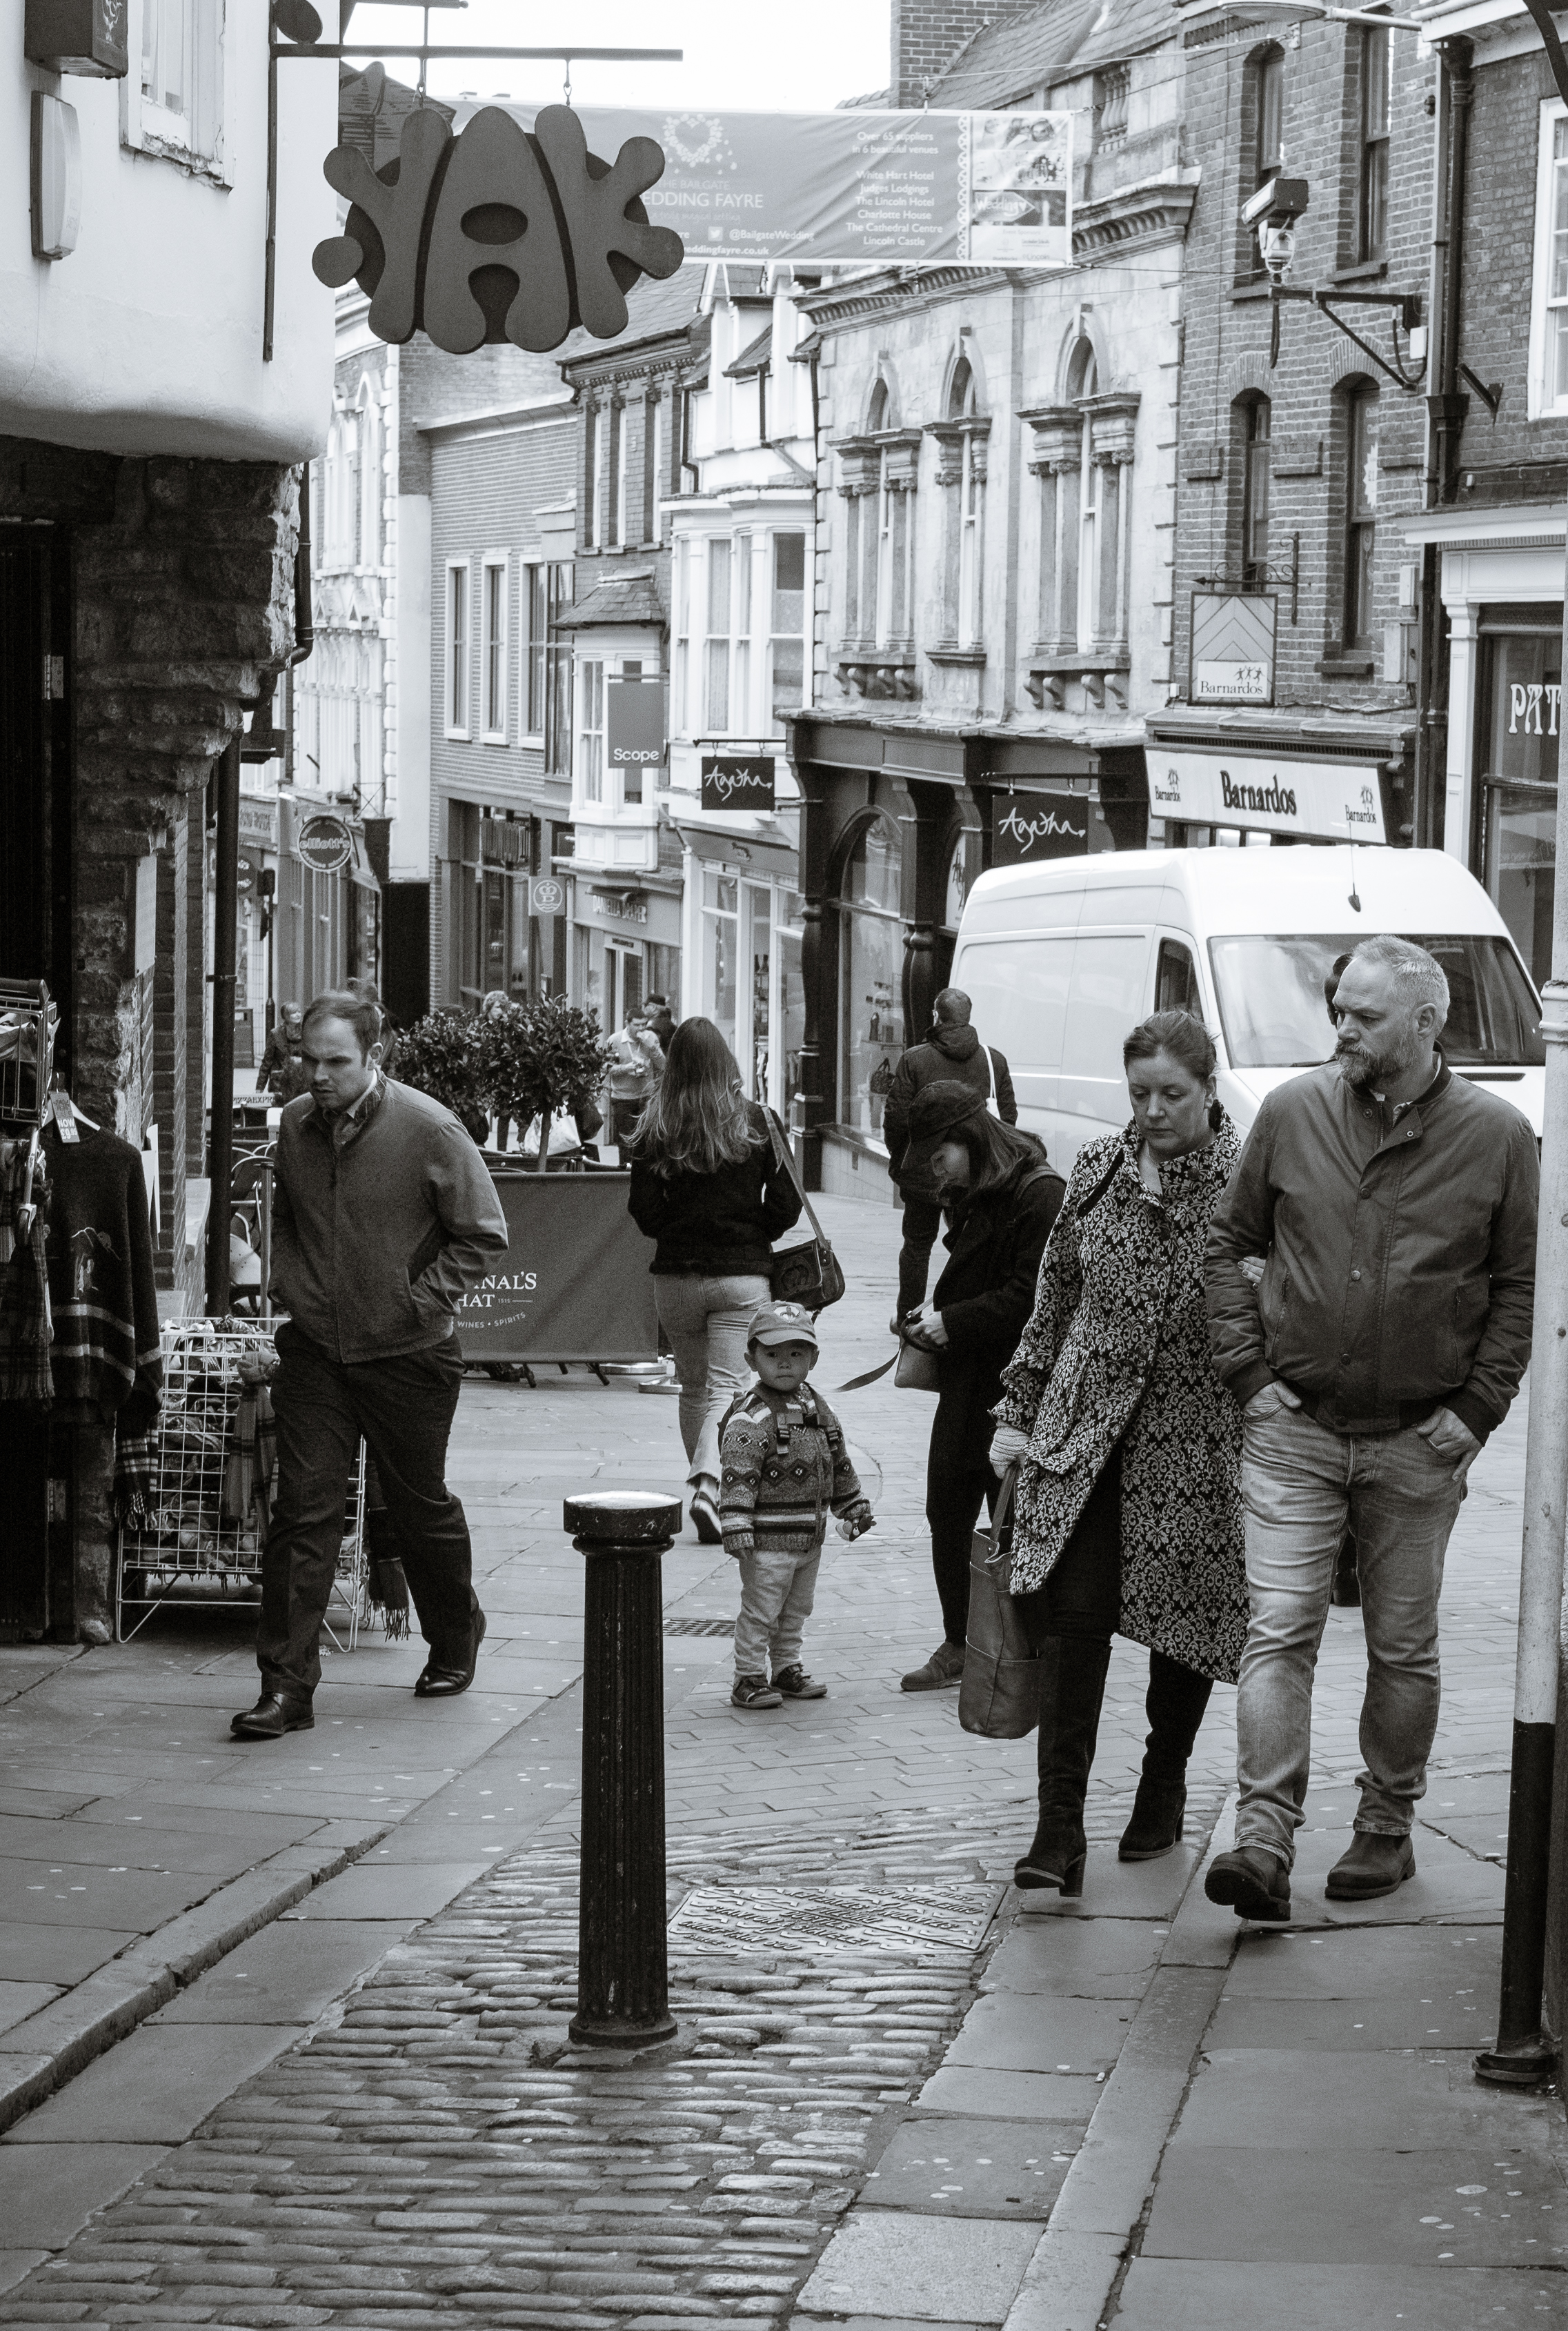
I try at least twice a week, to have a walk around Lincoln with my camera, sometimes with more success then others. Too many people around and your frame becomes crowded and it becomes difficult to get a strong image. Not enough people and you are less likely to blend into the background and get a natural image.
The history of digital photography is of ever better sensors, more dynamic range, less noise and more megapixels.
Generally manufacturers like to be top of the tree in the megapixel race. It’s easy for customers to understand. The bigger the number the better right?
Well actually more megapixels generally come at a cost, and that is increased risk of camera shake, showing up imperfections in your shooting style, in your equipment but also less of the useful parts, i.e. generally less dynamic range and more noise.
It’s only because of the very fast evolution of digital sensors that we are still seeing improvements in all areas.
Many people are surprised that you only 6 MP (megapixels) to print a good quality A4 print.
The shock to people is that it general takes a fourfold increase in megapixels to be easily visible to the human eye.
Thus when considering a jump in resolution if you currently have a 6 MP camera then you need to jump to 24 MP to see a noticeable improvement in resolution. That is not to say a camera upgrade is not worth it, as you will gain in other areas, but as digital sensors reach maturity it’s going to difficult to justify an upgrade.
While waiting for my Leica M10 I have been watching the forums, especially the Leica medium format section.
Current medium format cameras go from 36 MP to 100 MP and it’s interesting looking at the reasons for people’s choices. A number of portrait photographers who shoot large numbers of people tend to want less megapixels to speed up editing and work flow, while product photographers who only shoot a few frames want as many megapixels as possible.
Thus a portrait photographer is probably quite happy with a 36 – 50 MP camera while a product photographer maybe investing in a 100 MP back with pixel shift giving an effective resolution of 200 MP.
With spring now about to start we have bought the seeds for our first crops of the year, hopefully we will get some dry days soon so we can start planting.
If you listen to the met office then its now spring, but I always count spring as starting at the equinox.
Its certainly starting to look like spring with the daffodils now starting to appear. The last couple of weekends I have been hoping to get out and shoot a few flowers and landscape shots but as usual when you try and plan something the rain always seems to stop play. Still there is always next weekend.
The history of cameras has been one of modularity. Any 35mm professional camera from the 1960’s allowed you to add a grip, motor drive, different viewfinder and even bulk film backs.
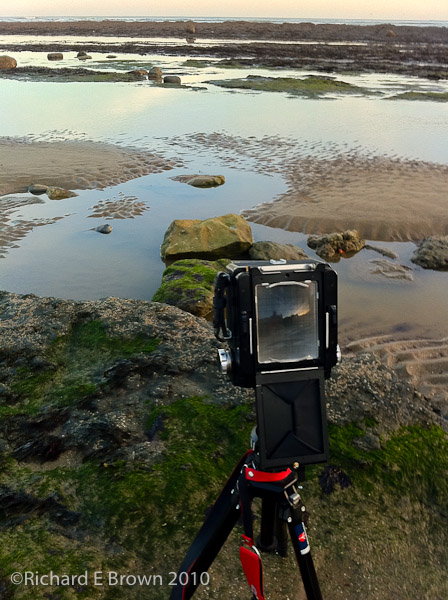
Medium format and large format has always been modular and extremely flexible.
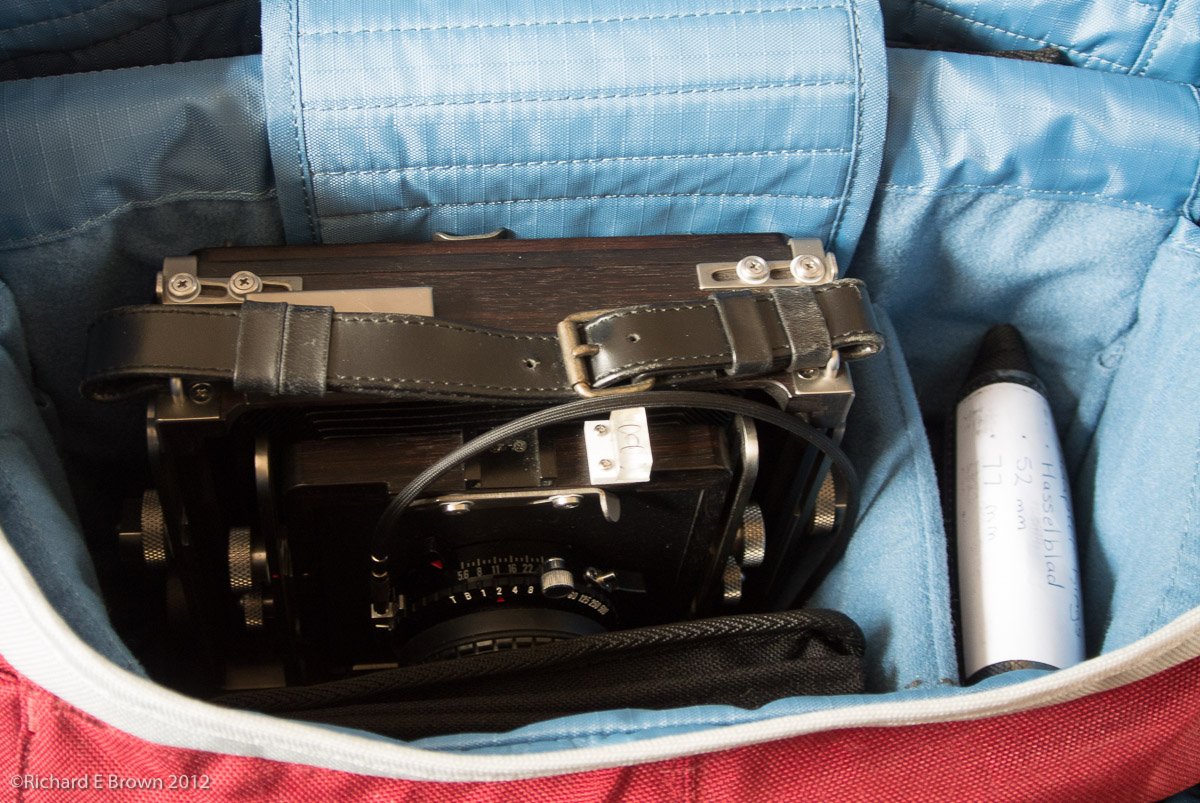
My large format camera, an Ebony 45S and my medium format Hasselblad 503CW are both old school and very modular.
The reason this post came about is that when shooting in the studio with my medium format camera, when using film I have a long lead running from the flash port on the lens to a remote unit to trigger the flash, when using my PhaseOne digital back then its a cable connected to the flash port on the back. I have the waist level viewfinder so no hot shoe.
I have been researching other viewfinders particular those with cold shoes, that way I can fit the wireless trigger in the cold shoe and run a short 10 cm cable to that and not have a longer cable running to the floor.
I find it interesting that the trend has been for less modular and less upgradable cameras since digital came along. Now that trend is moving to medium format. The first was the Leica S and the Pentax 645Z, less modular and with handling like a 35mm camera.
Now we have Hasselblad and Fuji releasing mirrorless medium format cameras and we now have a real race on to produce small cheap medium format cameras that handle like 35mm cameras. Cheap is relative as we are still looking at a near £10K investment to get you started.
I was in the studio the other week experimenting with some mottled grey backgrounds that are designed to be lit with coloured gels.
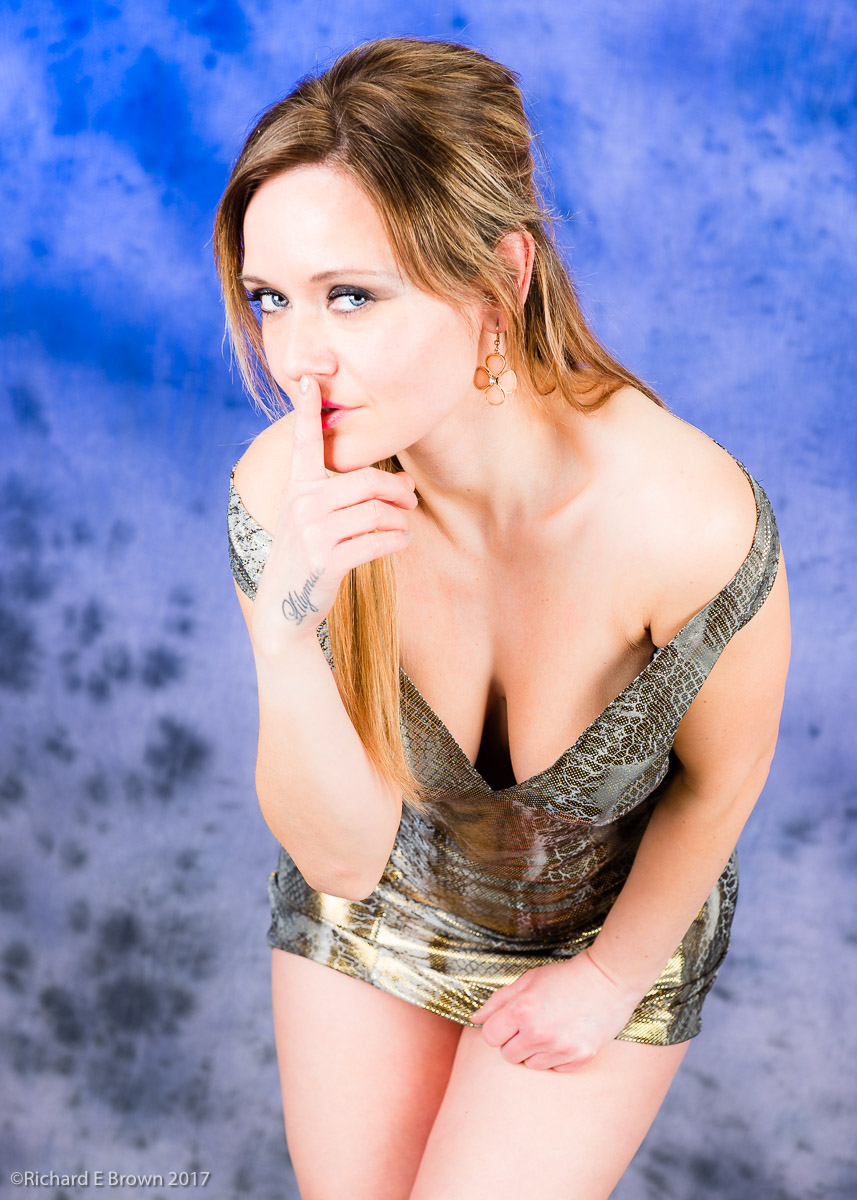
In the above test shot I had two flash heads gelled with blue cut filters at the top and two flash heads without gels lighting the bottom. You can do this sort of thing in Photoshop but in camera is easier.
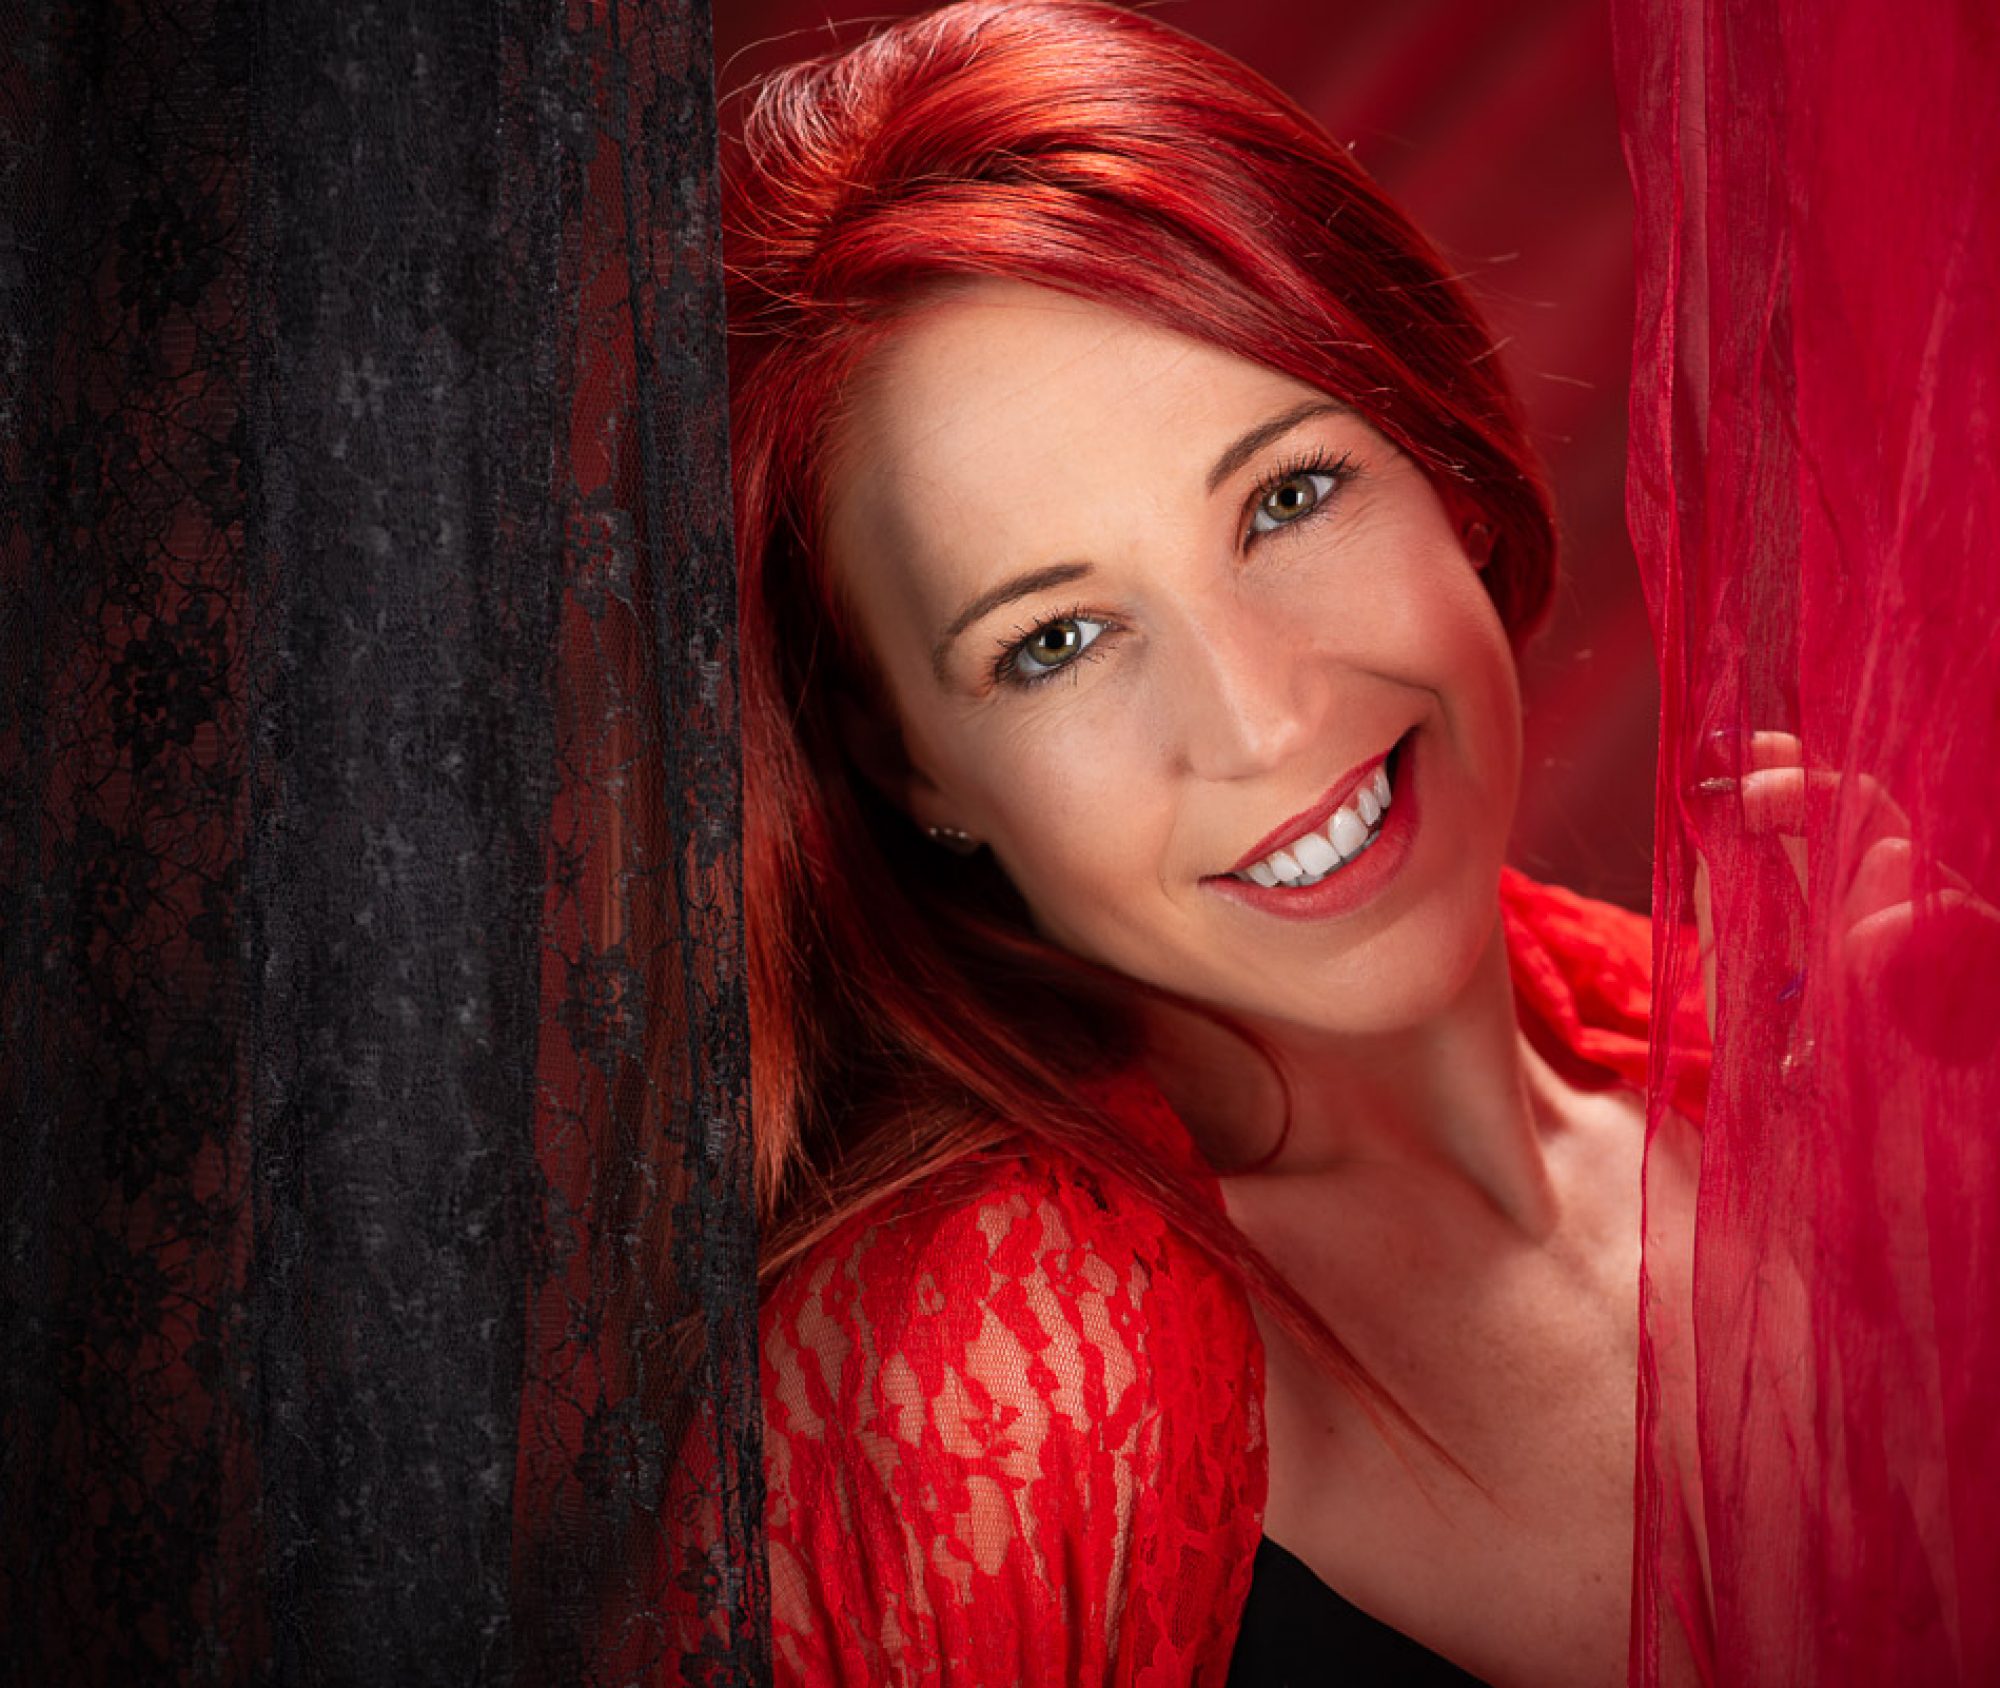
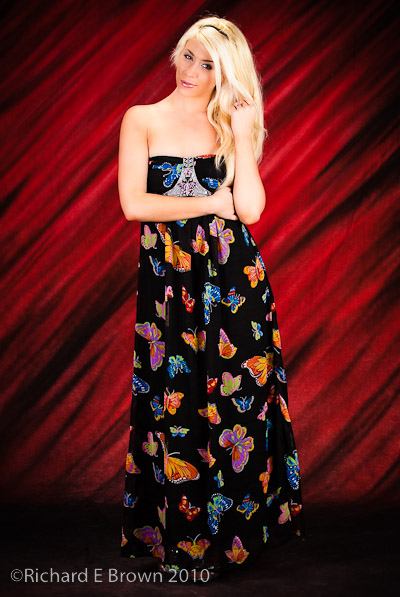
This shot shows the issues with focusing, particularly with the common technique of focus and then recompose. The problem is I focused on the high contrast detail on the dress, that you can see is in sharp focus, I then recomposed and took the shot. As you can see the eyes are not quite in focus.
In this situation its really worth the time to use the selector on you camera to select the focus sensor closest two the eyes, usually the front eye to get things sharp.
Luckily I did not make the mistake on all my shots.
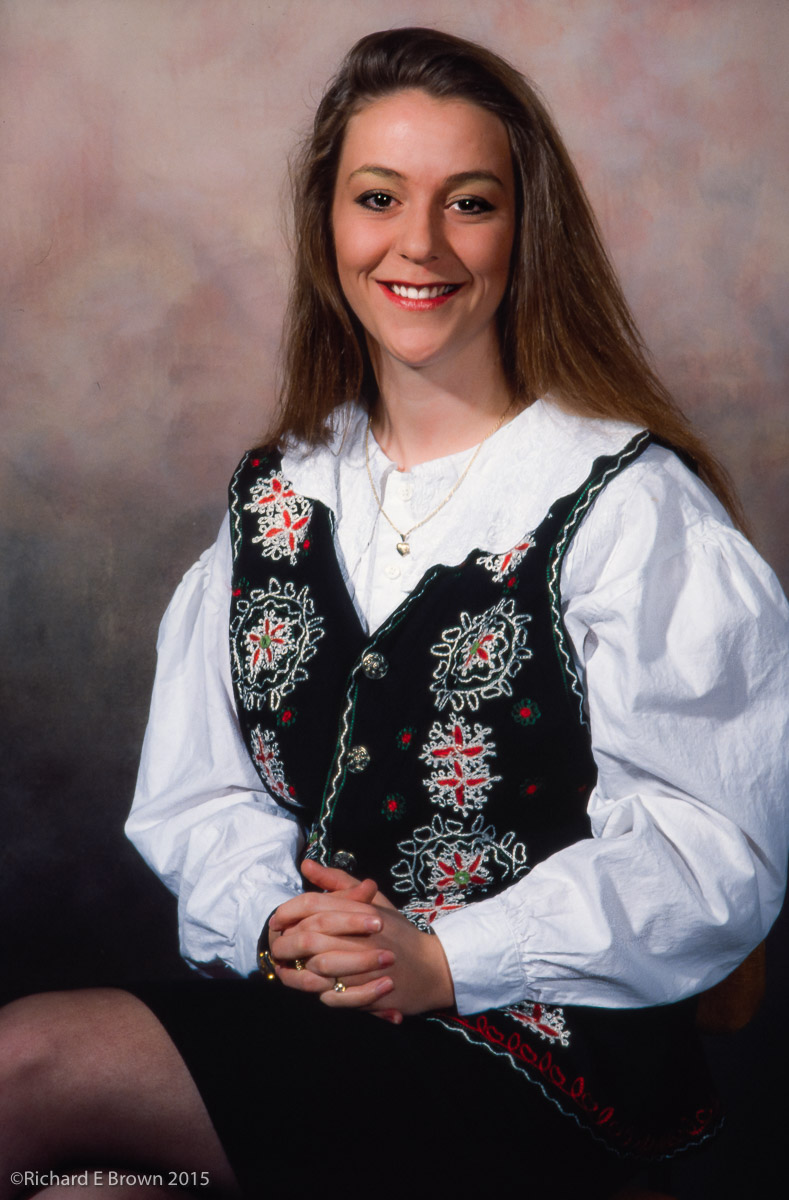
Canon A1 Fujichrome Slide Film Taken in the late 1980’sI see Kodak are aiming to re-introduct Ektachrome in the fourth quarter of 2017.
Hasselblad and Film Scan, processed in LR4Over the last ten years we have seen many classic film stocks disappear. You can argue about the technical merits of film over digital, but its hard to argue that digital is now cheaper and easier. Even medium format is now threatened not only by digital medium format but by the current trend of 36 MP to 50 MP 35mm full frame cameras.
Now unless you shoot large format film is a choice for artistic reasons and not technical reasons.
The last few trips into Lincoln I have taken my Leica M4 loaded up with Kodak Tri-X. This last time I took my Leica M8, so I have a few shots I can put on the blog.
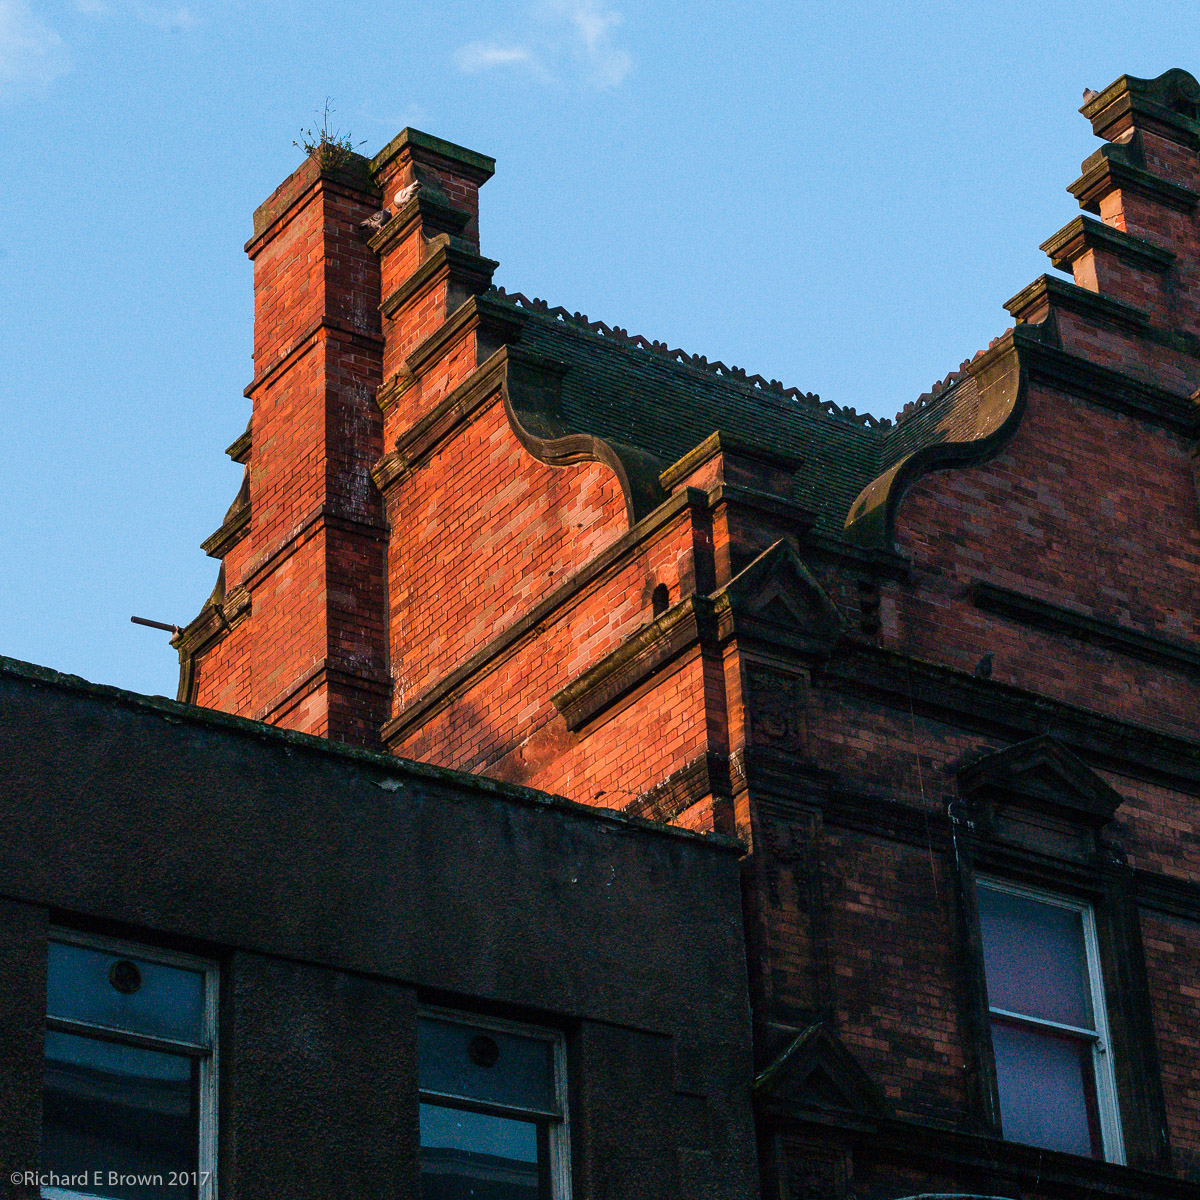
It was a sunny if cold day and there was a distinct lack of people around to photograph so I ended up looking for details and looking up and down.
The late winter sun sent the old red brickwork a rich red so I thought it was worth a few shots.
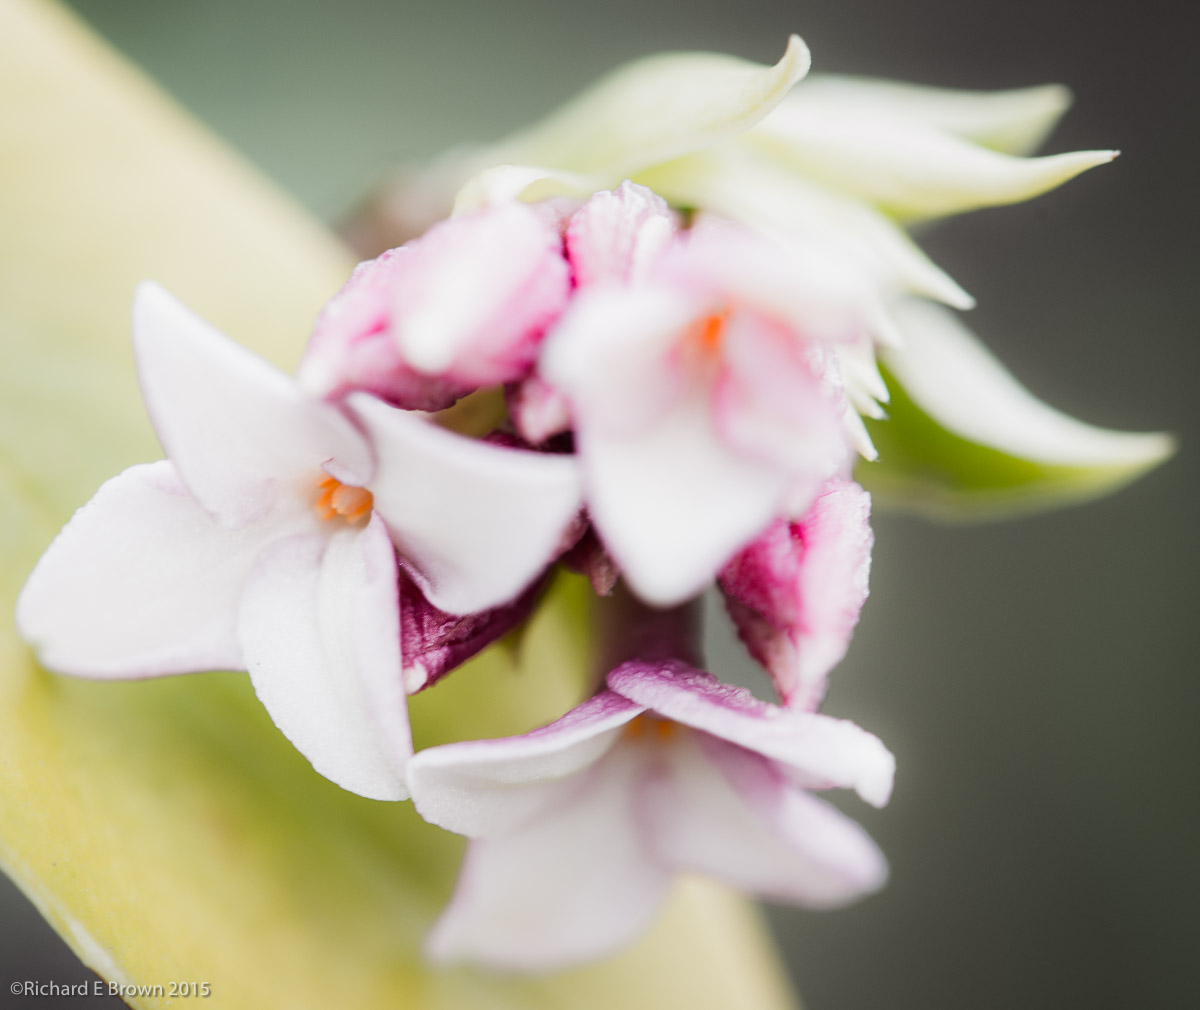
With the recent sun we have also had a few snowdrops and crocuses start to emerge. With the wind from storm Doris (who thinks of these names), I attempted to grab a quick shot of the snowdrops near County Offices in Lincoln during one of my lunch breaks, as well as the wind to contend with I made things even harder for myself by shooting wide open at f/1.4 with my Summilux. Its not quite sharp, a range finder is not the best tool for this kind of work but I love the effect of a wide open Summilux.