I occasionally post film fridays, where I have taken a film photograph, generally from either my Ebony 5 x 4, Hasselblad 6 x 6 or my Leica M4.
This Friday its a bit of a cheat. Well more then just a single cheat, a) its posted on a Sunday when I started to feel better from my Tummy Bug. And b) its not film but is from a Leica and the majority of my film posts are from my Leica.
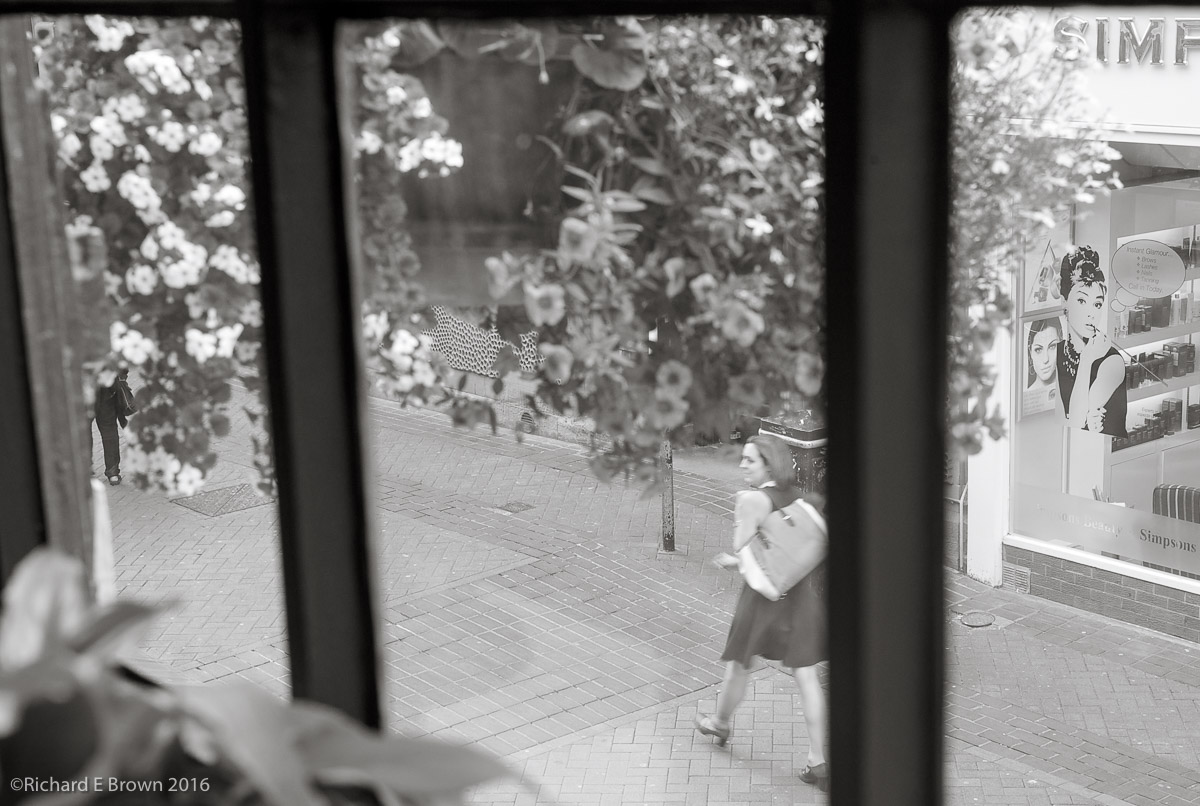
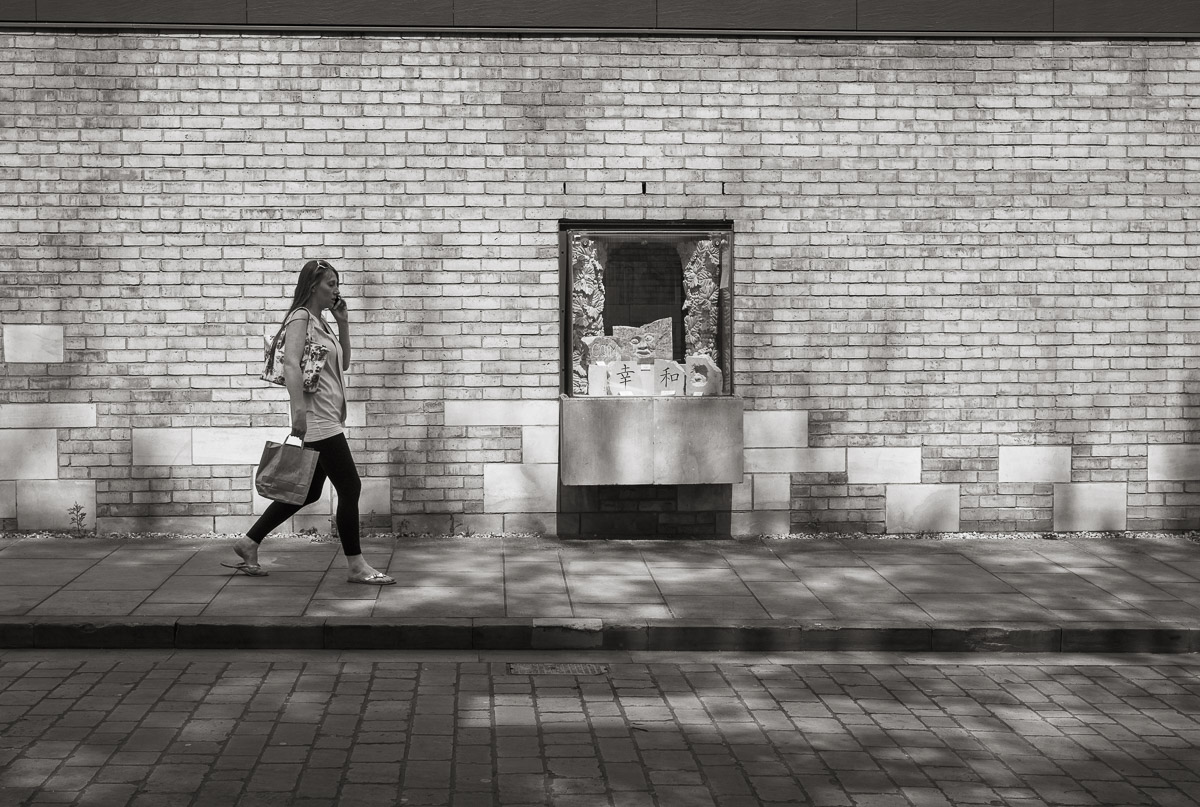
On Tuesday lunchtime just before I started to feel unwell I took a trip to one of my favourite coffee shops in Lincoln, while drinking my coffee I took a few snaps from the coffee shop window.
This is no fine art and shows lack of contrast in the main subject area, plus insufficient shutter speed but then again the greats such as Robert Frank in the book ‘The Americans’ and the decisive moments of ‘Henri Cartier-Bresson’ never let exposure and camera shake get in the way of a great image.
While I would not call this a great image (far from it), remember try to capture the image first and have the technical features of the image come second.
Well the date on this blog post is Thursday but actually I am typing this up on the Sunday night as I have had a Tummy bug for the last few days.
I came down with it and a terrible headache on Tuesday, about 15:00, so I finished up work and did not do much else that day. Then on Wednesday I attended a meeting with a client in the morning and headed off home.
Since then I have been working from home not wanting to give anyone else this bug.
Actually I find I often get a lot more done at home as there is less distractions but having internet based telephone it still means that project managers can get hold of you to discuss things.
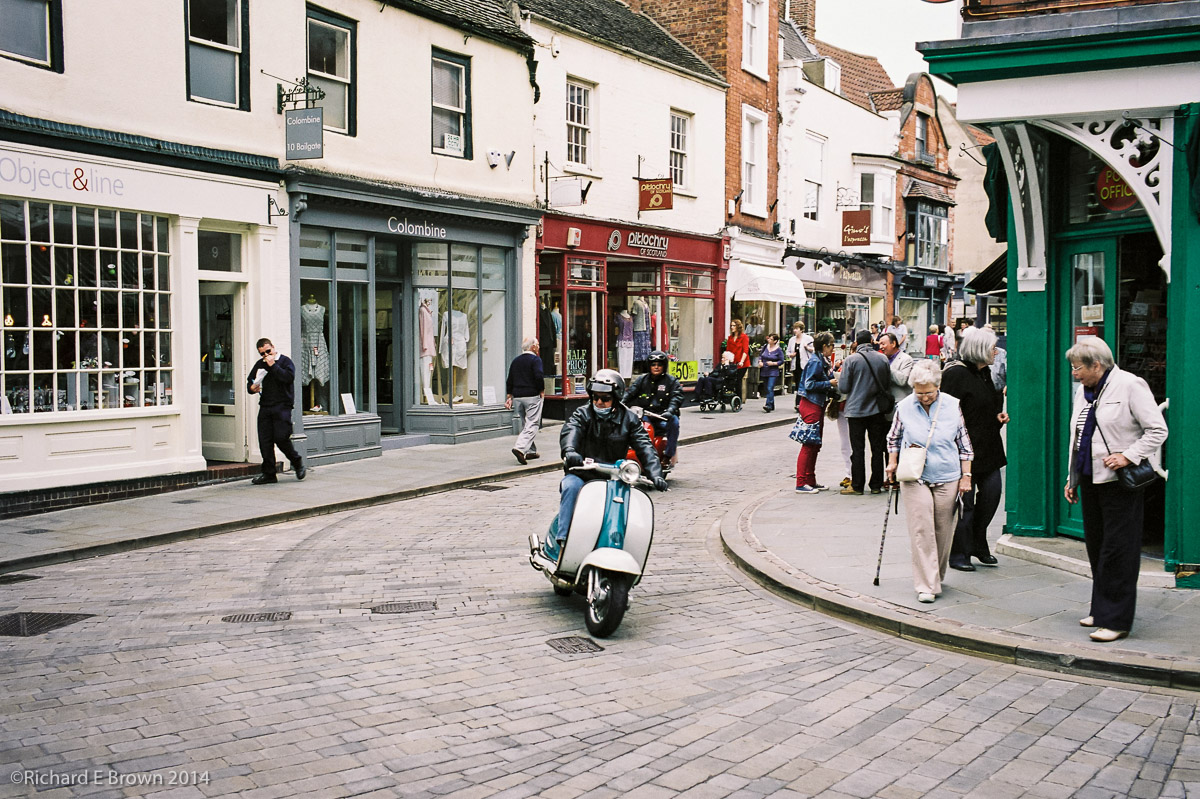
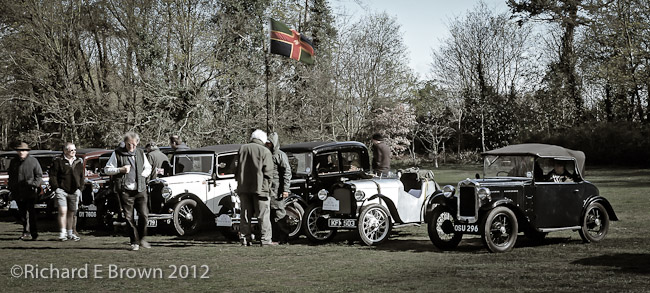
So its going to be a quite few days until next week. Hopefully I am up to visiting Lincoln on Saturday or Sunday as its the 1940’s themed weekend.
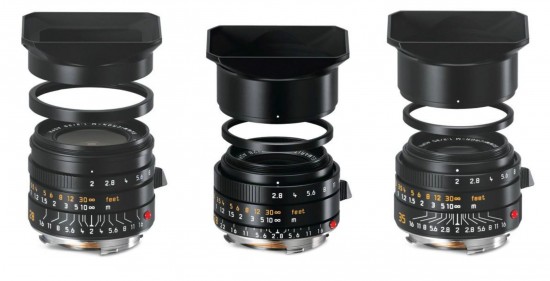
The Leica T and X Vario have had an interesting history.
The Vario was a great camera but suffered from terrible marketing. Its slow zoom lens under appreciated.
For those would could put up with the lack of viewfinder and slow autofocus and who lived in the brighter parts of the world then it was a camera capable of fantastic results, its image quality was never the issue, mainly just the slow but very high quality zoom.
The Leica T announced to the world that Leica meant business and could produce a modern cutting age design with great electronics. It was so close and introduced to the world a new lens mount that would continue with the Leica SL.
With photokina now only a month away these two cameras have now been discontinued.
I expect all of the X range to be discontinued but would like to see a new Leica X with a DX crop but built more on the lines of the Leica Q. Whether the Vario will be replaced I not sure, Leica just need to market its replacement better and try and get the lens a little faster. The current lens is a 28-70mm and f/3.5 – f/6.4, I would like to see a constant f/4 through the range or at least topping out at f/5.6. Now f/5.6 from f/6.4 is only 1/3 of a stop but we are used to zoom lens going to f/5.6 at there long range and it would not attract attention.
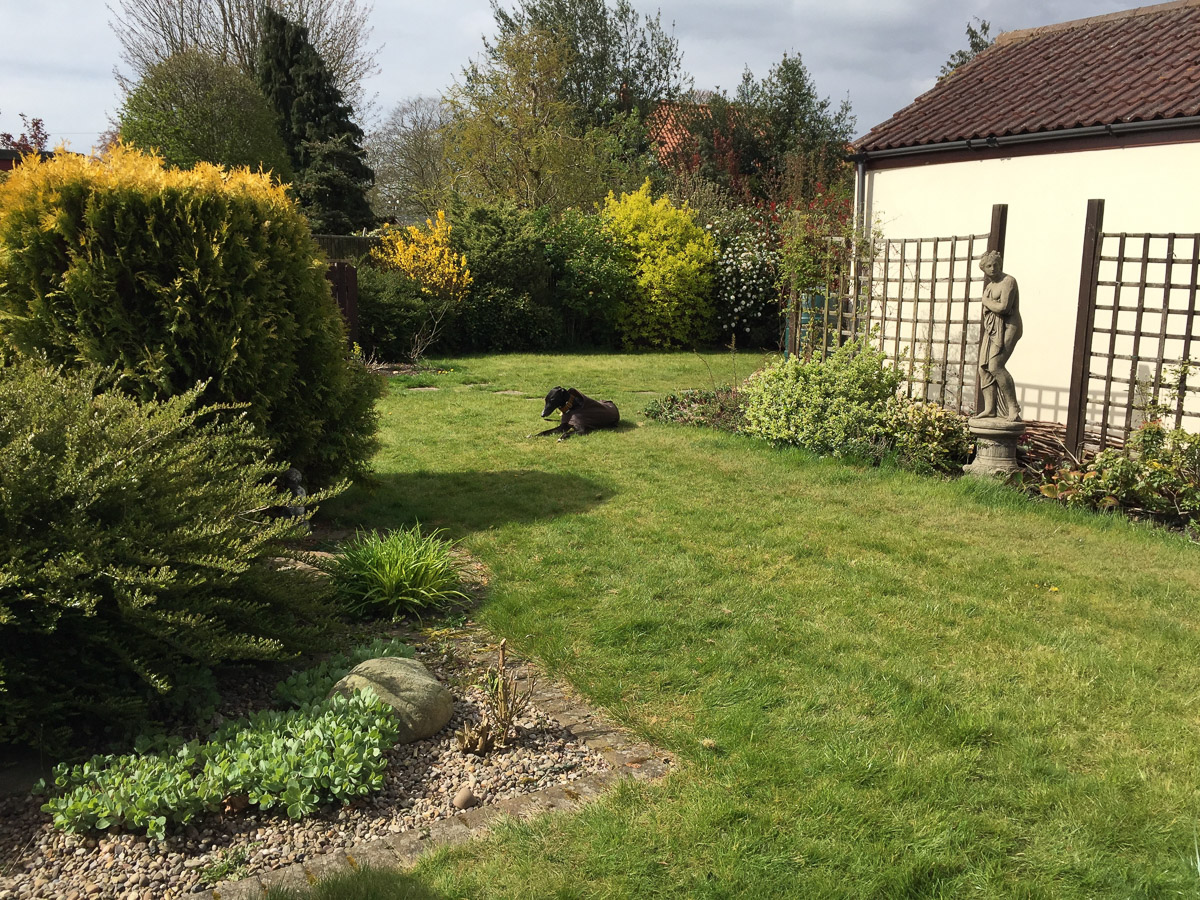
This weekend we had a big family day out, three generations including Alan the oldest and Sofia the youngest. In total ten adults and children together with Tilly the dog and Timmy the Greyhound.
The excuse was Alan’s 80th birthday, actually it was his 80th last year but will all thats being going on we did not have the time for the big day out last year.
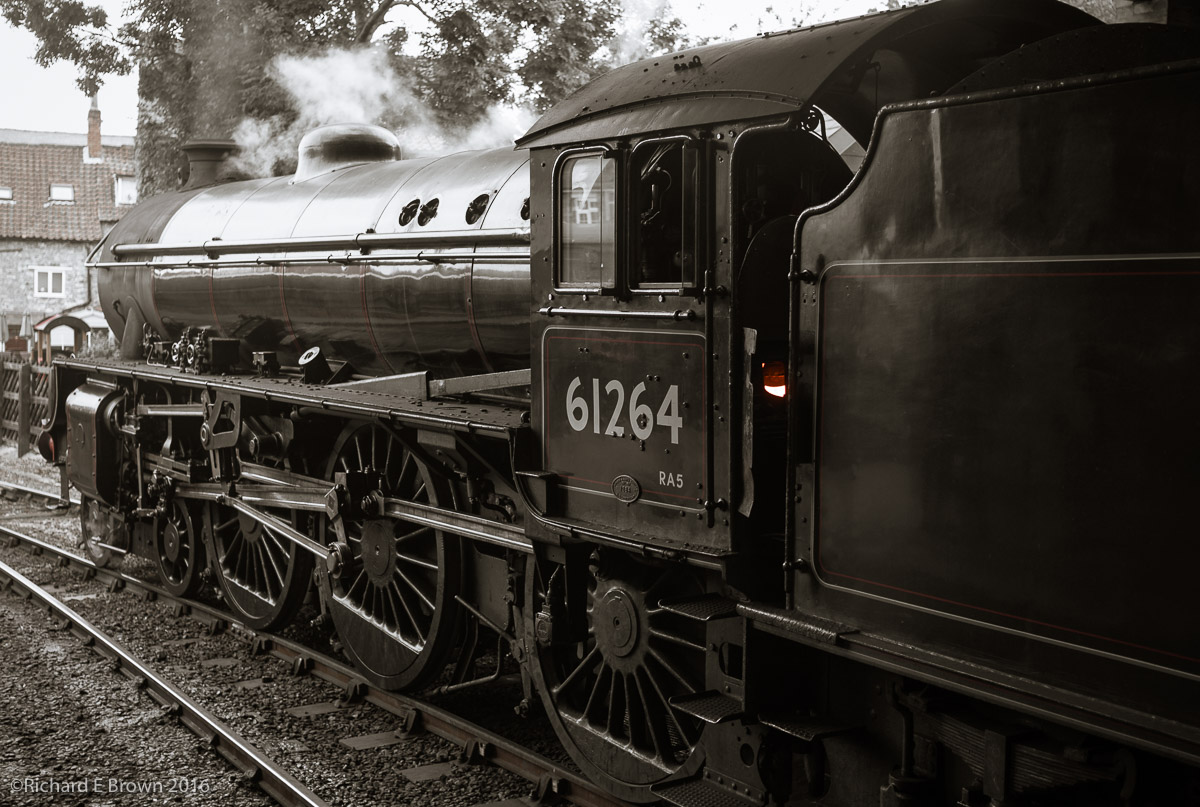
So this Sunday we headed out to Pickering in North Yorkshire to catch the Moors Railway.
With having Timmy in Tow (#TimmyOnTour) I was travelling light with just a Leica M8 and Summicron 35m.
We enjoyed the ride as far as Whitby then had a few hours there before catching the last train back.
I took a selection of photographs from quick snaps to a few more arty shots. The weather was great but it was a long day and it was not just Timmy who was very tired by the end, but still very worthwhile. If you get the chance to have a ride on the North Yorkshire Moors Railway then do, its a very enjoyable day out.
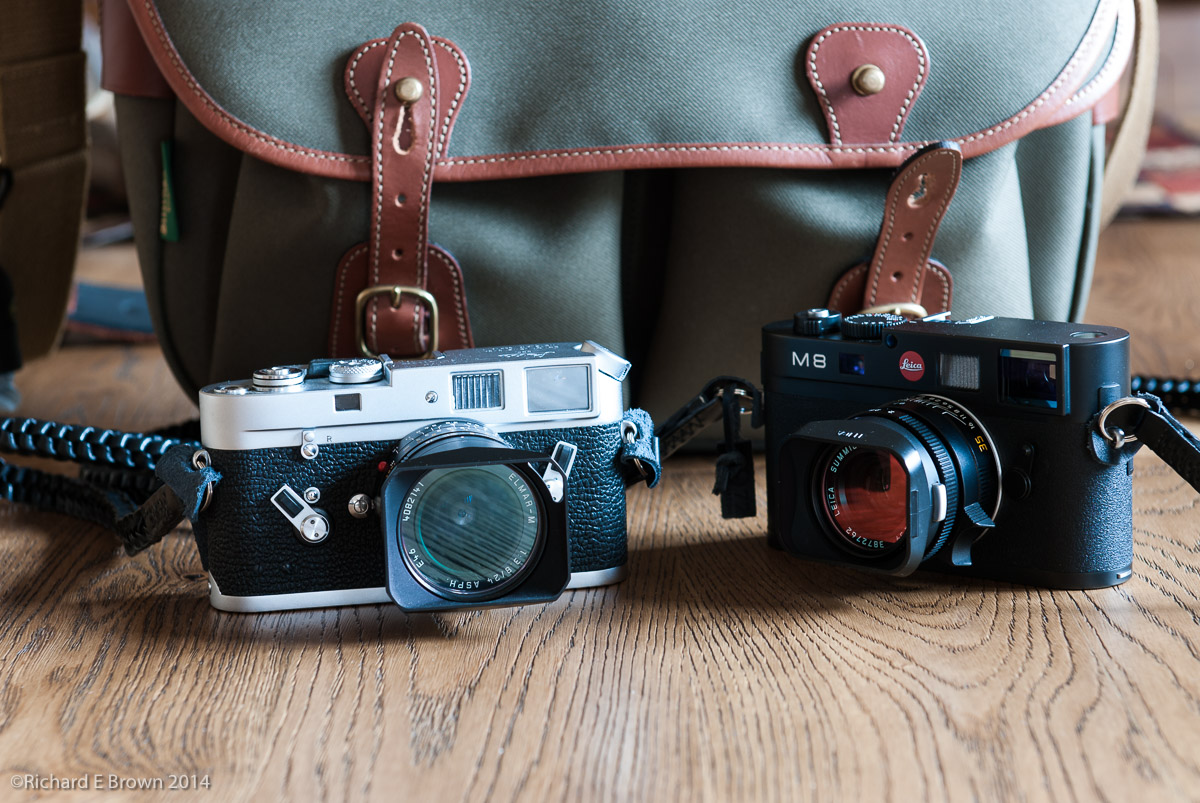
For us Leica M users 2016 is hopefully a big year. Its Photokina on the 20th September and we are all expecting a new Leica to be released.
I have the Leica M8, many people consider it a ‘beta’ prototype. It has many issues. The rear screen is useless apart from selecting your menu options, its very low rez and image display is slow. The camera itself if very well built but its a cropped sensor which disappointed many users.
Leica M8 50mm Summicron
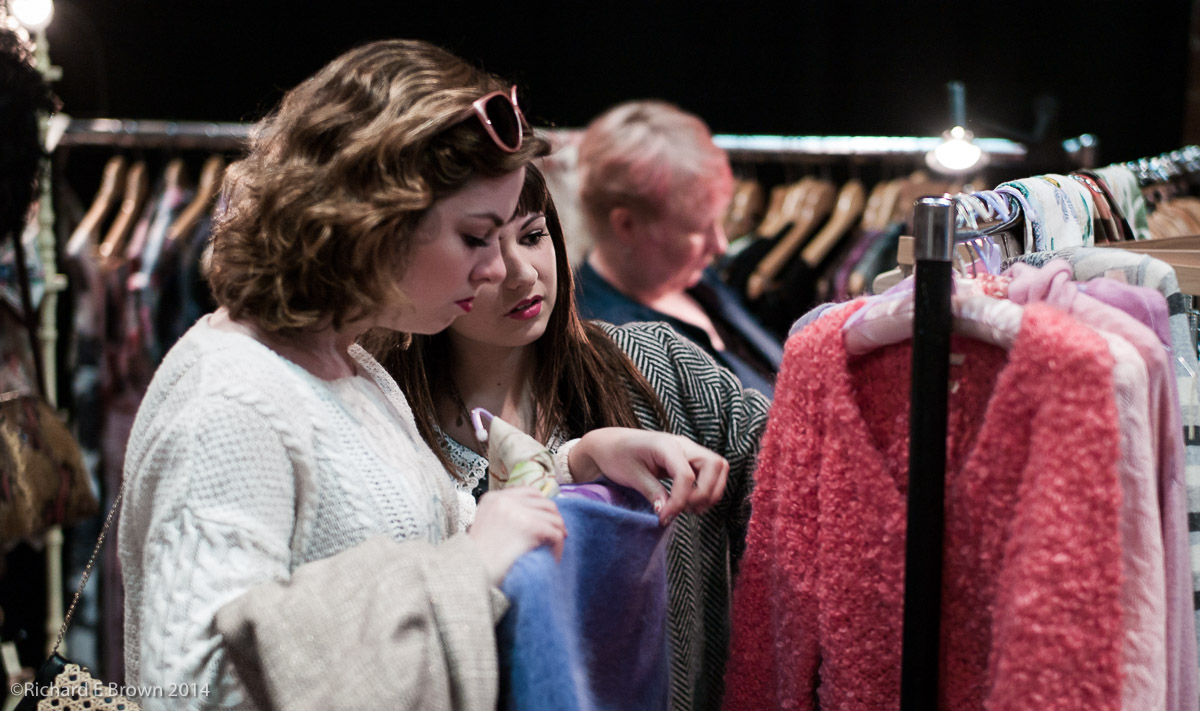
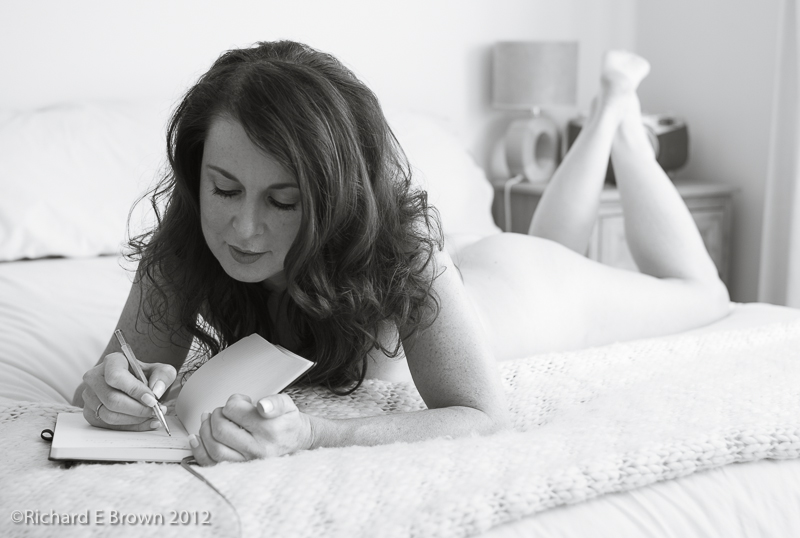
The buffer is very slow as is the frame rate so shooting portraits can sometimes be a challenge if you shoot too quickly.
Opera Recital Practice, Leica M8, Summilux 50mm
With rangefinders the rear lens element is very close to the sensor/film plane thus the cover glass has to be very thin, this on the M8 introduces another issue, infrared contamination. High ISO practically tops out at 640 ISO so many people would feel it can only be used in bright light outdoors.
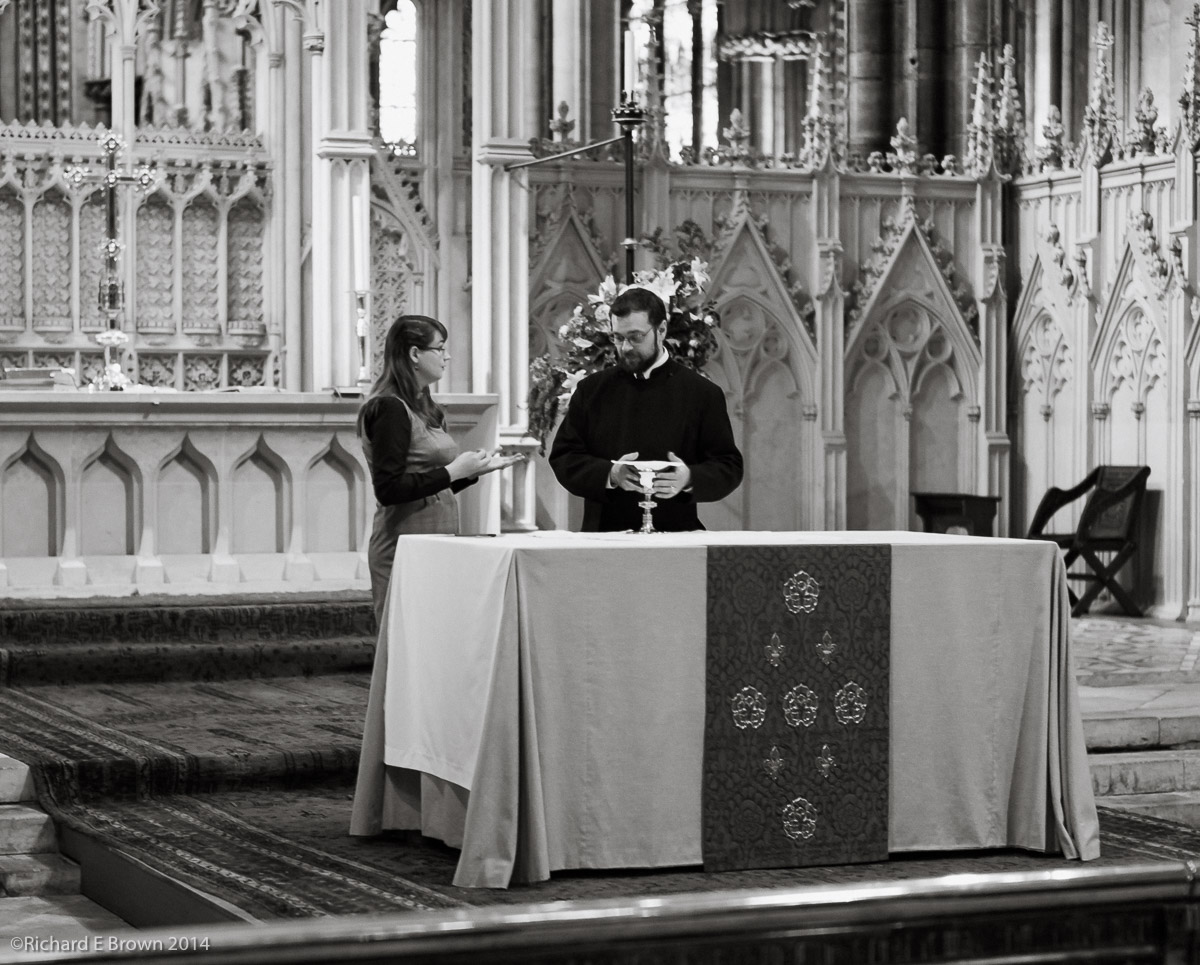
Communion
This all sounds very negative and it was not a big seller but it was a digital rangefinder and I have taken nearly then thousand photographs with mine, and as you can see from the shots above and below I think I have produced some nice photographs with it.
Leica Summicron 35mm
The M8 was replaced with the M9, finally a full frame model and to many a real Leica but still with many of the same issues except the infrared problem. Something to consider if your into black & white is that the M8 being sensitive to infrared makes one of the best black & white camera next to a Leica monochrom.
The M9 was followed by, not the M10 but the M type 240. With this camera Leica threw technology at it. Live view, video, an optional EVF, its a great little camera but again it comes from the time where Leica electronics were not up to the standard of other manufactures.
Leica M8
This years photokina should see the release of the next generation of Leica M and many of us are watching the rumour sites with interest. Since the release of the Leica T a touchscreen DX cropped camera, Leica have gone from strength to strength, with the Leica Q the best fixed lens compact with evf, and now the mirrorless Leica SL, arguably the best mirrorless camera available at the moment and certainly the best evf.
With the Q and SL Leica have proved they can not only produce cameras with the best glass in the world but with class leading electronics.
Its with all of this background and with the successes of the latest Leica cameras, we M users have big hopes for the new M.
Hopefully a smaller lighter M then the M type 240, more like the M8 or even better the M3, with seamless high-tech that can be used or ignored and will not get in the way of a pure Leica M experience but with the technical advances and advantages available to us.
This is going to be a tough camera for Leica, many people want different things from an all electronic viewfinder only to only optical and those like me who would like a choose for when focus is critical.
Will I buy it? Well I may but if the improvements on the M type 240 are not enough then i’ll go with the budget Leica M type 262 (the type 240 without the buffer upgrade but with the new shutter) and save some money.
I see we have had some more high quality adapters released for users of MicroFourThirds.
With mirrorless being so flexible its led to a number of discussions on the internet and myself and other shooters about people not longer being tied to a lens mount.
Medium format and large format users have long appreciated the difference that sensor (film) size makes to an image and how different lens seem to draw an image differently.
Many Leica M shooters collect old glass for the unique look some glass gives and now with mirrorless bodies we seem to have reached the point where we can pick whatever lens we want.
We are doing quite well in the veg plot this year. This is our third year of growing our own vegetables and each year we learn more.
Last year the big successes were the late potatoes, onions and butternut squash.
This year the main crop potatoes have proven to be a great success (last year we failed to water them enough). Again we have onions and we also grew garlic for the first time. The big success was the marrows. Sunday tea was stuffed marrows and we now have lots coming through so are looking for more recipes.
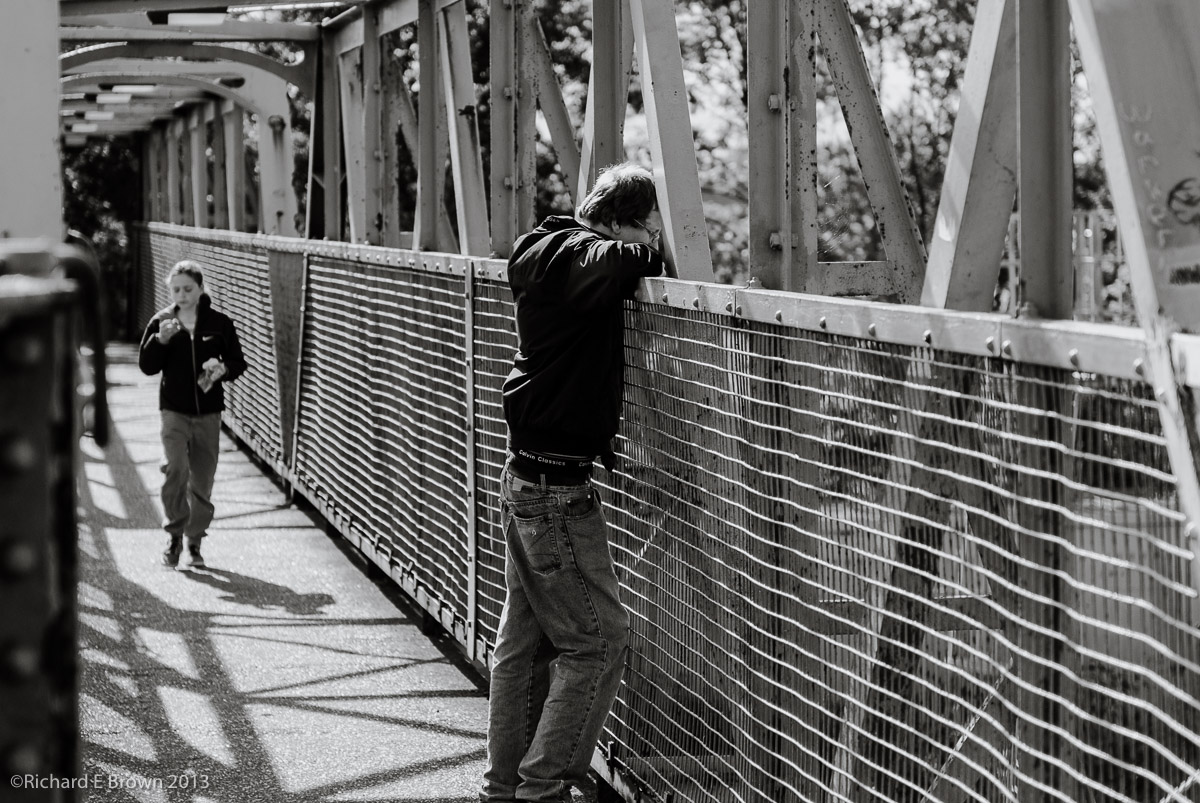
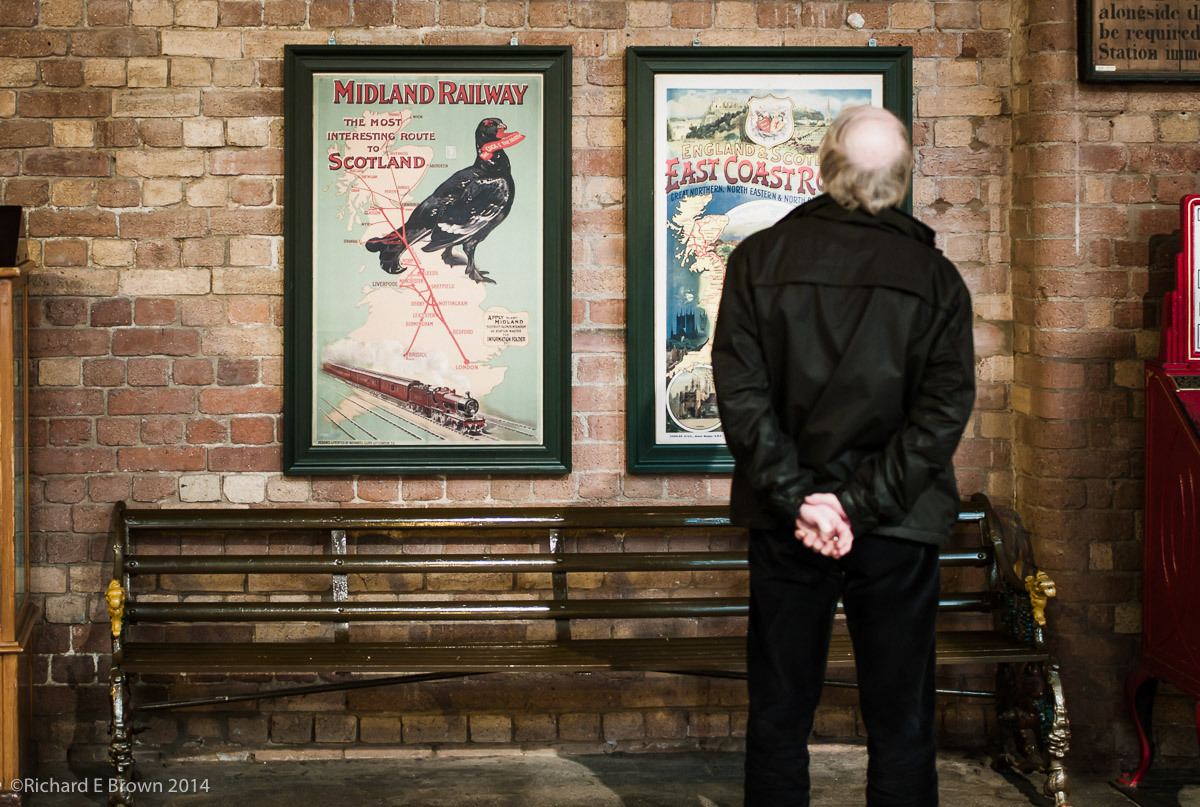
Having a trip into town with a camera on my shoulder means I’ll always be looking out for potential street shots. This wall looked interesting and it was not long before someone walked past.
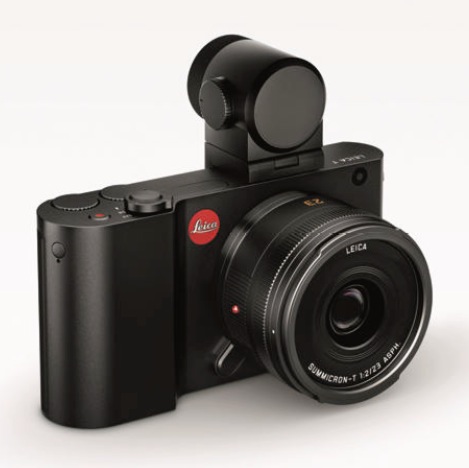
With Photokina only a couple of months a way now lots of new rumours are starting to appear, from a Nikon D820 to a new Leica.
This latest Leica rumour of a new camera is also includes the some battery specs and it seems we are looking at a new Leica T. I have hopes that this will be a mini Leica SL with a DX format sensor, that would be exciting.
I had a play with the Leica T at the 2015 NEC photography show in Birmingham and was quite impressed. I am still looking for a camera to replace my little Nikon V1, and while Panasonic and Olympus have come closest, a mini SL would be idea, taking my M glass as well.