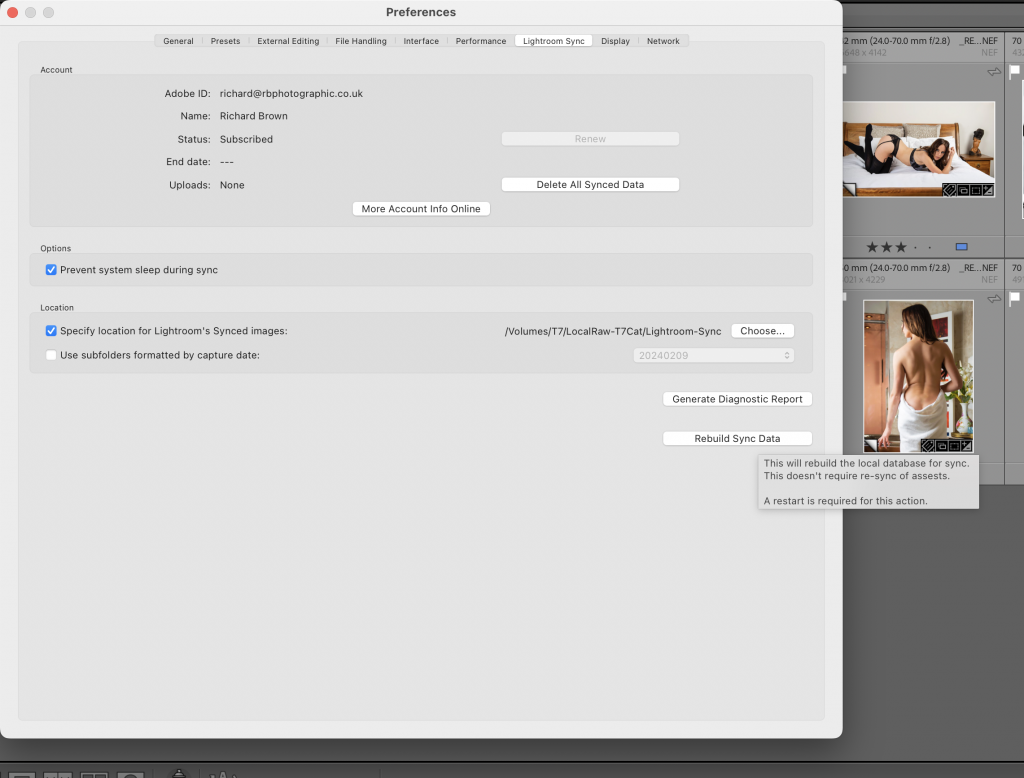
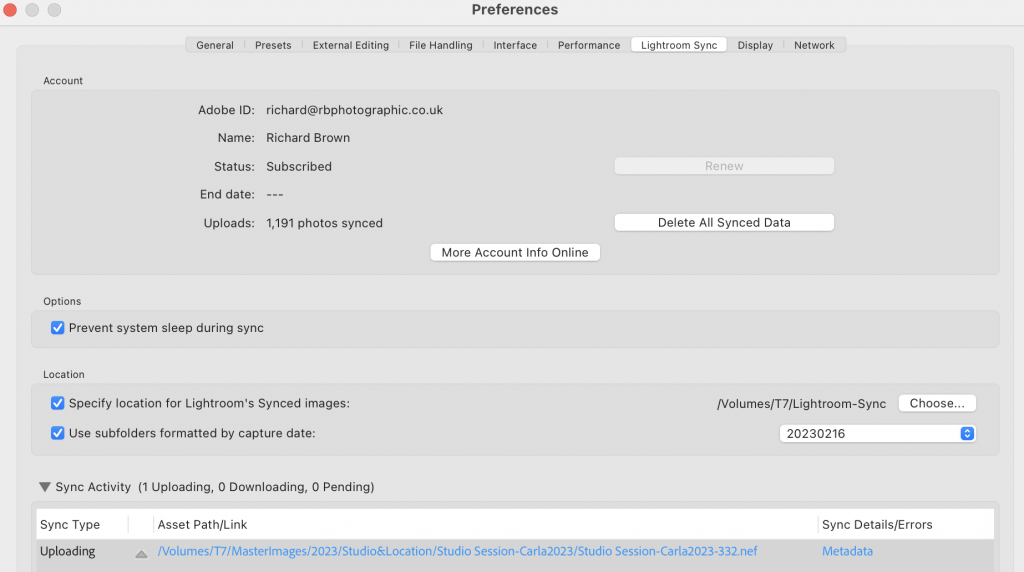
As you can see above, I have blogged about this before and normally just going into to here, then relaunching Lightroom Classic is enough to fix it, but not today.
Luckily there is a hidden button to fix this.
If your on a Mac while in preferences and Lightroom Sync, hold down the Option Key (Alt on Windows) and a Rebuild Sync Data button appears, click on this and your Lightroom will restart and sync will be back working again.
Since before digital, in the dark room, photographers have been producing composite images, from multiple negatives, a landscape image with a sky from a different negative.
In my wedding images I shoot multiple shots of groups, and occasionally have to combine them to get a single image of everyone looking good at camera.
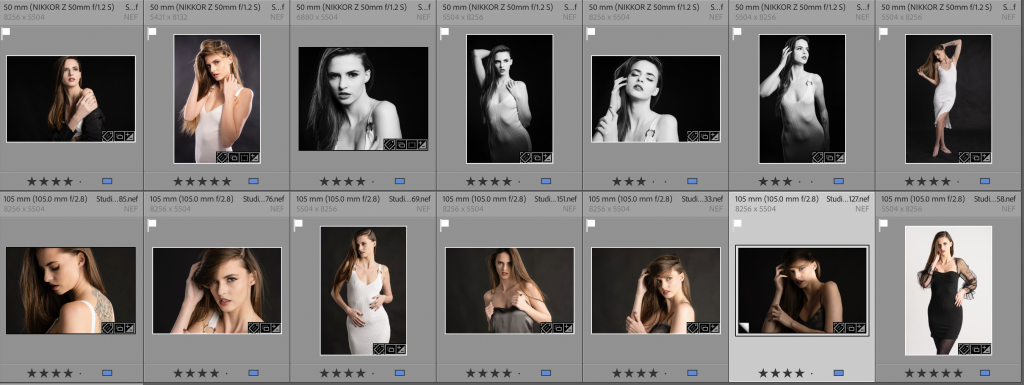
Model images, a tweak here and there to soften skin, remove a pimple.
Leica M10
But now with modern AI, we can create what ever kind of image we want. So how can we trust what we see?
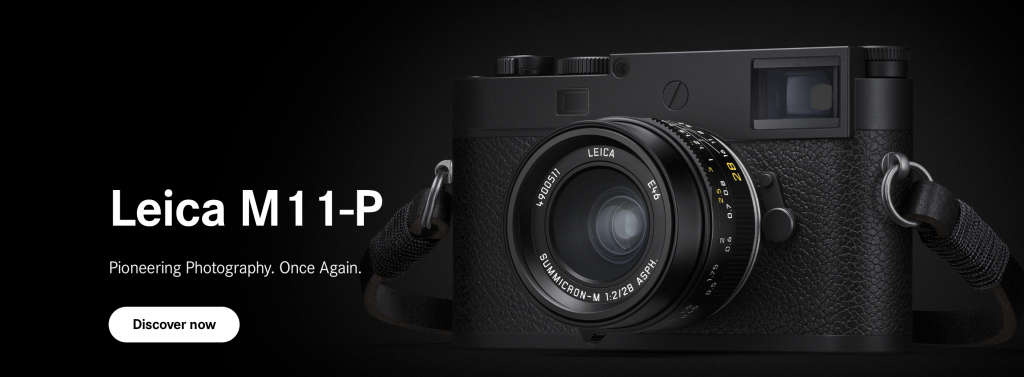
Content Authenticity Initiative (CAI) and the C2PA standard hopes to address this. Big players in the software world have signed up, like Microsoft and Adobe. Nikon and Leica are the first camera manufactures to sign up, but its Leica, working with their partners, the German government and Adobe that are the first to release a camera that supports this with a built in image authentication chip.
Lightroom import dialogue box can be confusing, there are two options, simple and advance. I have on occasion gotten my import wrong myself, generally importing files to the wrong location but its an easy fix.bad credit loans uk direct lenders
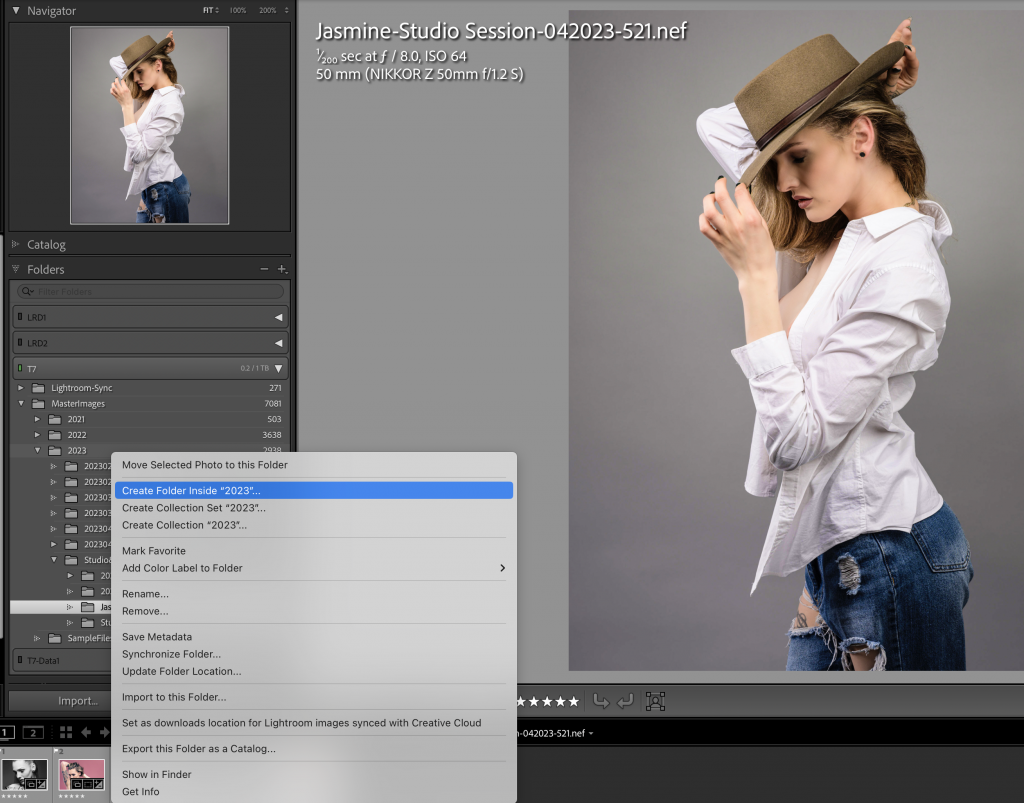
I can think of a couple of other ways of importing photographs but rarely use them. Recently on YouTube I saw this and thought it was a easy way to import if you struggle with the other methods.
The video shows you how but basically create a folder in Lightroom where you want the files to go and then when highlighting that folder select import to this folder.
Simple and easy.
I still use the normal import methods, I have presents that apply things like basic develop settings and metadata which is the advantage of the normal import methods. Creating import, development and location presets to get a lot of the leg work done in advance can really speed up your work flow.
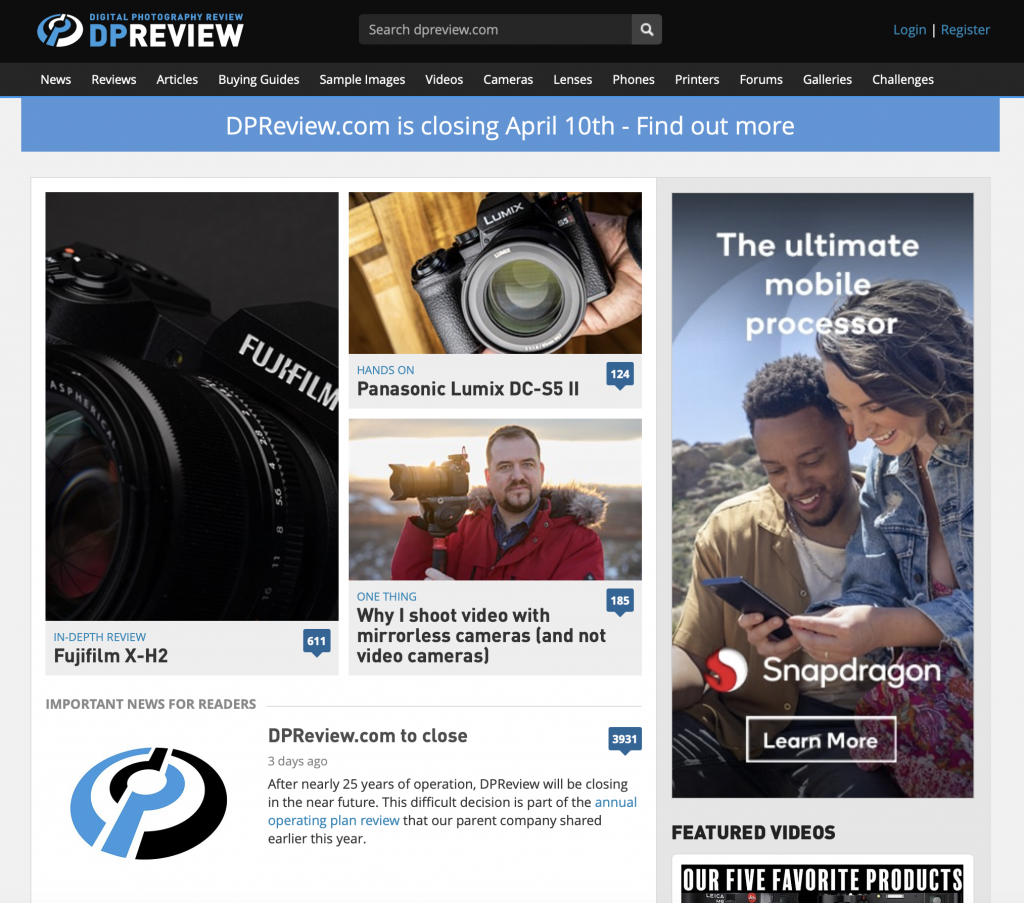
DPReview has been one of the top photography review sites and forum hosting for photographers for over twenty years.
This week we were all shocked to discover its closing down. I never knew that the site was owned by Amazon, and in the current cutbacks that Amazon are making the site is one of the loses.
There’s a lot of knowledge that is going to be lost. Hopefully Amazon can be persuaded to at least keep the site available for people to read even if there is no new updates, but so far to looks like the site will be deleted.
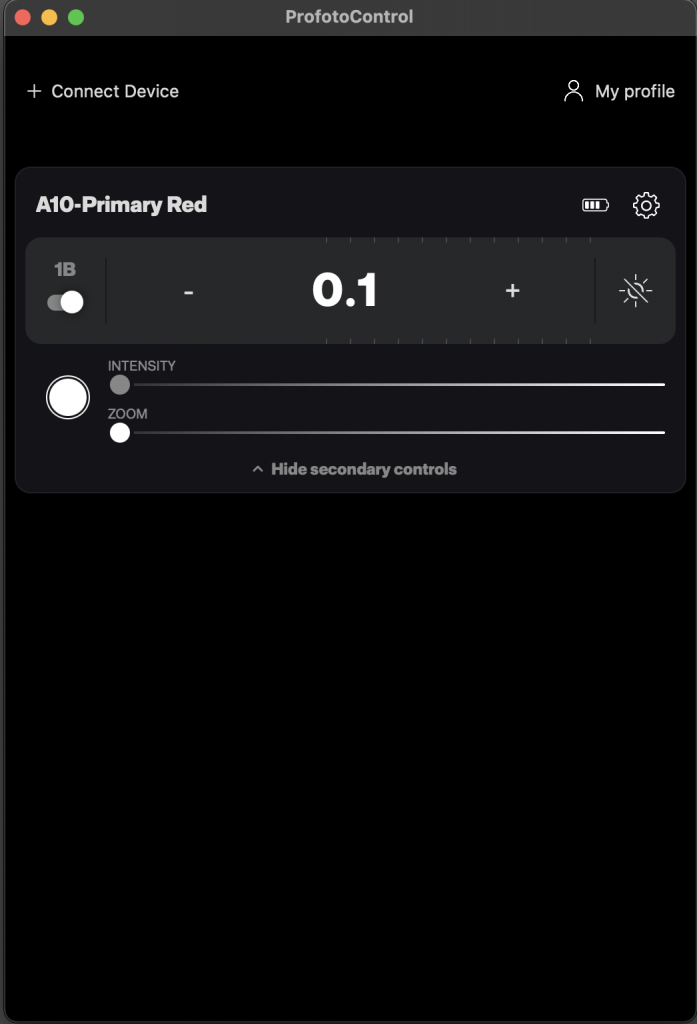
If you’re a registered Profoto user, you may have received an email today about their new desktop app. You have been able to control your Profoto flashes from your phone for a while and update the firmware. Now with the desktop app you can also control your flash heads.
I have only done a quick test with my A10 but despite being beta it seems to work well. For when your working tethered in the studio it could prove very useful.
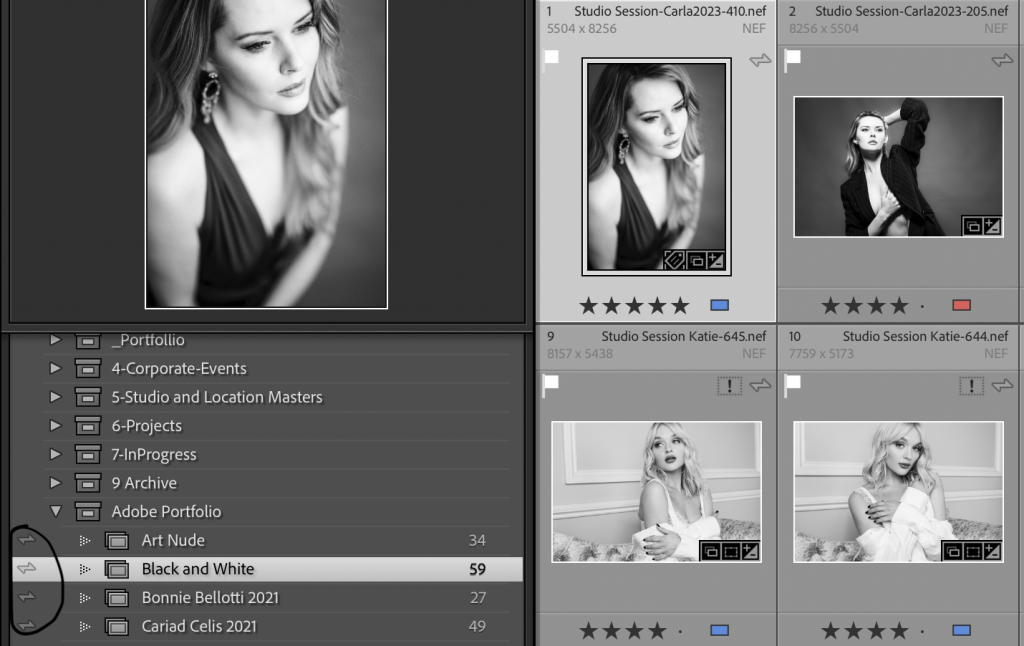
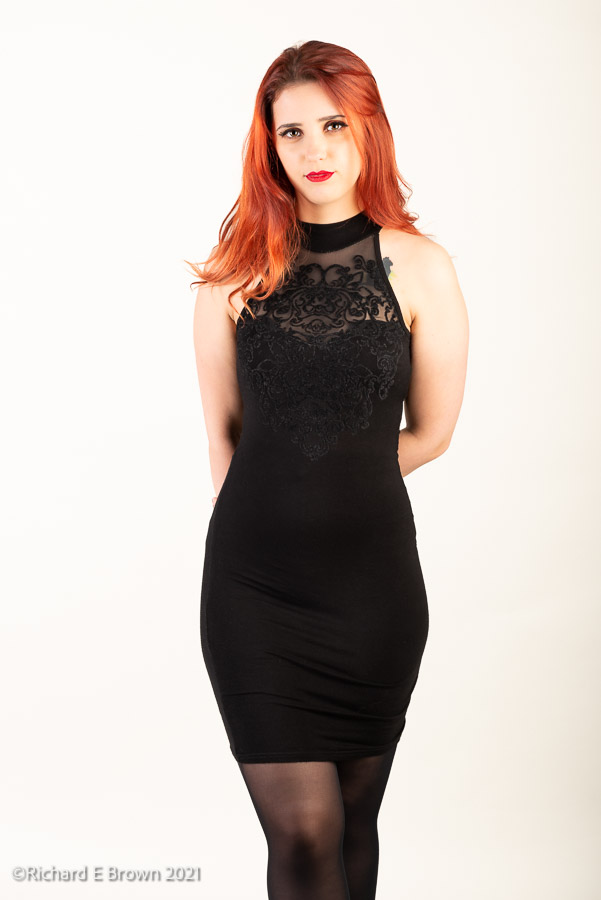
I am predominantly a people photographer. While I do some wildlife, landscape, the bulk of my work is people.
Weddings, family and corporate photography is some of my photography that generates an income but my studio, work, especially art nude is what I love.
With this being my personal blog, I try to keep it safe for work, my more professional site has a selection of work including up to full frontal nude.
Having a site to show ones work is great but social media is where it is at, if you want the general public to find you. Facebook, Instagram and Twitter being the main three.
I do not use Facebook but do use Instagram and Twitter. I find social media to be a bit of a cesspool containing the best and worst of people. Twitter seems to allow nearly anything and I can post any of my work, but twitter really does show the best and worst of people.
Instagram, like Facebook I have issues with. They do not allow adult shots or any nudity, unless your very famous or playboy. The more famous you are the more you will get away with. They are more likely to allow a shot showing violence against women, then a wonderful shot of a woman breast feeding. The internet is very much two faced.
I do not know the answer when it comes to the internet and censorship, I have more of an issue with violence than sex. So we use what platforms we can and promote ourselves without upsetting our internet masters by showing a nipple.
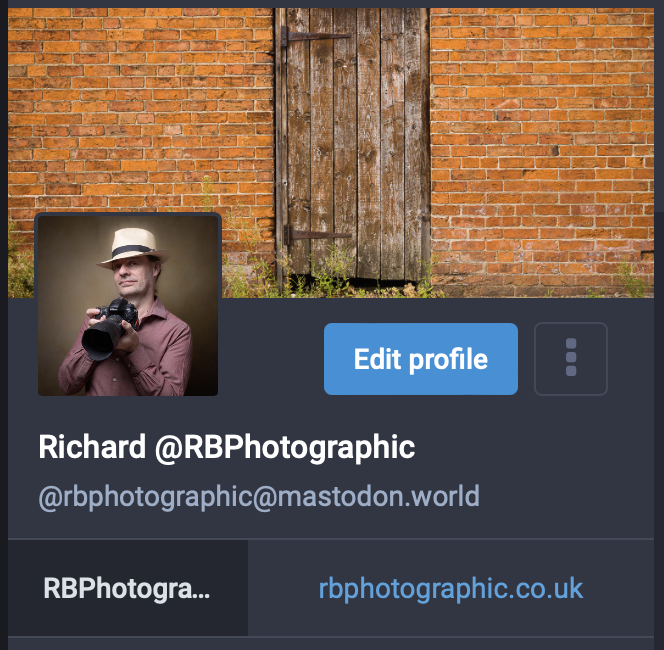
With the recent changes to Twitter I have now created an account on Mastodon. I like how you can find a server that supports what you need and you can mark you work as ‘NSFW’ Not Safe For Work and they can then only view it if the select to.
I like many people have too many hobbies. Not only that but they all some to want all my free cash. If I had one hobby life would be much easier. My main daybjob is an IT Engineer; that’s my main income, but messing around with computers is also a hobby. My second job and second income is that of a Photographer; Portraits, Portfolios, Weddings and commercial business portraits but its also a hobby.
I love travelling to lovely areas to take landscape photographs, using a mix of equipment including film, small, medium and large format.
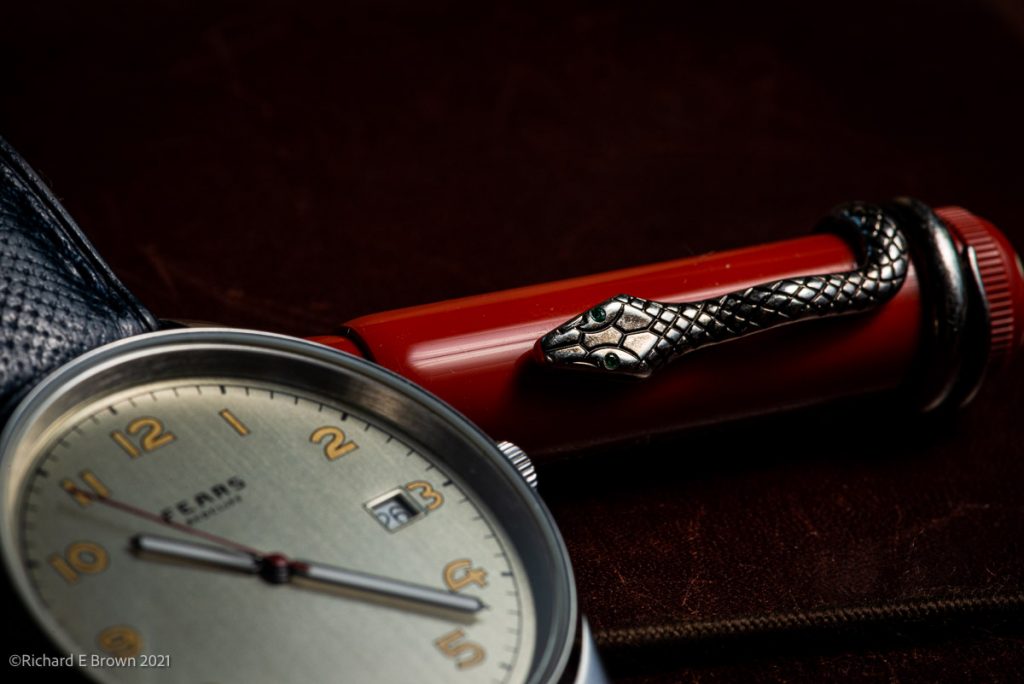
I also have a small watch collection, mid tier pieces like SINN, unique pieces like British watchmaker FEARs; with my love of tech there is also an Apple Watch.
Watch Macro with Profoto A10
I have a fountain pen collection from low end Kaweco and TWSBI to higher end Pelikan and Montblanc and my love of coffee could also be called a hobby, I have brewers from Kalita, Chemex and Aeropress and a mid range espresso machine, and believe me once you get into espresso at home it really does become a crazy hobby, and you start buying custom, distribution tools, porta filters etc.
Lastly my love of music, I used to play the guitar, and now play banjo and piano (badly), but enjoy it. I also love listening to music. From popular opera, Beethoven, and Mozart, to pop like the recent Taylor Swift like her Evermore Album, Lana Del Rey, and most 1980’s pop, like the Communards, Duran Duran, Eurythmics and country and folk like Edwina Hayes, Ashley McBryde and even Sheryl Crow.
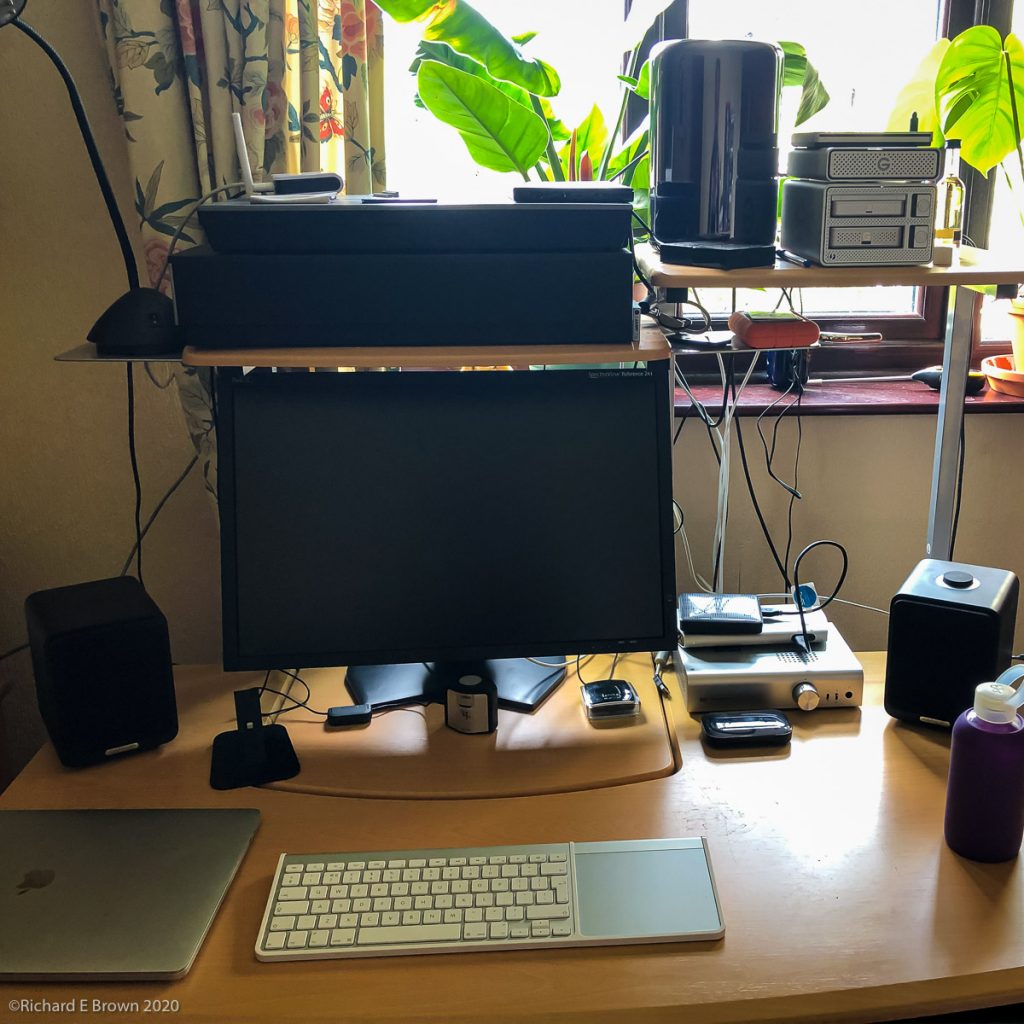
How do I listen to my music. Well when on the go, its an iPhone and Apple EarPods, its not hifi but its good enough. Sat at my desk in the company office, I may use a higher in ear sennheiser headphones, sometimes with an external battery DAC like the Cord Mojo. I have detailed how I listen in my office at home, A usb out of my desktop Mac, to a Schiit DAC and pre-amp then either to a pair of higher end Meze over ear headphones or my Ruark active speakers.
In the lounge I have may main hifi.
Its a low-end system I have had since my student days, with for now a days a basic Denon amp and a pair of Celestion DL4 stand mount speakers.
Its now fronted by a decent CD player, and a DAC being fed by an old iPad acting as a Roon Ready end point to stream to.
At some point I want to upgrade all of this starting with a dedicated streamer/dac and new speakers. If I was being sensible I should get something like a pair of Kev LS50 Meta’s, but part of me wants a nice set of floor standers but would they be too much for that room.
As always things will have to wait, I have a new studio flash to buy but I keep looking and investigating. As I said at the start – too many hobbies and they all seem to cost too much money.
If you are like me and still have a large vinyl and cd collection you may sometimes want to stream them. A lot of my older stuff is not on the major streaming services. So you will want to rip those CD’s to a hard drive so you can still stream around your home or to what ever device you want. Welcome to the world of music formats or shall we say containers.
Now the majority of music is all encoded to PCM 16-bit/44.1kHz audio. While there is a growing library of high resolution music, few music services offer it or broadcast/stream it.
So for the majority of listeners things like 24-bit/192kHz, MQA, DSD can all be safely ignored.
Lets get back onto the subject; you have a CD, your a Mac user with iTunes or Music as its now called and you want to simply rip it but preserve the quality.
In Music, select file, preferences and then Files, and Import Settings. From the drop down list select Apple Lossless Encoder. Its a compressed format, lossless, and can easily be converted to other open standards if necessary but just about all hardware supports apple lossless.
You might want to copy those rips to a spare hard drive, Apple products can occasionally do odd things, like delete your music files and then stream lossy versions from the cloud.