I usually work up to Christmas Eve, but this year we finish today.
The blog is likely to be a little slow on the updates from now on but i’ll catch up by the new year.
Tonight we have the work Christmas party, then its no work till after Christmas.

Family, Photography and other misc news
I usually work up to Christmas Eve, but this year we finish today.
The blog is likely to be a little slow on the updates from now on but i’ll catch up by the new year.
Tonight we have the work Christmas party, then its no work till after Christmas.

More rumours and details of the new Leica M are starting to appear on line. So far nothing official from Leica but the news is a thinner body, a new control wheel on the top right, which some rumours is ISO, other some type of mode or exposure compensation. They are saying only three buttons on the back, it will have live view but no movie mode.
With the Leica SL its likely that the Leica M will more away from the jack of all trades the M240 attempted and failed to be.

With some images to finish off and a new version of Photoshop, I thought it was a good time to practice my selection editing and testing some of the improved features.
With the black dress and dark shadows this was a difficult selection. I sometimes wonder if instead of trying to get it right in camera it would be better to produce a flatter less contrasting image and do all of the effect in post production.

After installing my Creative Cloud updates on Thursday, today it was time to have a little play.
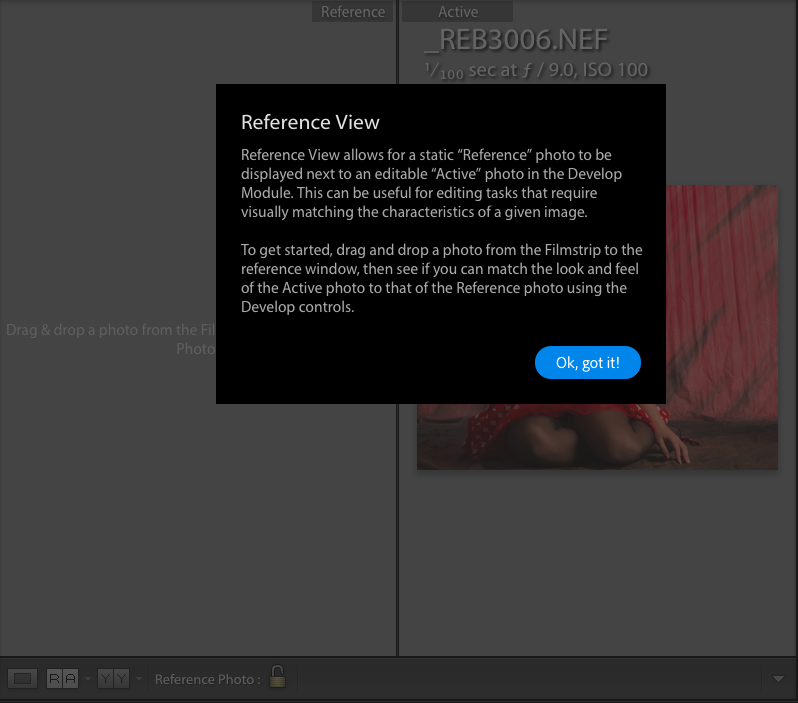
It was the new reference view that interested me the most.
Trying to edit two photographs to look the same style and lighting can be difficult, even when you sync the develop settings from one image to the next you can often still get differences which are difficult to correct for.
While you can use loupe view for selected images (N shortcut key) or compare two images (C shortcut key) you can just view them, not edit them.
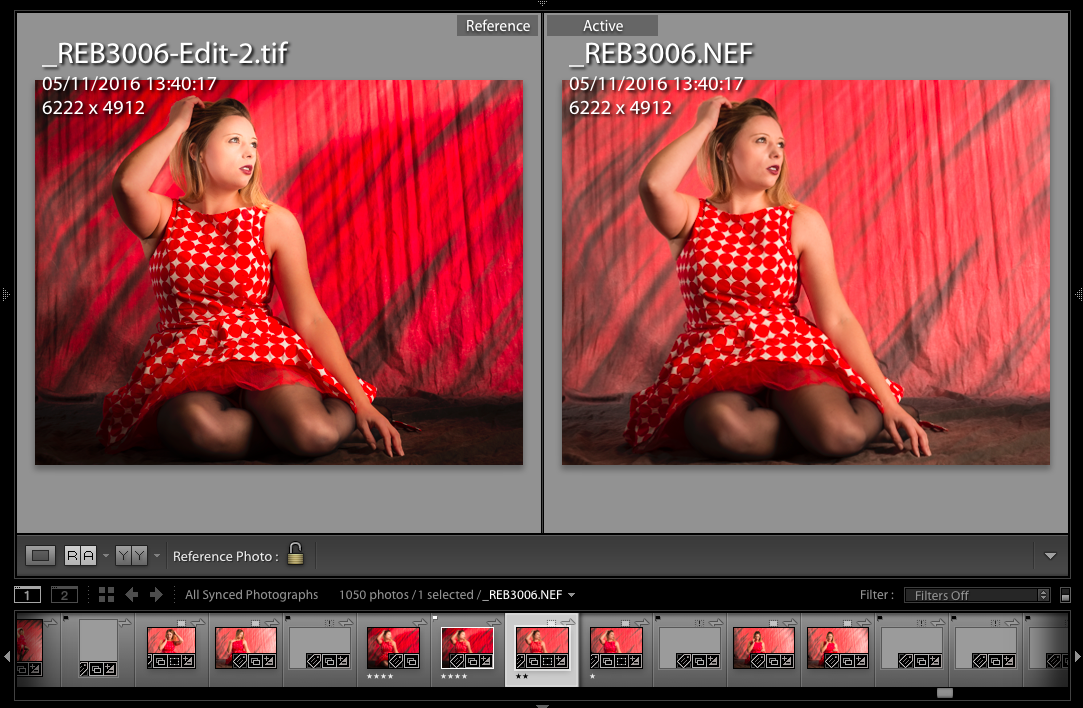 Now in the development mode you can access (if you have the toolbar showing) the reference mode by clicking on icon marked RA. Your selected photo appears on the right and you can drag and drop a photo from the film strip at the bottom to the left hand pane to act as your reference photo. You can then access the developer settings as normal with them only acting on the righthand photo, to make it look like your reference photograph.

While catching up on a few music tutorials on YouTube, look what popped up! A new update from Adobe, I updated the laptop and also my mobile devices. Not had chance to see whats new but I’ll try and find some time tomorrow to dig into the updates and see whats improved. The mobile on the phones like a major improvement.
I am not updating my desktop computer yet as I have some work to do and need to know I can rely on the Lightroom that is currently installed.
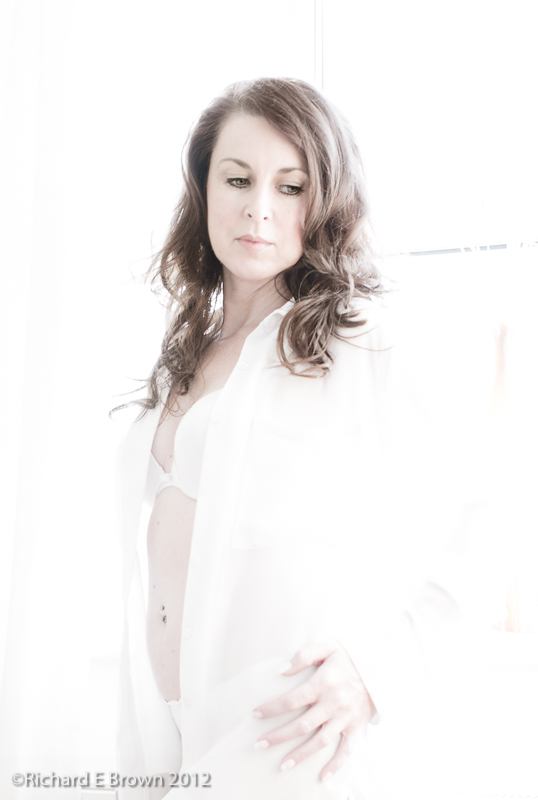
This months photo of the month I tried to pull off in camera, but did not quiet get the lighting on the models face right. It was close and I was sure that a bit of photoshop could bring it back.
I did the majority of the editing in Lightroom, then applied some skin softening via negative clarity; then I took it into Photoshop to sculpt the light. This turned out to be a mistake.
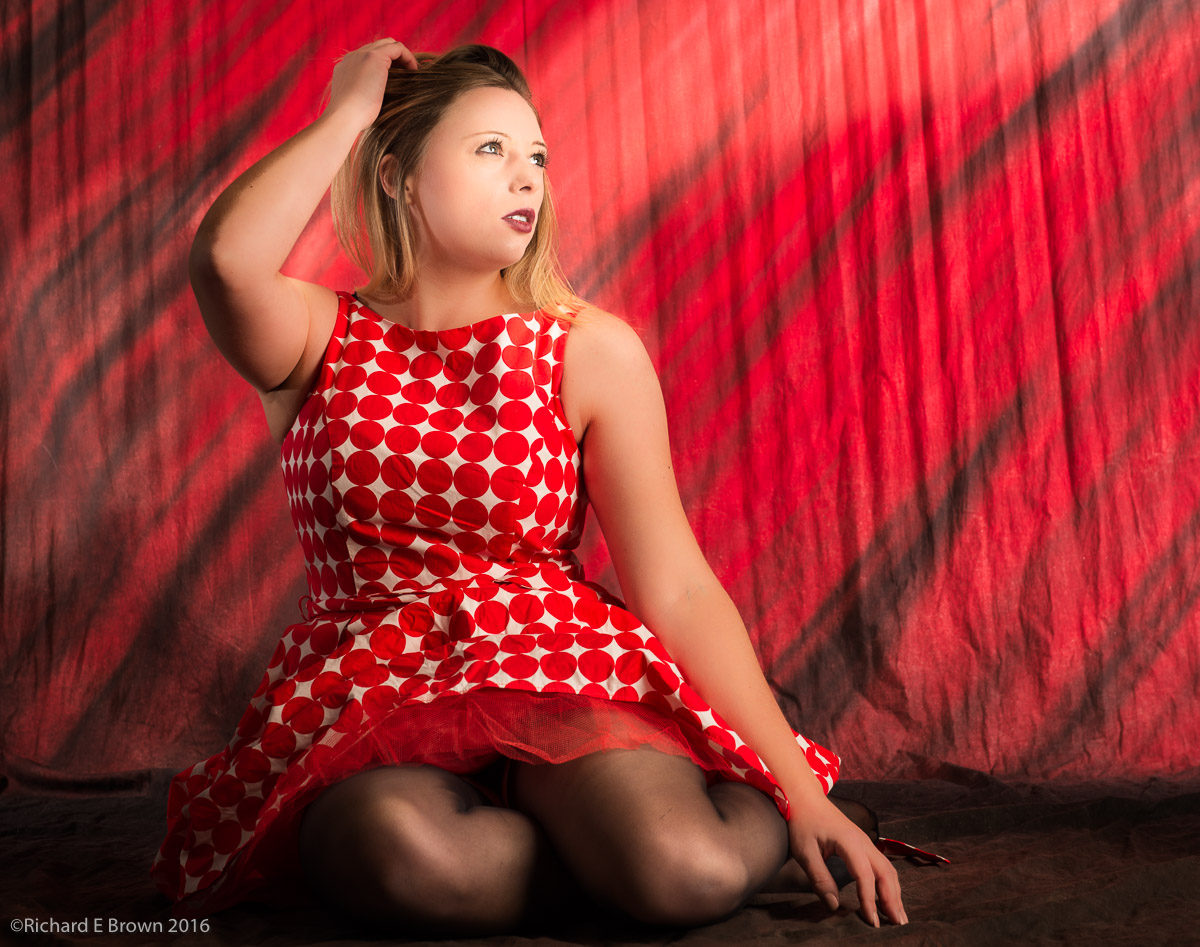
Its not a bad image but if you look at the models right arm on the left hand side of the photograph the transition from light to shadow just looks wrong and broken.
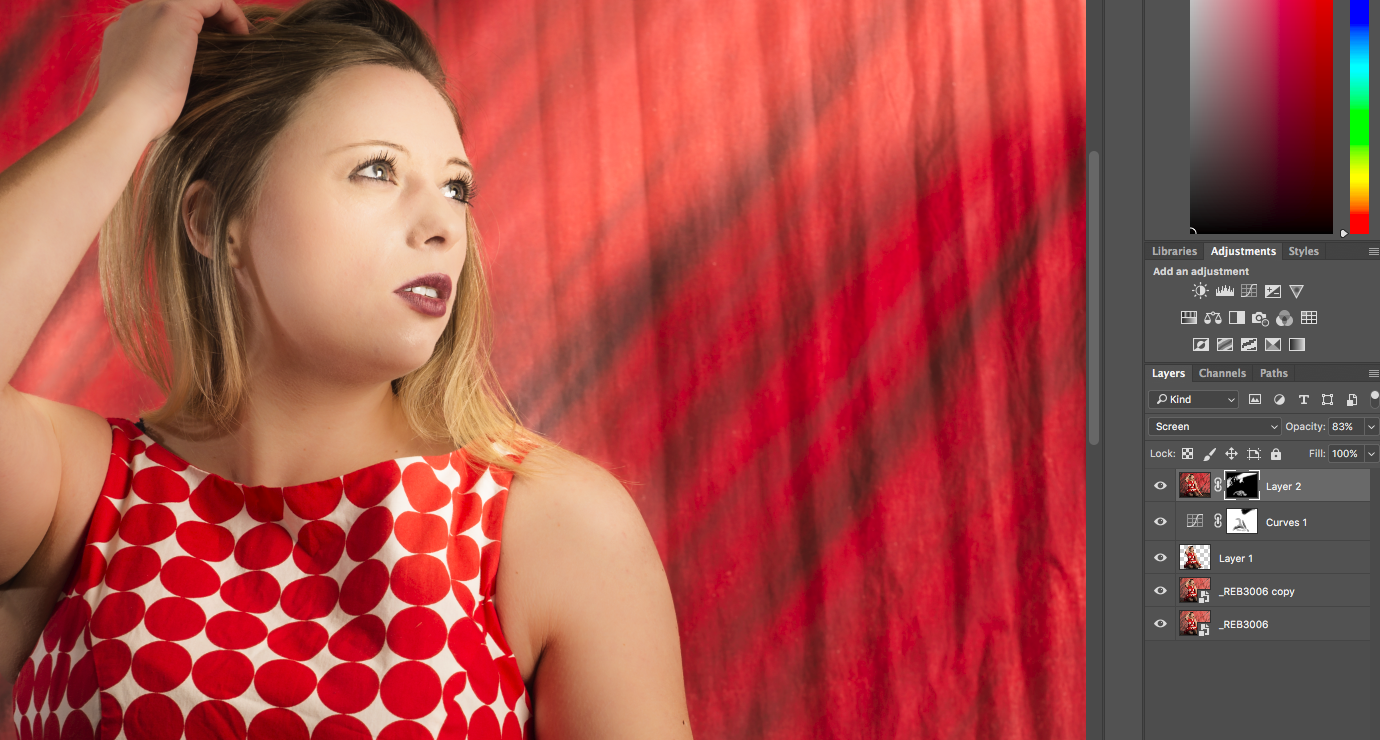
I was fairly sure it was because I softened the skin in the wrong order so I needed to process the image again. Lucky I had preserved the layers and it was a lot easier then I expected.
First I took the processed Lightroom image and cloned it, then found the skin softening control point and deleted it, this left all the other Lightroom processing but removed the skin softening. I then opened this into Photoshop and also opened the previous Photoshop image which still had the skin softening and looked broken.
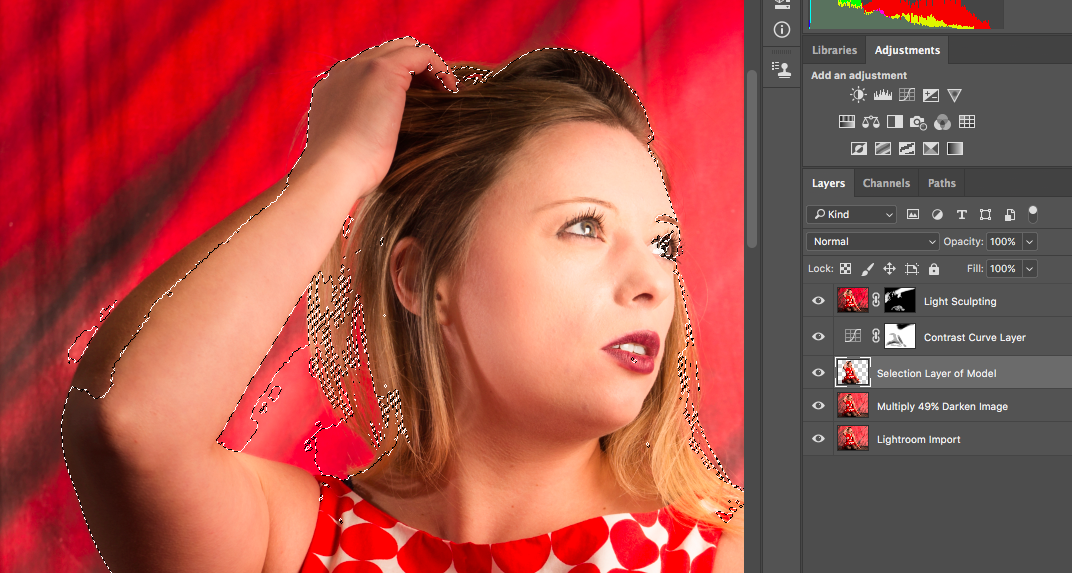
It was fairly easy to duplicate my work, you can Command-Click on the selection layer and copy the selection over to the other document. You can also drag and drop the Curves layer and the masks, thus with just a few clicks I had recreated my Photoshop document but without the skin softening.
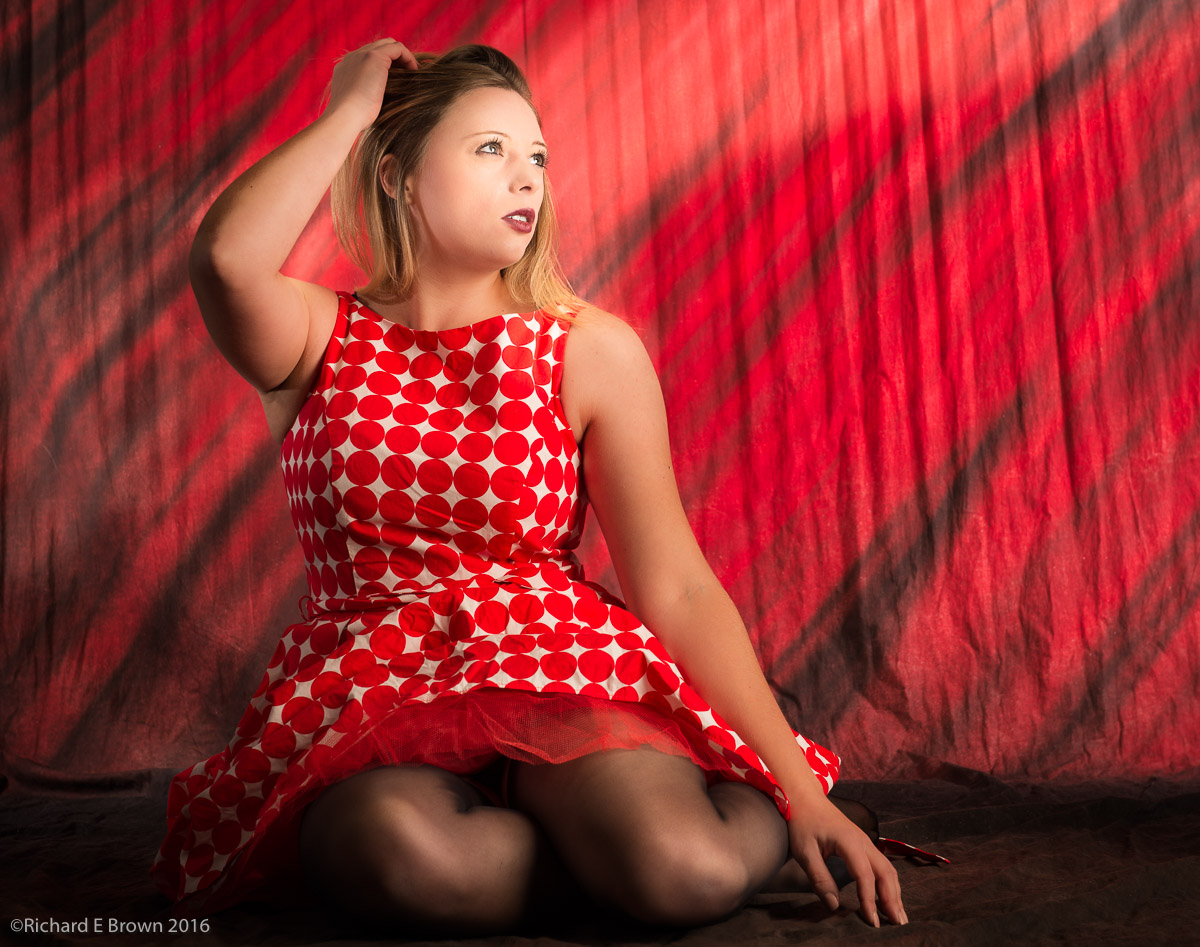
Saved then back to Lightroom for a touch of skin softening and a little sharpening plus vignette and you have the picture below and the picture of the month.
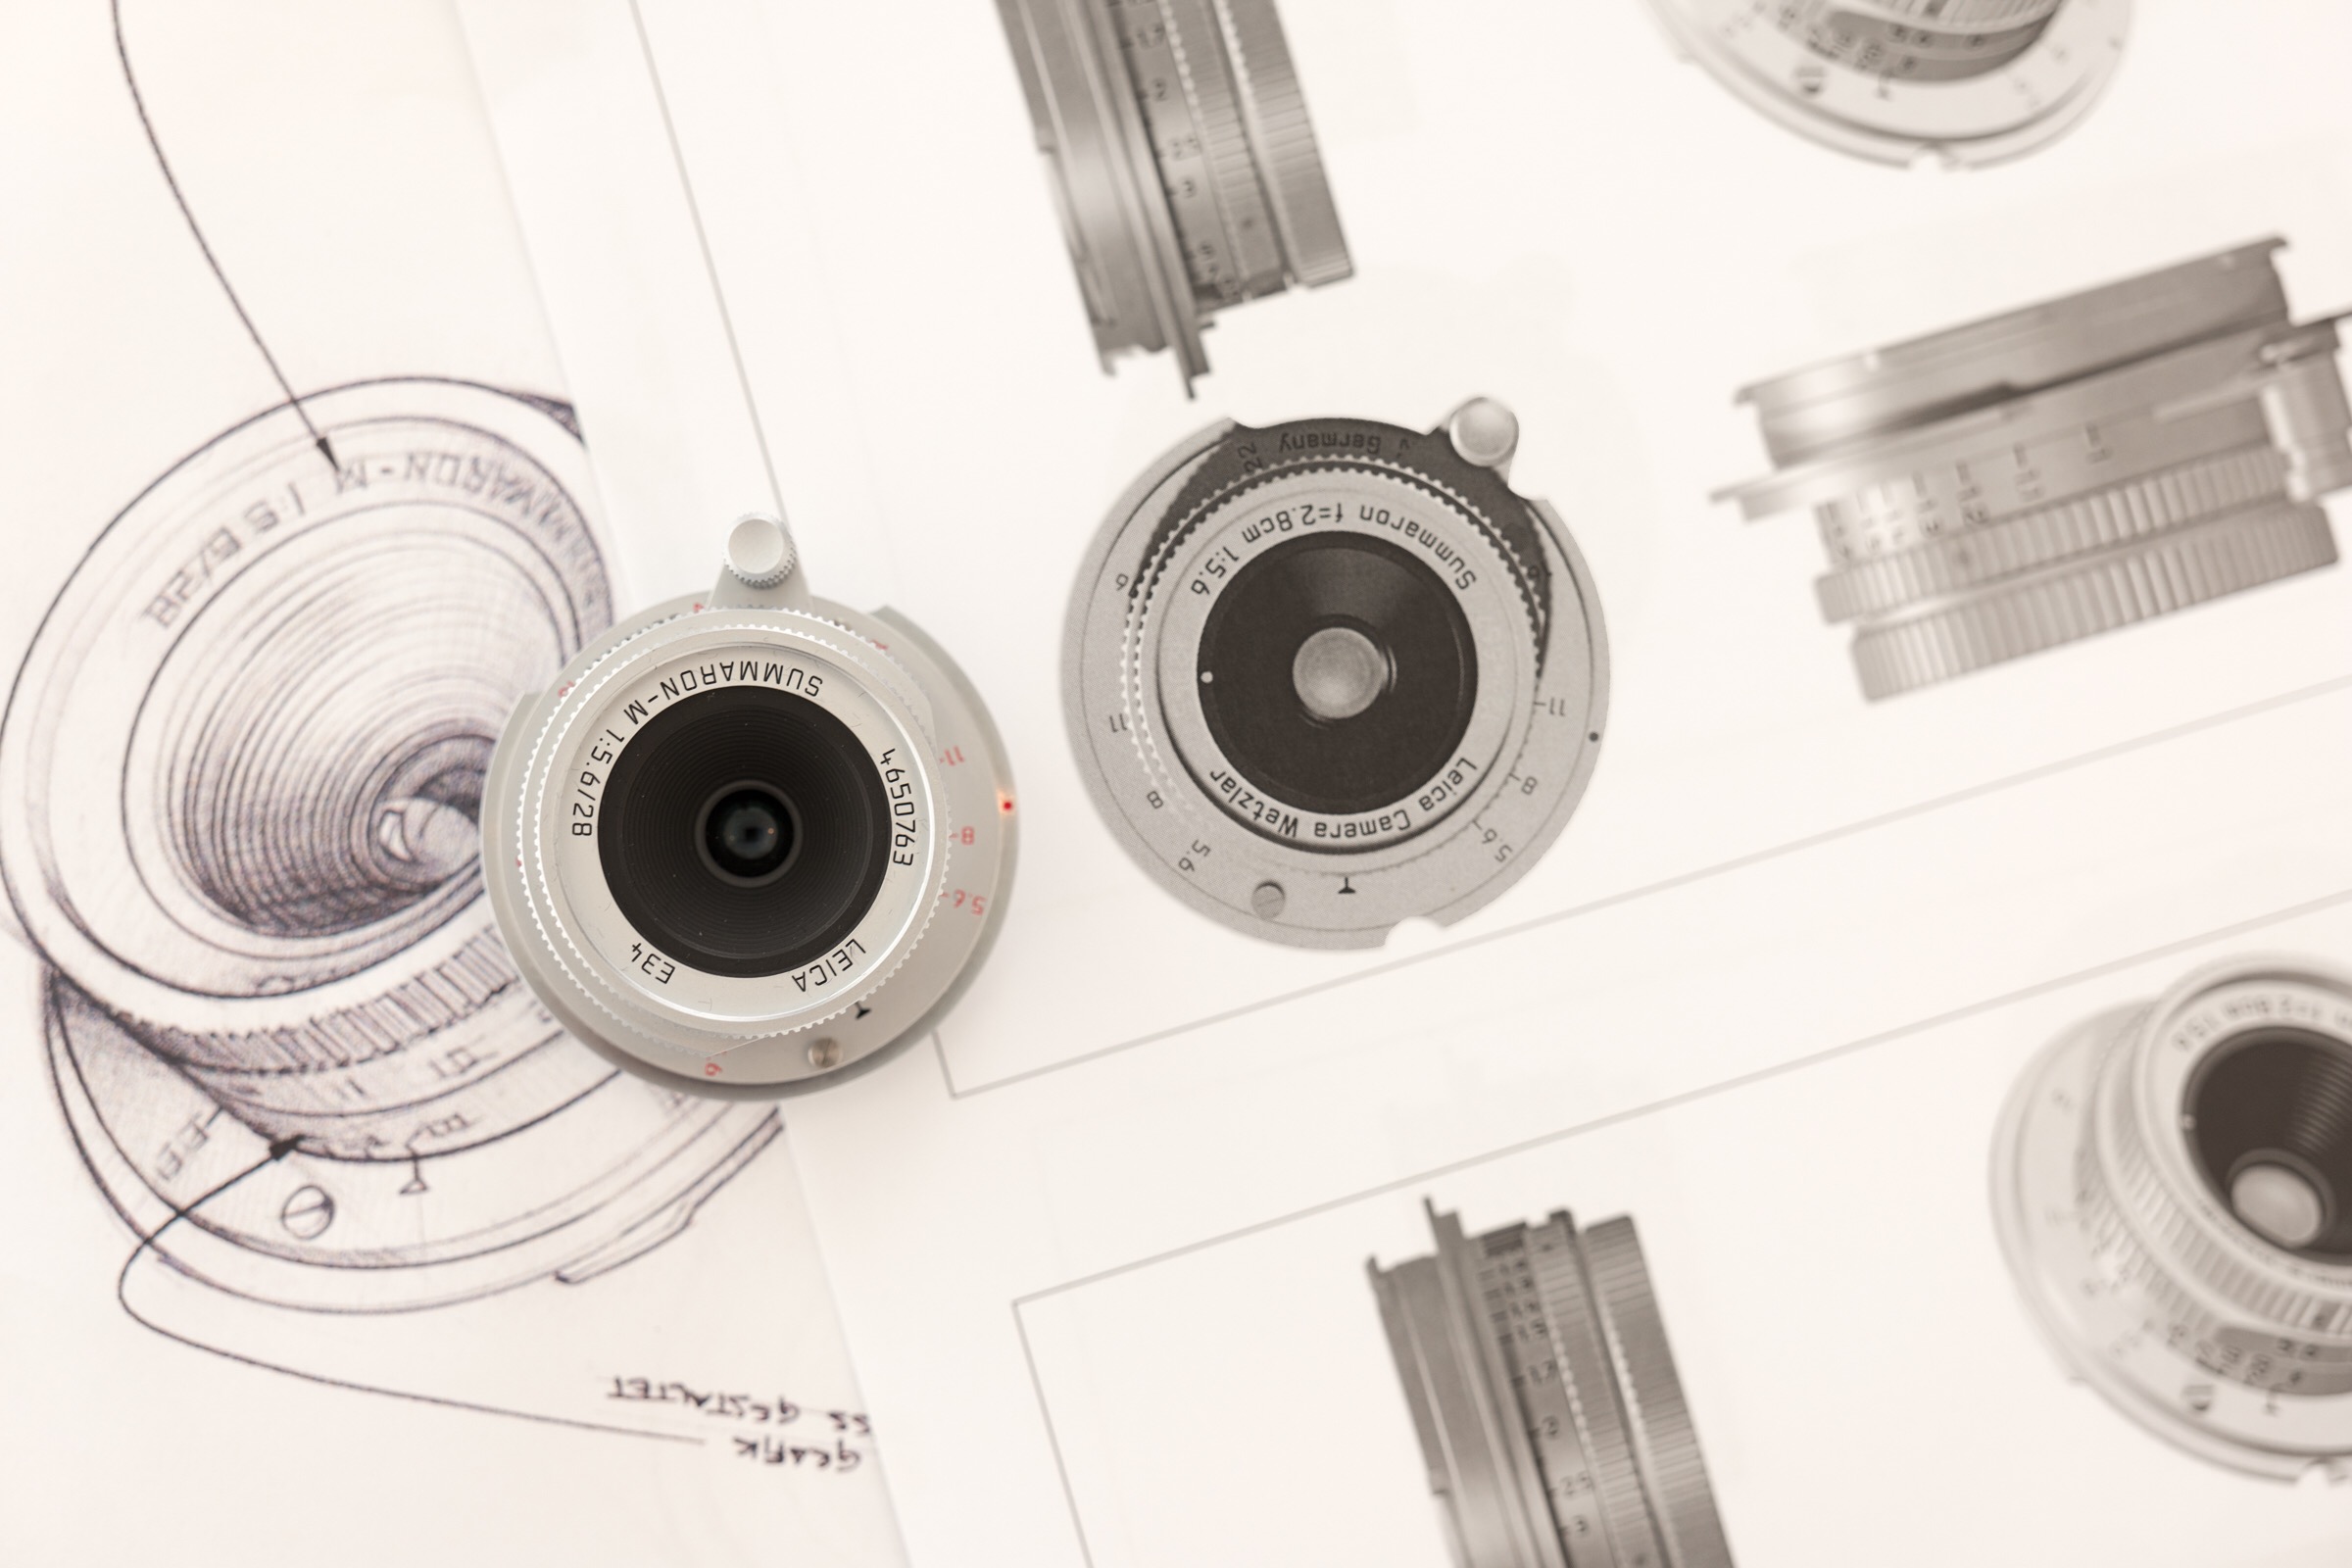
The Leica M 28mm f/5.6 is now out and while its a beautiful lens if your after just one 28mm lens the f/2.8 is possibly the one to pick, the f/2 is faster but also a challenging lens and it does not play nice on none M cameras. If your interested in this as a second 28mm, or if 28mm is not a lens you usually use but fancy something a bit different then it may be worth considering.
The lens does not just vignette but the resolution changes giving an interesting feel to the images. A fun lens and I can see why people like it.
Nikon D800
Nikkor 24-70mm f/2.8
70mm, 1/100 Sec at f/9, ISO100
Post Processed in Adobe Lightroom CC2015.7 & Photoshop CC
On a Mac Pro, OS-X 10.12.1
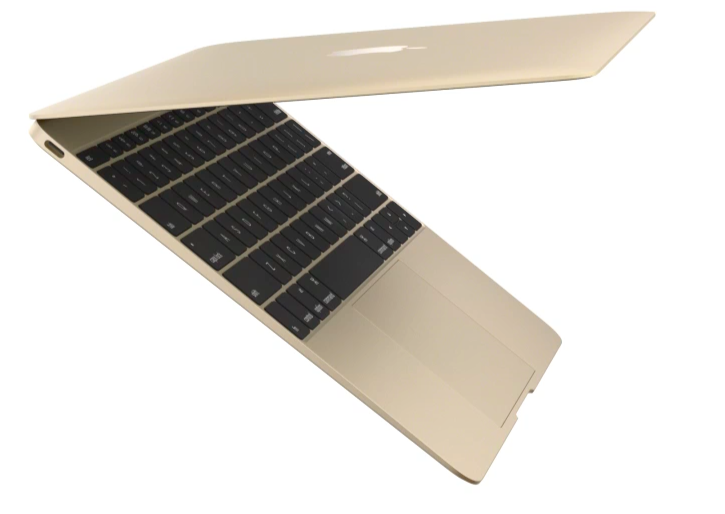
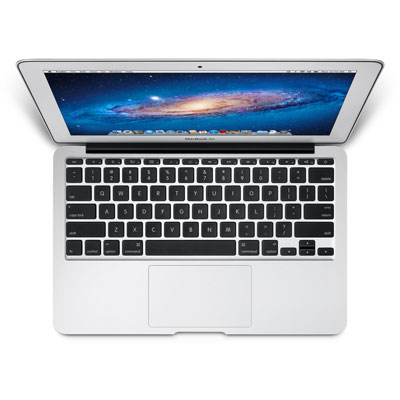
If you can only afford one computer and you want a portable for Photography, its hard not to recommend the best MacBook Pro you can afford. For those of use lucky enough to have several Mac laptops and desktops around the building to use, then for heavy Photoshop its the MacPro and for lighter work my old eight year old MacBook Pro. The little MacBook most people including me dismiss and look more towards the Air for light work, but I was looking at the Geekbench scores and its amazing how computers have progressed. That little underpowered laptop is nearly twice the power of my old laptop so if your just after something for occasional work it is an option but remember that USB-C hub.
While taking a quick a break from the office, I walked through town to visit my faviorate coffee shop.
Camera in hand I took a few snaps.

Once back at my desk I quickly imported them into Lightroom Mobile on the iPad but then did nothing with them. Later I grabbed my laptop and opened up Lightroom on the web, and did a quick edit. I later returned to the image but this time wanted to work a little more on the image so this time I opened up my master Lightroom catalogue held in my dropbox folder.
The photographs downloaded themselves quickly with my edits and I continued to work on them. I have not yet fired up my master catalogue on my desktop yet, it will be interesting to see where the photographs are there!