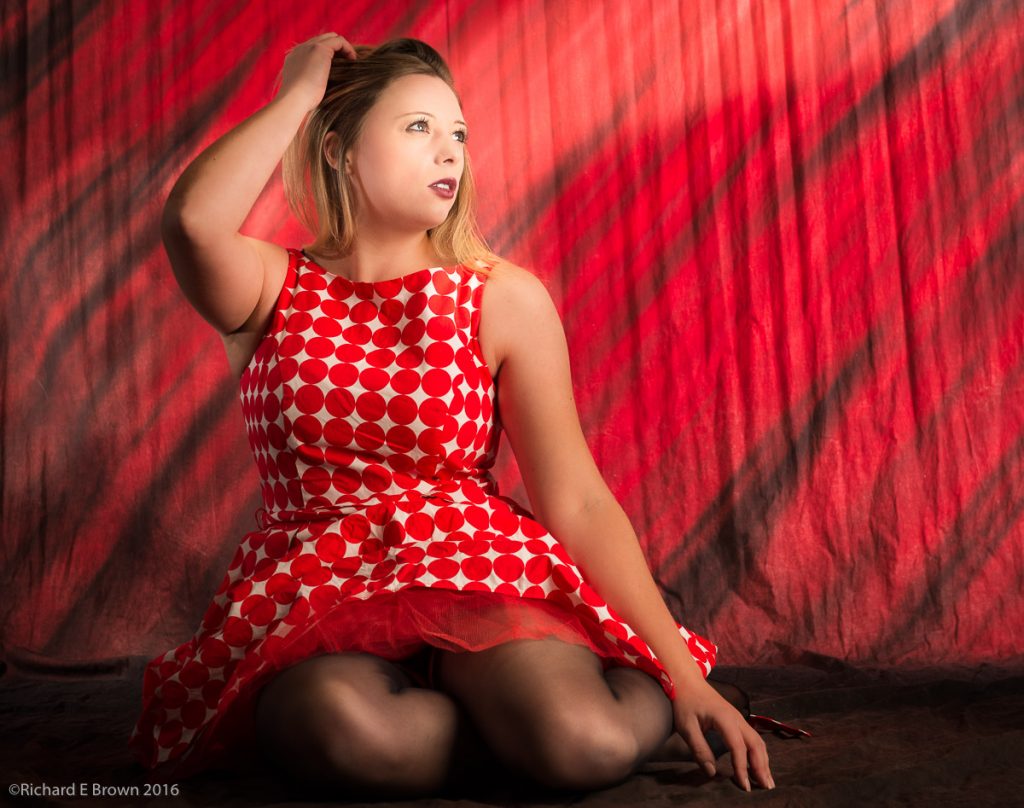
This months photo of the month I tried to pull off in camera, but did not quiet get the lighting on the models face right. It was close and I was sure that a bit of photoshop could bring it back.
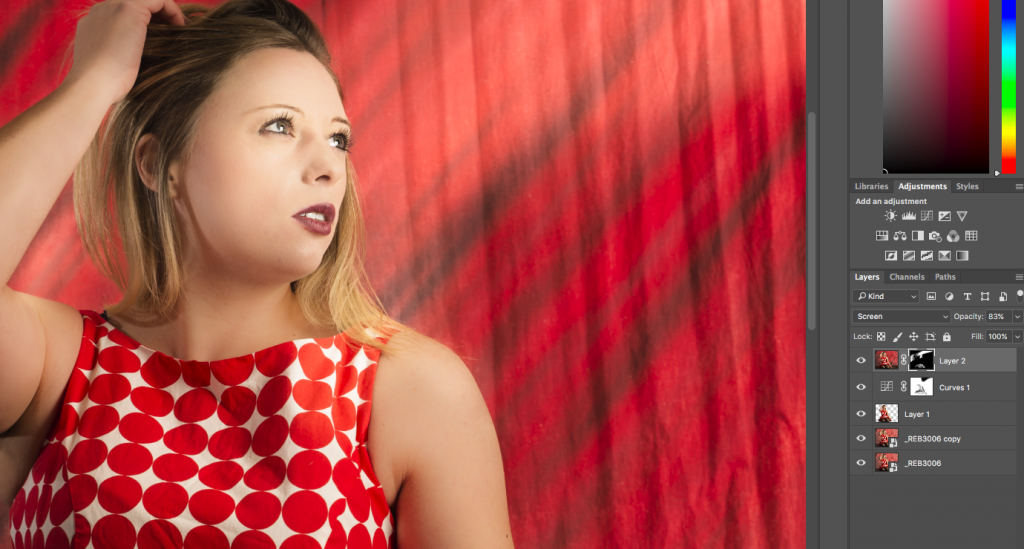
I did the majority of the editing in Lightroom, then applied some skin softening via negative clarity; then I took it into Photoshop to sculpt the light. This turned out to be a mistake.
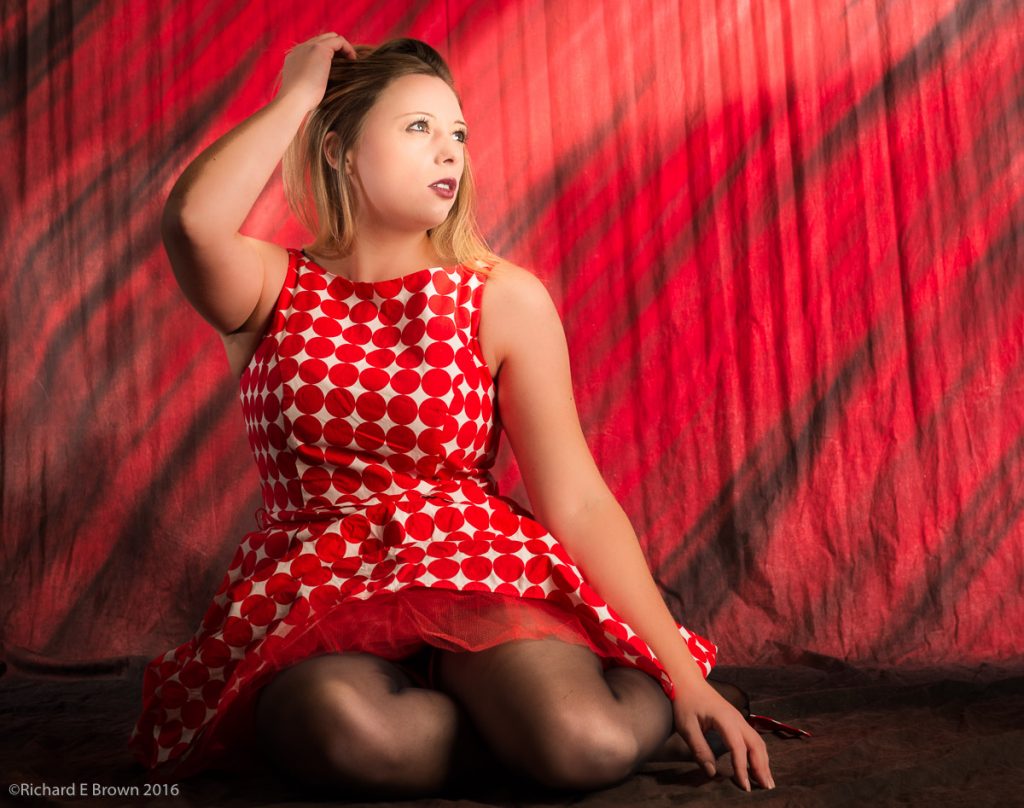
Its not a bad image but if you look at the models right arm on the left hand side of the photograph the transition from light to shadow just looks wrong and broken.
I was fairly sure it was because I softened the skin in the wrong order so I needed to process the image again. Lucky I had preserved the layers and it was a lot easier then I expected.
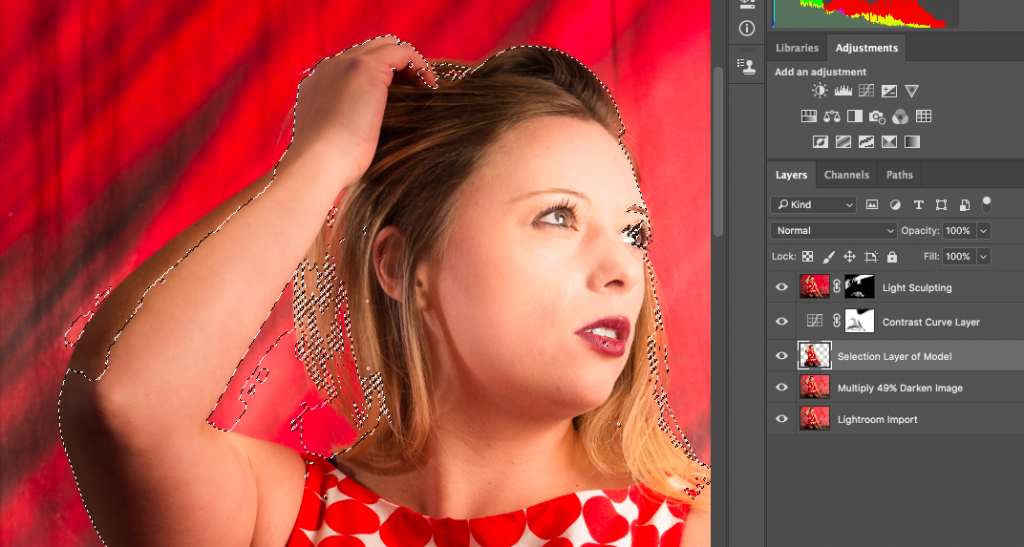
First I took the processed Lightroom image and cloned it, then found the skin softening control point and deleted it, this left all the other Lightroom processing but removed the skin softening. I then opened this into Photoshop and also opened the previous Photoshop image which still had the skin softening and looked broken.
It was fairly easy to duplicate my work, you can Command-Click on the selection layer and copy the selection over to the other document. You can also drag and drop the Curves layer and the masks, thus with just a few clicks I had recreated my Photoshop document but without the skin softening.
Saved then back to Lightroom for a touch of skin softening and a little sharpening plus vignette and you have the picture below and the picture of the month.
