A lot of new photographers get very confused about F-Stops. Basically with each F-Stop your reducing by half or doubling the amount of light hitting the film or sensor.
The numbers look odd, but thats because they are ratios of diameter to focal length.
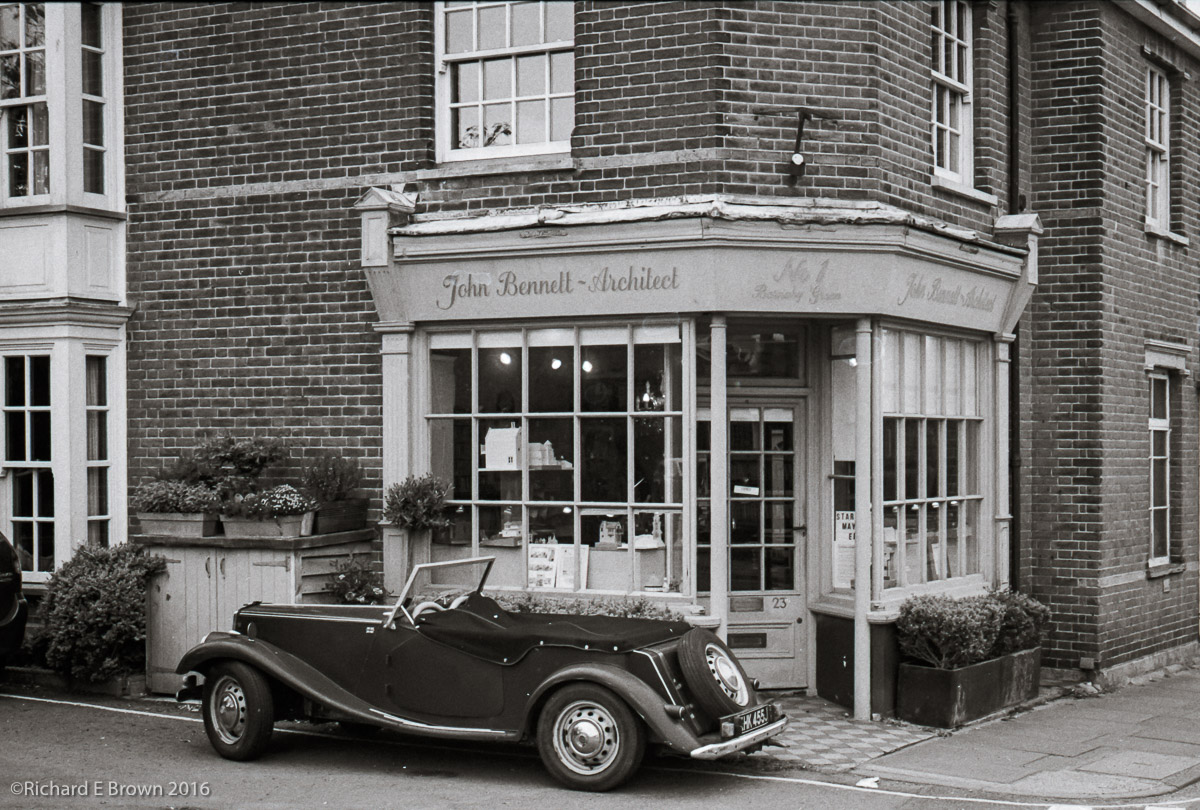
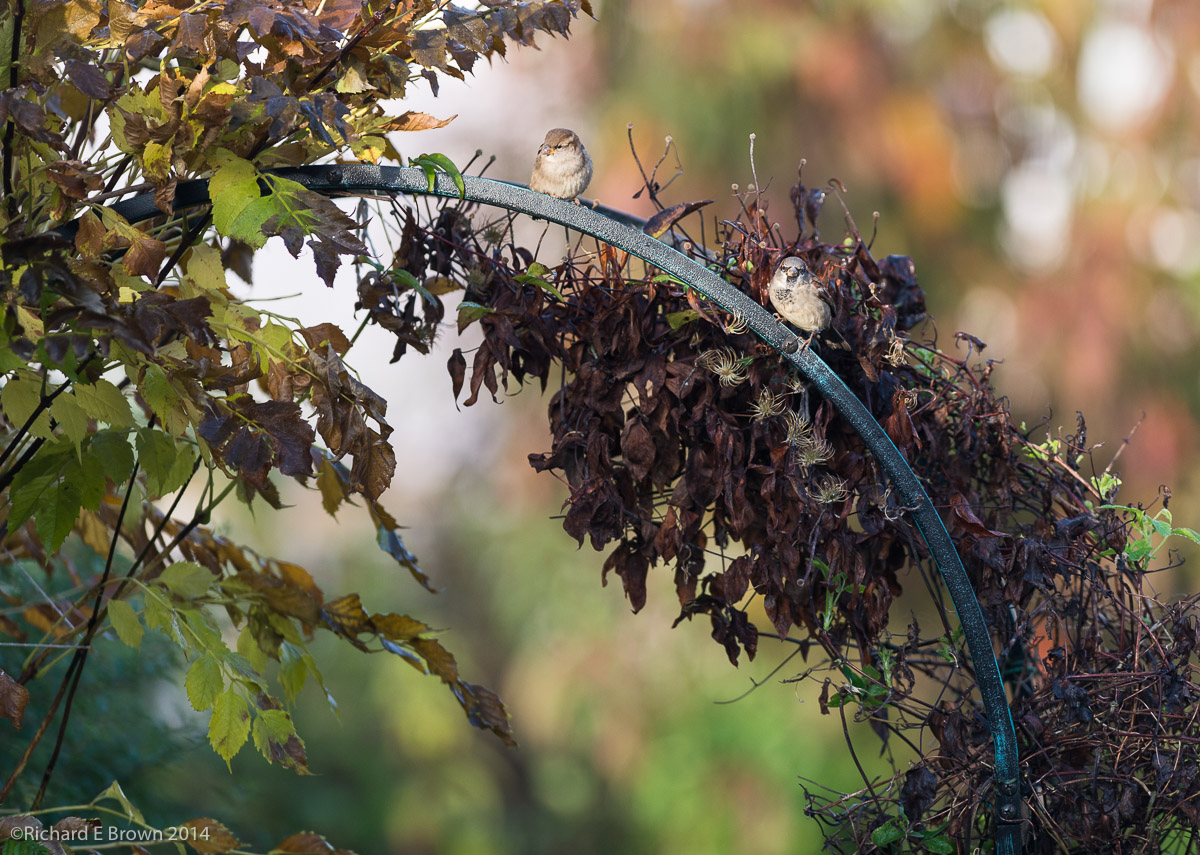
Leica M4
Leica Summilux 50mm f/1.4 ASPH 6-Bit
50mm, 1/500 Sec at f/8, ISO400
Developed in Ilford Ilfotec LC29
Scanned Epson V85p Pro
Post Processed in Adobe Lightroom CC2015.5.1
On a Mac Pro, OS-X 10.11.5
With two rolls of Kodak Tri-X all developed and now dry, it was time to get down to some scanning.
As I have blogged about this before, this is a bit of a re-cap; getting everything clean is the first and major step, after that it is relatively simple.
My scanner is an Epson V850 Pro and instead of using the bundled Epson Software, I use SilverFast.
Step One clean and mount the film and scanner plate
Select Pre-Scan, at this point it does a basic scan
Select Frames, Find Frames and select the appropriate film holder, in this case Filmstrip 35mm
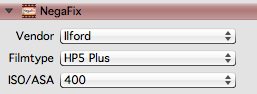
I then select my resolution 6400 ppi for film and then select the film Vendor, film type and ISO. Most common makes are there from Ilford, Fuji and Kodak.
Then its a tweak to the Midtones to make the files a little flatter and easier to working on post production, I use +5.
Select Copy settings to all frames
Now for the time consuming part.
Zoom into the first frame and adjust the frame to capture all the image
Tweak the histogram if necessary
Go to next frame and repeat
Once all frames are done I then select batch scan and have it uniquely number each file and place them in a watch folder.
Its then over to Lightroom where I configure Auto Import. I have found the the default developer settings I use for my Nikon DSLR are a good starting point and I have Lightroom add the current date to the scans filename.
I now go off and have a cup of coffee and leave the computer to do its stuff, the scanner putting the images into the watch folder and then Lightroom automatically importing them, adding some developer settings and meta data and adding them to my main Catalogue image store.
This week I shot just over two rolls of Kodak Tri-X. Now you can send off your film and get the negs and a CD back within a week, but scanning costs keep going up so if your shooting Black & White its very easy to do it yourself.
I already had some fresh chemicals which I had ordered earlier in the year, along with ten rolls of Kodak Tri-X.
So with two complete rolls ready to develop it was time to get started.
Cracking open the film Canisters
I shoot large format and that requires loading and unloading the dark slides. For this I use a large changing bag, so first step is to get the changing bag loaded up.
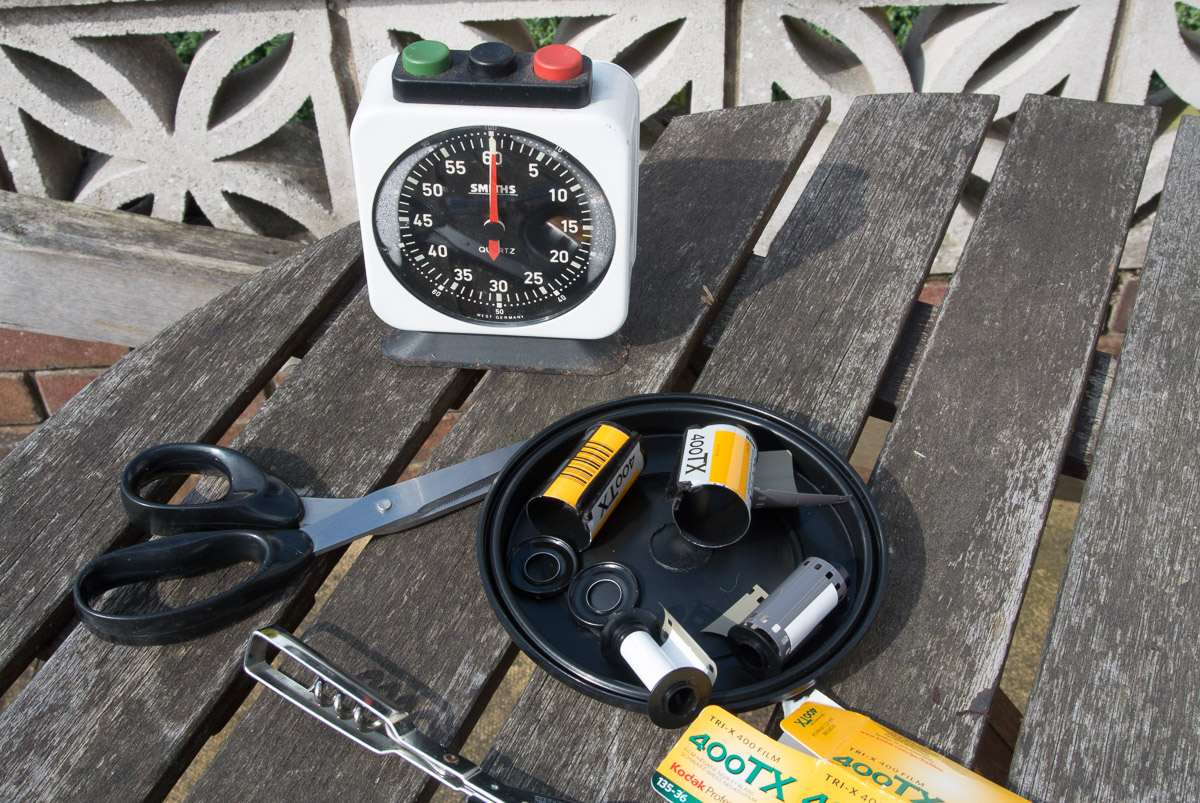
In the changing bag I placed, scissors, a can opener, two film spool rolls and a developing in tank.
In total darkness you using the bag as your darkroom you first use the can opener to remove the film. If you have a film leader retriever you can start loading the spools in the light which makes things easier but I could not find mine.
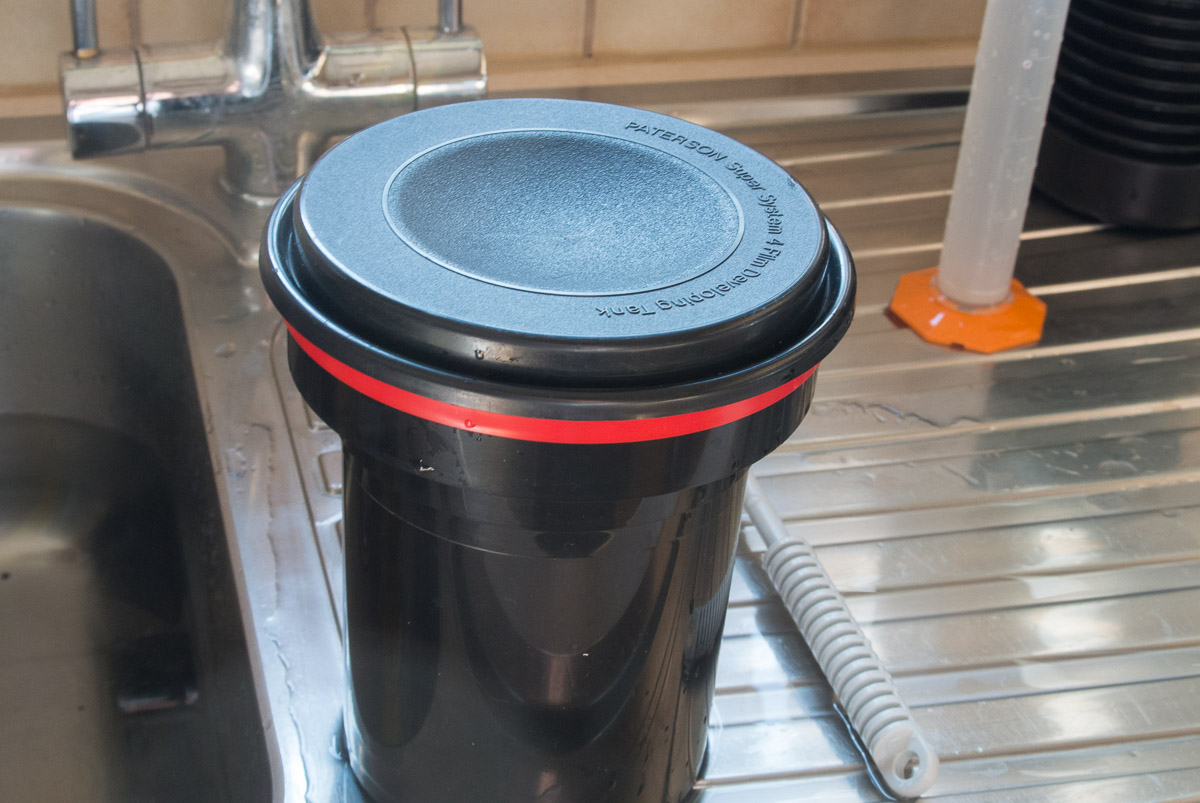
Once the film is out of the film canister I trim off the leader and then start to load the film onto the spools. Once both films are loaded onto the spools you load them into the development tank. Once the film tank is assembled it is then light tight.
Now its time to mix the chemicals.
The essentials are a developer and a fix. The stop and the wetting agent are optional.
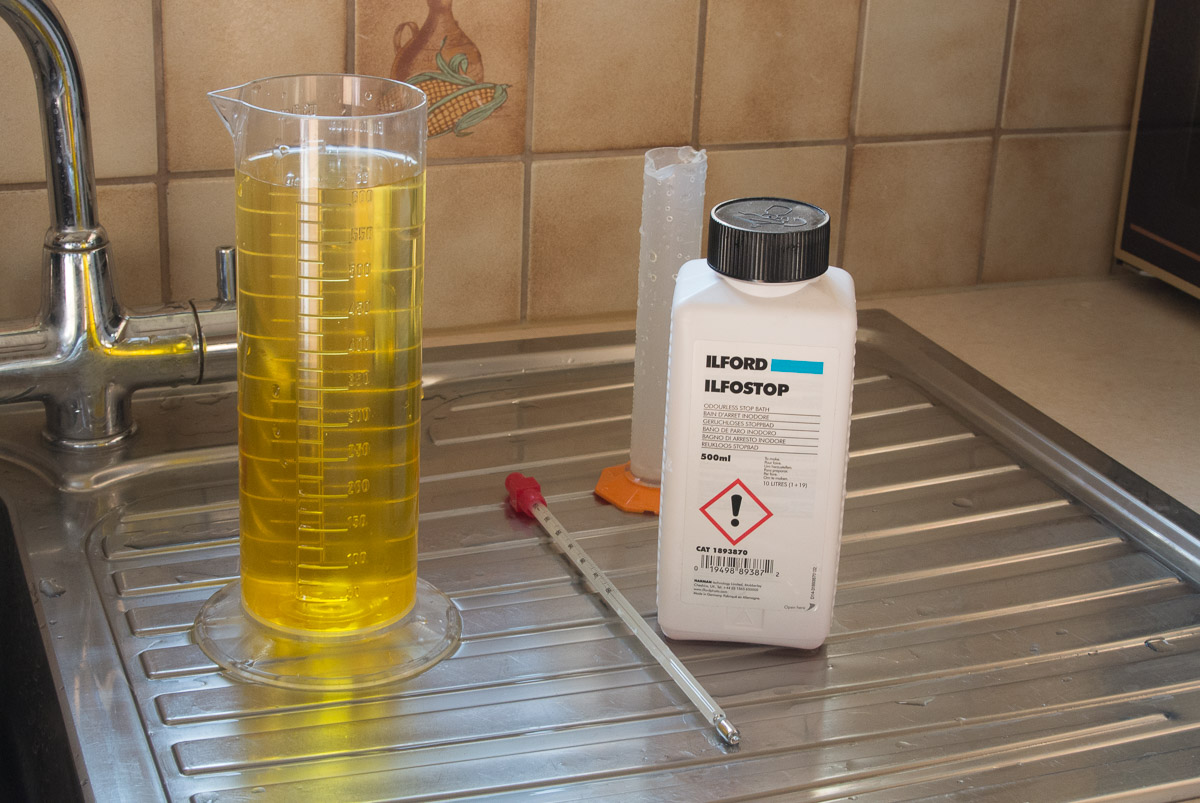
I mixed up some hot and cold water so that the water was at 20 C. Then mixed up the chemicals. For developer I use liquid not powered developer as its easier to mix but its cheaper in powered form. One part Ilfotec LC29 and nineteen parts of water. I mixed up 600 ml, the tank said 290 ml of chemicals per film so for two films I just rounded it up.
Stop is mixed the same and the fix is one part fix and five parts water. While all this was going on I kept the mixed chemicals in bottles stood in the sink. I had earlier filled the sink with water at 21 C to keep the chemicals at the right temperature.
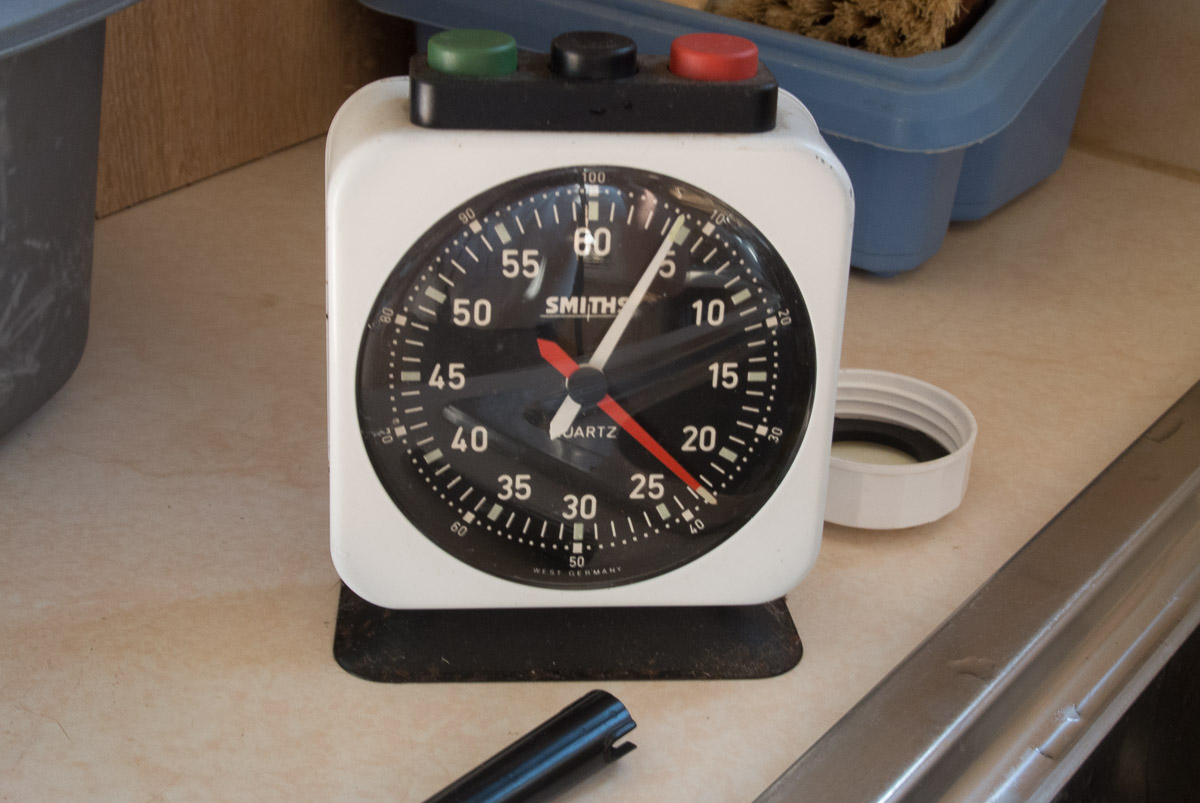
You start the timing the moment you start to pour in the developer.
For this film and developer its six minutes and thirty seconds of development with agitation every minute.
Your pour out the developer ten seconds before the time ends and at the end of development time add the stop, or water if you have no stop.
Stop just needs ten seconds, then pour out and add the fix for five minutes
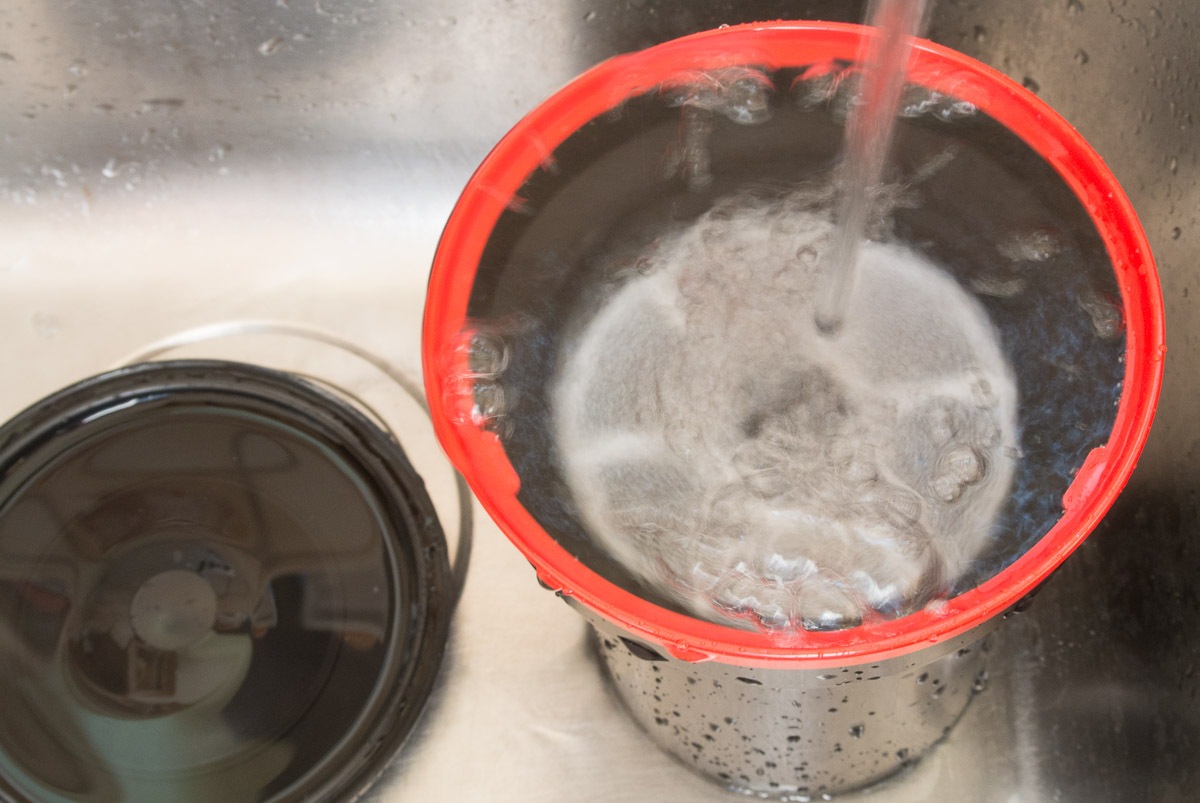
After that I gave it a ten minute wash, the amount you wash does depend on the type of fix you use.
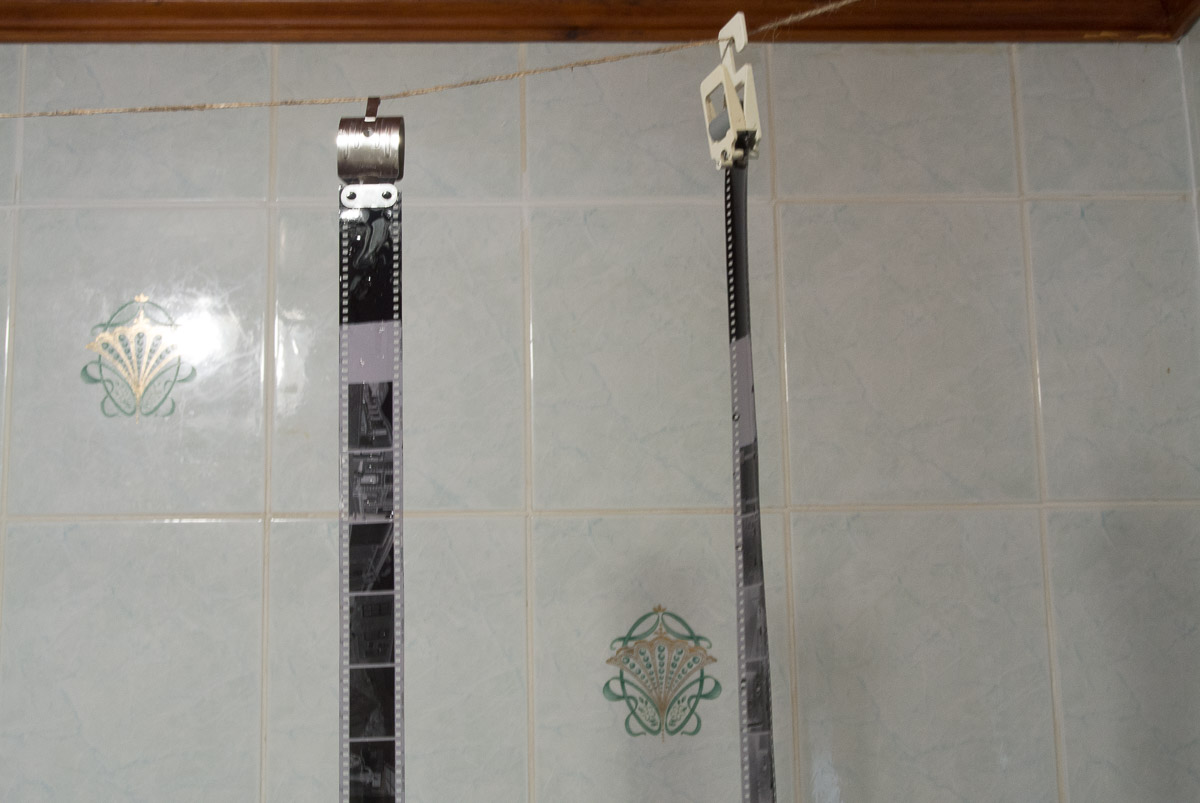
Caroline then fixed up a line in the bathroom and both films were hung over night in the bathroom.
So there you have it quick and easy film developing.
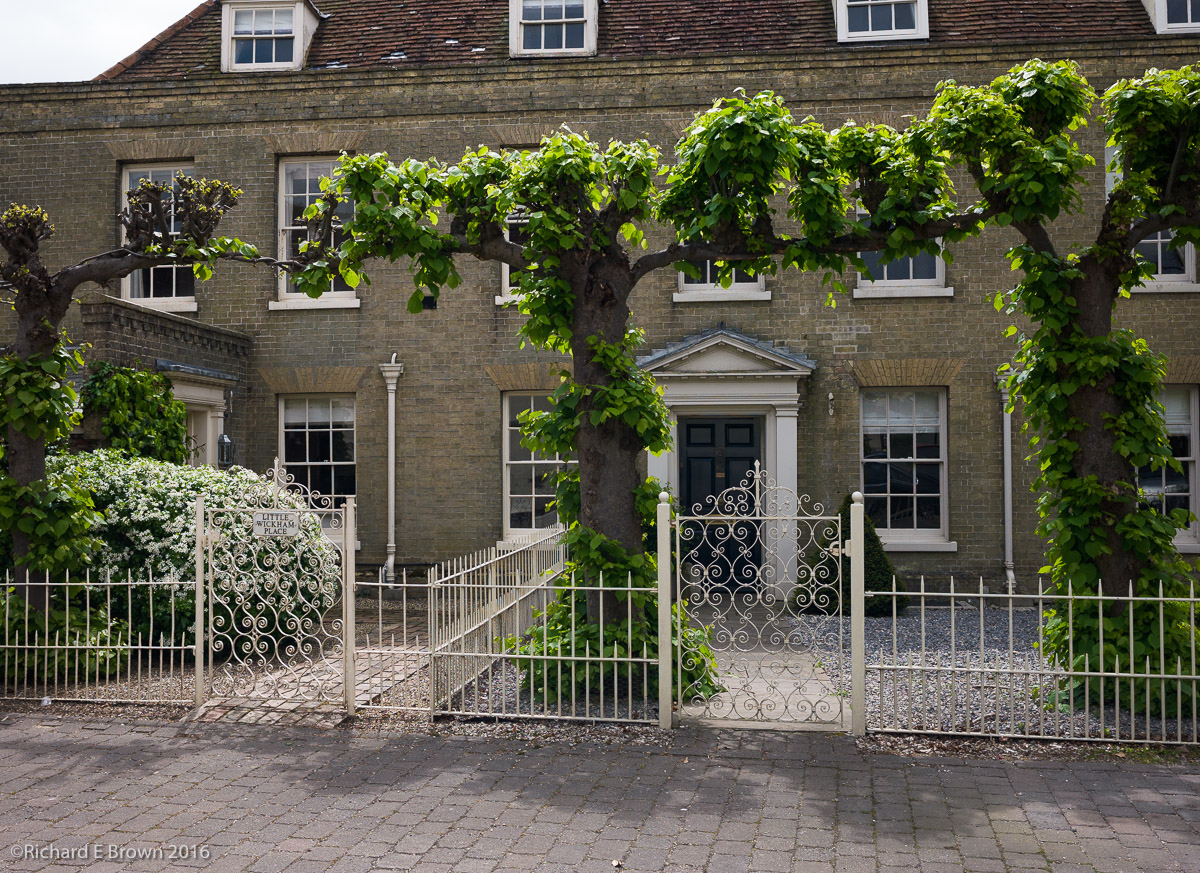
The last day of our holiday, so where to go? Well there are two good quilt shops near Southwold, so we decided to visit Quilters Haven in Wickham Market.
Once again I was shooting mainly with the Leica M4 and Kodak Tri-X with is an old fashioned and grainy 400 ISO film.
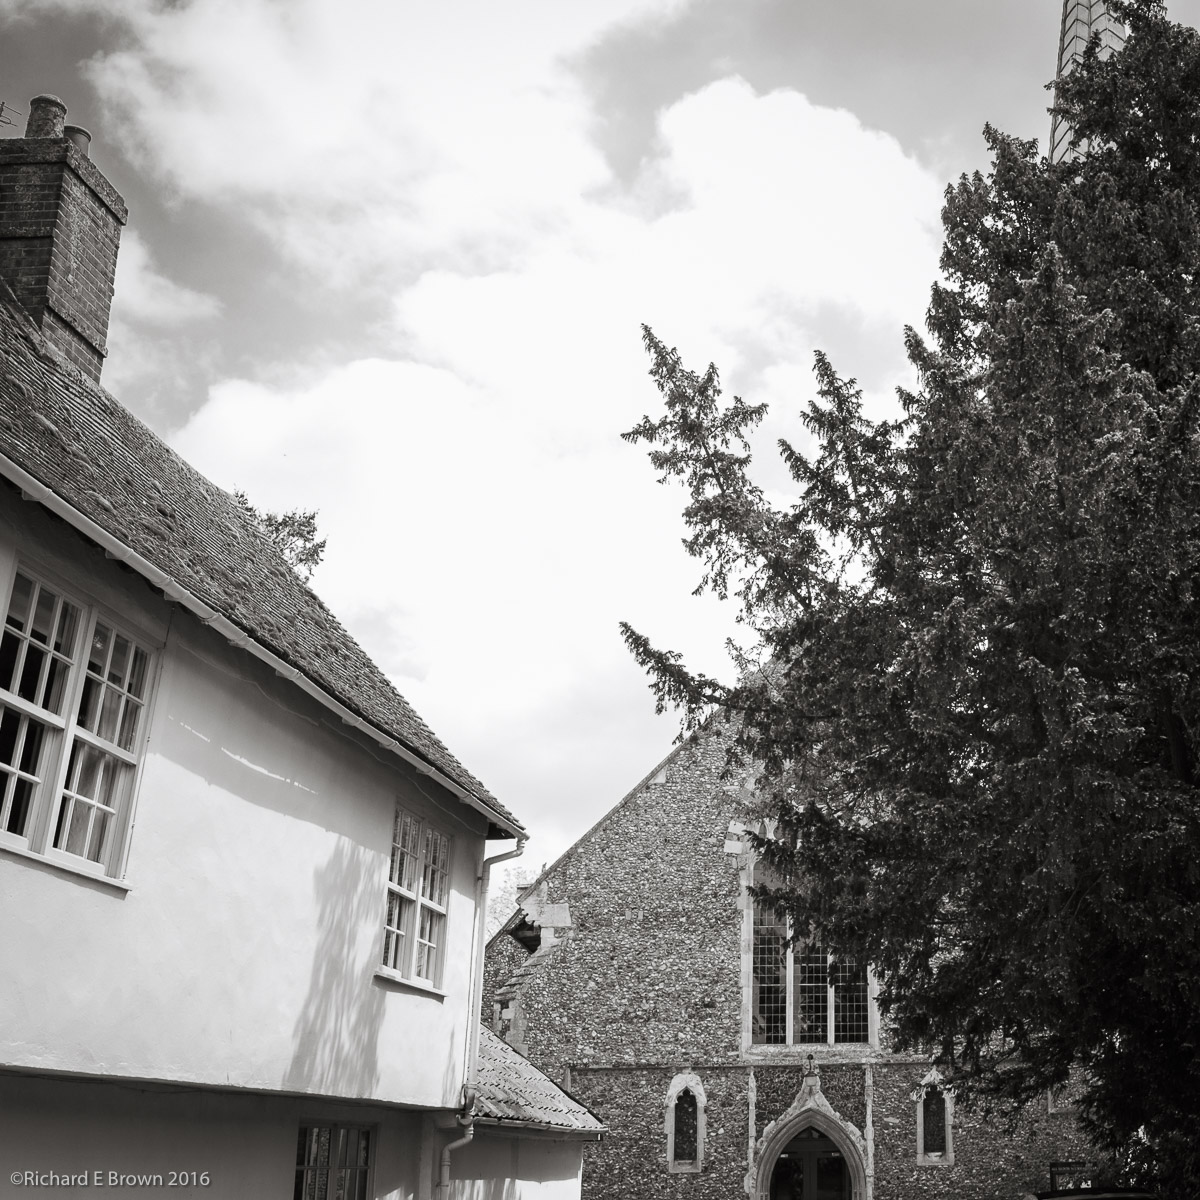
While Caroline was checking out the fabric in the shop me and Timmy walked round the village and took in the sights. It was not long before I finished up my second roll of Tri-X on the holiday so I put the M4 away and then grabbed the M8 which these two shots were taken with.
So thats two rolls now to develop. Its been at least ten years since I last developed a film so this is going to fun. Luckily I still have my developing tank and recently even bought an insert so I can develop 5 x 4 inch sheet film.
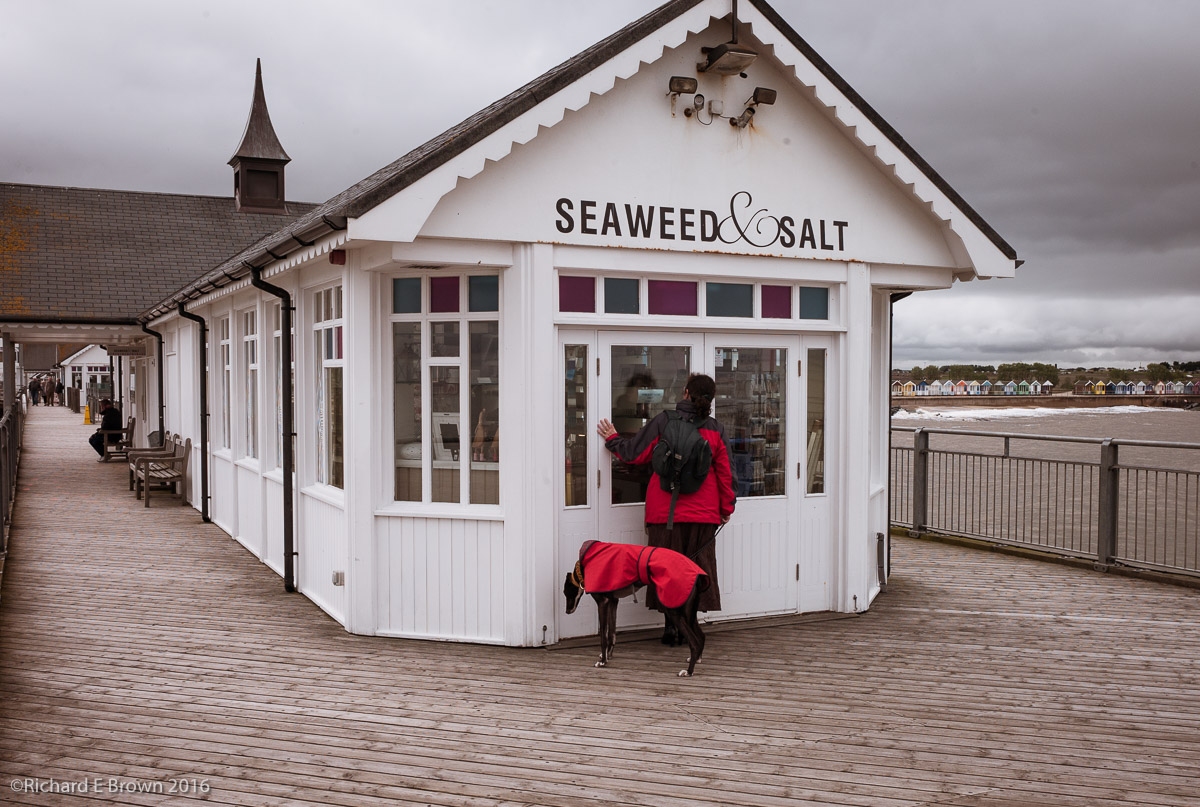
So here we are having fun on the end of Southwold Pier. In the end I packed very light. Two Leica bodies, an M4 and a M8, and two lens, an Elmar 24mm and a Summilux 50mm together with spare memory cards, two spare rolls of Kodak Tri-X and the iPad.
The above shot was taken with the M8 and the 24mm. All processed in Lightroom Mobile on the iPad. The colour looks a little odd as I used different contrast curves for the red and blue channel plus a little desaturation. An interesting look I hope you agree.
So far most of my photography today has been with the M4, the light was overcast and constant which made using an old camera without a built in meter very easy.
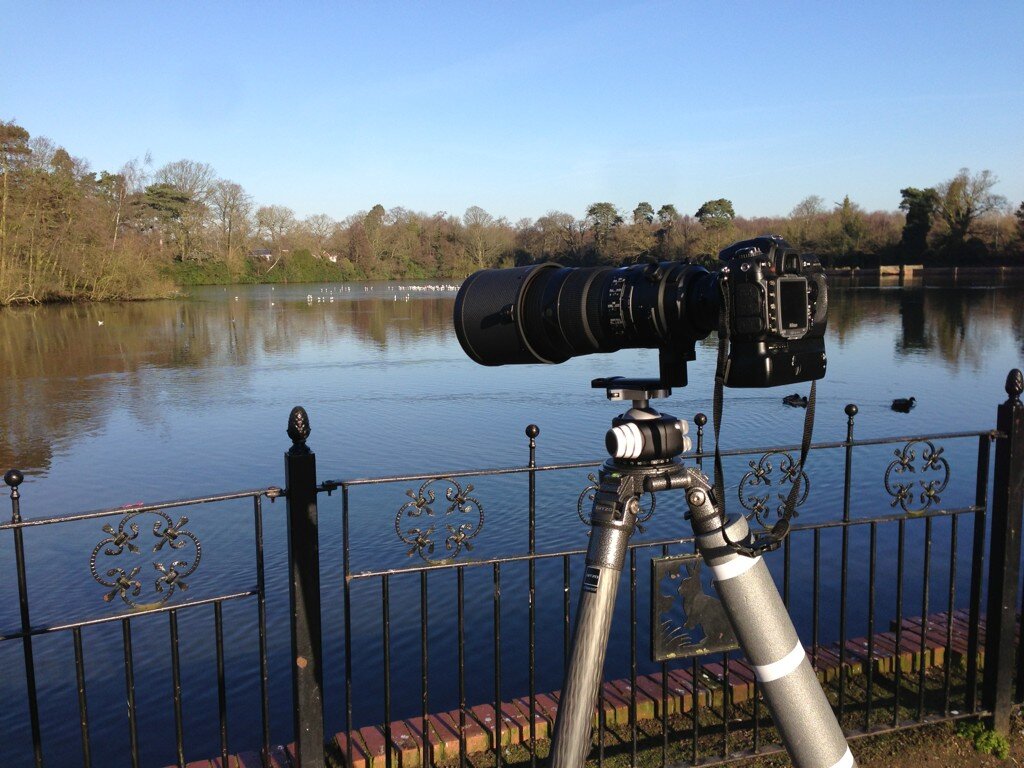
We are off tomorrow for a few days to Norfolk and Suffolk. Its just break away from home to get a rest and some change of scenery but of course i’ll be taking some camera equipment along.
There is the opportunity for wildlife photography but I think this time i’ll be keeping it simple and leaving the SLR’s and big glass at home.
The website is a great resource for photographs and I have bought a number of their videos on Lightroom and Camera to Screen to Print. Michael was a great photographer but also a great educator and will be missed.
Grab any digital SLR, power it on and your instantly ready to shoot.
With mirrorless that is not always the case. Recently I saw an interesting video on Youtube looking at startup times for the Leica M 240 series.
Its often said format in camera, and the video demonstrated that a card formatted in camera compared to a memory card formatted on a computer made quite a difference to start up time. So first rule format in camera. If you have to format on the computer, download SD Formatter which will do it correctly.