
Back in October last year I blogged on how to create a OS X Moutain Lion Install disk, as the OS was download only. Tuesday saw the release of the latest Mac OS, OS X Mavericks; yes gone are the big cats that saw us through the previous decade, now it seems we have place names, starting with Apple’s own backyard and Mavericks, named after Mavericks Beach I believe.
If your still after my original blog post you can find it here:
https://brown-family.org.uk/creating-a-mountain-lion-install-disk/
Its posible worth a read as it covers in slightly more detail some of the techniques we are going to use below.
Creating an install disk is basically the same as before but with a minor exception. The install dmg cannot be just restored theres a few extra steps involved, and this means we need a little prep at the start.
First job is to make some of the hidden system files you are going to need visible, so step one is to get are hands dirty and drop to the command line, not something most Mac users are used to, but with OS X being UNIX its incredibly powerful.
Step 1
Launch Terminal; You will find this under Applications/Utilities, or if your lazy like me hold down the Command Key and hit the space bar, then type terminal and press return.
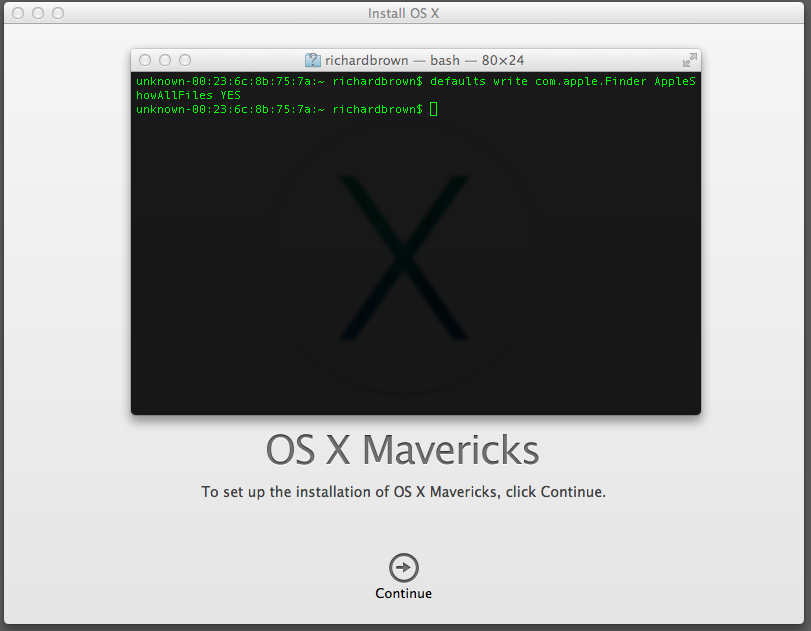
At the terminal command prompt type:
defaults write com.apple.Finder AppleShowAllFiles Yes
Then press Return.
Then type:
killall Finder
And press return again. This will cause finder to restart but with the show all files settings as defaults.
Step 2
You know need the OS X installer which can be downloaded from the Mac App Store free of charge; nice one Apple!
Step 3
Once Downloaded you will be presented with the OS X install screen, ignore this for now and go and look in the Application folder. Here you will find the installer. Now that it is downloaded copy the install to a couple of old harddisks to keep it safe, if you have an so download speed like me then you will not be wanted to download it again. Ctrl-Click and select ‘Show Package Contents’. Browse to Contents/SharedSupport, find the InstallESD.dmg file and double click it to mount it.
Step 4
In the mounted dmg find the BaseSystem.dmg file this file is hidden and cannot be found unless you followed the first step. Now Launch Disk Utility and drag your destination disk to the destination field and the BaseSystem.dmg file to the Source field.
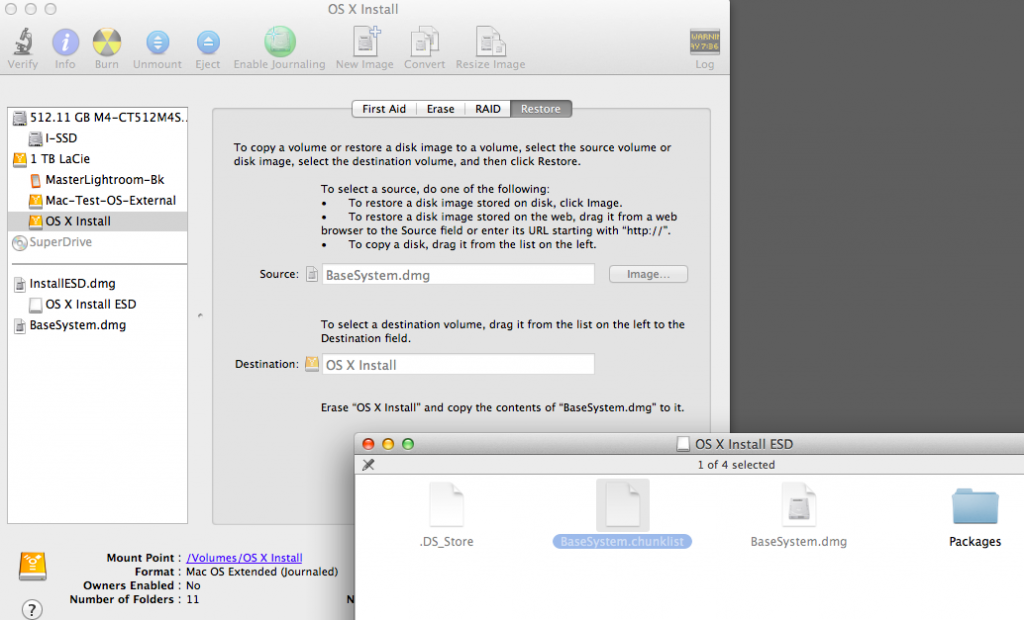 Click Restore.
After a minute or so depending on the speed of the disk you are restoring to; you will now have a disk called OS X Base System. You now need to browse into System/Installation. Here you will find an alias for Packages. This needs deleting.
Step 5
Find the full Packages folder from the root of the mounted InstallESD volume and copy it to the where you deleted the alias from.
You should now have a bootable OS X Install drive.
Step 6
Lastly you need to set your finder defaults back to normal.
At the terminal command prompt type:
defaults write com.apple.Finder AppleShowAllFiles No
Then press Return.
Then type:
killall Finder
If like me you want to give the new OS a good test but not yet install on your live install disk then you can use tools like SuperDuper clone you install disk to an external disk, boot with your new install disk and install to the other external disk, then boot from it and test everything. Only once you are happy you can upgrade your main disk, but remember to have a time machine backup or a clone of it just in case.
One Reply to “Creating a OS X Mavericks Install Disk”