Once you have imported your photographs into a DAM (Digital Asset Management) Package, then to get the most from your photographs, especially if your a professional photographer who may need to lay there hands on a particular image months or even years later there are a number of key tasks to perform.
First is meta data, simple things like location files were shot, copyright information, basic key wording etc.
Then there is developing the files. The Adobe Camera RAW engine using process2012 is very powerful but the import process does tend to flatten your images resulting in RAW files that will not look anything like as good as out of camera jpegs.
I have a number presets to speed things up. First common meta data presents with my copyright information and some location presets for locations where I shoot a lot.
Then there are develop settings, some are camera specific, and also apply basic sharpening based on if they are Landscapes or People focused.
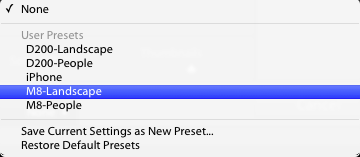
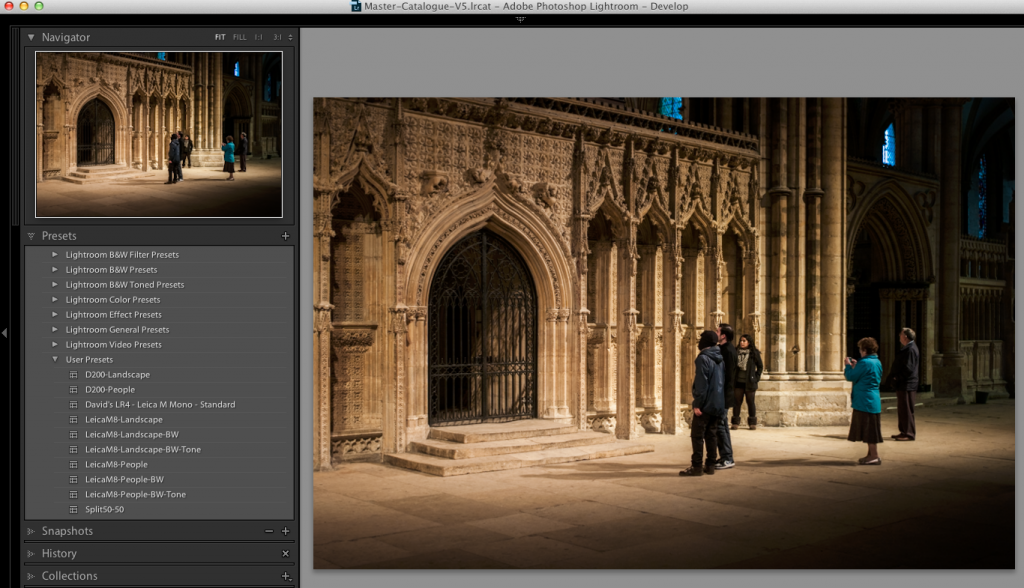
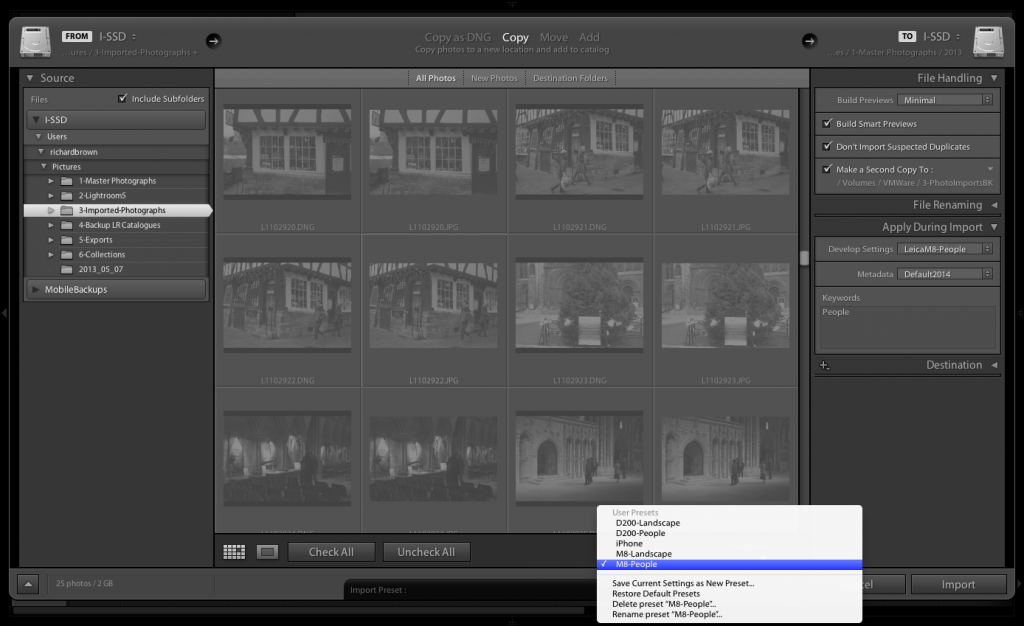
The key to really speeding things up though is to set these up with your import presets, thus as you can see above, when I import files from my Nikon D200, if the pictures are mainly landscapes I choose the D200-Landscape preset. This preset apples my basic landscape metadata and copyright information, it sets a backup hard drive destination so the files get backed up to a second disk during the import. It applies the develop preset I have configured for my Nikon D200’s and does some basic import sharpening optimised for Landscapes. It then ups the contrast and vibrance reduces the saturation slightly and brightens the shadows.
The Leica M8 presets similarly tweak contrast reduces red channel saturation and applies a tone curve.
Using these imports I can get to a position quickly where I just need to add some detail location information, final specific keywords, white balance and a slight tweak to the develop settings.