
It’s always risky giving first impressions of a camera you have never used, the Nikon Series 1 V1 should have taught me that.
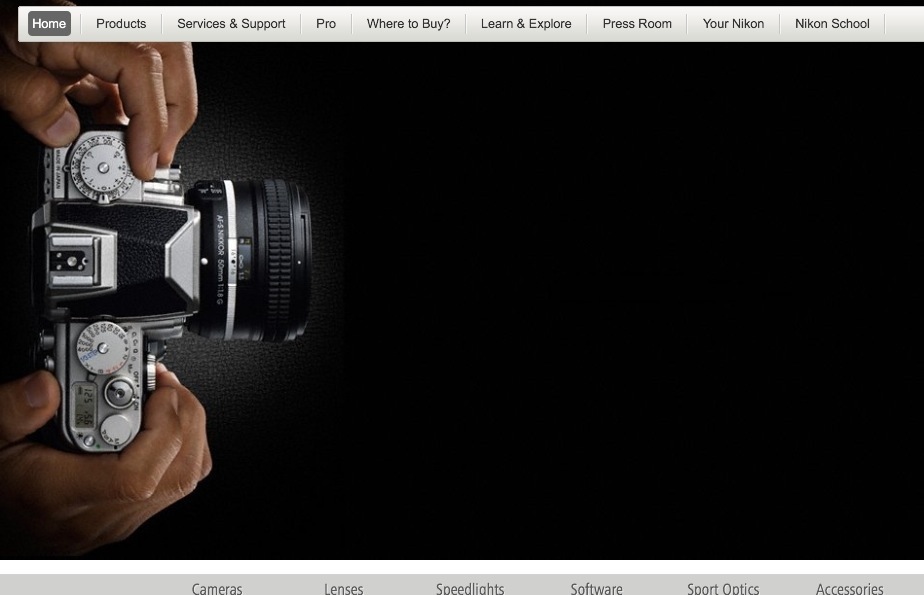
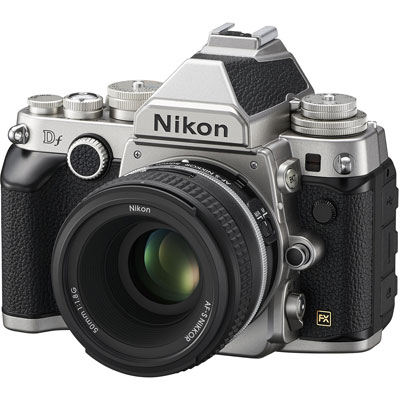 So the Nikon DF the ‘Retro’ Nikon, harking back to the days of the great Nikon FM, FA, and of course the F3. Well theres the good the bad and the ugly.
First the Good. Its based on a Nikon D600 with a D4 sensor that for users who currently have a D700 makes it a great upgrade path. While it will not keep up with a D4, with that sensor it will have great quality and fit with people who thought the D800 is over kill. I love the analogue controls on the top and while a bit chunky it does not look to bad.
The bad, well thats the price, for basically a D600 and focusing package with the D4 sensor its way over priced. I would also like to know if the mount is attached to the back via the metal chassis, in the D600 it is not which means people like me with big long heavy lens risk warping the mount reference to the back. The D800 and D4 has no such issue.
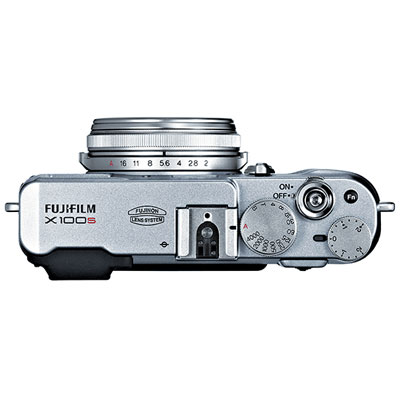
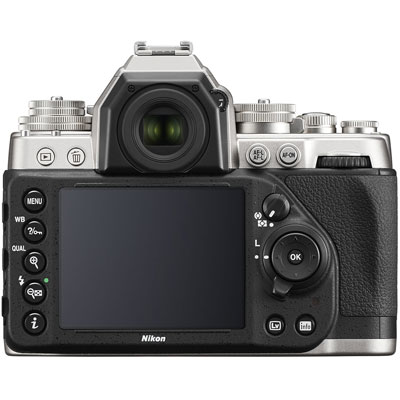 And the Ugly, well as much as I like analogue controls, when Nikon moved to the G range of lens they lost the aperture ring so there is an odd aperture control on the front and from the back its still looks like any other digital SLR. I know its tough getting away from the large LCD and digital controls but Epson got it right when they embarrassed Leica by producing the worlds first digital Rangefinder with the RD-1 with the reversible back.
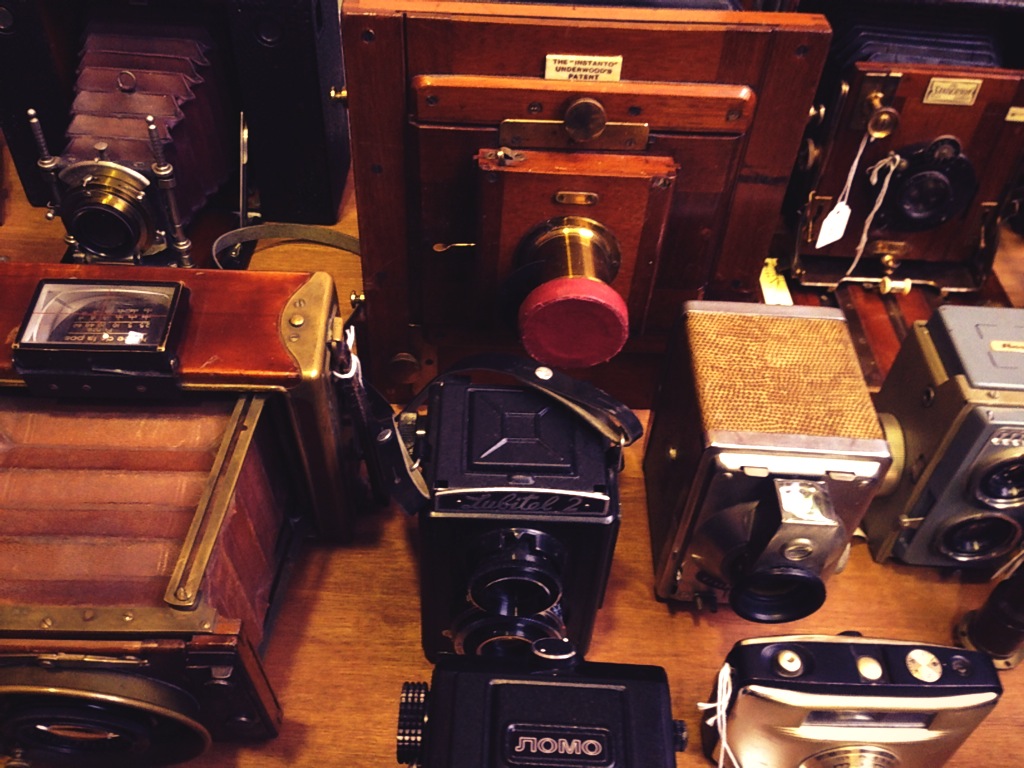
I have to admit I like it, but at £1000 over the cost of a D600, sorry I would rather buy the D800 and spend money upgrading my computers to cope with the 36 MP files. Money better spent I think. For now I will scratch my Retro itch by using my Leica M4, M8, Hasselblad V and Ebony. Now the Ebony, thats Retro!


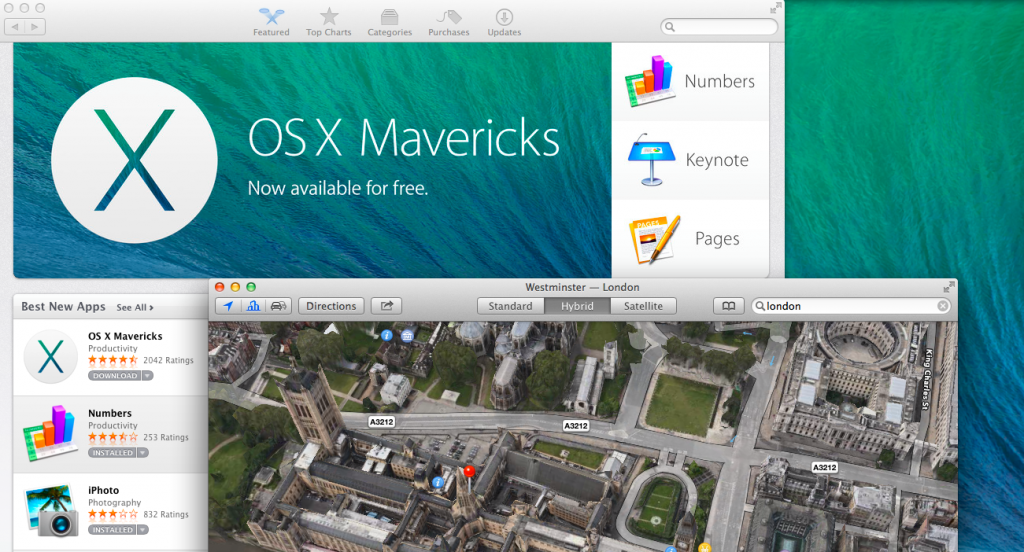 Well after my blog post yesterday about creating an OS X Mavericks install disk; what did I do with it?
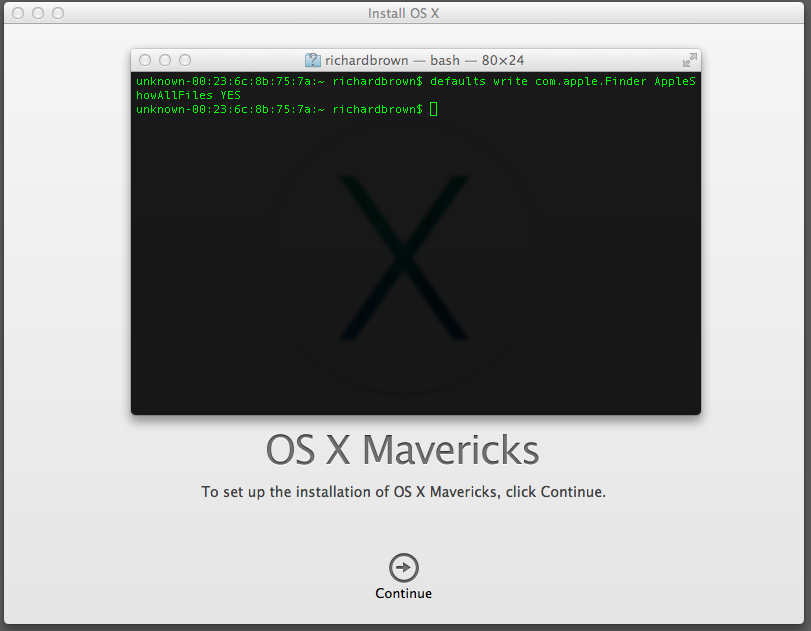
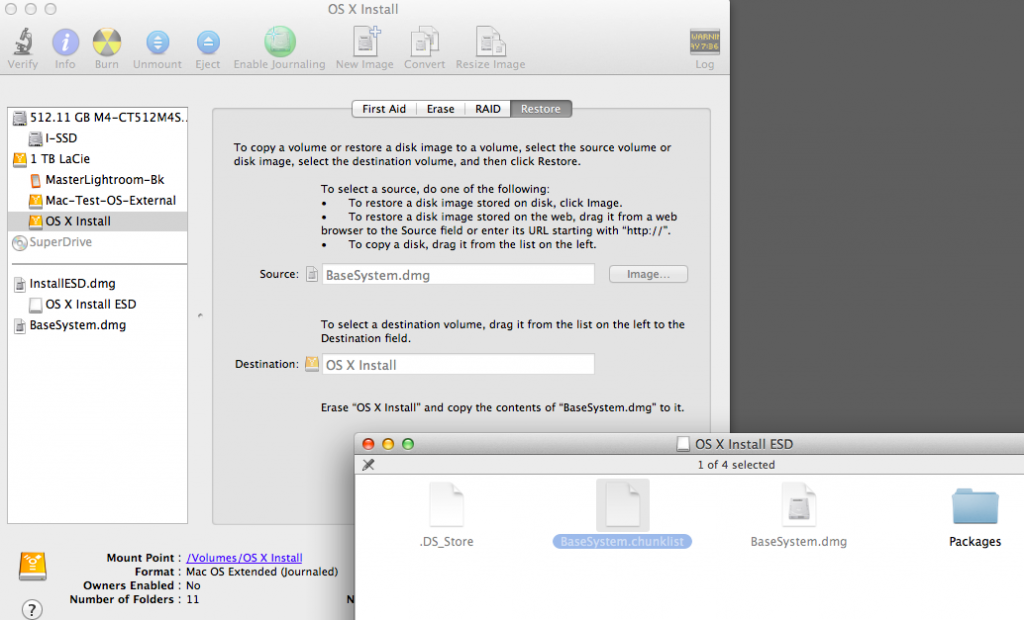 Click Restore.