
Nikon D200 SLR
Nikor 12-24mm F/4
24mm, 1/350 Sec at f/8, ISO100 (HDR Bracketed +-2)
Processed in Adobe Lightroom V3.5
On a Mac MacBook Pro, OS-X 10.7.1
Family, Photography and other misc news
Nikon D200 SLR
Nikor 12-24mm F/4
24mm, 1/350 Sec at f/8, ISO100 (HDR Bracketed +-2)
Processed in Adobe Lightroom V3.5
On a Mac MacBook Pro, OS-X 10.7.1
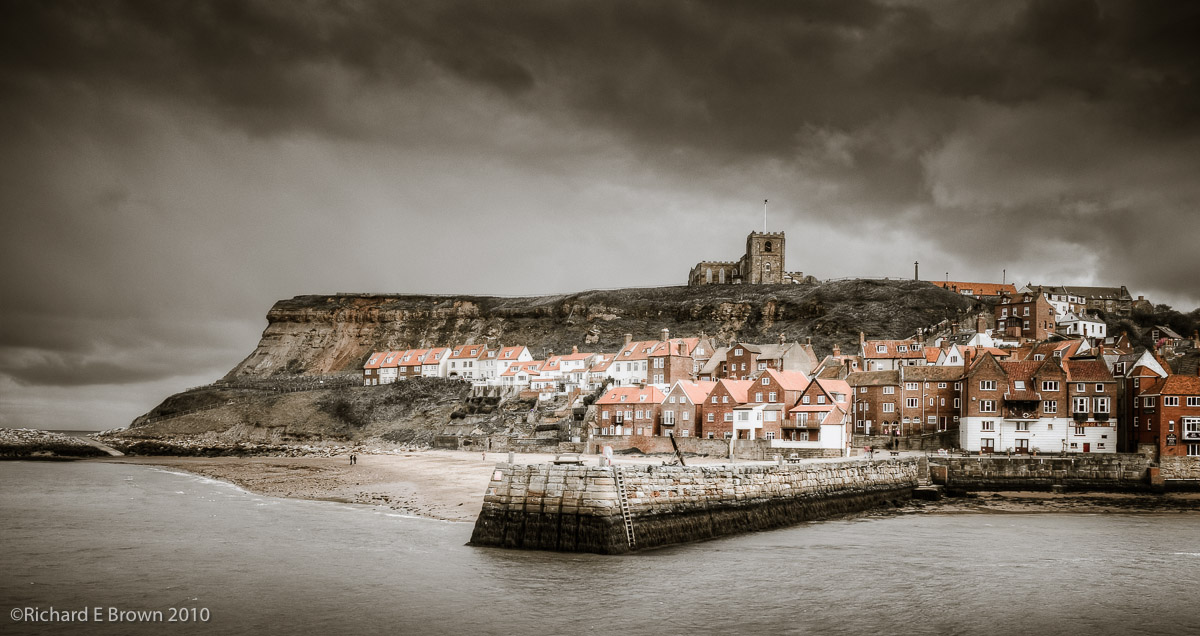
Well to make my challenge harder (if it was not hard enough already) I am visiting the same area again each day.


Yesterday I used a Macro Lens, today I used a wild angle. Again we were blessed with good weather. Lots of bracketing, shooting into the sun and generally challenging myself to come with fresh ideas.
Today things started to gel and I managed to get a number of good shots. I now feel I have my picture of the month, which I will post tomorrow.
Until then enjoy these few that I took over the last few days.
Well Monday was a bit of a bust, I will not bore you with the results but lets just say they were bad.
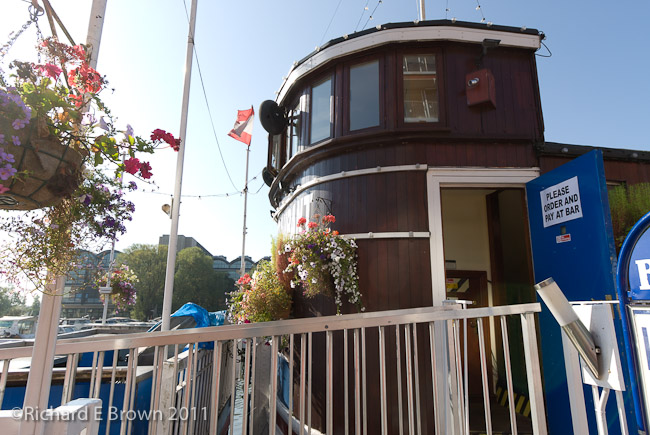
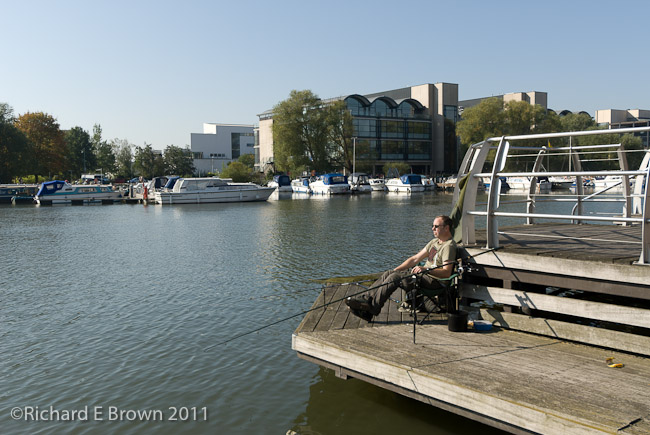
Today I went for a lunch time walk around the Brayford Pool in Lincoln. The sun was shining warm and pleasant, no stunning photographs but nothing to awful.
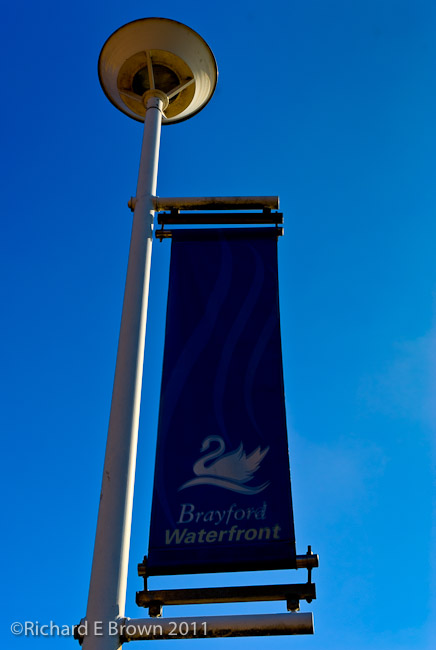


The wildlife is always an option, and I took a few snaps of the swans. Shooting from one direction I had to dial in +2/3 of a stop exposure compensation, from the other -2/3 of a stop. The sun reflecting on the water can be tricky.
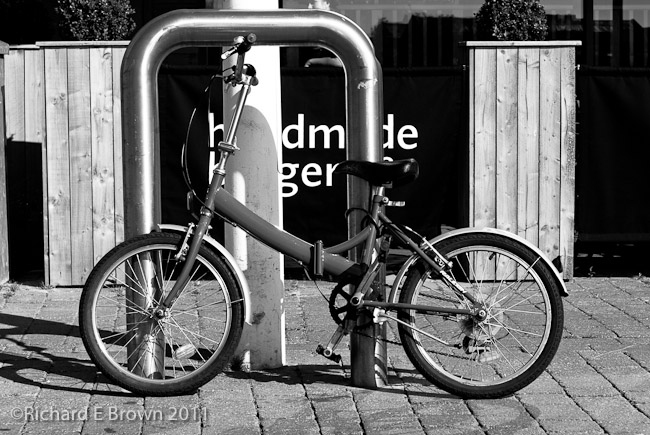
The bicycle was a opportunistic shot that I spotted, and the rest were just details and features in the area. The wall and the flag being the most interesting.
I have kept a couple of shots to myself, I am going to try a few HDR and LAB colour techniques on them tonight and feel one of them may be the picture of the month. With the bright colours and blue sky I bracketed on a number of shots to use later for HDR.
I’ll try and get out in my lunch breaks for the rest of the week and see what I can come up with.
I do have some portrait sessions this week, but they are all for corporate clients so not eligible for Photo of the Month. Maybe I should change my own rules!
I am sure many of you are aware, many photographers take part in a 365 project.
The idea is you produce and publish a photograph every day.
I had a go last year at a mini version of this. I tried to take a picture a day for a month. This lasted about two weeks before the sameness and lack of originality in my shots made me give up.
Well as the month of September draws to a close I had a look back at the personal photography I had taken for prospective picture of the months.
Much to my surprise I found I had nothing. It’s not like I had not taken lots of photographs, but there were all for clients, portraits, corporate events, etc. Nothing for myself.
So this week a challenge is set. With the five days left to this month, produce five reasonable pictures.
Let’s hope I can come up with something.

Yes a coffee not an award wining photo I think.
Well after a few days the furore on many Internet forums has started to calm down. People like Thom Hogan have written a number of good articles of where this camera system fits.
Nikon may have found a genuine gap in the Market place and some of the specs and sample photography’s that are starting to appear do seem to prove they have got the image quality right. The biggest issue now seems to be the price.
For not much more I can get a Sony Nex 7 which rivals all but the very best of the current SLR’s. The Nikon 1 seems more of a Fuji X10 or Panasonic LX5 beater. With the lower cost of the Fuji and the Panasonic, together with their more pocket friendliness, it’s difficult to justify the Nikon price.
We will have to wait and see, maybe there is a more enthusiasts model with good manual controls and overrides coming. Match that with some good fast glass and some nice pocket friendly pancake lens and they may have something.
Still before I judge fully, I will wait till I can examin some photographs I have taken myself with it, and seen what the handling is really like in my own hands, until then it goes on the list as a possible.
My small Camera Shortlist (If money was no option then I would add the Leica M9)!
So out of the two biggest Camera manufactures, Nikon become the first to release a Mirrorless Interchangable Compact.
Image quality generally is related to the size of the film or imaging sensor.
Now that digital is so popular a number of different small formats have come about. These have generally been full frame (same as 35mm, 864 square mm) APS (cropped, 376 square mm) usually giving a 1.5 or 1.6 crop. Then there is the modern digital compact. These sensors are tiny with the biggest being about 43 square mm.
Many photographers have wanted a camera that filled the gap between the small compacts and for many that missing link is the micro four thirds system.
Now we have another option, the Nikon 1. If you check the forums then you will see most people are very disappointed with this camera. People wanted something like a Sony NEX-7 with a APS sized sensor.
For me, I am open minded and will wait to see how it handles and what the image quality is like but with it’s smaller sensor and the larger sensors of the micro four thirds cameras and Sony’s NEX range, its going to have a hard job.
Luminous Landscape have some early reviews of a pre-production Sony NEX 7.
http://www.luminous-landscape.com/reviews/cameras/sony_nex_7_first_impressions.shtml
Looking forward to trying one out.
Engagement with your subject.
What do I mean, well for wildlife, landscape etc, its more about knowing your subject.
For people photography its about talking to your subject, involving them in the picture taking process.
With a professional model you can focus more on your picture taking process, your lighting and technique. Professional models know what its all about, but you should still involve them and keep their interest.
For people who have never attended a photographic session, then engagement is absolutely critical. They should be your primary focus, the technical side of photography really needs to be effortless and not really require any real thought.
Know your subject and engage with your subject. Your picture will improve.
Previously I discussed Work Flow and went into a little some detail about importing and backing up.
Today I am going to briefly go into Digital Asset Management. A good DAM program is essential for professional photographers. Its all about being able to find your work. Many photographers have lost sales due to being unable to find a shot. DAM, together with key wording and metadata allows you to quickly find those photographs.
Even if you only shoot a little, I would recommend you still incorporate these techniques into your workflow. If your a light shooter, only photographing holidays and family event, being asked maybe eighteen later for a photograph of the birth of a child to blow up at their eighteenth birthday party, and not being able to find it can be heart breaking.
So what DAM package should you use, well you need something that suits your workflow, for many thats just a well structured folder structure and correct metadata information on the image files. For others thats a full blown DAM application.
If you want to know what I use well that is Adobe Photoshop Lightroom.
It works very well and also also fulfils other roles within my workflow as well. Its available for both Windows and Apple Macintosh. If your a Mac user then Apple’s own Aperture is well thought of. DigitalPro V6 is also well thought of by Windows users.
The key is to have a system and follow it.
Well now that the nights are getting shorter, the mornings delightfully cool, the early mornings and late evenings are being blessed with the kind of light photographers love.
The low sun, warm light, really seems to give a lift to things.
Heres wishing good photographic light to you all, good night.