Film Friday: That will be a Leica then

I recently tried Street Photography with a Medium Format Camera, now it was time to have a go with a Leica, yep I finally have a Leica!
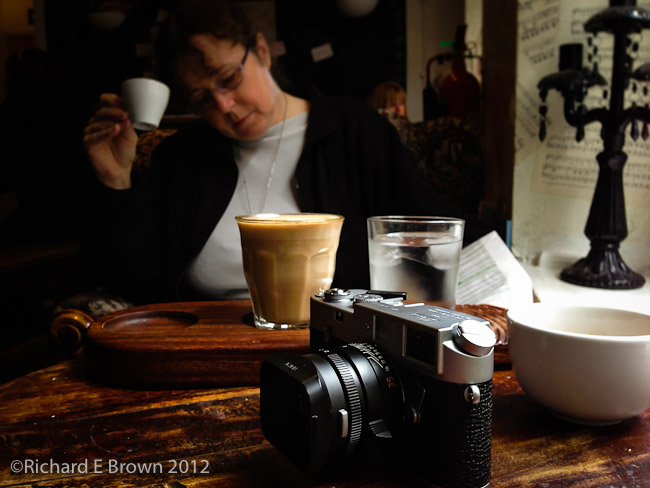
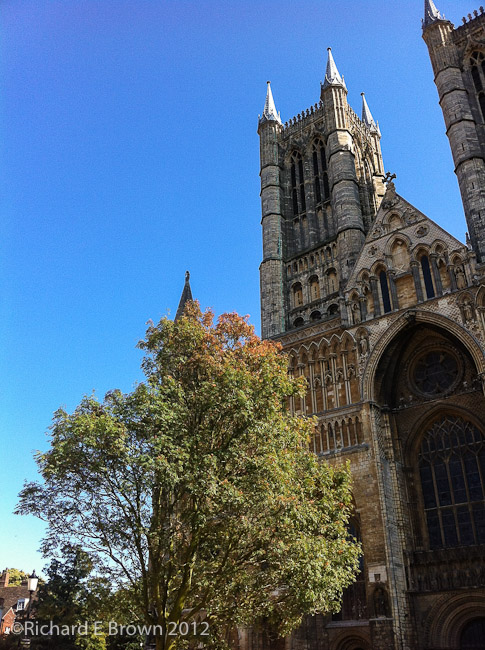
Leica M4, Leica 35mm Summicron, taken with an iPhone 5

More years ago then I care to remember, I fell in love with a lovely little range finder in a shop window.  I saved and saved and finally managed to buy it.  It was not a Leica but it was a very nice looking camera with good optics.  Unfortunately it had not been looked after and it just would not work properly, the film advance kept jamming.  The shop took it back, but I did buy a rather nice looking Zeiss Ikon Ikophot Light Meter which I still have to this day.
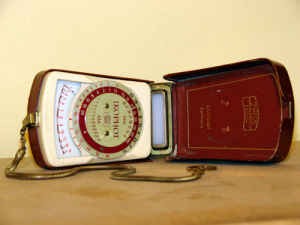
Since then I have been on the lookout for a Range Finder.

There were two makes I would like to own, either a Nikon SP or a Leica M.  Nikon SP’s are very hard to get hold off, and while I am a Nikon man, with Nikon SLR’s and 35mm lens to match and Nikkor Large Format Lens to go with my Large Format Ebony 45s; the Leica with its fantastic glass was the one I wanted.

With digital getting more and more popular; the Leica M became a bit of a niche product, and their lens, while new very expensive, second hand were more affordable.

With the release of the Leica M8 I started to think more and more about a digital Leica, and while it had its issues, the M8.2 was a great camera for Black & White with its extended infra-red sensitivity.

So a digital M was on my list, but cost was going to be an issue, and would I get on with a Range Finder.  The best thing would be to get an old cheap film M and learn with that.

So to that end, over the last few years I have started to buy Leica M lens.  So far I have only managed to get two at a good price, but with the release of the M9 and the increasing interest in the brand, its turned out to be a good investment, so if a Range Finder is not my cup of tea, I can sell the lens at a rather nice profit.

So the choice was a film Leica, but which one.  Well it would either have to be the ultimate film M, the Leica M-P, or a classic.  Well an M-P retails at the sort of cost I could buy a Digital M8.2 for, so a classic would be the cheaper option, but which one?

To be honest there was only two choices, the original M, the Leica M3 or to get the model that was available the year I was born.  The original M3’s are either very much collectors items and have a corresponding cost, or of very poor quality.

The Leica that was manufactured the year I was born was the Leica M4, while not as many M4’s were made as M3’s and the later models still fetch a very high price, the ones from the year I was born are very affordable.

So for the last two years I have been searching the internet for a good copy of a M4, made in the year I was born.

When it arrived I was very surprised at the condition, its very nearly mint, and looks like its been really well looked after.

I popped in an old out of date cheap roll of Fujicolor Superia (I wish people would spell colour correctly), and went out to give it a try.  The M4 like the Leica M3 has no meter, thats becoming a bit of a theme with me.  Of all my film cameras, only my Nikon FM2n has a meter, my Leica, my Hasselblad and my Ebony all lack meters.  So I also took with me my spare studio meter, and my classic Zeiss Ikon Ikophot, I would use my modern meter but compare the readings with my classic to see if it was consistent.

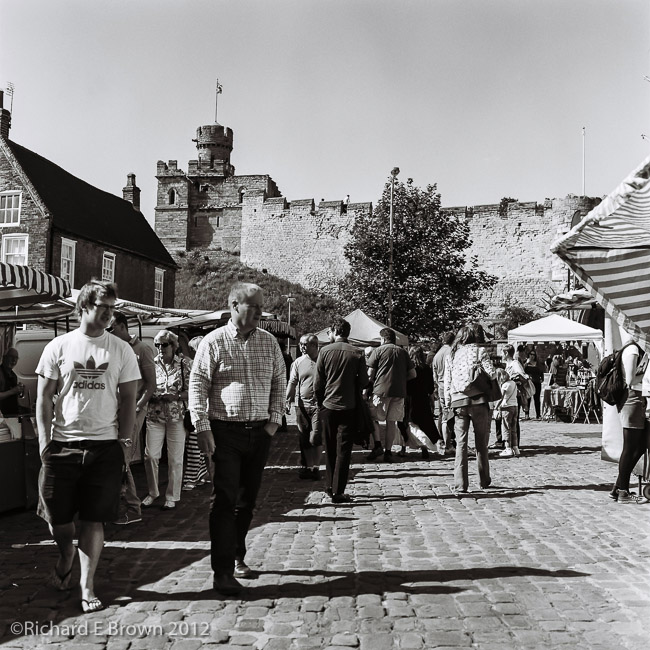
We went for a walk into Lincoln and I shot a few few frames of what every took my fancy.
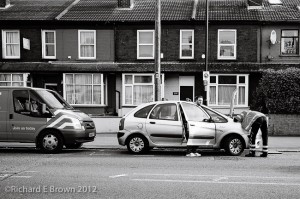
With the low sun, depending on what direction I was shooting I was getting a stop difference in the light, so I had to keep remembering to change the shutter speed or aperture depending on what direction I was shooting, focusing was another challenge.  The technique I used was to make a guess at the distance, and set that on the lens, then I would bring the camera to my eye and make a final adjustment.
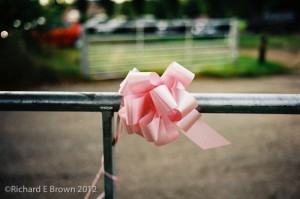
Most people have seen the photographs that Leica’s are famous for, a sharp focus and lovely out of focus background.  Well possibly not the best subject but when I spotted the ribbon tied to the gate I thought I would give it ago and try a wide open shot.

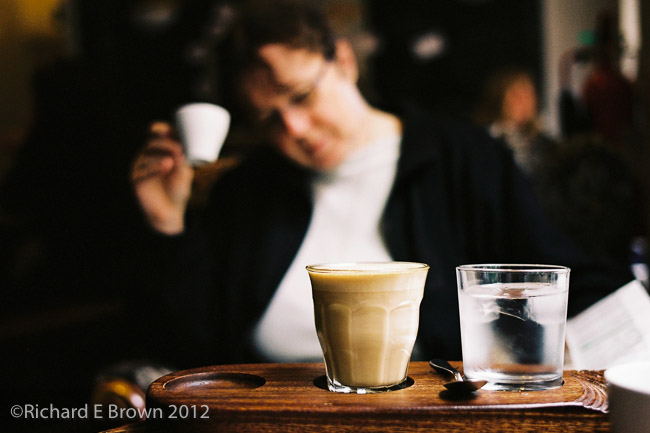
At lunch time we had a walk to one of our favourite coffee shops.  They say Leica M’s are very good in low light, this was a chance to try it out.
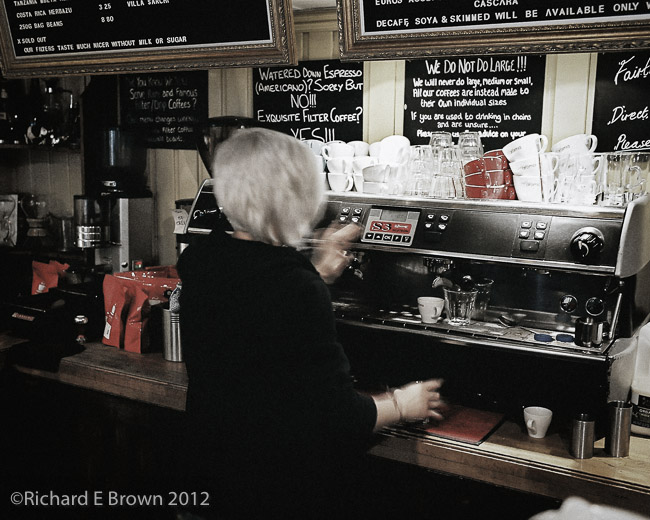
In all, I shot eight frames that first day, and fully enjoyed my time.  Like my Medium Format Hasselblad and Large Format Ebony, its a very involving experience and there is a lot to think about.  Its a lot faster and easier to shoot with then the latter two cameras and a different experience but very full filling.
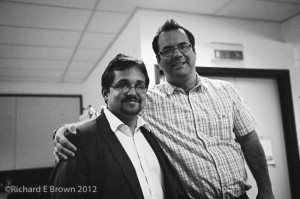
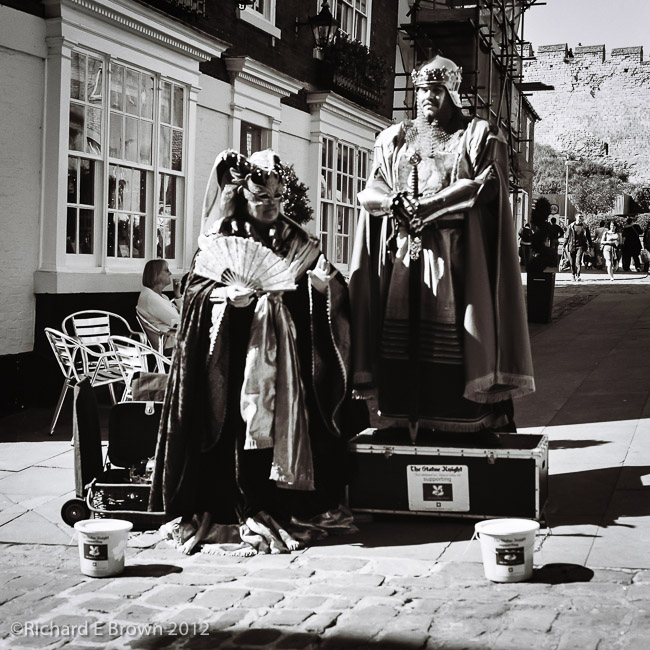
One has to keep ones wits about you, with it being 100% manual and no meter, catching moments like this can be tricky, but while underexposed its still a pleasing image.

If I carry on enjoying the experience, then i’ll be on the lookout for a Leica 90mm M lens and a 50mm standard to tryout in the studio.  I’ll also be looking out for a second hand M9.  With the release of the M-E the old M9’s have dropped considerably in price, and I hope this drop will continue when the new Leica M (240 model) is released.

Overall I am very impressed with the results; for an out of date roll of old film, and a basic scan, the results are very pleasing.

Next i’ll try a little landscape and also some sport.  They said you could not use medium format for street photography; and they say a Leica M is useless for sports and wildlife, might try and disprove that.
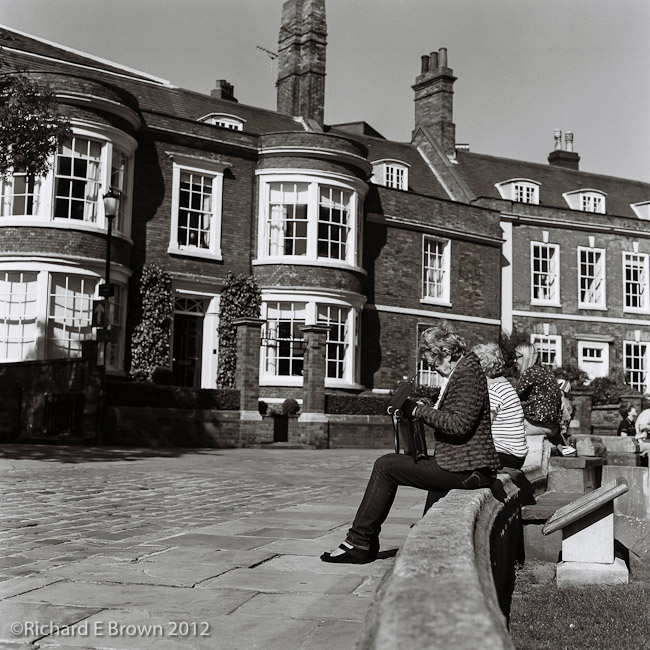
Film Friday: Street Photography – that be a Leica then?

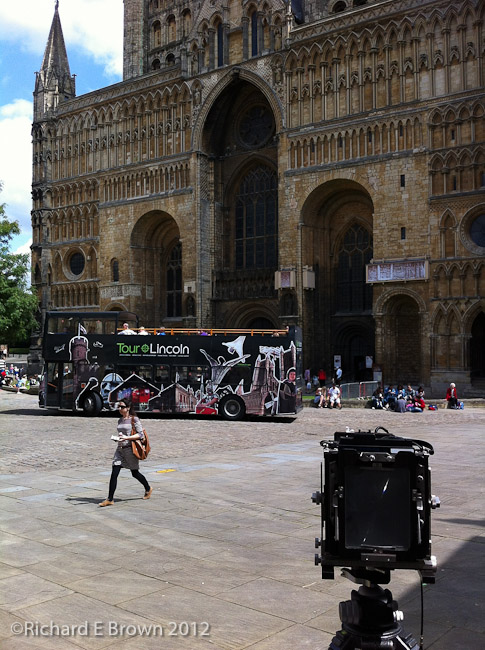
Last Saturday I had reason to pop into Lincoln, while there I did the tourist bit and walked up to the Castle Square.

Up hill Lincoln is great, and Castle Square as you might guess has the Castle on one side and the Lincoln Cathedral on the other.

The farmers market was on and I though it would be a great day to shoot some street photography, shots of people browsing the market stalls etc.

Now for years the traditional camera for this has been the trusty 35mm Leica Range Finder.  With its bright viewfinder showing more then 100% of the field of view, zone focusing with the fantastic fast glass which even now has depth of field markings on, and the silent shutter, its a hard tool to better for this type of photography.

Of course most of us nowadays would reach for an digital SLR or one of the new modern Compact System Camera’s such as the Olympus Pen, Panasonic GF-1 or GF X, better yet maybe a Sony NEX-7 or Fuji’s X range.

But no I decided to be a bit different, well to be truthful very different!

I had read an article recently about a photographer shooting street photography with Medium Format, so I thought I would give it ago.

My Medium Format camera is a Hasselblad V System Camera, it has a waist level finder, manual focus, no light meter, oh and shoots film.

So what did I do, well I loaded it up with some Ilford HP5Plus Back & White film, left the tripod at home and fitted the leather neck strap.

In the article I read, the guy braced the camera via the strap and into his belly, so I thought I would do the same.  First of all wondering around I found my view point; whipped out my handheld light meter and took some incident readings.  It was a bright day and EV15 was pretty much the reading all day, so with HP5 rated at ISO400, that gave me f/8 at 1/500 second, the fastest the leaf shutter fitted into the lens will go.

One thing that surprised me, was how little attention I was getting.  Usually when shooting medium format or large format, on my big Gitzo Series 5 tripod, I certainly get noticed, and other photographers come over and talk to me, very interested and what I am doing.

With the Hasselblad close to my chest and shooting with the waist level finder, people did not realise I was taking pictures as I did not bring the camera up like one would with a traditional SLR.

So even with such a big slow camera, I was able to get shots without people reacting in the usual way.

As you can see from the above two examples its a technique that works surprisingly well.


Film Days – Film Friday

Since April I had shot seven shots on the Large Format Ebony a traditional 5 x 4 inch none folding field camera, the first few were quite average, but it was a matter of learning the techniques involved. Just loading and unloading the film into the dark slides is a major process where much could go wrong.

Well I have now had those seven shots developed and scanned. One in particular I was very pleased with and fits in with a long term project I am working on. Unfortunately I took it in July, so it did not qualify under my own rules for picture on the month.

I was determined that this months picture of the month would be one shot on large format, so when an opportunity arose for a possible decent shot I took it. It was one shot and luckily it worked. Over the coming months i’ll be posting my scans, so you can see my results as I develop (pardon the pun) as a Large Format Photographer.

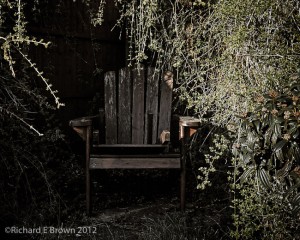
First Shot with my Ebony – a Chair in late Sun

5th April 2012 – Post dated blog entry

This is going to one of many post dated blog entries generally about film photography. One of the delights and difficulties about shooting film is the time between taking the image to actually viewing the image. This can be a benefit and also a negative.

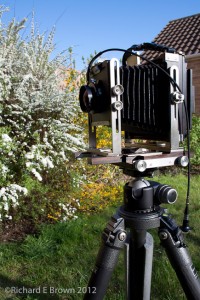
Well all the pieces had finally arrived and I was ready to take my first large format photograph with my very own large format camera.  I had done some large format photography before but it was either on a course or hired equipment,  this would be my first shot with my own large format camera.

It was never going to be brilliant but the purpose of these first shots was to test my ability to load and unload the dark slides, meter correctly and use the camera correctly.  There is a lot to go wrong in large format film photography.

This evening in the late afternoon spring sunshine, the old wooden chair we had made many years ago was looking particularly photogenic.

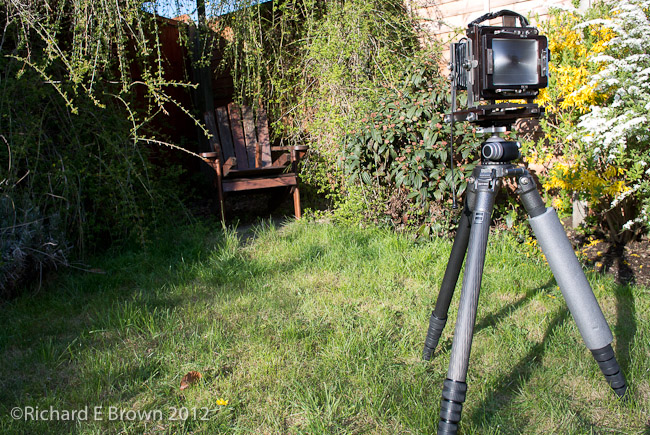
I have looked at this chair nearly every day for over ten years but today I had the perfect excuse to photograph it, my finished large format Ebony 4 x 5 inch Large Format Camera.

Last year I had managed to pick up a mint Large Format Nikkor 150mm f/5.6 standard lens, and since then I have been added accessaries such as dark slides, a lupe and a dark cloth.  The Camera a Ebony 45s, came on the 3rd April, a mint condition secondhand model from Robert White.  The reason I have not used it for the last two days was because I had no way to attach it to the tripod.  Another order to Robert White and an Arca plate for the camera was quickly dispatched to me.

I was torn between black and white, and colour but in the end, the warmth of the late evening sunlight decided; it would be colour.

So with fresh inspiration flowing through my veins I checked out what film I currently had loaded; as I was wanting to capture a ‘real’ image and only film would do, it was also the perfect excuse to try out the Ebony for Real.

Luckily I had a few sheets of 5 x 4 Fuji Provia RDP100 already loaded, as I had gone out that morning to test the camera out but had not used it (don’t ask: but it involved a trip to a Windmill and a heavy tripod left in the garage at home, thus no film used).

I whipped out the Ebony 5 x 4 and mounted it on my largest heaviest tripod, a Gitzo Series 5. For some reason I had committed a cardinal sin, in that I had not put away the large format camera without first centring all the movements, unfortunately I did not notice while setting up.

With the camera mounted firmly on the tripod, I chose my large format Nikkor 150mm f/5.6; a nice standard lens on 5 x 4 inch format. I opened up the lens aperture to its widest setting, and set the shutter open to enable me to focus.

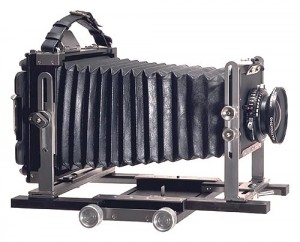
Focusing a large format camera is a very different experience to that of a modern SLR. The lens has an aperture setting but also has a shutter built into it. The Camera is just a light tight box. The lens clips onto the front of the camera, and to focus you need to lock the shutter open to allow the light through to shine on the glass panel focusing screen attached to the back of the camera. The front of the camera holding the lens and the back of the camera holding the glass focusing screen are linked by a soft leather bellows. To actually focus you move the lens on the front and the back glass screen forwards and backwards until the image projected onto the back glass screen is in focus.

The large format camera like my medium format camera lacks a built in meter, so out came the handheld meter. Metering the scene I selected a 1/2 second exposure at f/34. The Nikkor lens allows apertures to be set in 1/3 stops, which is useful, as the copal shutter in the lens only works in whole stops.

With the meter reading taken I closed the lens ready to take the photograph. Setting the shutter speed and aperture I then cocked the shutter and tripped the shutter. The shutter tripped so I knew the lens and shutter were closed and it was safe to load the film. If I had been unable to trip the shutter then the shutter was still open and it would not have been safe to load the film.

I slid in a fresh dark slide behind the glass focusing screen and removed the dark slide’s cover.  To make life easier for myself I have a cable release attached to all my large format lens so thats one last task to have to worry about, I then tripped the shutter. Reversing the dark slide’s cover and sliding it back in, I then removed the dark slide. The covers are colour coded, a white tag means unexposed and a black tag means exposed.

So here it is my first photograph taken with my new Ebony, i’ll admit it it will not win any awards as the contrast was too high for the film, but one that I am pleased with.

My first Large Format Photograph, Ebony 45s, Fuji Provia 100, 1/2 second exposure at f/34

Not a brilliant shot, but it did what was necessary, it tested everything out and it all worked.  More importantly my metering was right, always a worry for film cameras with no meters built in.

I’ll be going out again later in the month shooting some more large format film.  These shots like the one above will not be artistic master pieces, in fact I expect them to be quite poor, but it will enable me to master my technique, then I can move on to more creative shots.

A normal week ahead

This week things are back to normal. In fact normal work life hit yesterday when my boss phoned as we had a major issue. So today was busy busy busy.

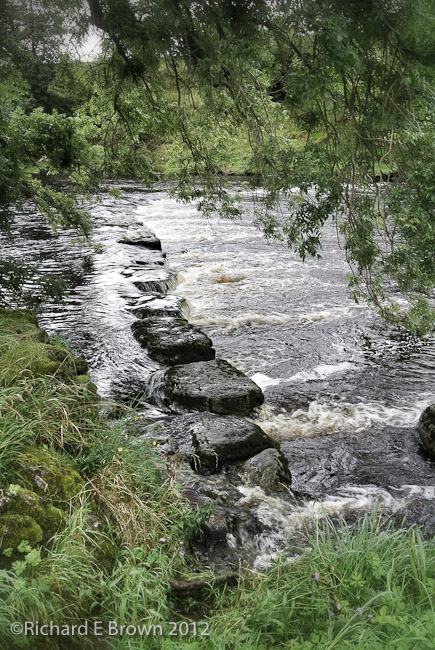
Last week was fantastic, such a great mix of activities. On the photography front there was Wedding and Landscape Photography, the Landscape Photography was more location scouting, the shot above taken with my Nikon Series 1 V1 and RAW file processed on location on my iPad using SnapSeed, if money was no object I would carry a MacBook Air, but then if money was no object I would be spending just about every free minute of my time doing photography.

As previous mentioned, we also managed some motorcycling in the North Yorkshire Dales, fantastic roads, fantastic scenery and we even got to practice some serious water crossings; on a bike; thats interesting!

A seven mile hike was also fitted in, following the river, from Aysgarth Falls, which is where the photography above was taken from.

We also managed to celebrate our seventh wedding anniversary, champagne was the order of the day. We even went for a 2.7 mile run before lunch in the continued effort to get fit.

I also received back, my first developed shots from my Ebony Large Format Camera. I had sent seven off to be developed and all seven came back spot on. There not photographic master pieces but at least they all came out and were correctly exposed.

I’ll be posting results up in the coming months, in fact one of the last shots I took was last months photography of the month, its not great but being film and an early shot on my long road to learning the ins and outs of Large Format Photography, its one that I am pleased with.

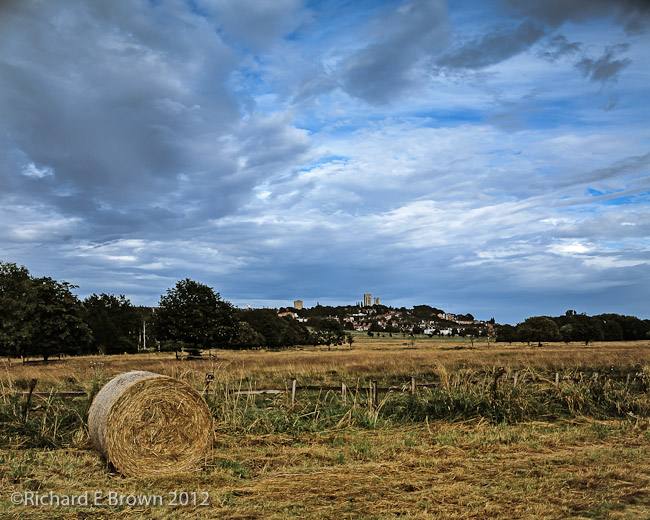
Photo of the Month – August

Ebony 45s
Nikkor 150mm f/5.6
1/15 Sec at f/32, ISO100
Fuji Provia 100 5×4 Sheet

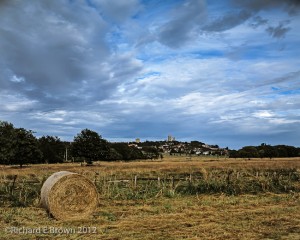
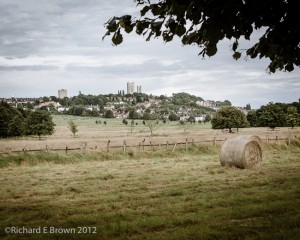
Not quite the shot I wanted.  There had been storm clouds behind the Cathedral and Castle but bright evening sunshine illuminated the field.  Then the rain came, and I could not get the shot until the rain cleared, unfortunately the dark clouds had cleared as well.  Still a pleasing shot.

Sun after the Storm in Film

It was a warm sunny day but the weather forecast show potential for a storm.  After a good storm you can often get dramatic skies to make a photograph something special.

We loaded the car with the Large Format Camera Gear and I also took the little Nikon Series 1 V1.

As we travelled to Lincoln the sky went a fantastic black but this did not cover the sun, the light was wonderful.  As we arrived in Lincoln the sun was finally covered and the heavens opened.  No light and certainly no weather to be out with cameras.

We popped into the shops to get a few essential groceries hoping the rain would stop soon.

Leaving the shops we headed over to Lincoln’s West Common.  There is a field between the Common and the road which the farmer uses to grow hay.  I had noticed on my commute a few days early that the hay had been cut and bailed.  It was my hope that with the hay in the foreground and with the magnificent Lincoln Cathedral as a backdrop, it could make a great picture, if only the weather would co-operate.

The rain was slowing after we left the shops, so it was worth an attempt.  We drove to a lay-by and parked up, then sat and waited for the rain to finally stop.  After about ten minutes the rain did finally stop, so we grabbed the cameras and found a good spot.

The sun had still not come out and the sky was not as dramatic as I hoped but it still had potential, and the winds were driving the clouds quickly across the sky so conditions could change quickly.

First job was to snap a few reference shots with the Nikon V1, one of the better ones is at the top of this post, not too bad I thought.

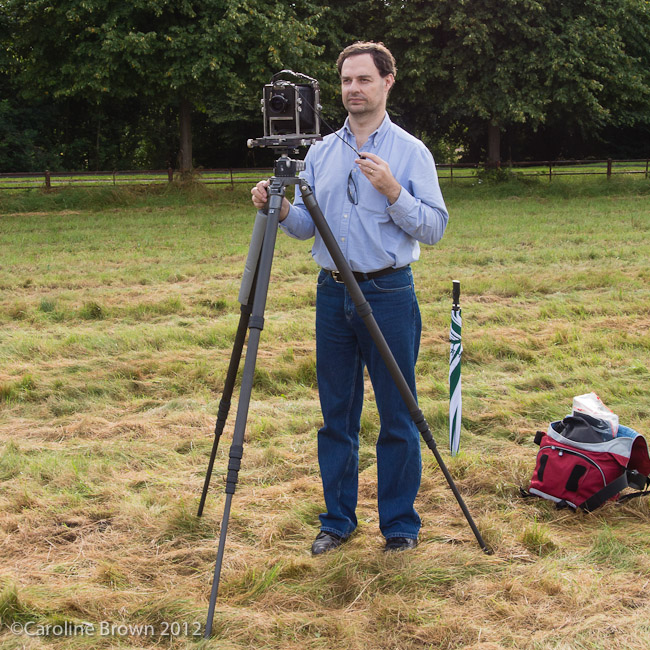
After finding the best spot it was time to setup my heaviest tripod, a series 5 Gitzo with a Really Right Stuff BH-55 head.  Once in place and set level I my Ebony Large Format camera on top.

Large Format Photography is like no other.  Its great fun but certainly not quick.  Once fixed firmly on top of the tripod the first job for most LF cameras is to unfold them and fix on the lens.  Mine is a none folder and I tend to pack it with the standard lens on it, making it quicker to setup.  I removed the lens cap and also the rear lens cap.  Unlike 35mm you can have the lens fixed to the camera with the rear lens cap on.  Next was to remove the rear cover that protects the glass focusing screen.

Then using a Lupe I focused the camera.  Once focused with the help of a dark cloth I checked my composition.  It was good but I was not close enough, so I picked up the camera on the tripod and moved a few meters forward.  Levelling the camera off with the help of the spirit level built into the top of the camera and the tripod, I was ready to refocus and check my composition again.  This was much better, I still had a little too much foreground but that was easily fixed my raising the front lens a little.

With the camera focused on the distant Cathedral the hay bale was blurred and out of focus, even by stopping down to f/45 on my standard Nikon 150mm Large Format Lens, I would not get everything in focus.

It was time to employ the next trick in the Large Format Photographers arsenal, the Scheimpflug principle.  By tilting the front lens panel you can swing the plane of depth of field so that both foreground and background can be in focus.

Once everything was setup it was time to load the film.  Large format film is kept in dark slides, I had loaded up some Fuji Provia 100 earlier so was all set.  First job was to close the lens to prevent any light getting in and then to cock the shutter.  With that taken care of, the dark slide could be loaded into the camera.

Now time to meter the scene.  Like my Medium Format Camera, there is no light meter built into the camera so it was out with the handheld meter to determine the exposure.  1/15 of a second at f/32, was my chosen exposure, setting this on the lens (the lens has the shutter built into it), I was finally ready to go.  I slid out the dark slide cover, tripped the shutter with my camera release, then placed the cover back.

Now time to pack up.  A very enjoyable 30 minutes in order to take a photography in 1/15 of a second.

Where is Fuji going with Film

A few years ago Fuji discontinued Fuji Velvia, for many photographers this is there favourite landscape film.  Well due to photographer pressure they brought it back.

Now they have announced it will be discontinued again for some formats.  For me I don’t mind if then end it for 35mm as I only use Black & White film for 35mm and mainly digital.  But for medium format and large format I am a heavy Velvia user and hope they keep it for us larger format users.

A Photographic Film Blog

For Film users a blog can be a odd affair.

Before digital took off, I used to shoot a lot of Black & White. Sometimes I would shoot in the morning, develop and produce a set of contact prints in the afternoon, then print my final selects that evening. Having my own darkroom was great and I could easily lose hours in there.

This was as close to instant film photography as I ever got.

Now I still shoot film but the great majority of my work is digital. Now digital is truly instant. I can go on a shoot that day, post process the images, blog and publish them the same day.

The other month I have had the privilege of spending just over a whole week doing nothing but either location scouting or taking pictures. The purpose of this photography trip was to get some Large Format Landscape Photography done.

By the end of the week I had shot 4 frames of film and 700 digits shots.

It’s likely to be at least a while before I get the film developed, so how do I blog about that. Do I publish the digital shots now and the scans of the film later. Post date my log entries? In this modern fast paced digital world we live it’s difficult to know how to present my film work as they are always shots from the past.