Last week I had chance to play with the Nikon J1 and shoot a few frames. I was after the V1 with its built in EVF, but surprise, they had all sold out.
Like many photographers, I had kind of ignored the Nikon 1 system because of its small sensor. I am after a large sensor portable system, and still am, but recently I have been looking for a new compact.

I have always been generally disappointed by the ergonomics and performance of most compacts. My good friend and fellow photographer Chris Bennett, had the chance the other week to try out a Nikon V1 and had been very impressed. It performed quite well compared to his Panasonic GF-1.
http://ottokite.wordpress.com/?p=1264
This gave me the thought of possibly using a Nikon 1 as my compact, while I wait for the perfect small portable large sensor camera to appear.
Performance with regard to autofocus was excellent, a real speed machine, far better then any compact I have ever used.
The ergonomics were also better then I expected, the Menus were typical Nikon, and anyone who has used a Nikon SLR in the last five years would have no problem in navigating their way round.
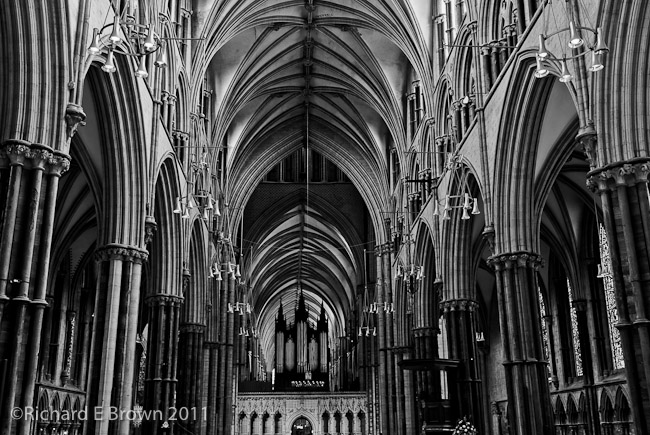
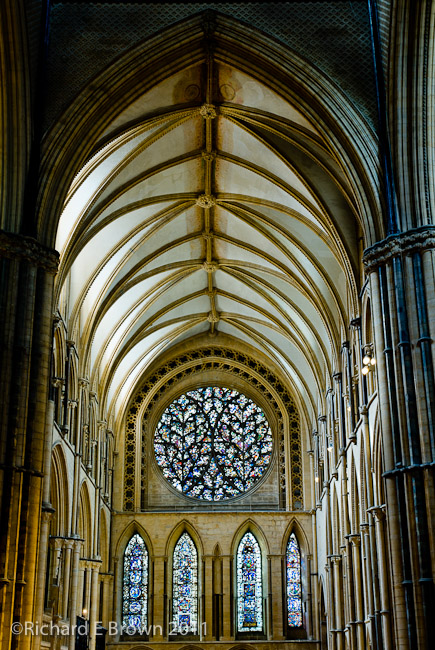
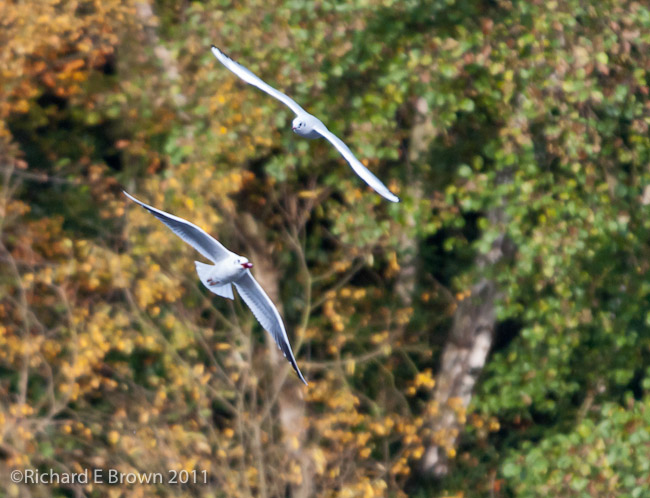
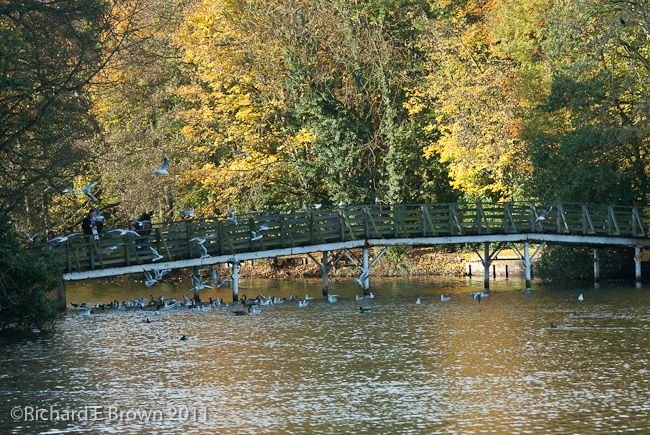
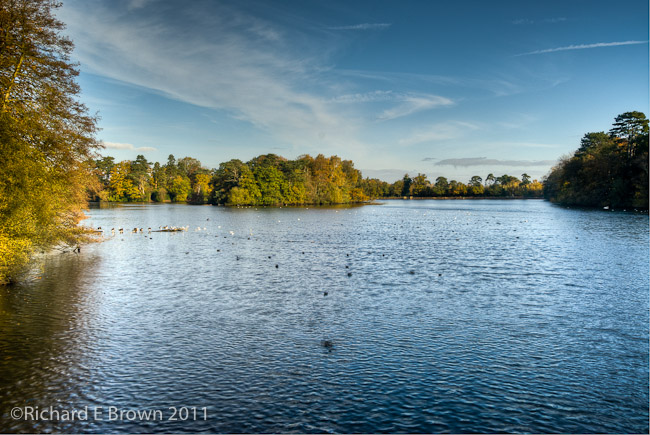
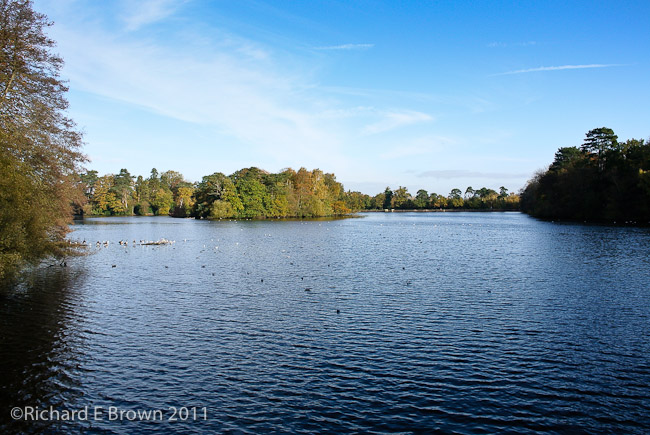
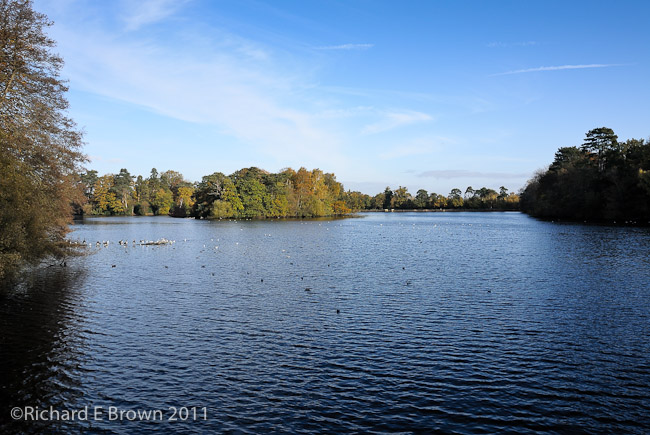
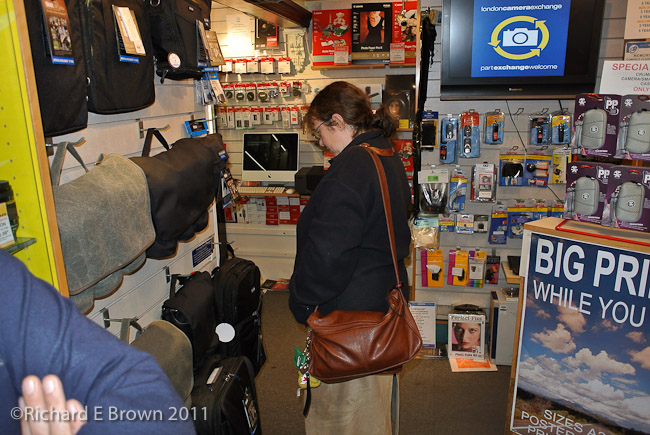
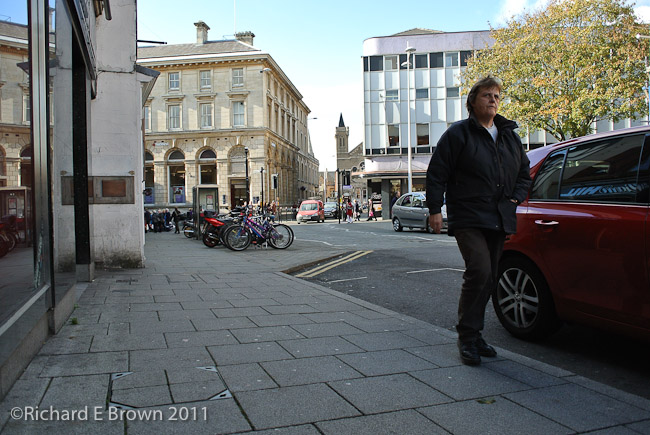
I set the ISO to 100, and the camera to aperture priority and started shooting away. The simple rocker switch enabled me to easily change the aperture and it was a pleasure to use.
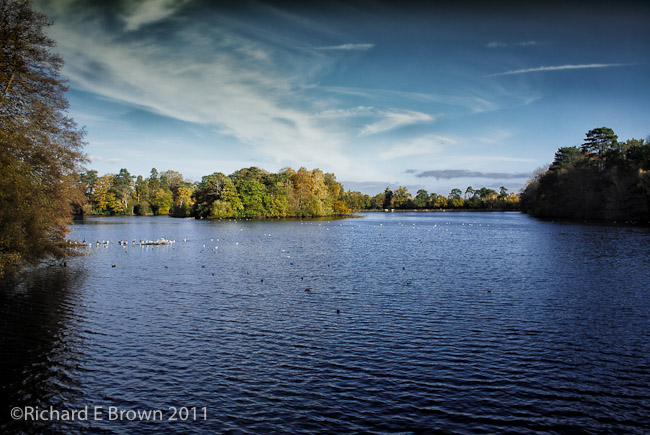
The late autumn sunshine caused the outdoor scenes to be high contrast, and as you can see I blew out the highlights. More experimenting with the camera should solve that. It is a fact that smaller sensors lack the dynamic range of there large brethren, and I feel that that Micro Four Thirds cameras I have used may have that advantage, but until my favourite RAW converter supports the Nikon 1 system and I get the change to learn the metering, I’ll not know for sure.
I’ll leave you with a quick blog entry I found, giving a bit more detail on the Nikon 1.
http://visualsciencelab.blogspot.com
Update:
Finally had time to play with the V1, today. I really enjoyed it. Some people have complained about the time its takes for the EFV to turn on with eye-start (i.e. the EVF turns on when you bring it to your eye), but is was reasonable and only a fraction of a second.
The second big issue people have been complaining about is the shot to shot time. I was a little surprised as in single shot mode, it was certainly a lot slower then I expected, but is no issue when shooting in continuous mode.
The third issue, people are complaining about the size of the lens. The large power zoom is certainly a large lens but the pancake 10mm and the two zooms 10-30mm and 30-110mm are very small collapsable lens. The Powerzoom is more for video use then still photography.
To me the issues with it are small. I would like better direct controls for shutter speed and aperture but the interface is not as bad as some would have you believe.
No for me the issues are simple, no blown highlights warning (i.e. blinkies), and no auto bracketing (for HDR).
Until Adobe release a RAW converter, the question of image quality of the smaller sensor is still open (why can not camera manufacturers all adopt a RAW standard), but so far things look good.


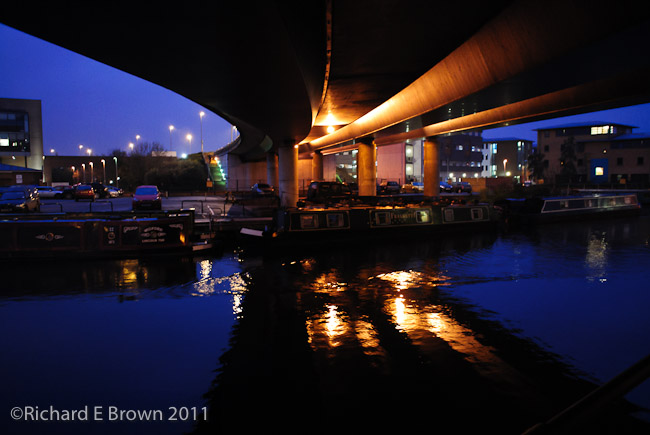


 It has noise, and is not perfect, but for a handheld snapshot, wide open at f2.8 at iso1600, I think its quite a pleasing photo.


 Its still on the list and could well be the camera I go for.

 Nikon D200 SLR