
Broncolor, Profoto, even Elinchrom, get a kicking over their prices.
Mid-priced gear like Bowen’s, Godox, or some unknown Chinese brand is the way to go for many people. For the price of a Profoto D2 studio head you can buy four of the cheaper heads.
Some of the cheaper flash is built to a high standard and many photographers are quite happy with their choices, so why do the majority of professional photographers and photography rental houses, use and rent the more expensive gear.
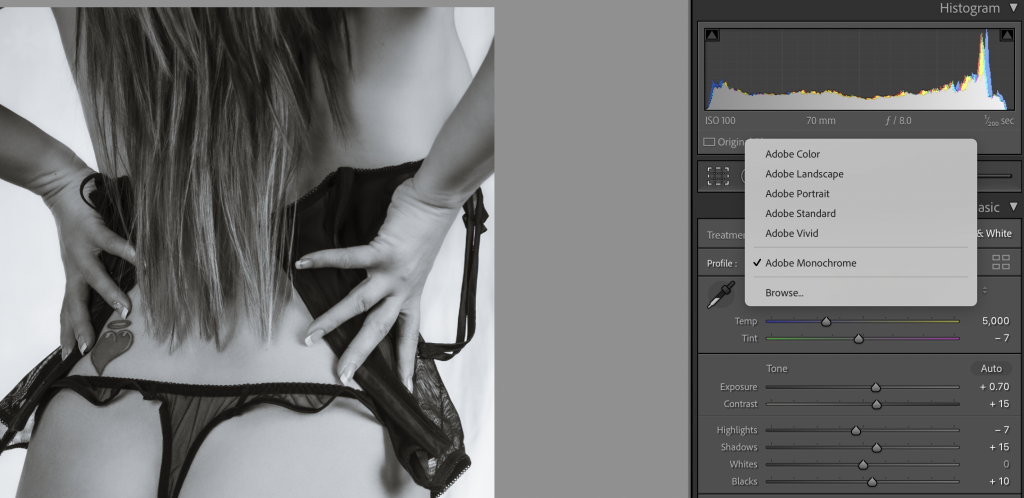
One of the big things that I have struggled with in the past and mentioned on my blog before is colour consistency. The higher end gear tends to have better colour consistency so not having to edit the colour temp of every image you shoot. With the more budget flash heads, the colour temperature drifts during the photo shoot.
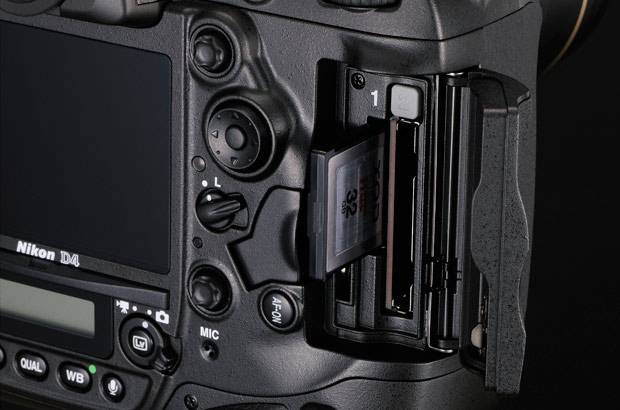
Something not talked about much is flash sync speed. Most high end cameras will sync at 1/200 second, medium format cameras even higher. The problem is flash duration, lower cost flash can often not sync correctly at very high or very low power.
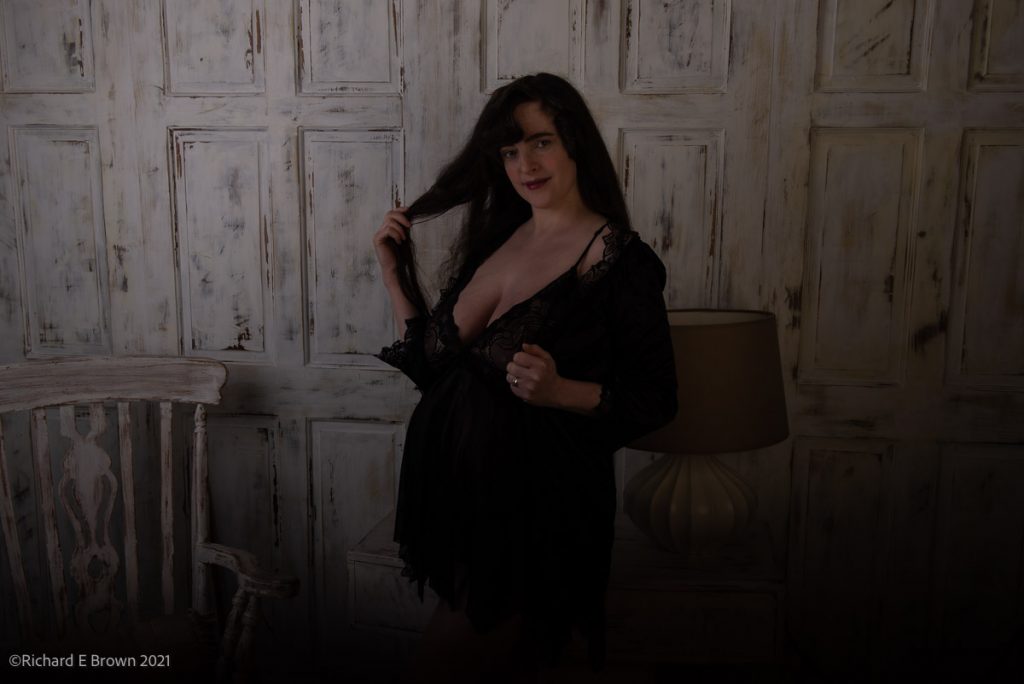
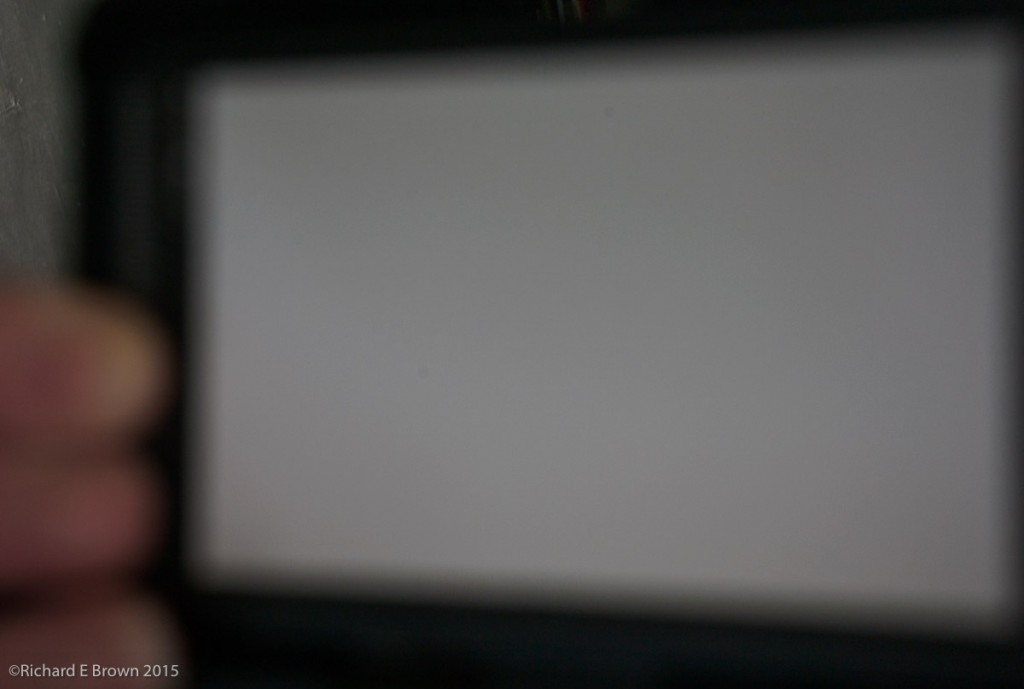
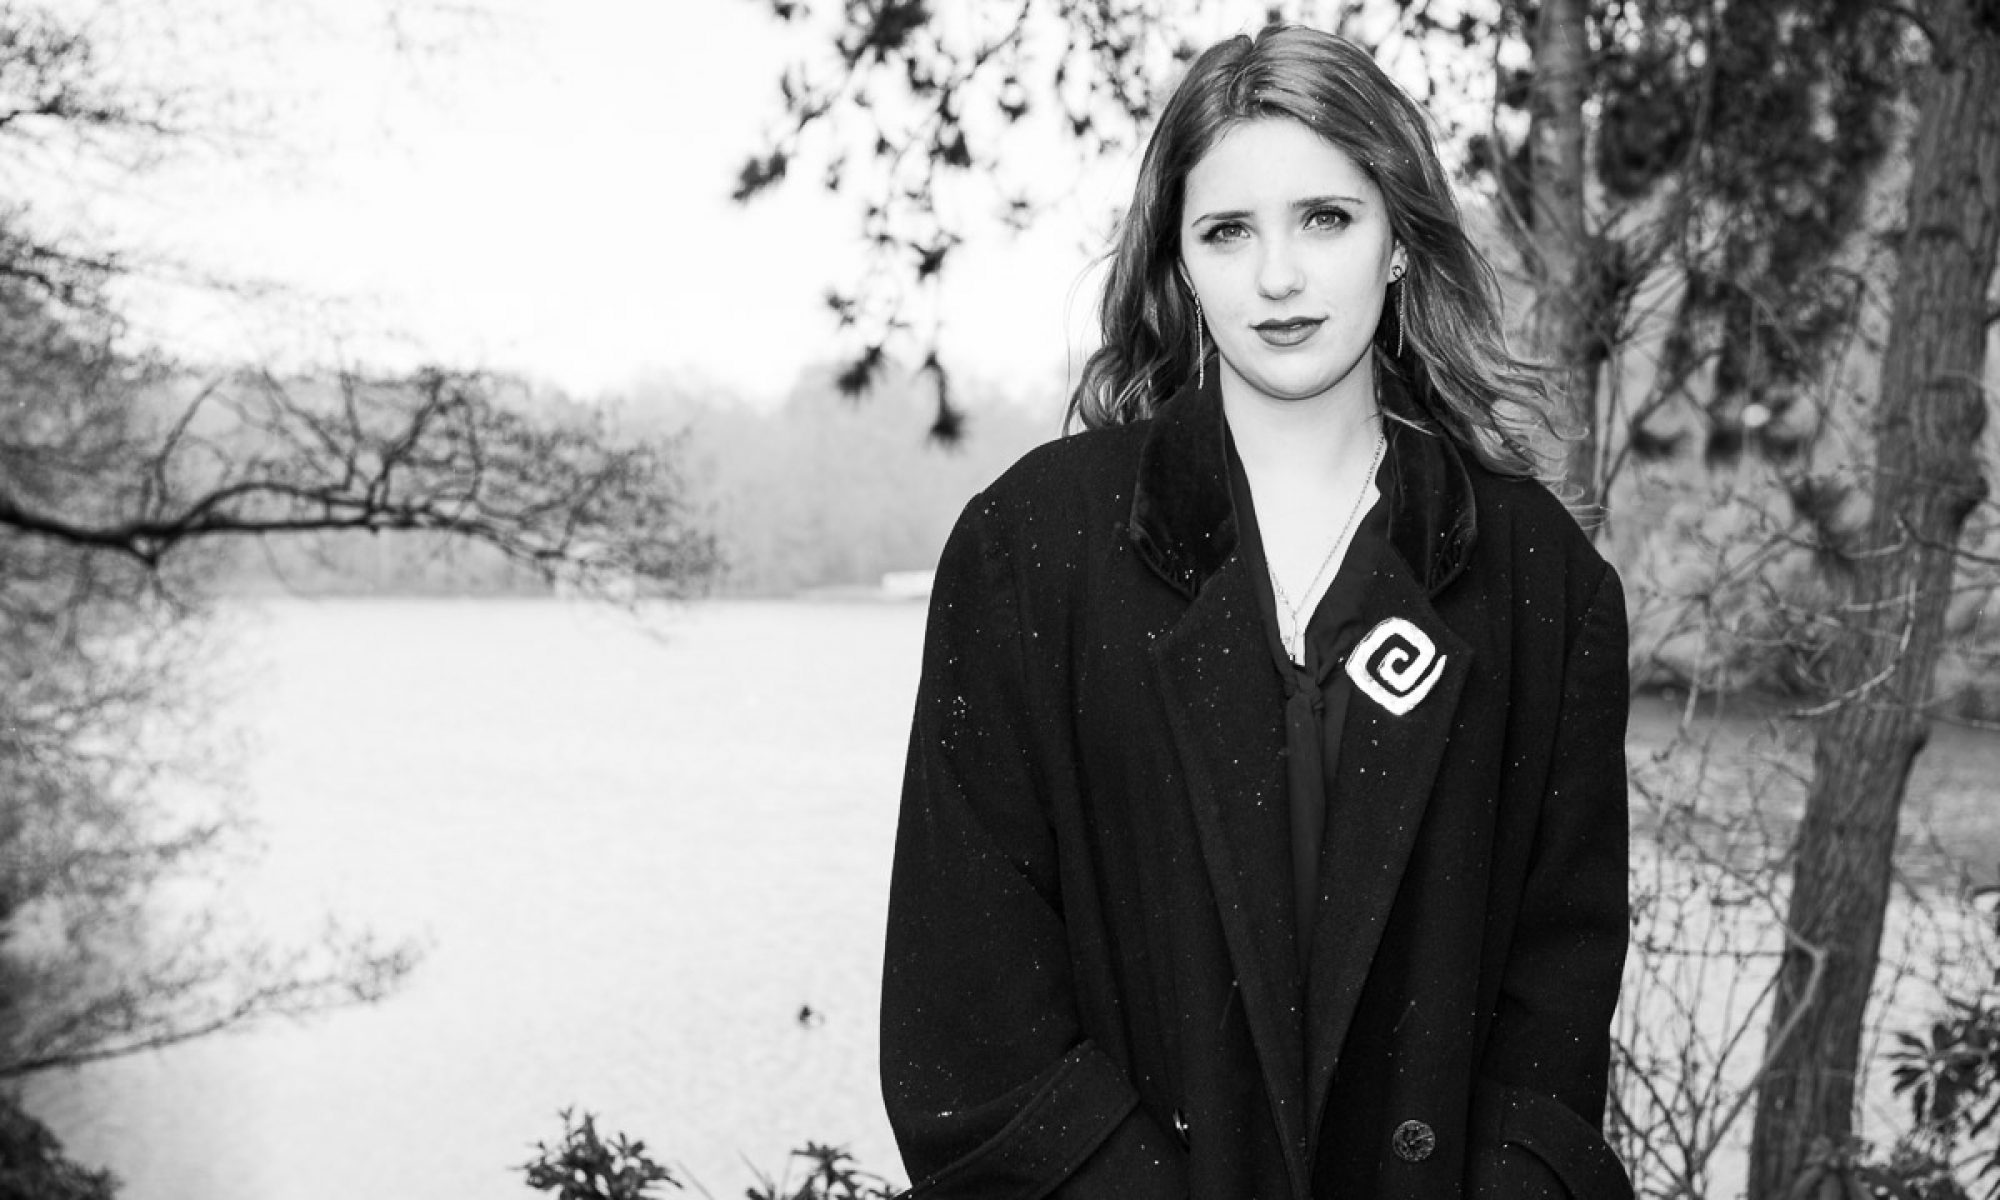
In April as the studio’s reopened I had a maternity shoot. For the early shots I played it safe, shooting at f/8 flat easy lighting, lower cost flash heads at around 70%. I then started to setup something a little more challenging, shooting wide open with fast glass, getting the background to go out of focus and more dreamy. As I started to get ready I noticed I was getting the shutter appear in test pictures as can be seen above, it was only when I dropped the shutter speed of the camera down to 1/60 second or lower that it would sync correctly with the flash. This is not good if your working in a studio with bright window lights or over head lighting that can cause colour and light contamination of your shots.
Lastly radio triggers. Most triggers work on the 2.4 Ghz range. The cheaper models tend to all use the same band in this range that is free to use; the more expensive triggers will use less popular ranges and they have to pay higher licensing fees to use these bands. Some aircraft services utilise part of the 2.4 Ghz range and they pay very high fees to get exclusive use of this range. Flash companies like Broncolor and Profoto also pay very high licensing fees for exclusive use of a part of this frequency range. For every Profoto flash and trigger sold part of that cash is to buy the license for the exclusive use of the 2.4 Ghz range they use. This has to be licensed on a per country bases for every flash head. That is why the cheaper flash systems get miss-fires and you loose shots while the higher end flash seems more reliable, they have less interference.
So the question is can you afford the extra editing if your shoot is colour critical, and can you afford to have miss fires and miss shots. For a commercial photographer where time is money that question is no. For others it may not matter and there are lots of budget flash systems available to them.