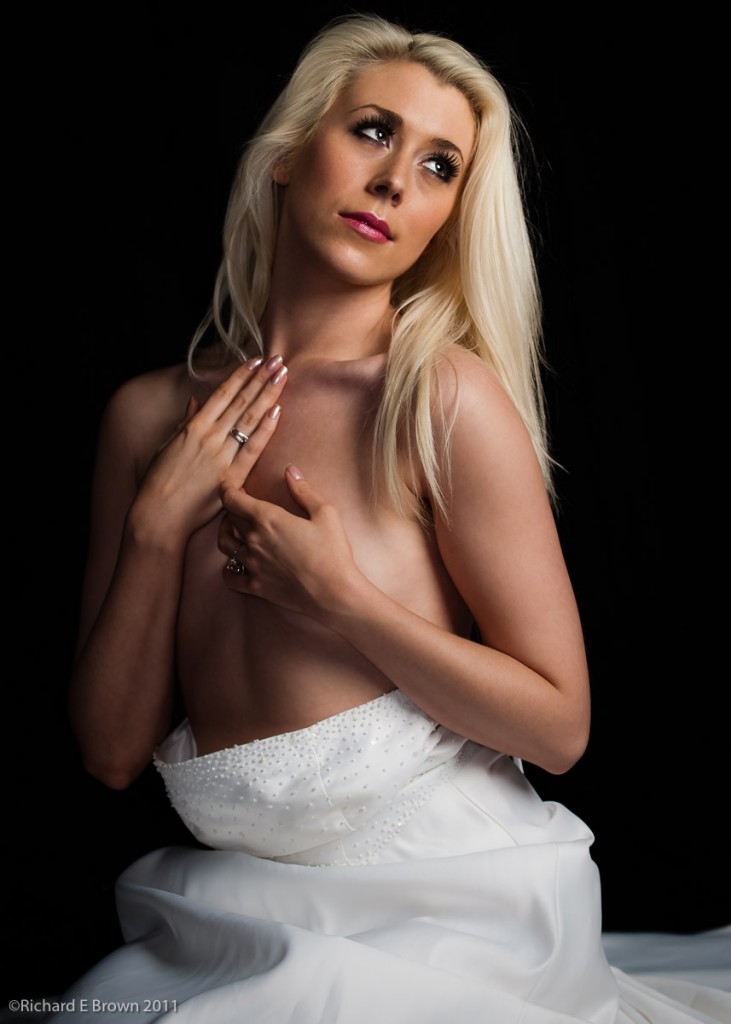
If you want good contrast and soft light and shadow in your studio flash photographs the key is to get the light close to your model.
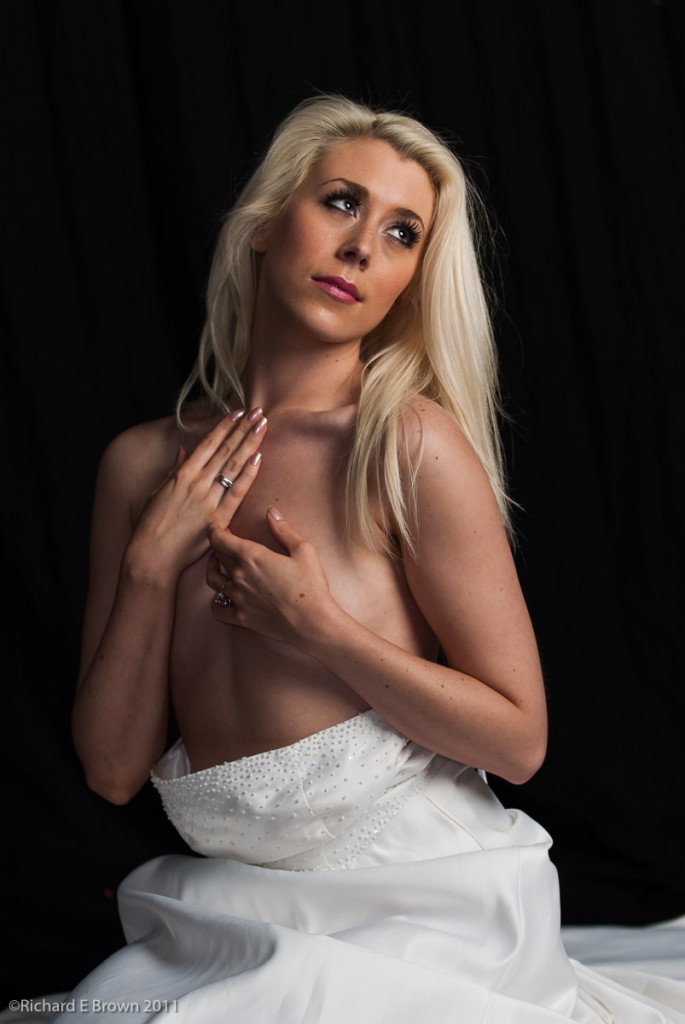
The light here is very close to the model, a very large soft box above the model giving strong directional light, but with very gentle soft shadows, this is caused by the light being so close to the model. The camera was a Nikon D200 with a 70-200mm f/2.8 zoom shot at about 90mm. This shot is straight from camera with my Default Lightroom D200 People pre-set applied. This applies a little sharpening and a mask, a little contrast and some fill. As its stands its pretty good, but I wanted to clean up the skin a little so it needed a round trip to photoshop.
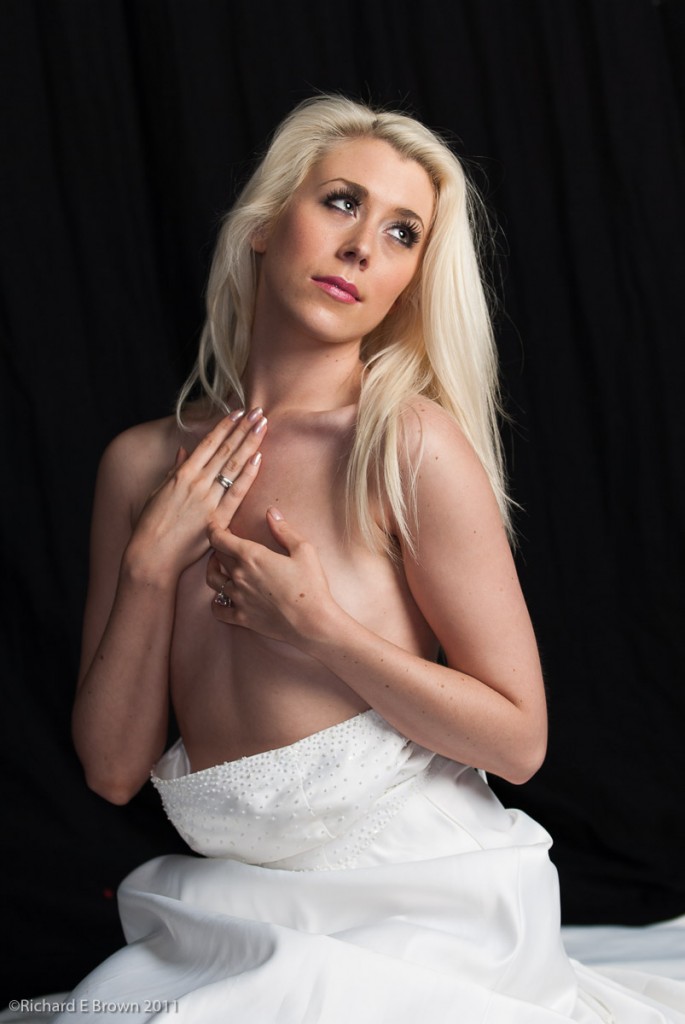
To make the Photoshop work a little easier I dropped the contrast and slightly brightened the image, then it was off to Photoshop.
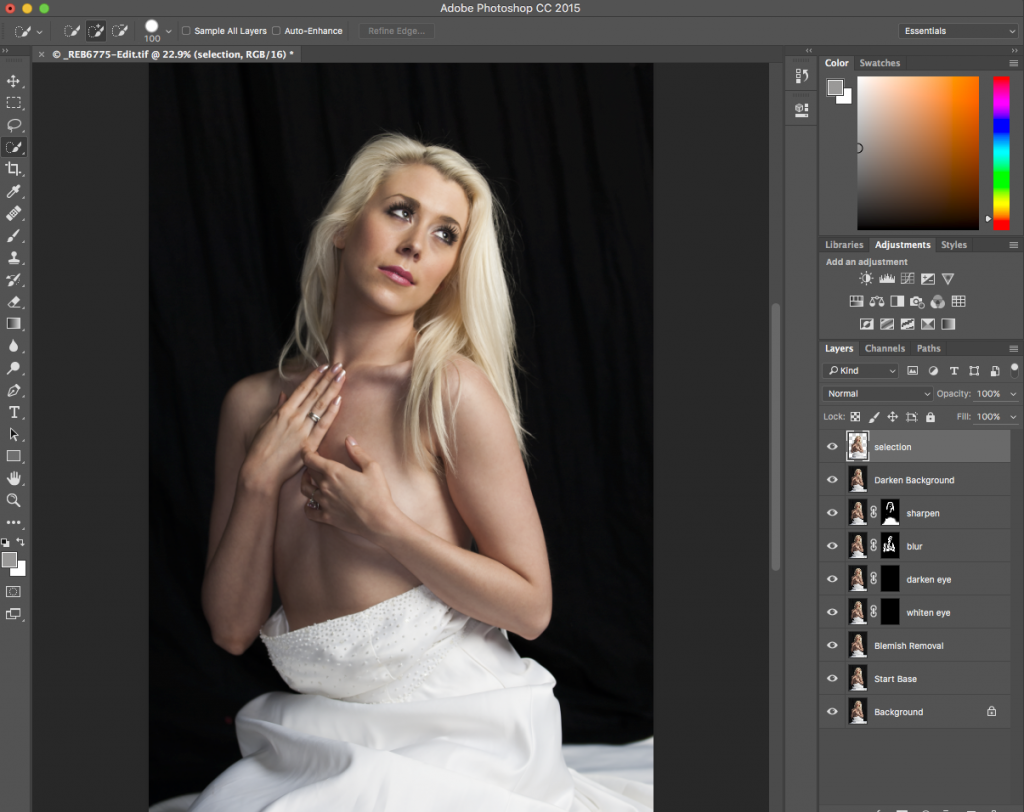
This is an old image but I wanted to see what the latest version of Photoshop could do with it. With the skin cleaned up I whitened the eye and darkened the pupil a little, added a touch of blur to the skin to soften it then darkened the background.
Then back to Lightroom, for a final finish; add contrast, a make the image a touch darker and then crop.
All in all a quick edit and I have to admit Photoshop is getting faster at this kind of thing. Most of this I could have done in Lightroom but taking it to Photoshop and using layers just made it faster and easier.
