
Saturday was my introduction to large format photography.
The one day Intensive Large Format Landscape Workshops are a great way to get a taste of what Large Format Photography is all about. Dav and Tim are great tutors.
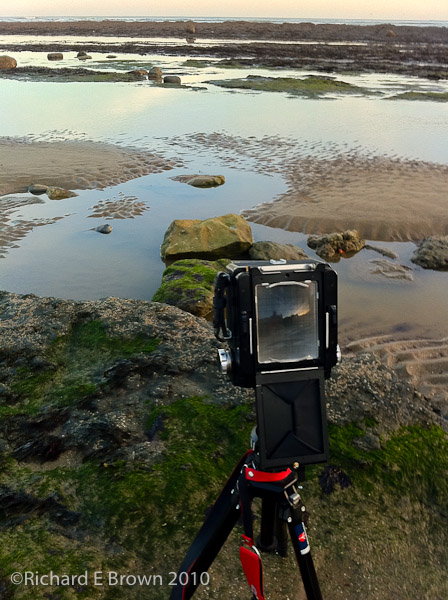

Taken with my iPhone.
The course gives you the chance to get your hands on a large format camera and have a go for real. Tim and Dav do their best to explain the somewhat complex ideas around Tilts & Shifts, but its the demonstrations and being able to try it for yourself that brings the theory to life.
The downsides of large format photography are generally the sheer size of the camera’s and the amount of time and effort it takes to set up a shot. This slow and deliberate nature of photography is something that I like, and have got used to when using my medium format Hasselblad camera. Others may also consider the fact that most large format photography is still done with film a major downside, but the cost of digital large format is out of the question for the majority of people, and large format film is hard to beat.
The big advantage of large format photography is the range of movements available. If you are from a small format (35mm) background this is possibly a big mystery unless you have used a tilt and shift lens.
I certainly know, that for my landscape photography, large format is tempting. For the price of a modern Nikor Tilt and Shift lens I can buy a complete large format outfit.
A full explanation of camera movements would fill a book, and some university photography courses take an entire term (semester) to explain them.
Basically the advantages of movements are as follows:
- Apparently infinite depth of field without resorting to closing down the aperture.
- Correct perspective when photographing buildings, ie no converging verticals.
- Removing the camera from the image when photographing a mirror.
Tilt is one of the key effects that landscape photographers utilise to produce apparently huge amounts of depth of field. The effect is known as the Scheimflug Effect. It was discovered in 19th Century by Theodor Scheimflug.
While it can be hard to explain, once you have seen it demonstrated and have tried it for yourself you start to understand it.
Tim and Dav first explained the basic workings of the camera, and then with the aid of sketches, how movements work. It was then a practical demonstration, so you could see the effect yourself. Then it was time to have a go. At first just focusing the camera was a challenge, and the temptation was to use too much tilt, but after a while I got the hang of it, and it all began to come together.
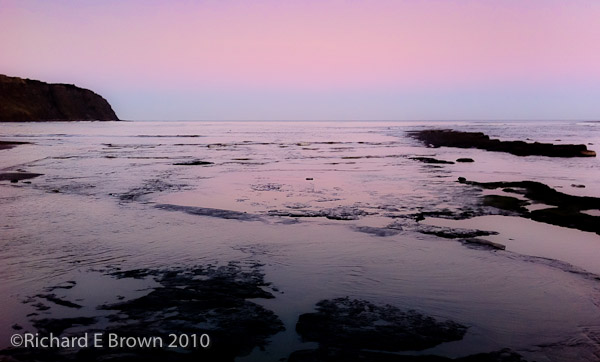
With the basics understood, we then had a walk round Robin Hoods Bay taking a few shots, trying to use the movements available to our advantage.
The other part I found a struggle at first, was using the spot meter. Taking readings round the scene to determine the dynamic range, from that selecting an appropriate film to try and match the dynamic range or using filters to control the scene and bring it back to the dynamic range of the film.
All in all, a very worthwhile day and I look forward to putting some of my new skills into practice with my small format and medium format photography.
Thanks Tim, Thanks Dav, a great day and i’ll try to put some of the things I have learnt into practice.
