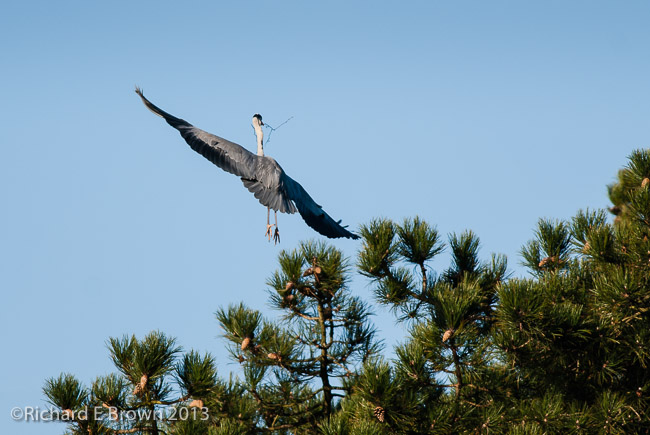
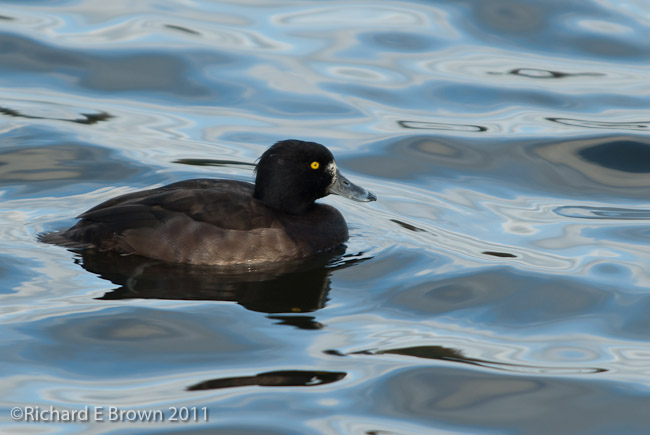
It will not be long before the herons start to visit the local parks and build there nests.
Getting out and shooting wildlife used to be something I used to do many weekends. An early start and out to a local park with a suitable lake.
I think as I get older getting up early and facing the cold is less appealing. Not knowing while your there if the light and wildlife will coincide to enable some decent photographs, but when it does your glad you did it.
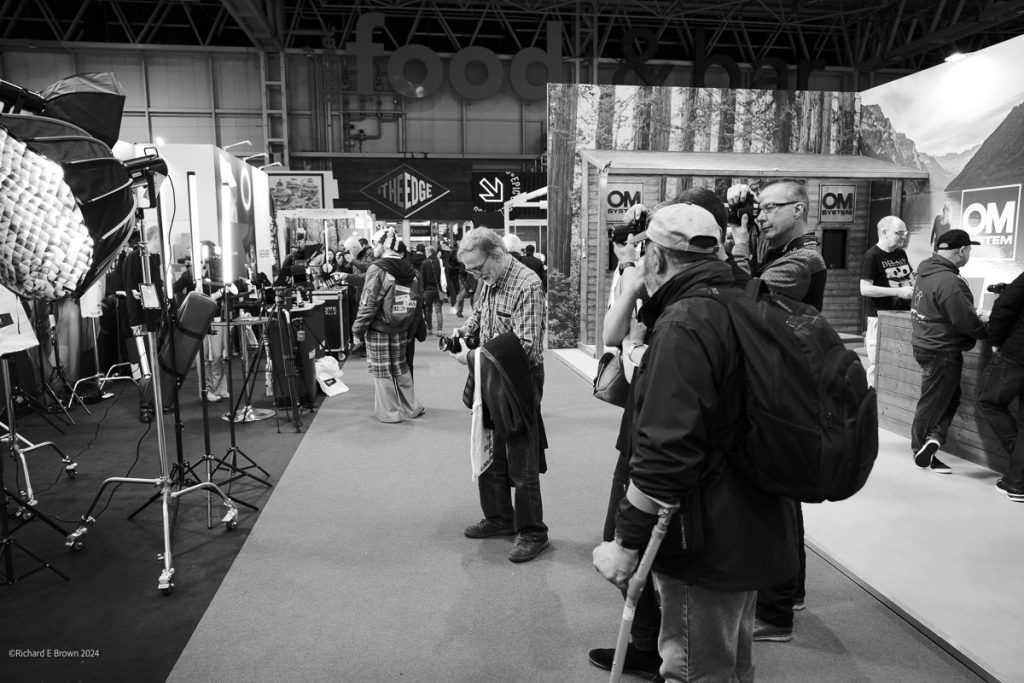
This weekend was the biggest photography show in the UK.
The last time we visited it was a stop to charge the car on the way, as there was no real charging at the NEC if you were arriving by EV. This time was very different, we booked a spot in a dedicated EV carpark where every space had a slow 7kWh slow charger.
The trip down was uneventful and we arrived, parked up, set the charge limit to 90% and plugged in and left the car to charge.
First up was the Nikon stand and I got my hand on the Z9, Z8 and the ZF for the first time. Amazing cameras.
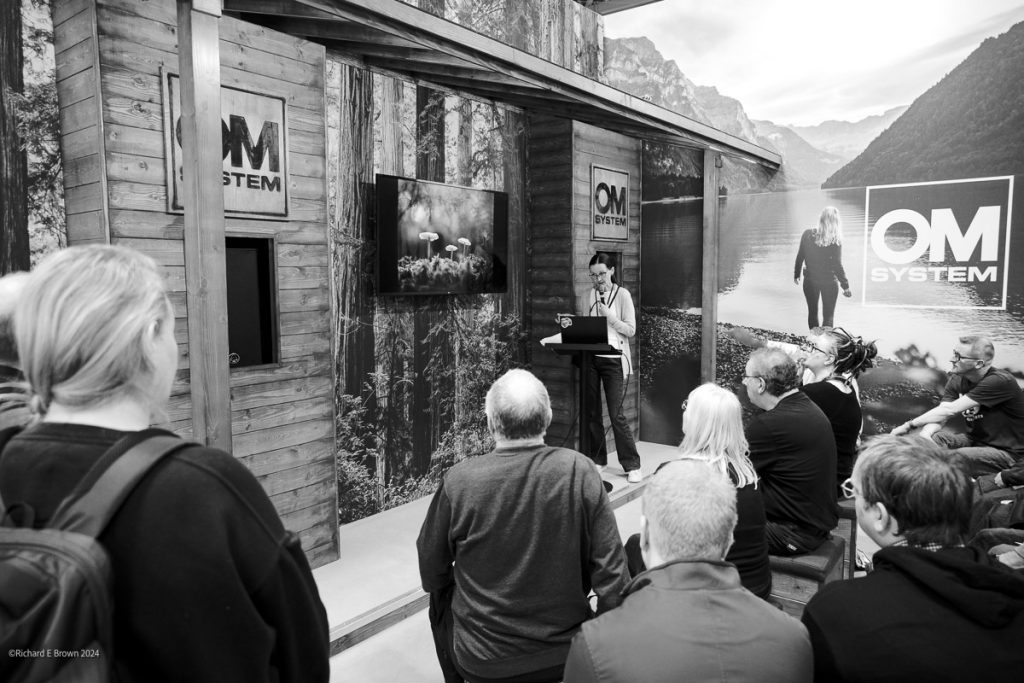
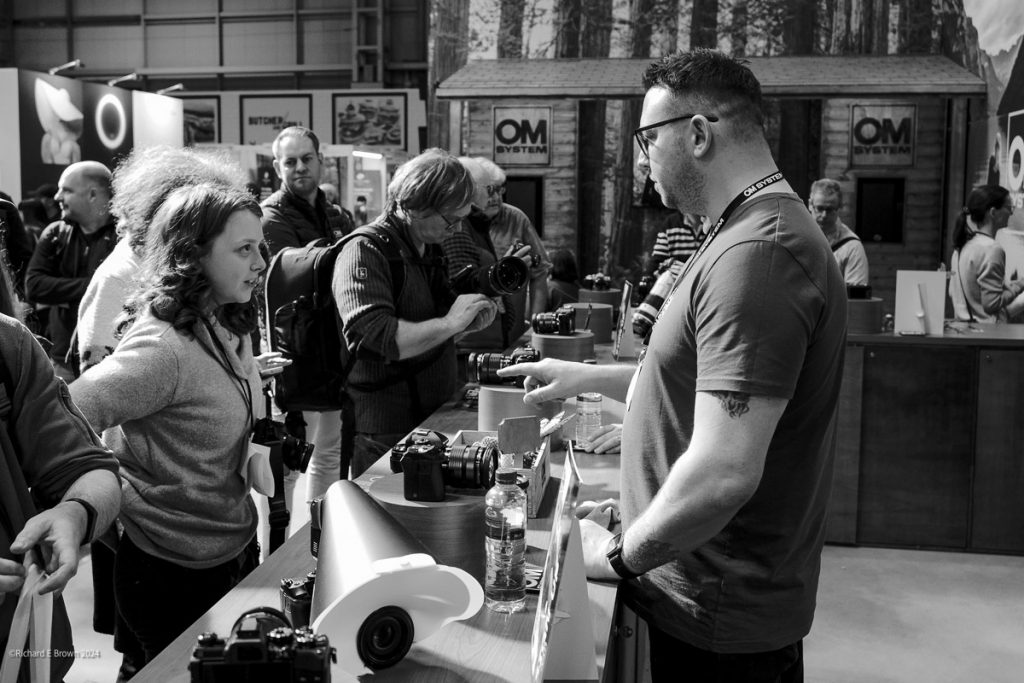
Most of the big players where there, and despite what you may hear on social media, stands like OM (Olympus) were heaving with interested parties. Looks like there is lots of life left in MicroFourThirds.
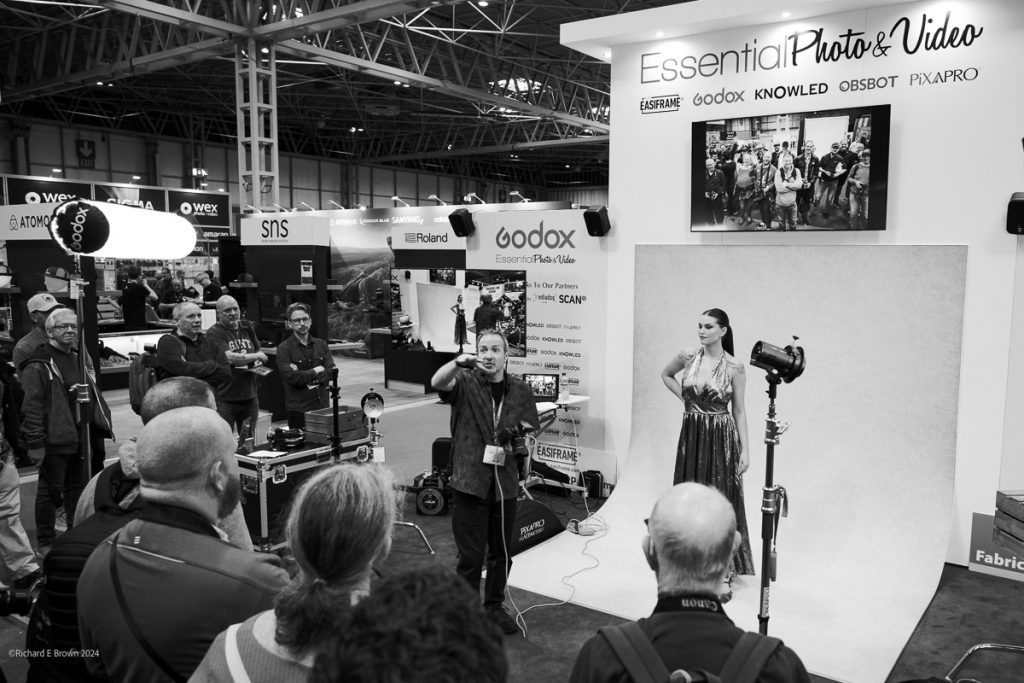
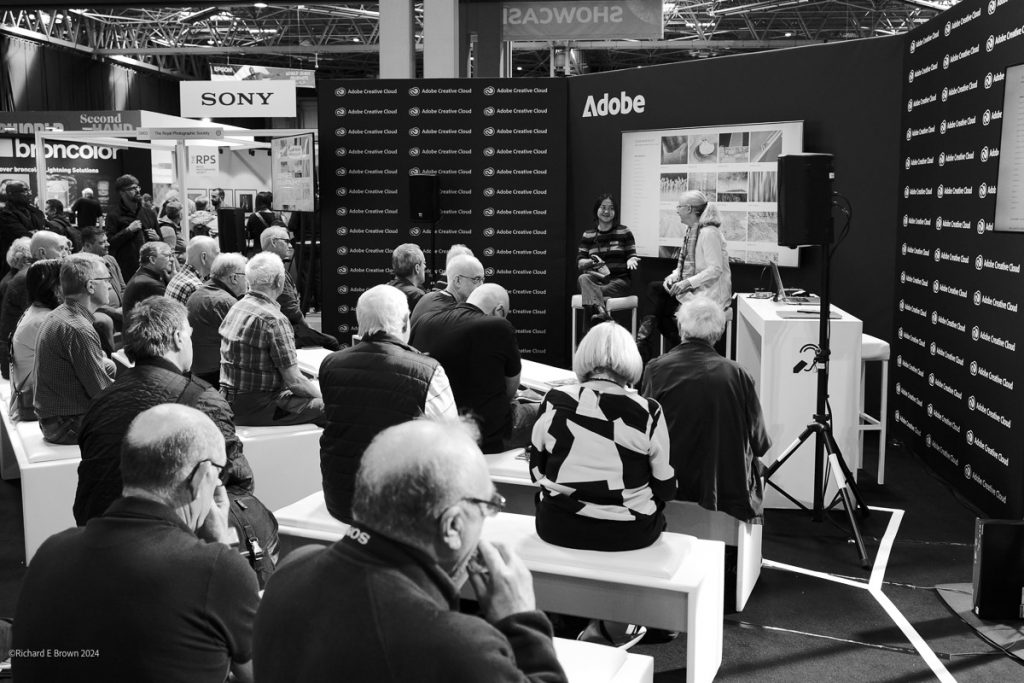
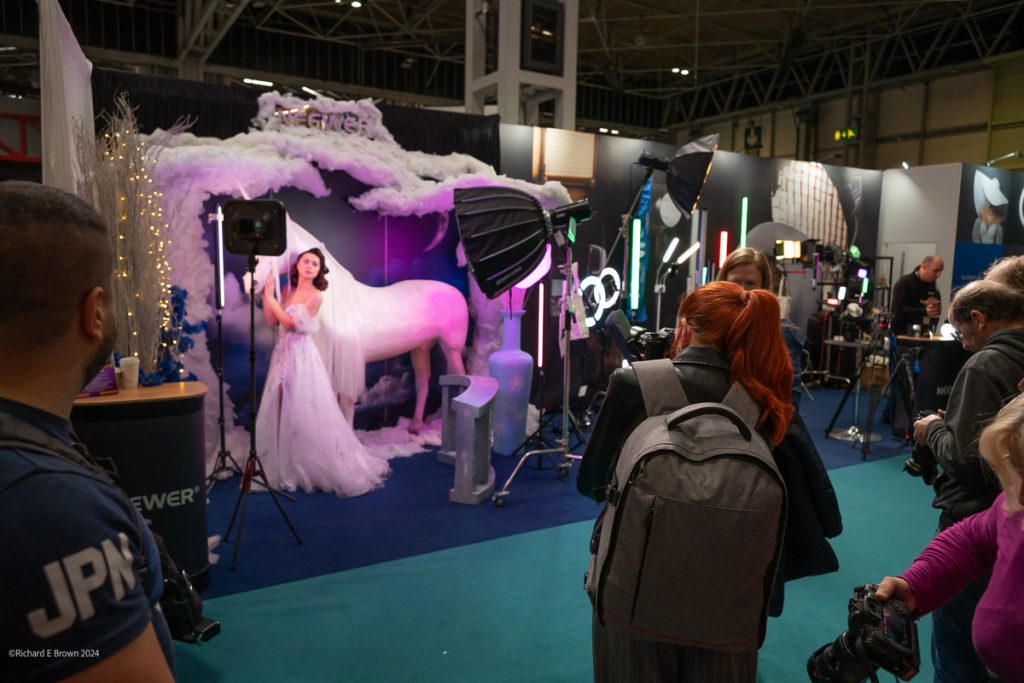
Many of the stands had demonstrations, and we spotted Gavin Hoey from Adorama on the Godox stand.
Adobe had Lightroom demonstrations, Macro demonstrations on the OM stand and a number of lighting stands had some interesting subjects to photograph.
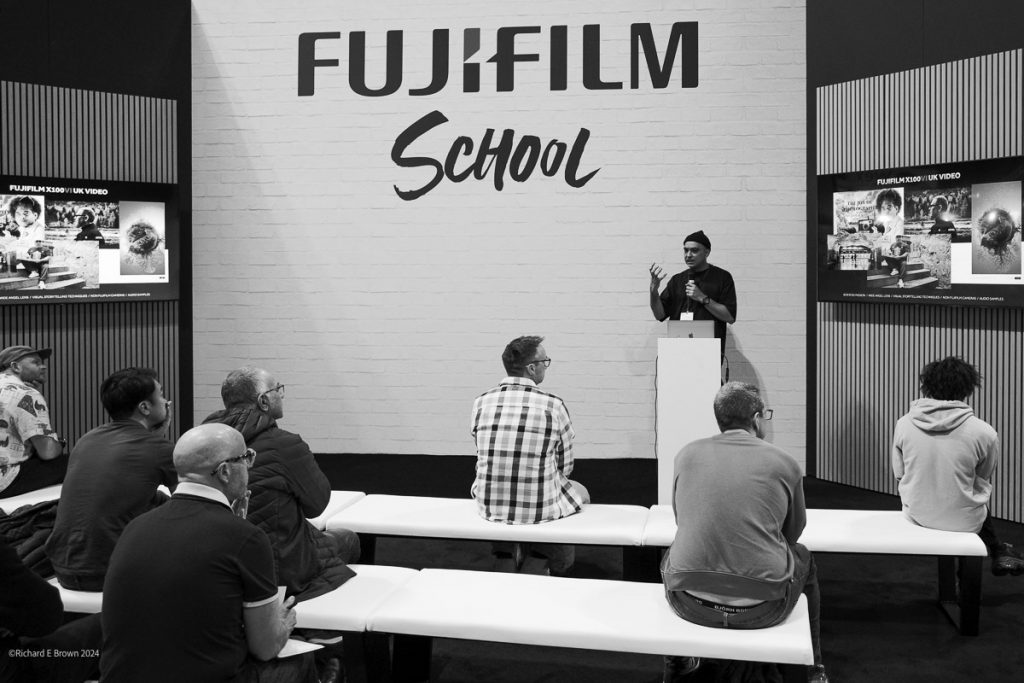
I managed to get to the Fuji stand and tried out the X100VI, nice but still a few issues if you have large hands and are used to the big bright optical viewfinder of a Leica M. I’ll still hold off. The new Fuji GFX 100II was a different matter, this camera is very impressive. Despite the poor light in the hall its autofocus was quick and reliable.
If you like small cameras like the Fuji X100 but want something with a little more potential, cameras like the OM5 with a small 17mm prime would make a great everyday carry, and with the show offers, was available body, lens and a grip and batteries for only £1000, that’s £600 under the Fuji X100VI. Something to think about.
So did I buy anything, well yes I did, a book about Peter Lindbergh to inspire my fashion photography and a new rucksack. Dragging a camera bag and laptop back into work is a bit of a bind, so I treated myself to a Peak design rucksack that can hold my IT equipment but also my camera equipment.
After my recent post on the Fuji X100 and also GAS. I had a look at second hand prices for Fuji X100. There keeping there value very well. Not quite as well as my Leica M4 which seems to have doubled in price since I bought it; but the original X100 is still going for about £500 on many sites.
With the release of the X100 VI prices on eBay have gone ridiculous with the new model hitting £5000! Many would argue that the retail price is too much for a fixed prime lens compact, but name another fixed lens compact on the market. We have the Fuji X100, Ricoh GR and the Leica Q, all targeting different markets.
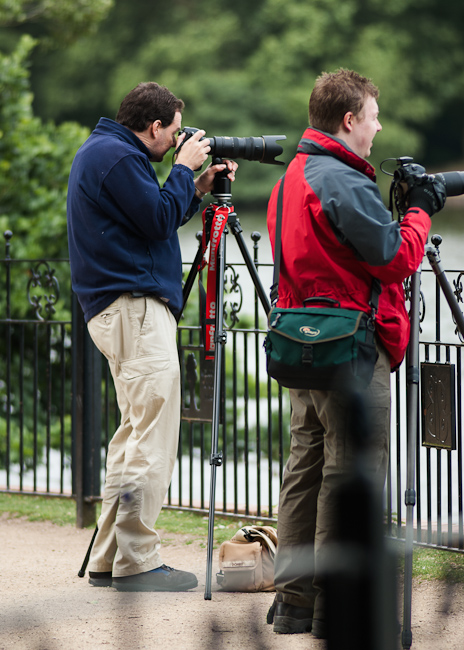
Well, sometimes it is. A wildlife photographer in a hide without some long glass is going struggle. Wedding photographers likely need a fast wide angle and standard lens for low light and group shots, a general zoom in the 28-105mm range.
Street photography was once ruled by the rangefinder for the reason of the viewfinder seeing wider than the lens, you could see the picture develop and people moved in and out of the frame. An advantage that also the Fuji X100 has.
So yes you need the right equipment to do the job. I know of an amateur photographer that fell in love with the Leica Q2, used it for everything, and gradually went professional and started to specialise in watch photography. The Leica Q range, while an amazing camera, possibly one of the best compacts money can buy, closely followed by the Fuji X100, Ricoh GR, and the much missed Sony RX1; is not exactly a camera suited for that style of photography. So it was changed to a full frame Sony mirrorless and some macro lens. A tool for the job but not the heart.
There are cameras out there ideally suited for particular duties, then there are those that inspire, spur creativity and drive ones passion forward.
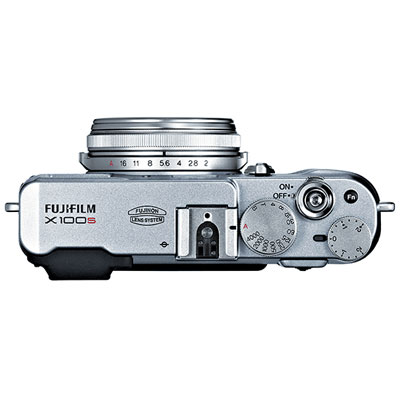
I love the idea of the Fuji X100. Fixed lens, range finder style, autofocus, a real viewfinder or EVF you can switch between.
For a few years there was issues with processing the RAW files for Adobe users due to the none standard Bayer filter, but Fuji finally started working with the RAW developers and things improved.
The last time I gave one a good try was 2015. I have come close to purchasing one several times but two things keep putting me off. Using the aperture ring is difficult, it is just to close to the body to easily use. Secondly the optical viewfinder looks poor compared to the viewfinder in say a Leica. If I did not own a Leica I doubt I would have noticed, and having autofocus in a small body carry anywhere camera is useful.
I am still very tempted and I was hopping to have a look at the latest version at the 2020 Photography show that was cancelled die to COVID-19.
That was the V model that I never got to see, we now have a few new V models available and the new X100 VI has been announced.
I would still like a small carry everywhere autofocus camera for when I am not carrying a Leica or my Nikon, and this is still high on the list.
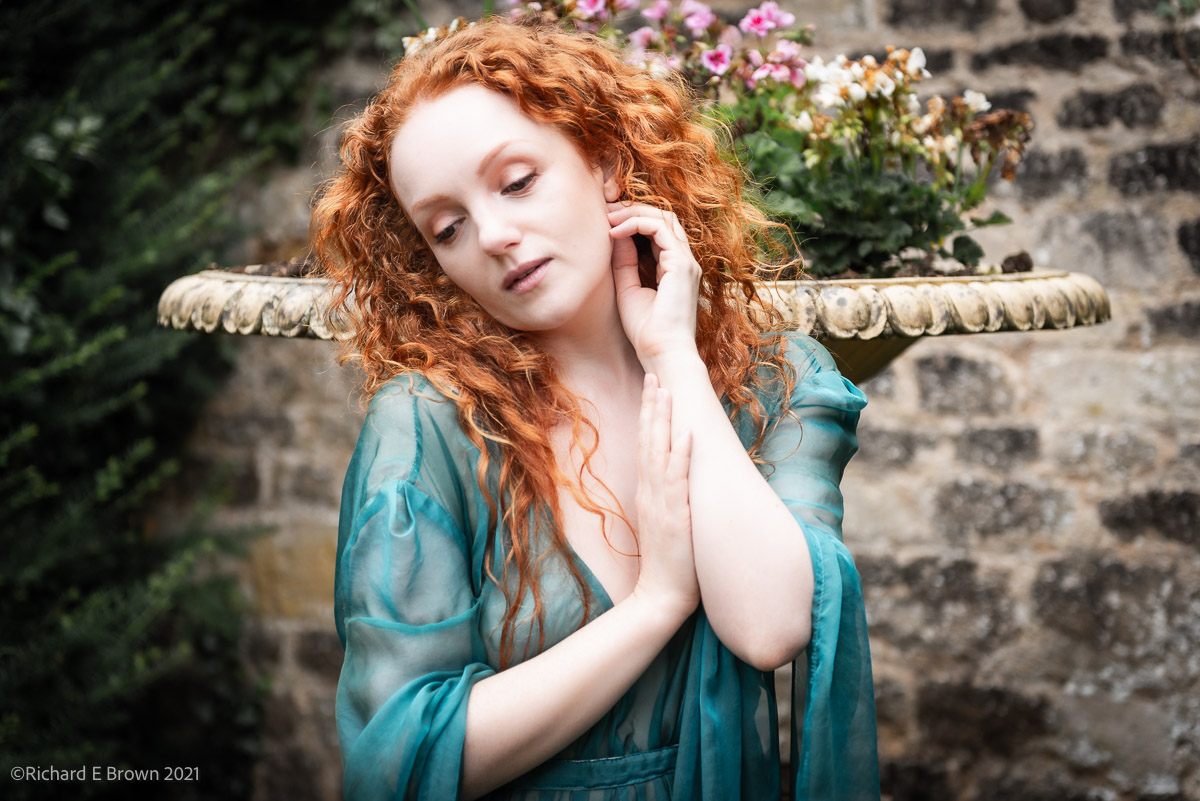
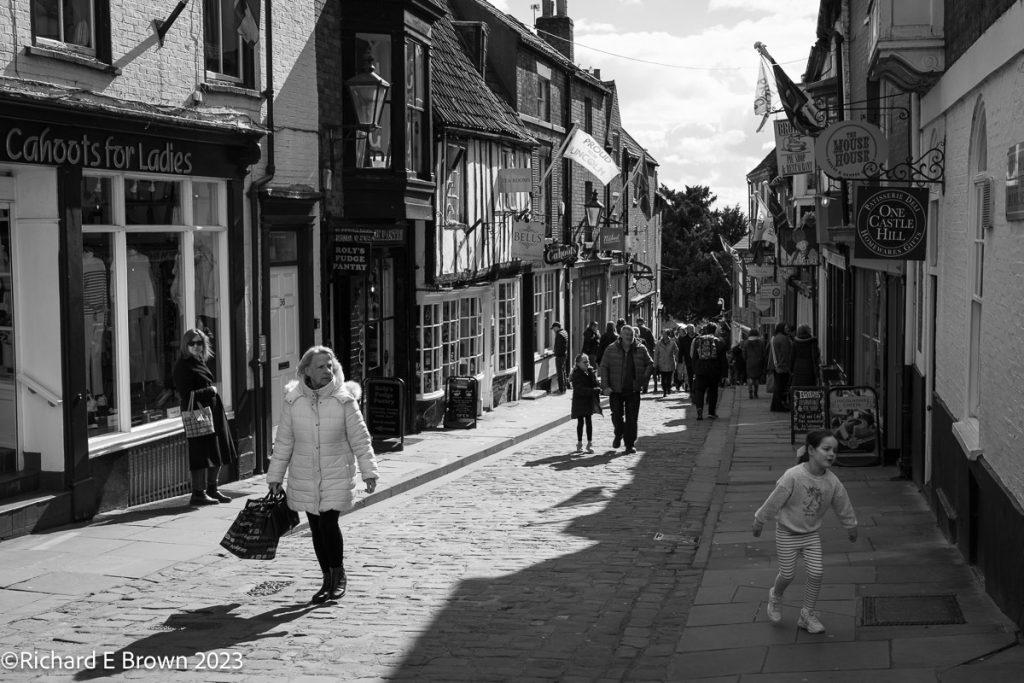
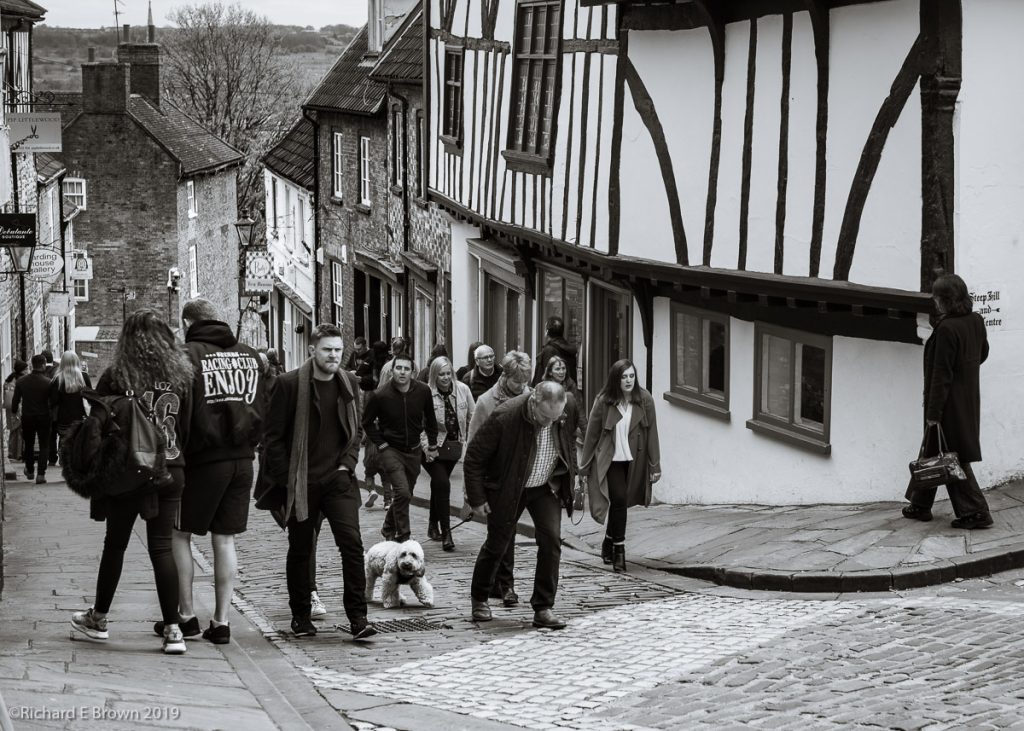
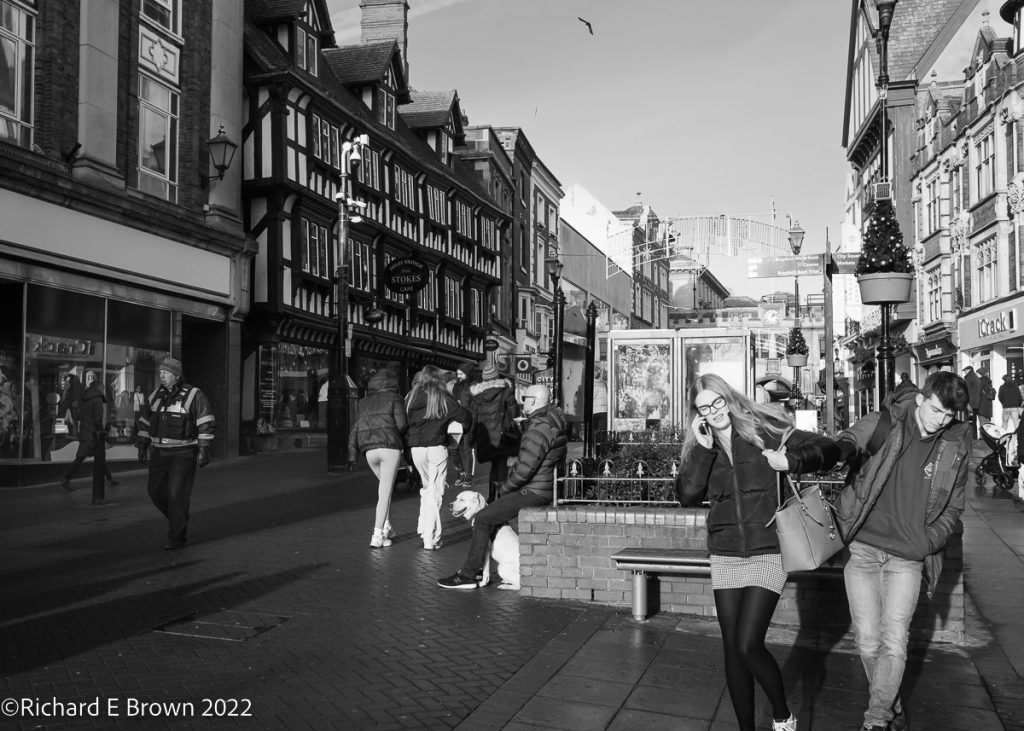
While, architecture and landscapes take up some of my time, it is mainly people photography that’s the bulk of my work.
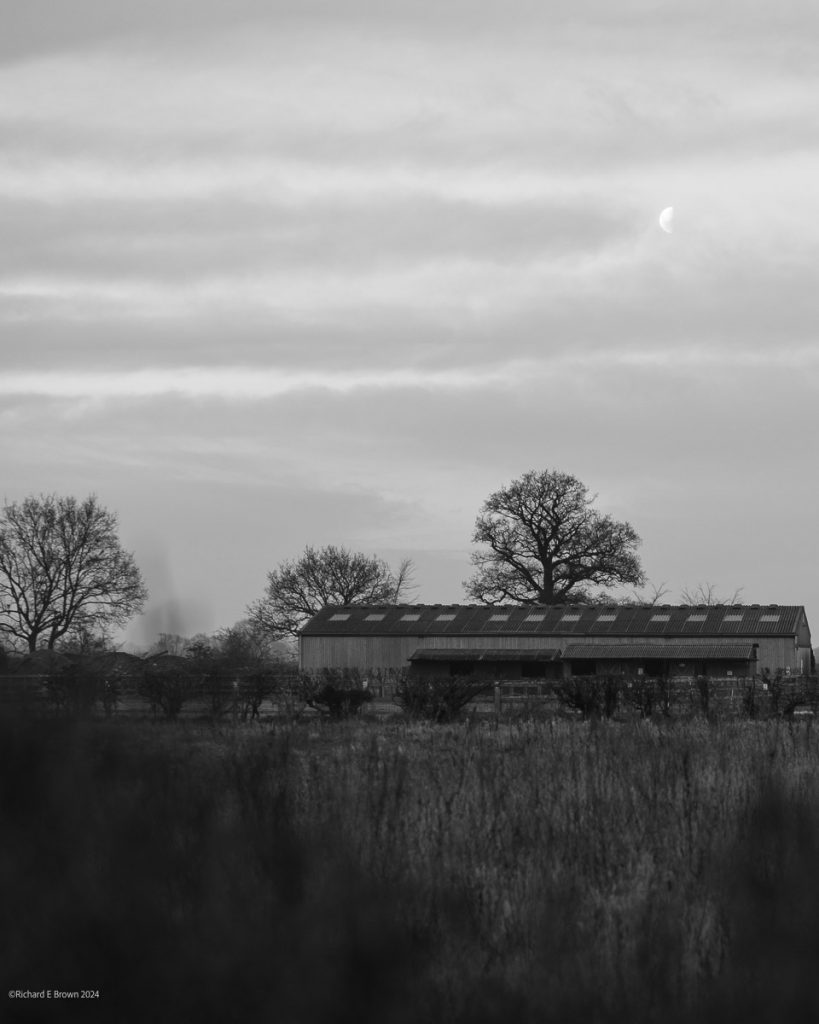
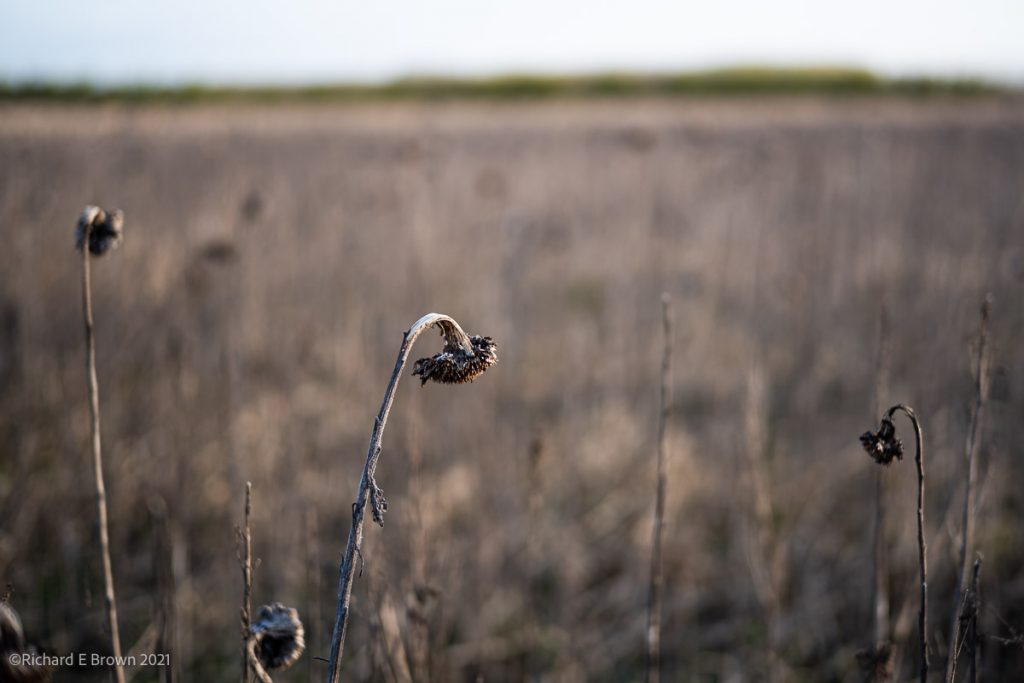
A dog walk in the country does produce the odd pretty landscape but people photography has a great deal of variety.
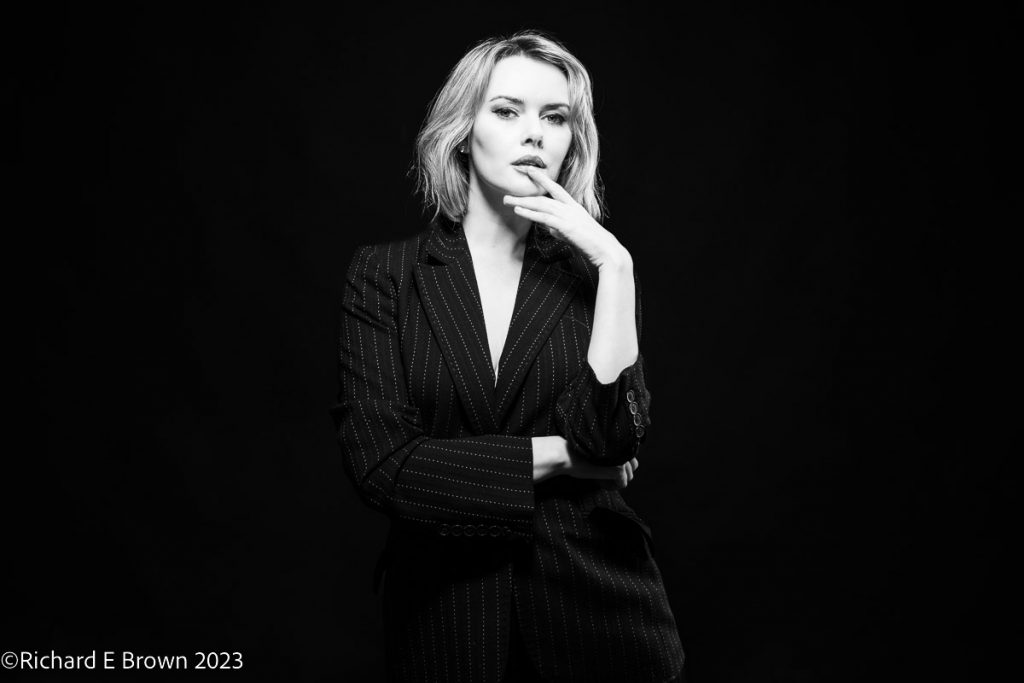
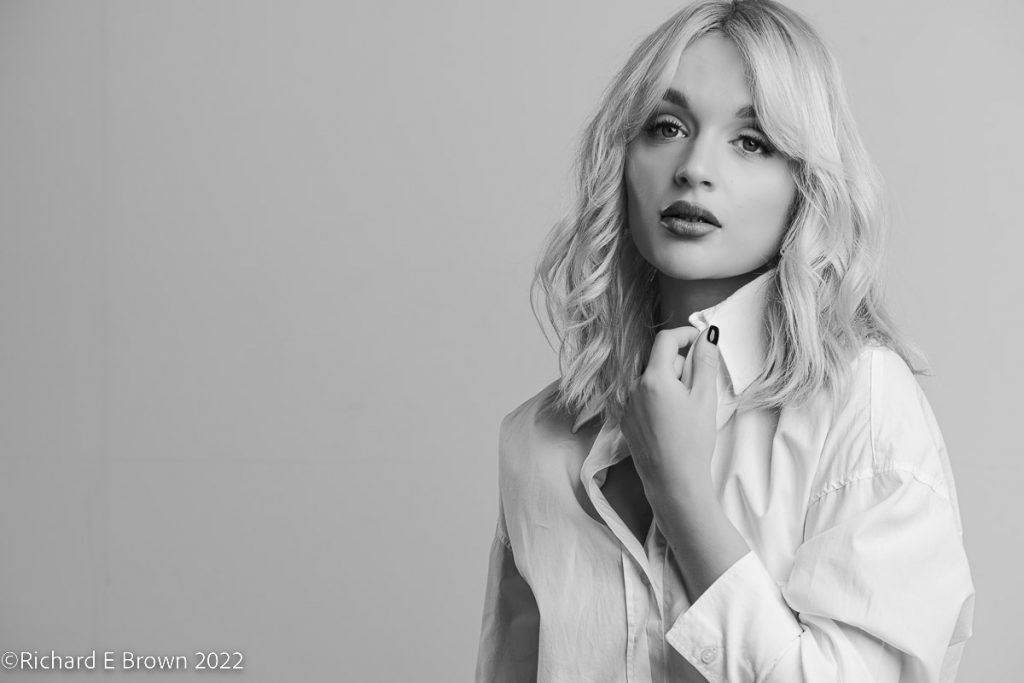
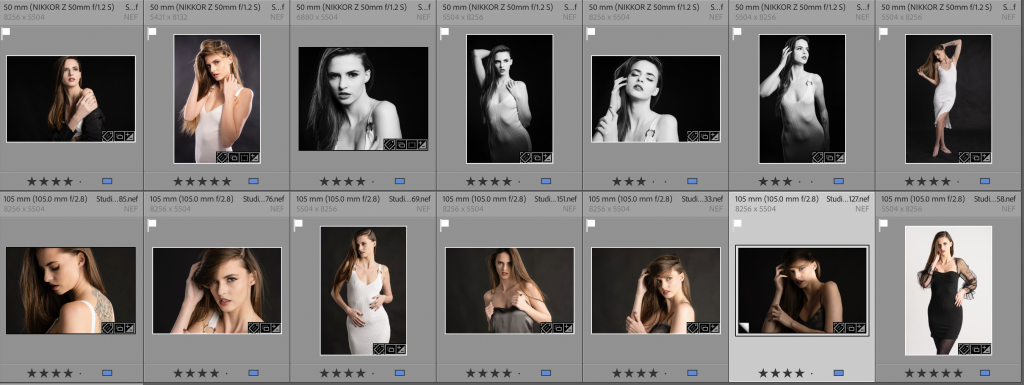
Street photography is challenging and fun, though now with the day job in IT and working from home, I do not get to indulge as often. One thing I do try and do regularly is some black and white fashion photography in the studio.
Some simple portraiture is always fun.
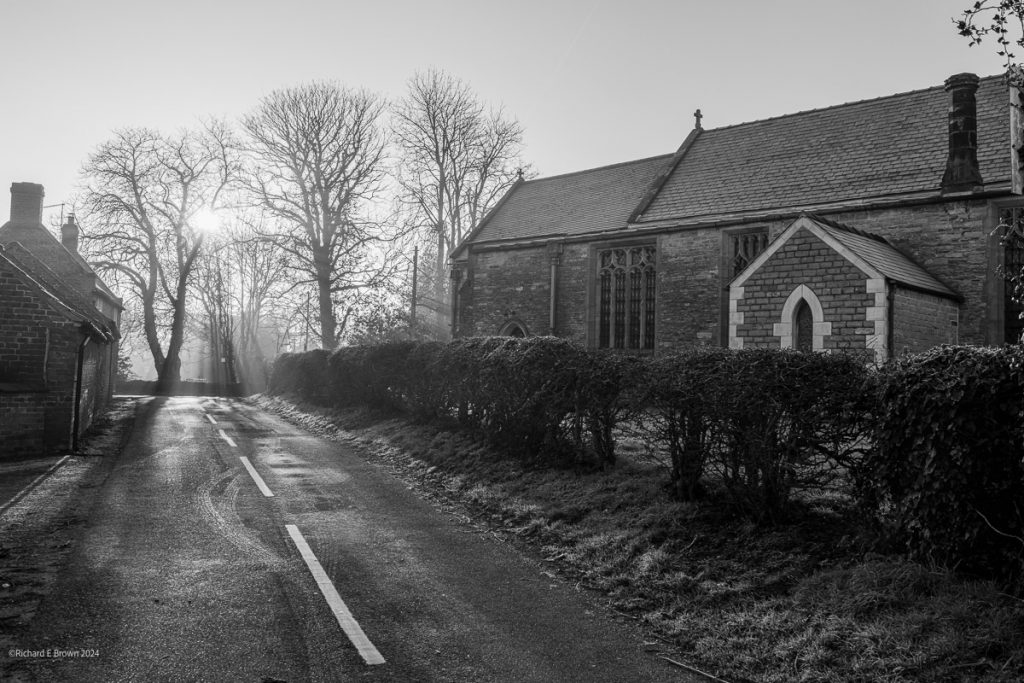
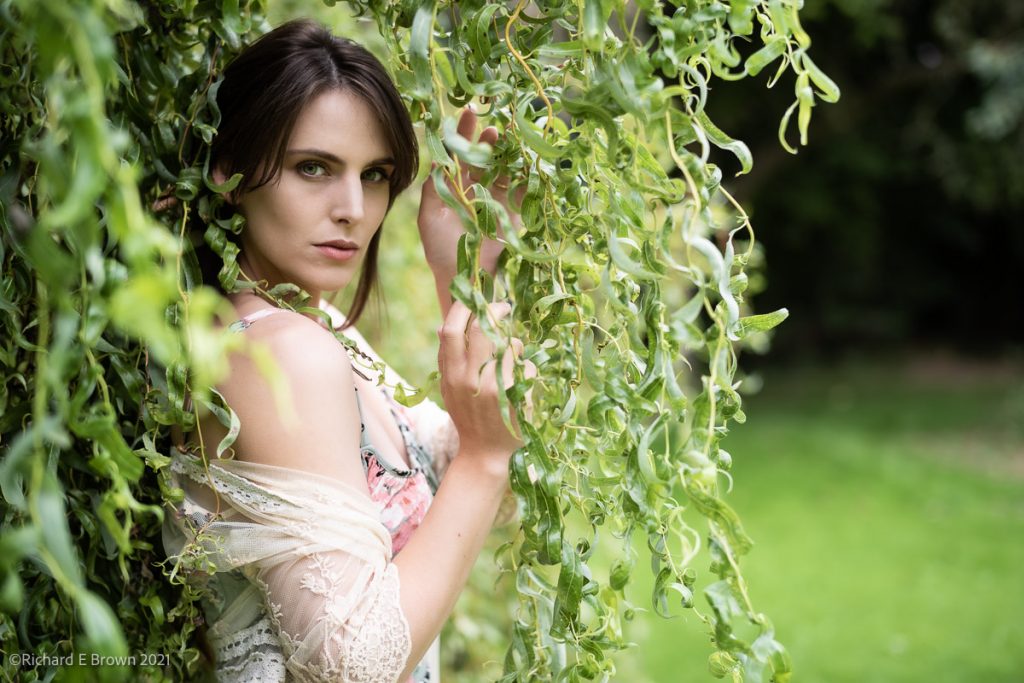
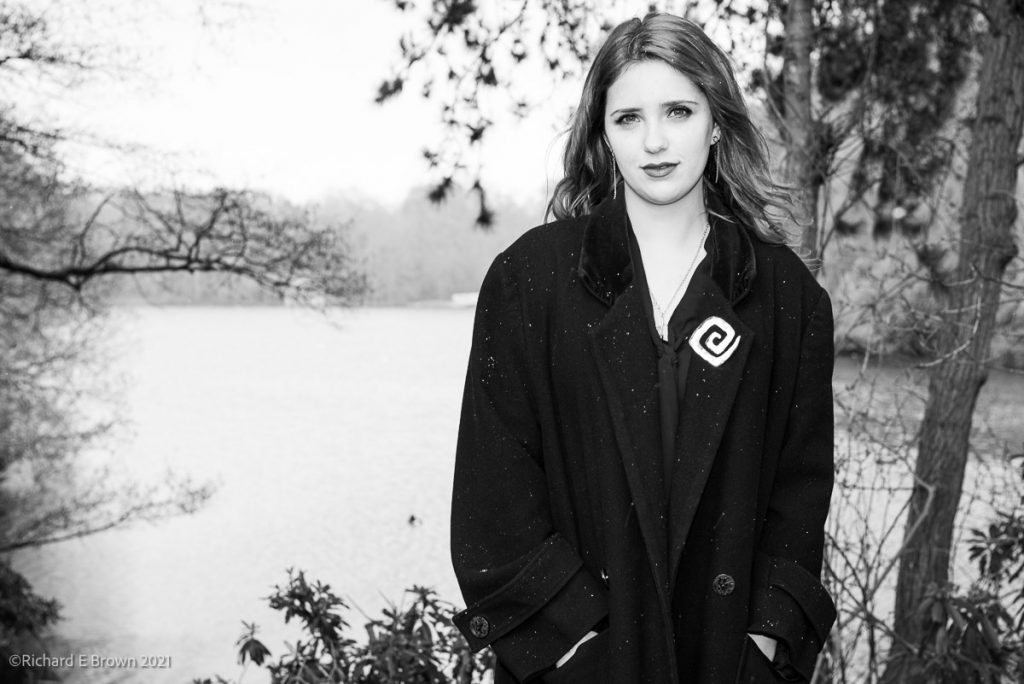
Working out doors can be a challenge with the British weather.
Outdoor work can often be more models in overcoats rather than pretty dresses in the sun.
Sometimes you have to bring your own sun like here with a flash to the front and a gelled flash pretending to be the low sun coming thought the trees.
Either way, from portraits to weddings, to corporate headshots, people photography is a wide ranging subject.
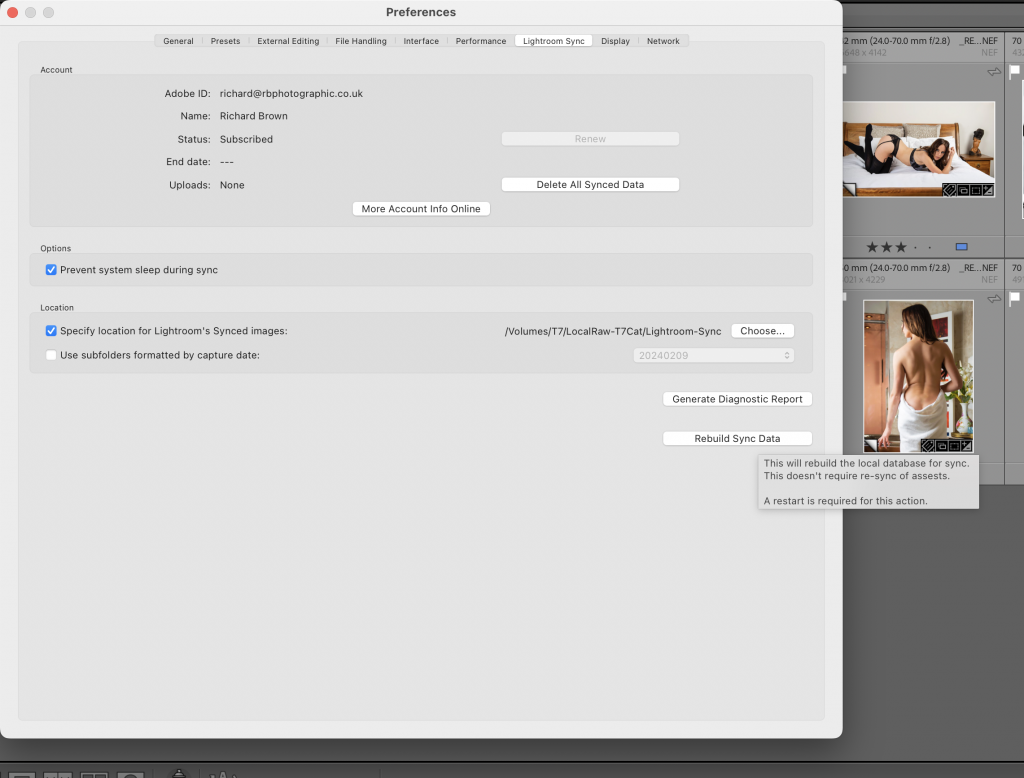
As you can see above, I have blogged about this before and normally just going into to here, then relaunching Lightroom Classic is enough to fix it, but not today.
Luckily there is a hidden button to fix this.
If your on a Mac while in preferences and Lightroom Sync, hold down the Option Key (Alt on Windows) and a Rebuild Sync Data button appears, click on this and your Lightroom will restart and sync will be back working again.