
I always thought sharpening was a relatively straightforward process, but I have seen some rather heated discussions on forums, people confusing input sharpening, output sharpening and of course creative sharpening.

As mentioned above people generally divide sharpening into either two or three stages:
- Import Sharpening (also known as Capture Sharpening):
The aim of this is to restore the sharpness to the image that is lost during the image capture. - Creative Sharpening
This is selective sharpening added to key parts of the image, such as the eyes in a portrait. - Output Sharpening
Different media require different levels of sharpening. Sharpen an image for best results for a computer screen and it will look poor and soft on a small print. Sharpen for a small print and it will look awful and gritty on the screen. Different sizes of print will also need different levels of sharpening. Sharpen so it looks good on a 8.5 x 11 inches and it will not look right on a print 13 x 19 inches.

Why do we need to sharpen? A digital image is of course a pixelated image. Adjacent pixels may be the same but they may be very different. The camera tends to average out adjacent pixels that are very different in order to reduce the amount of apparent pixelation.
What sharpening does is increase the amount of edge contrast, basically it lightens the light side of the edge and darkens the dark side. Good sharpening software will only do this on the luminance values of the data and not affect the colour information.
There is not one set of rules that you can use for sharpening, different images need different settings. All I can advise is that you shoot RAW, don’t let your camera choose the sharpening level, and use a good third party sharpening tool. For import sharpening the best two are Adobe Lightroom and Camera RAW which is built into Photoshop (actually they are the same underline code and RAW development engine).

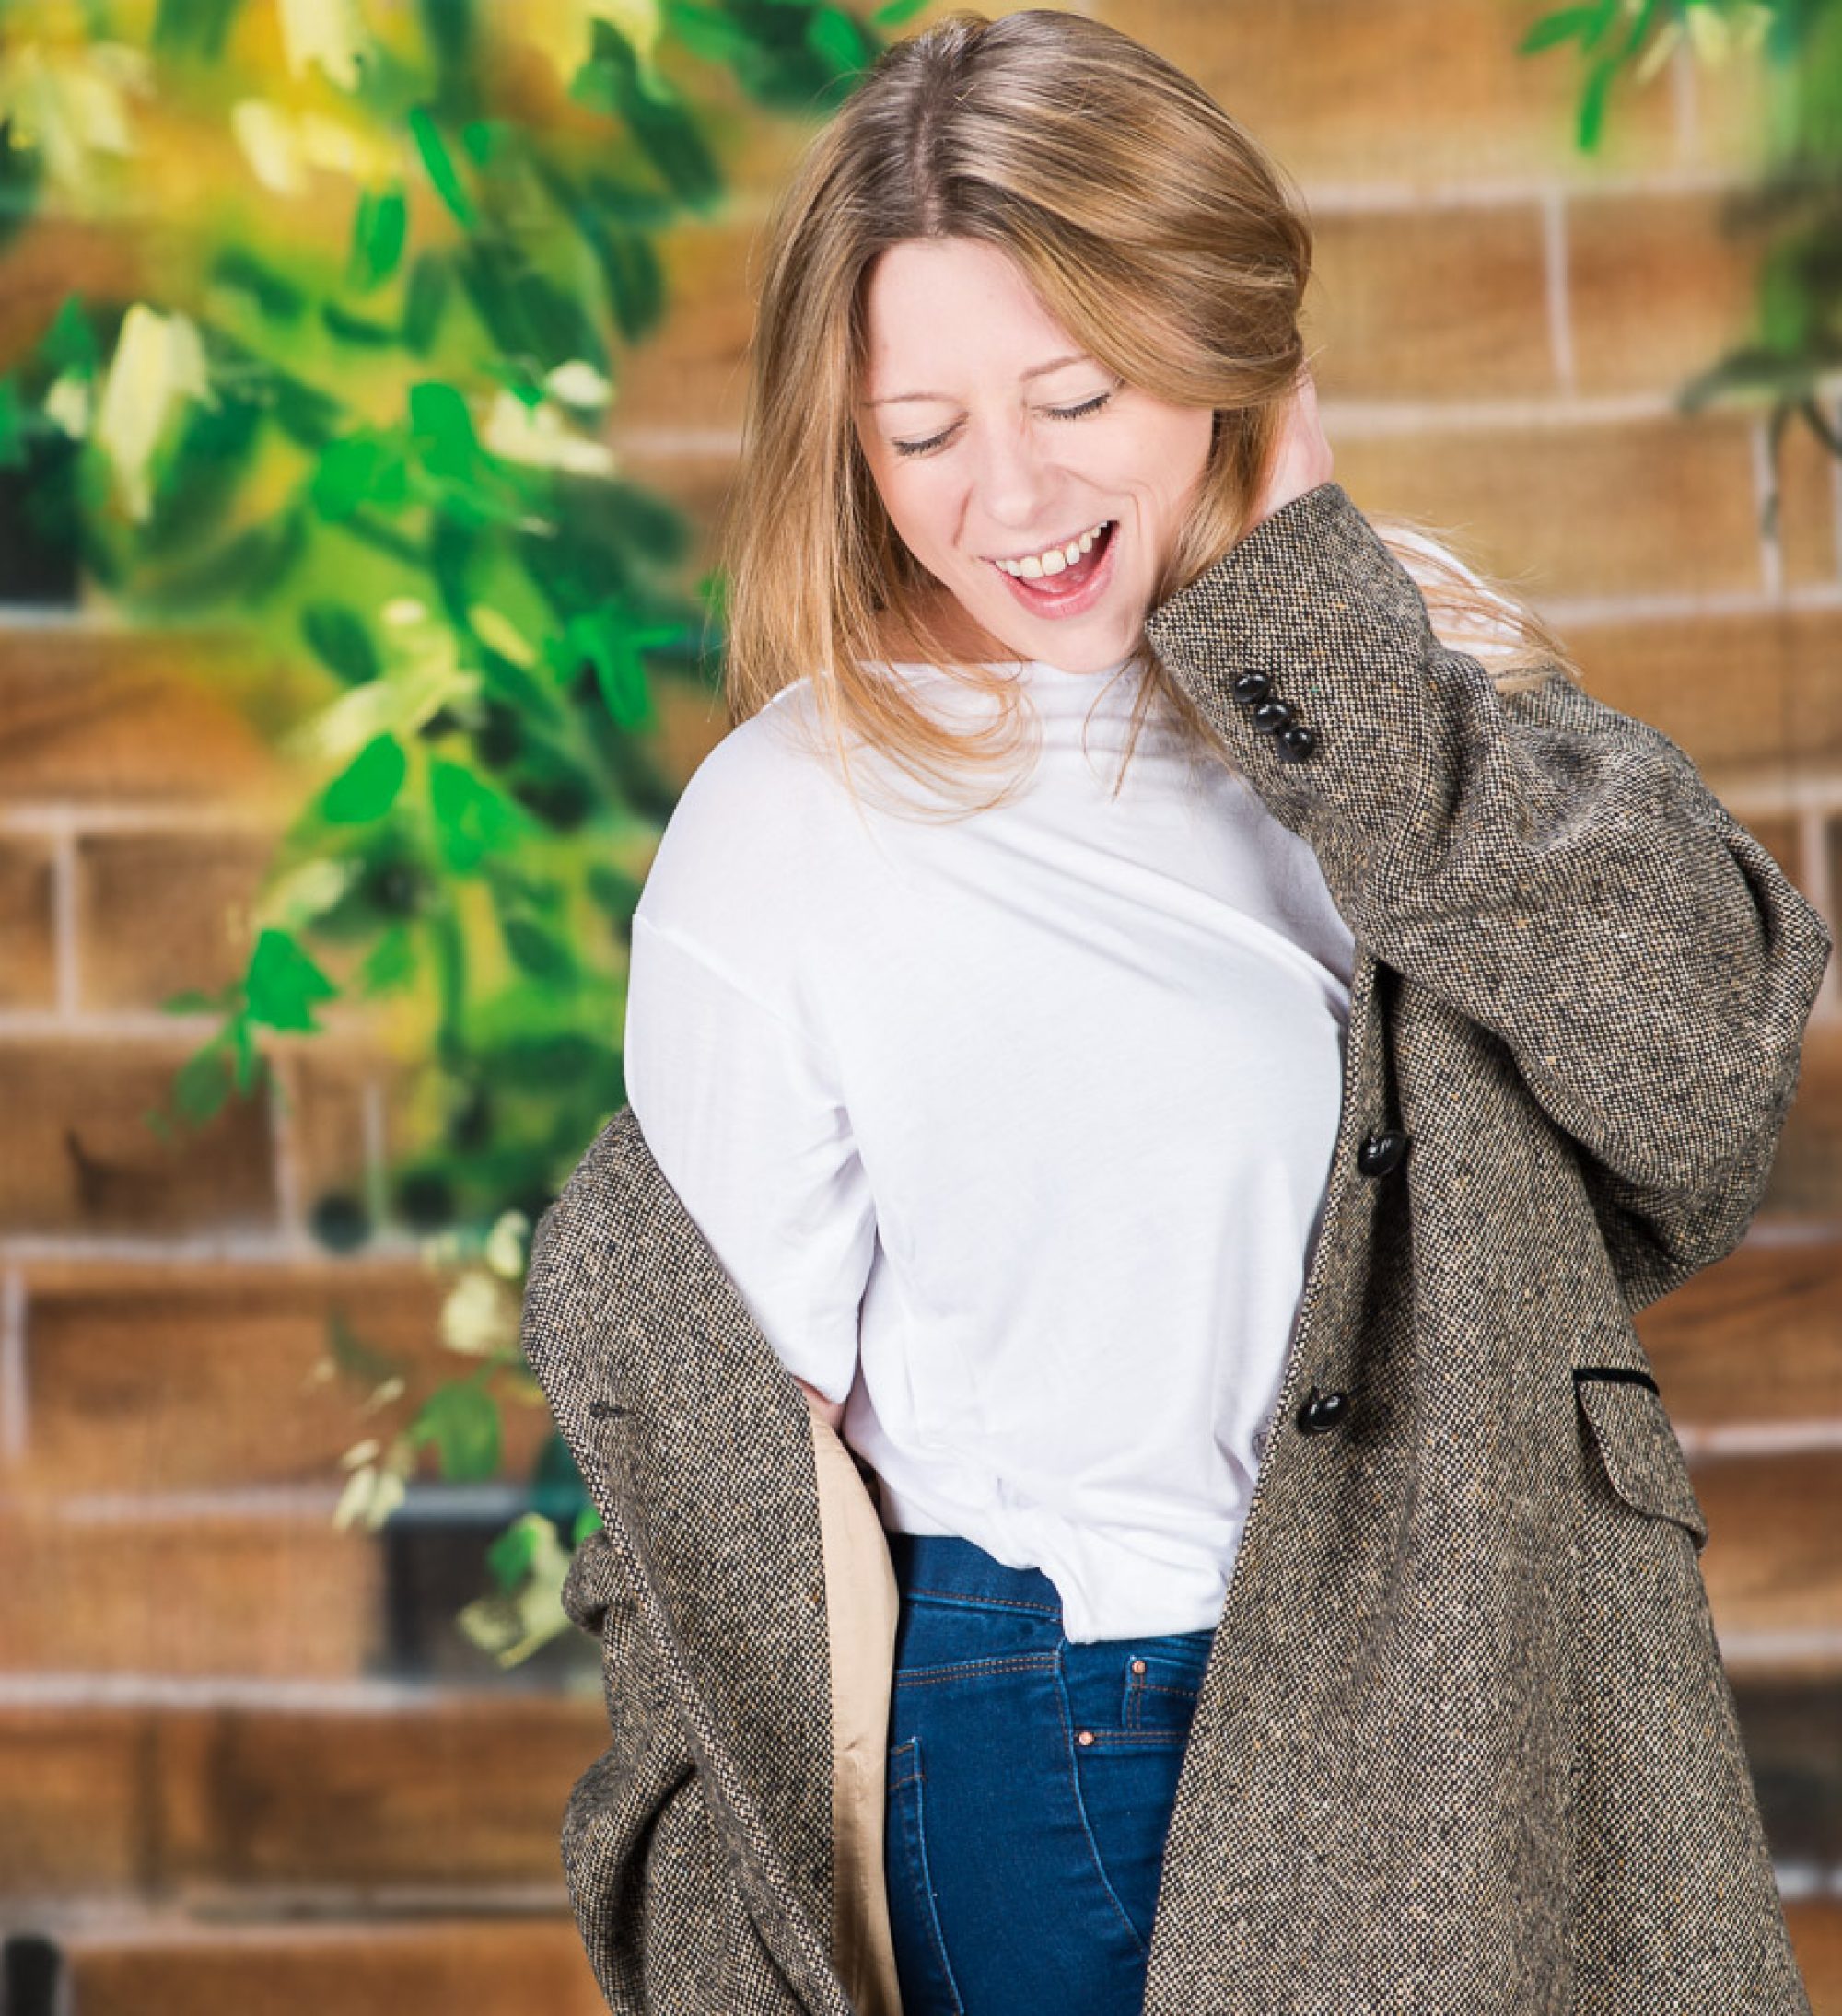
Creative sharpening can be used to highlight key areas. In the above shot import sharpening has been applied but also in the post production a reduction in mid tone contrast which has the result in softening the image slightly, this was done even more heavily on the skin town to make the skin look softer. The eyes, lips and hair then had there mid tone contrast increased and those areas selectively sharpened.

Finally, output sharpening, this adds the sharpening needed to suite the output media, above I used a relatively high for screen setting. If the output was for print it would have to go even higher and would look decidedly crusty on-screen.