Tethered shooting is not something I do a lot, but it does have its uses, especially in controlled environments where you have time constraints to get the shot.
It used to be you had to have dedicated software for tethering, normally from your camera manufacture, and it not work well with your normal workflow.
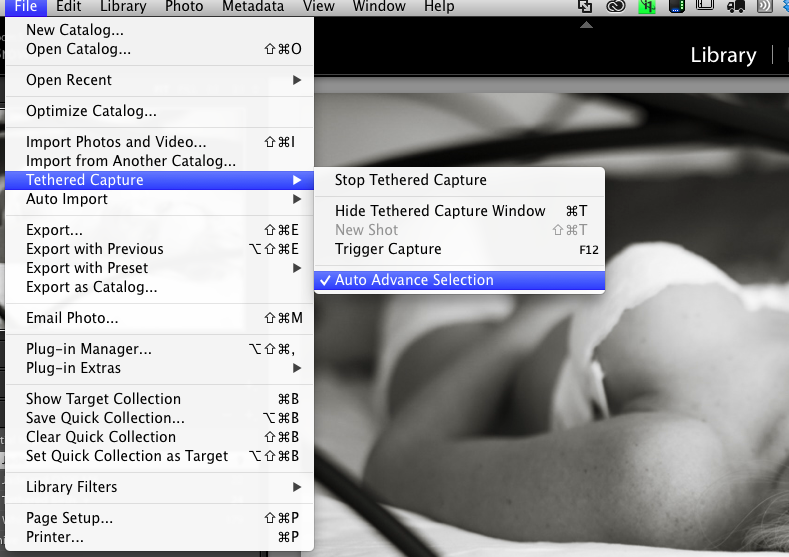
Now tethering is built into Lightroom. Its simple to start, just plug in your camera, launch Lightroom and go to File, Tethered Capture, and Start Tethered Capture.
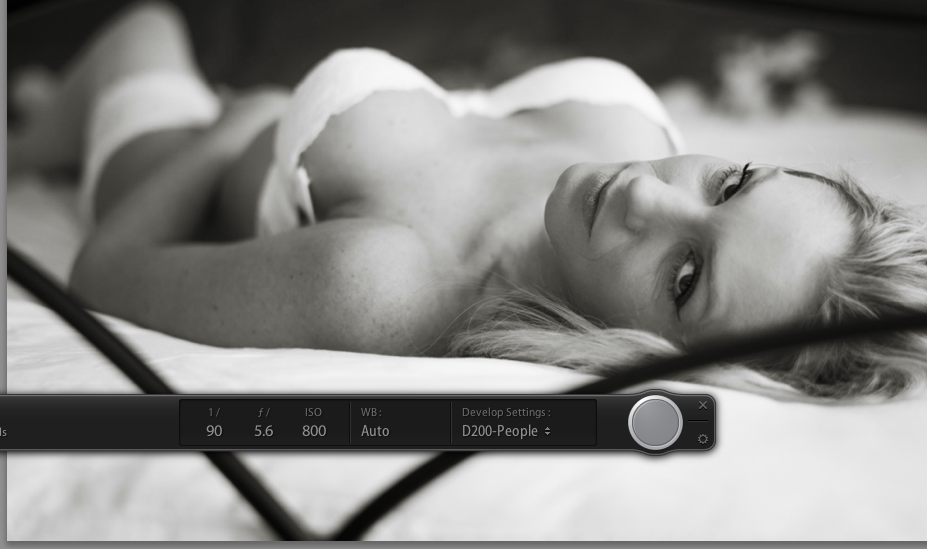
You can define a preset so your photographs get the processing you want, so in this example they got my Black & White treatment plus a tone and import sharpening for people.

You can see you camera settings on the tether tool bar and even trigger you camera. I have in the past setup the camera to photograph birds in the garden and remote controlled my laptop to trigger the capture using the iPad.
Now a days this is old hat with most modern cameras with live view coming with an iPhone or iPad app.
The reason I had another go this weekend was that I wanted to test something I had read about on Scott Kelby’s website, using tethered shooting with Lightroom Mobile on the iPad.
The laptop and camera were setup for tethering and I also setup a target collection that was synchronised with Lightroom Mobile.
The theory was I could shoot and the photographs would appear on the iPad in Lightroom mobile which could be assessed by the client. In practice it was close but no cigar! The photos came into Lightroom but there was no way that I could find to get them into the collection that was being synchronised with Lightroom mobile, I had to stop shooting briefly, highlight the shots I wanted to be on the iPad and press the ‘B’ key to add them manually to the collection. Only then would they get synchronised across.
The process was also required the internet, as the photographs once on the laptop where then synchronised to Adobe’s cloud then back down to the iPad. A local network option would be nice.
