
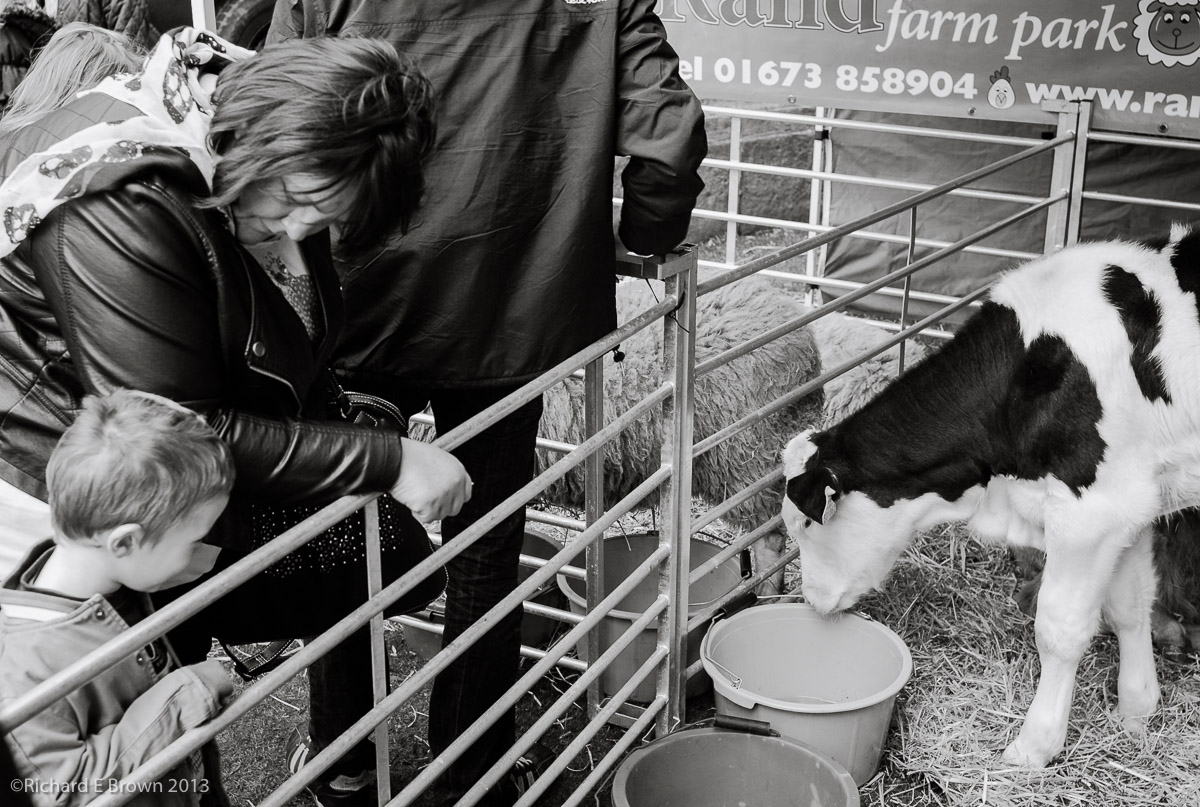
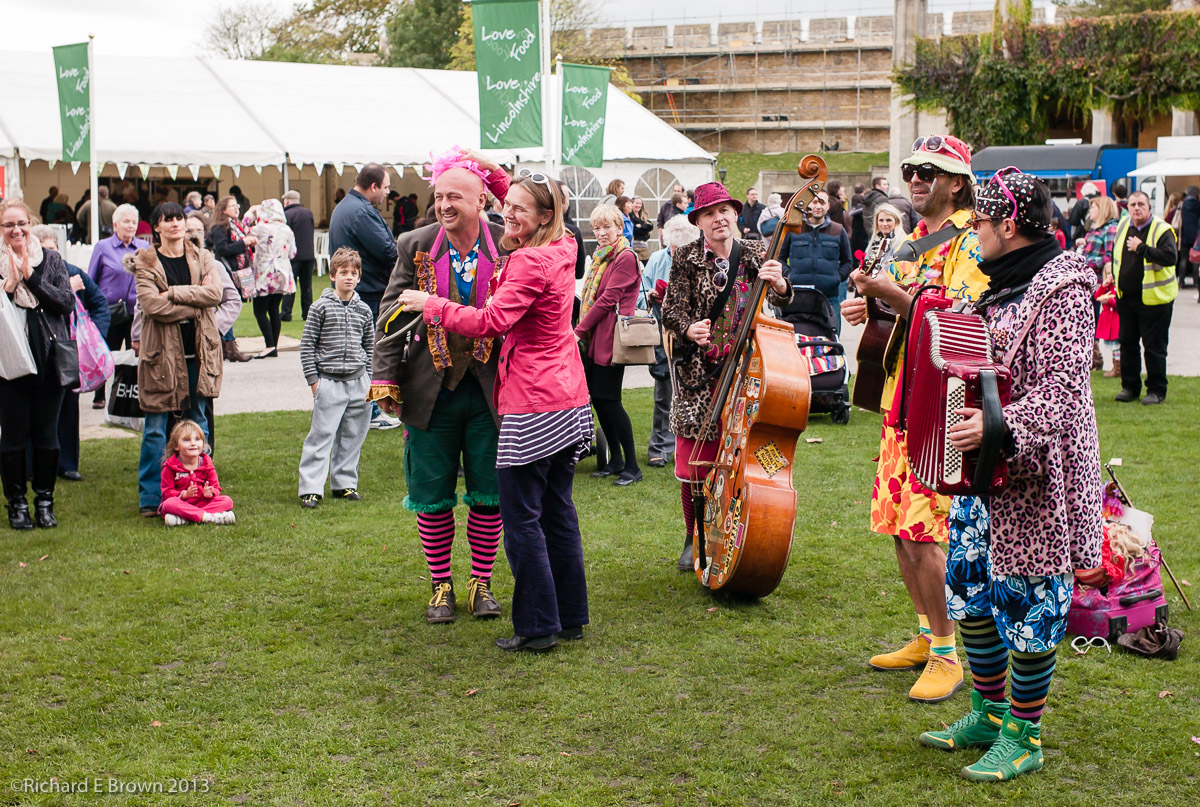
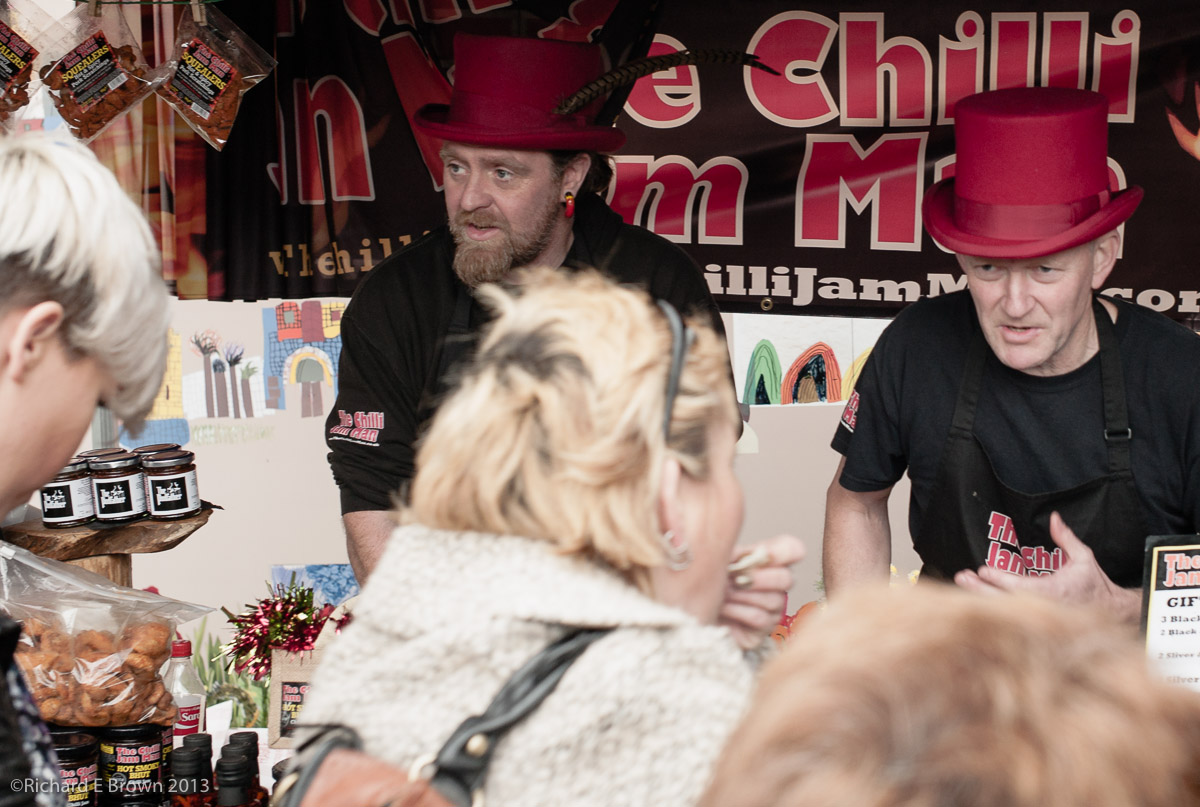
This weekend was the annual Lincolnshire Sausage Festival; and we also had a celebration of Food and Farming in Lincoln Cathedral. Lots of interesting characters, stalls and things to taste and photograph.

Family, Photography and other misc news
This weekend was the annual Lincolnshire Sausage Festival; and we also had a celebration of Food and Farming in Lincoln Cathedral. Lots of interesting characters, stalls and things to taste and photograph.
 Well after my blog post yesterday about creating an OS X Mavericks install disk; what did I do with it?
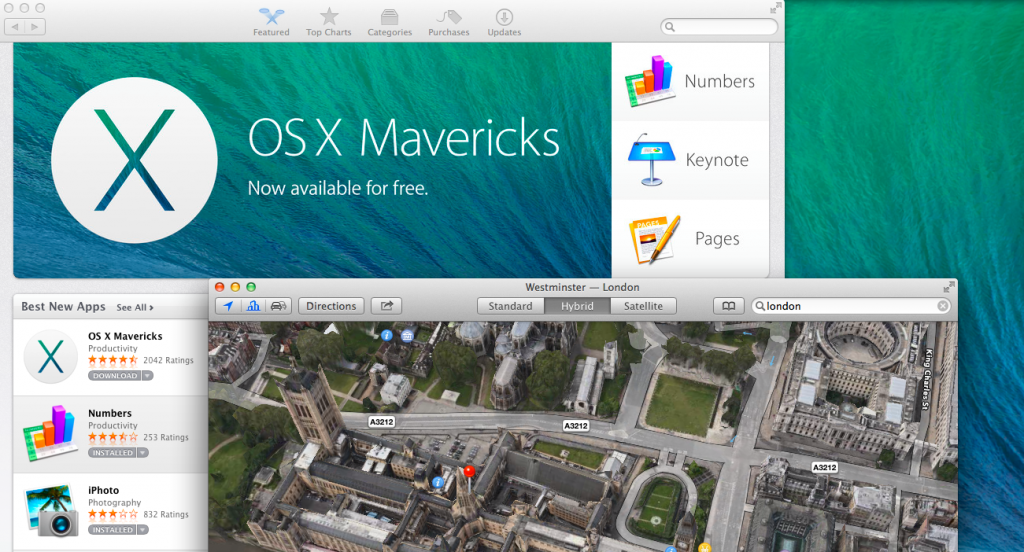
Well, I created another partition on that external drive and then booted from my new install disk and installed Mavericks to the fresh partition. I then imported my apps and some photographic data.
It was then time to test my applications.
For all my key applications, I had already visited the various software manufactures websites and confirmed that their software worked, but I wanted to know for myself. Just because it works does not mean some aspect of work flow has not changed that could be a show stopper for me.
I was pleased to find that everything worked as before. Some of the underlying tech is fantastic, with the way it speeds up the interface, reschedules processor tasks for more efficiency etc. What the user notices is a speeder machine, a more focused and polished interface, a better calendar and I love maps and iBooks on the desktop.
For Mac users and iOS users this has been a very busy few days. Lots and lots of app updates, a major OS update for iPhone, iPad, Apple TV and the Mac. Major pieces of software have been made free for users with the latest OS’es or new Hardware.
If your setting up iCloud Keychain then be patient, Apple’s servers are pretty busy at the moment.
Back in October last year I blogged on how to create a OS X Moutain Lion Install disk, as the OS was download only. Tuesday saw the release of the latest Mac OS, OS X Mavericks; yes gone are the big cats that saw us through the previous decade, now it seems we have place names, starting with Apple’s own backyard and Mavericks, named after Mavericks Beach I believe.
If your still after my original blog post you can find it here:
https://brown-family.org.uk/creating-a-mountain-lion-install-disk/
Its posible worth a read as it covers in slightly more detail some of the techniques we are going to use below.
Creating an install disk is basically the same as before but with a minor exception. The install dmg cannot be just restored theres a few extra steps involved, and this means we need a little prep at the start.
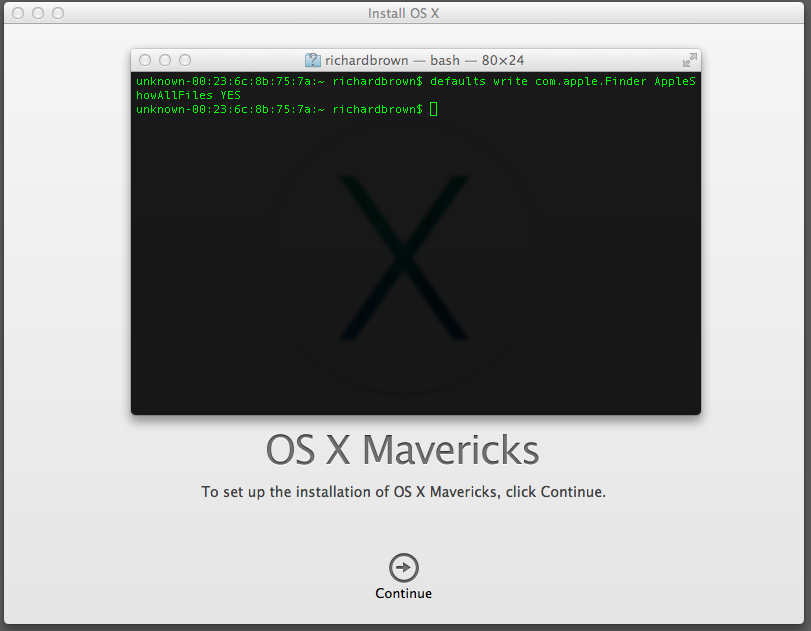
First job is to make some of the hidden system files you are going to need visible, so step one is to get are hands dirty and drop to the command line, not something most Mac users are used to, but with OS X being UNIX its incredibly powerful.
Step 1
Launch Terminal; You will find this under Applications/Utilities, or if your lazy like me hold down the Command Key and hit the space bar, then type terminal and press return.
At the terminal command prompt type:
defaults write com.apple.Finder AppleShowAllFiles Yes
Then press Return.
Then type:
killall Finder
And press return again. This will cause finder to restart but with the show all files settings as defaults.
Step 2
You know need the OS X installer which can be downloaded from the Mac App Store free of charge; nice one Apple!
Step 3
Once Downloaded you will be presented with the OS X install screen, ignore this for now and go and look in the Application folder. Here you will find the installer. Now that it is downloaded copy the install to a couple of old harddisks to keep it safe, if you have an so download speed like me then you will not be wanted to download it again. Ctrl-Click and select ‘Show Package Contents’. Browse to Contents/SharedSupport, find the InstallESD.dmg file and double click it to mount it.
Step 4
In the mounted dmg find the BaseSystem.dmg file this file is hidden and cannot be found unless you followed the first step. Now Launch Disk Utility and drag your destination disk to the destination field and the BaseSystem.dmg file to the Source field.
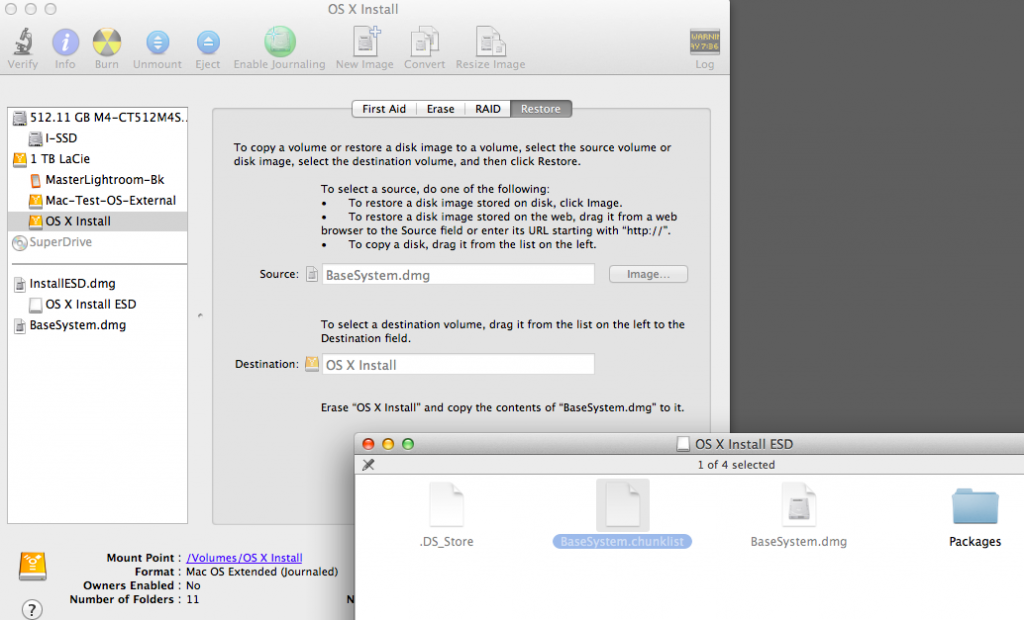 Click Restore.
After a minute or so depending on the speed of the disk you are restoring to; you will now have a disk called OS X Base System. You now need to browse into System/Installation. Here you will find an alias for Packages. This needs deleting.
Step 5
Find the full Packages folder from the root of the mounted InstallESD volume and copy it to the where you deleted the alias from.
You should now have a bootable OS X Install drive.
Step 6
Lastly you need to set your finder defaults back to normal.
At the terminal command prompt type:
defaults write com.apple.Finder AppleShowAllFiles No
Then press Return.
Then type:
killall Finder
If like me you want to give the new OS a good test but not yet install on your live install disk then you can use tools like SuperDuper clone you install disk to an external disk, boot with your new install disk and install to the other external disk, then boot from it and test everything. Only once you are happy you can upgrade your main disk, but remember to have a time machine backup or a clone of it just in case.
Apple had a press conference today and as well as the expected iPad announcements there were a few extra announcements.
Of most interest to me was the announcement of the latest version of Mac OS X. I’ll have to check with Adobe and a few other software manufactures of software to see if everything is compatible and I may install on a separate hard disk first to test before upgrading my main system.
The big thing from Apple was that all the software updates are free, a great move.
Not announced but also available today is another iOS update. 7.03 was which as well as a bug fix also includes the new iCloud KeyChain.
Updating my iPhone now.

Today is National Stockings Day. If I am shooting for my own pleasure in the Studio I always try to get a nice stocking top shot.
Its also a good day to for you ladies to buy some Charnos Stockings or get your partners to. Charnos will donate 10% of the retail price to Breast Cancer Care.
 It’s been quite an exciting few days on the camera front. With Panasonic releasing the Photographer Centric GX-7, then today the GM-1, Sony’s new full frame goodies the A7 & A7r based on RX-1 and even Nikon getting in on the action with some very minor upgrades for their SLR’s.
I was hoping to have posted my thoughts and a few demo photographs from the Panasonic GX-1, but I have been unable to find time to test the local demo model that London Camera Exchange currently have. Hopefully i’ll be able to get round to it next week.
One of the more interesting options with the new Sony Full Frame cameras is the ability to take Leica M lens. While this is possible with MicroFourThirds, Sony Nex and the Fuji X interchangeable lens series cameras this is the first none Leica Full frame camera series that can do this.
Exciting times.
It kind of crept up on us but Monday was the deadline for the World PhotoWalk. With moving house I had not managed to process any more photographs, so I had to make a quick choice from the ones I had already uploaded to the local Flicker Group.
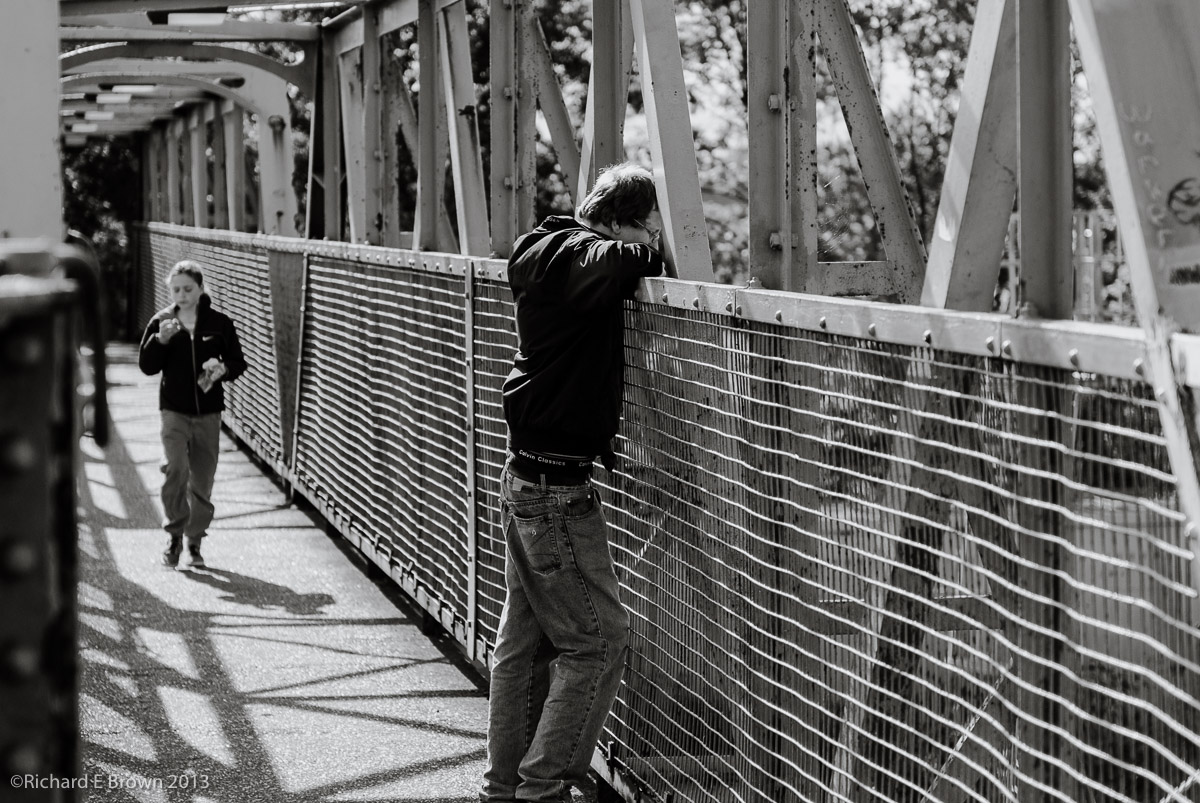
It was a tough choice but in the end I went with this one ‘View of the lines’, I like the diagonal composition with the bridge and the man in the foreground makes you wonder what he is thinking about as he looks out.
Not a great photograph but it is an interesting photograph.

Well the move is complete, we still have lots of work to do, including the basics like plumbing in the washing machine, but things are slowly coming together. We have had very little internet access for the last few days, even now its still slow and flakey but its slowly getting better.
Its really surprised me how much we have missed the internet access. Just about everything now a days is easier to do online. Even little plumbing and joinery jobs we have been doing, I would usually just check on line and watch a few YouTube videos just to make sure I knew what I was doing.
We really do live on line lives today.
 Its sometimes tough, sometimes very enjoyable, but when I started this blog I set the rules that I would blog at least once a month, and where possible four times a week; Mondays, Tuesdays, Thursdays and Fridays.
Well so far I have been pretty good and I have managed to keep to my rule. For the rest of this week though I’ll not be blogging. The reason is that we are moving.
No not virtually but physically. Currently we live in a lovely village just outside Lincoln but it does lack room and when ever I need to use a studio I have to hire a space, either in Lincoln or my favourite studio in Worksop.

Well this week we are now moving to another lovely village near Lincoln but this time, we have room not only for my office, but also for my Photographic Studio; and also for Caroline’s Craft Studio. It will be a while before we have everything fully setup, and will be welcoming clients and models to our new place but this week is the start.
So lots of hard work ahead but great times are ahead.


Another great World Photo Walk. A good walk and the standard this year looking at the local flicker group is even higher then usual. I have only edited a few of mine so far which you can see above. The Lincoln shots that the group has put together can be found here: