 HDR – High Dynamic Range, is a useful technique when the dynamic range of the scene is beyond that of the sensor or film you are using.
Traditionally the one uses dedicated HDR like PhotomatrixPro, but recently I found a method of producing a more realistic method of producing a HDR image by doing the editing in Lightroom.
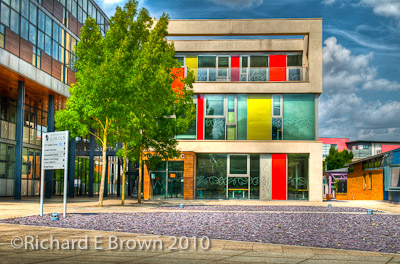
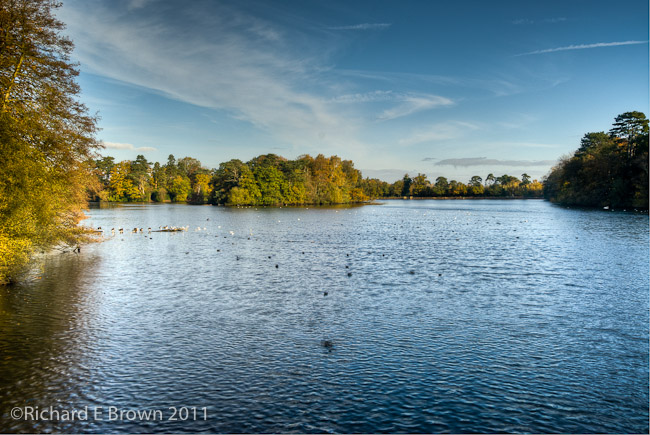
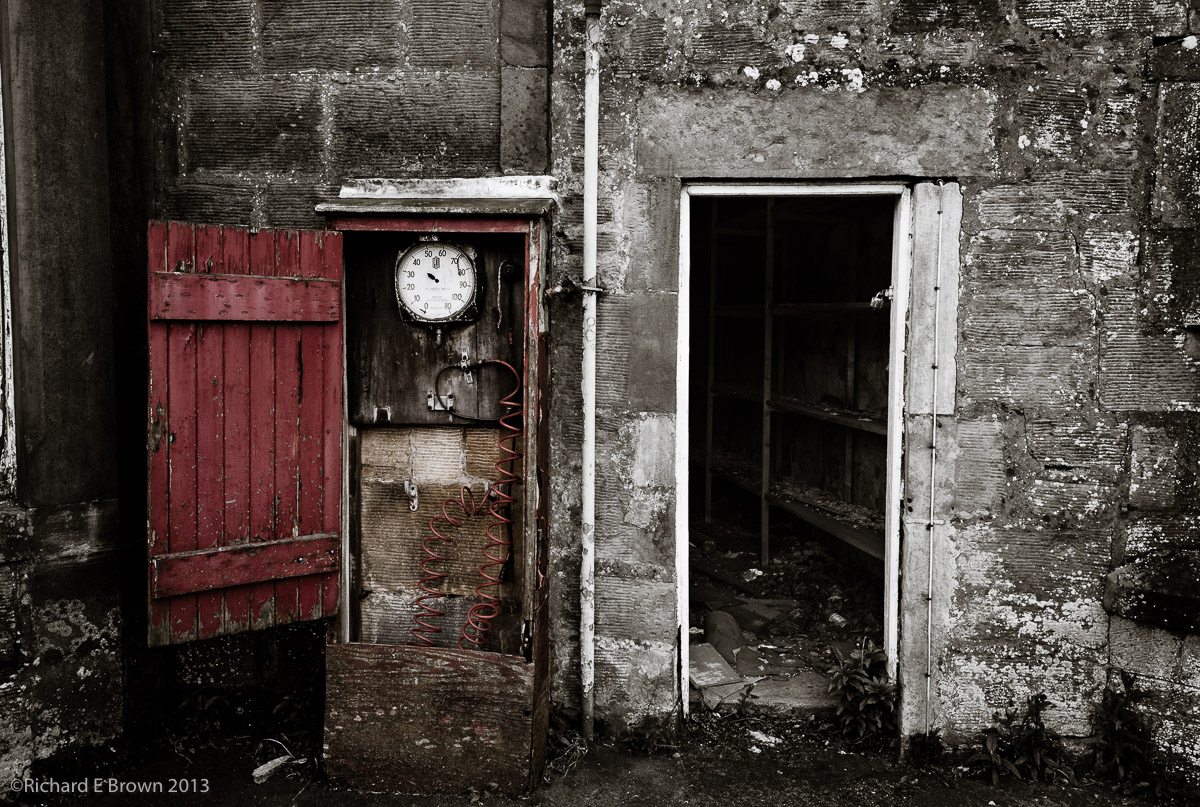
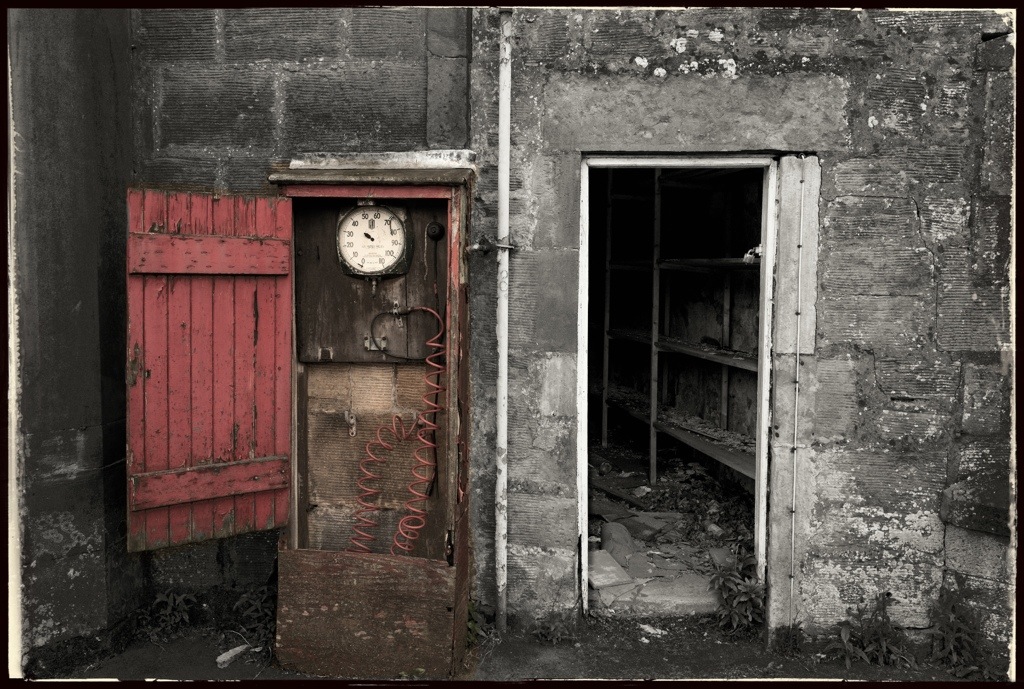
One can use HDR carefully and produce natural looking results like in the photograph at the top of this page. Often now you see HDR used to produce over the top cartoony images like in my shot of the University of Lincoln.
My workflow is generally as follows:
- Image Capture
- Initial import to Lightroom
- Initial Edit
- Export to HDR Program
- Process in HDR Program
- Export Back to Lightroom
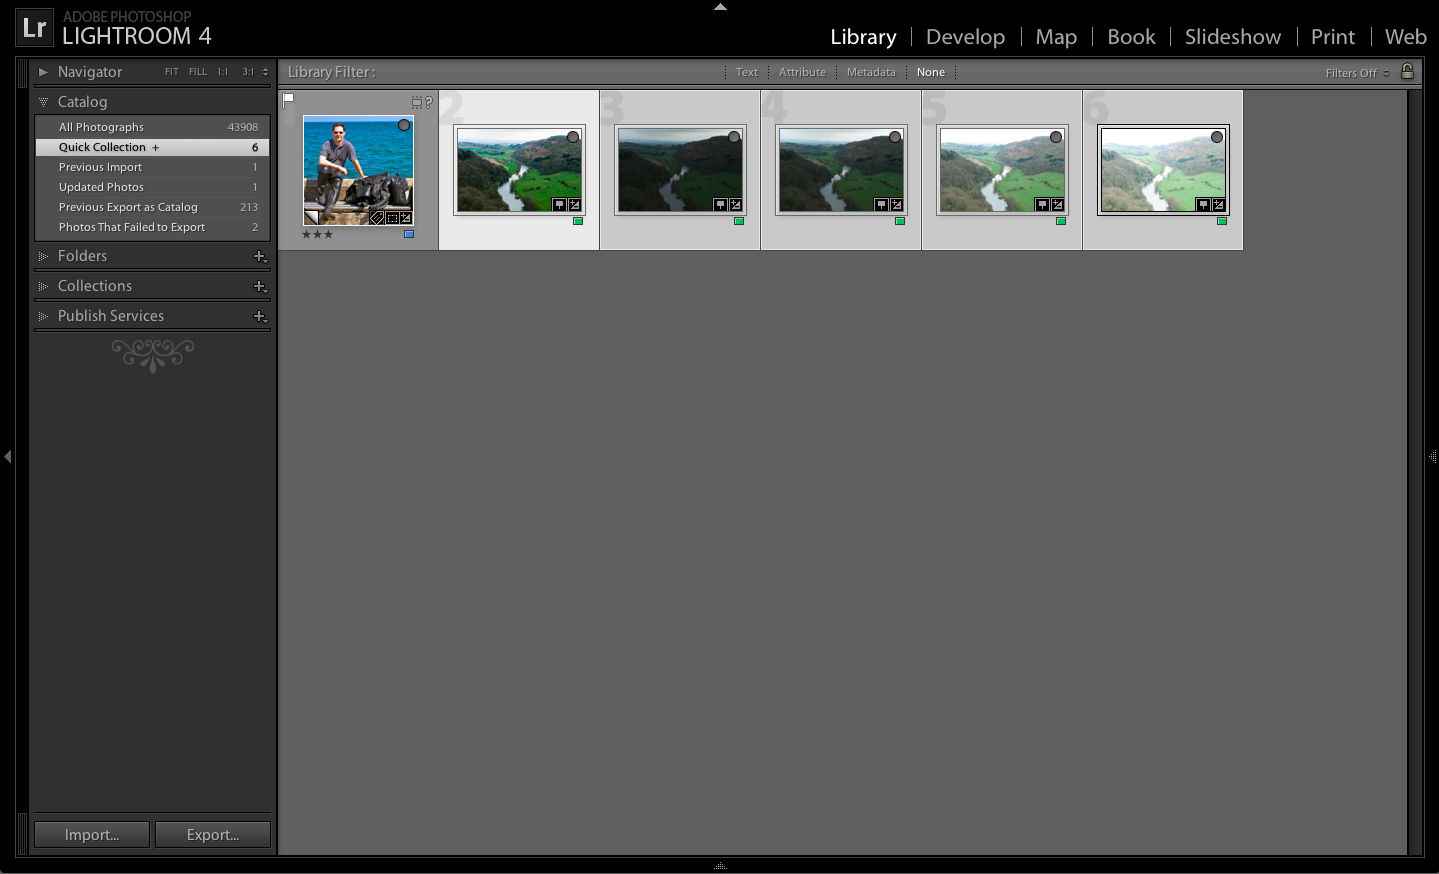
I generally shoot a five stop bracket, using auto bracketing. These photographs are then imported into Lightroom and I do basic key wording, copyright information and correcting for lens issues and basic import sharpening.
The five shots are then selected and exported to TIFF into my HDR Program. I use PhotomatrixPro. The HDR processing is now done and the resulting single file exported back to Lightroom. I can then do my usual processing and cropping back in a program I am more familiar with.
Well I did not spot it until recently (thanks to Matt Kloskowski) but you can now export the shots to Photoshop combine them and then re-import and do the processing back in Lightroom. Now Photoshop can do HDR but until CS6 third party programs have been better. This technique though just uses Photoshop to combine the images, which are then exported back to Lightroom and you can do the processing back in the program I am mist familiar with.
So how do you do this? Well for a start you need Lightroom V4.1 at least, V4.0 and before could not do it.
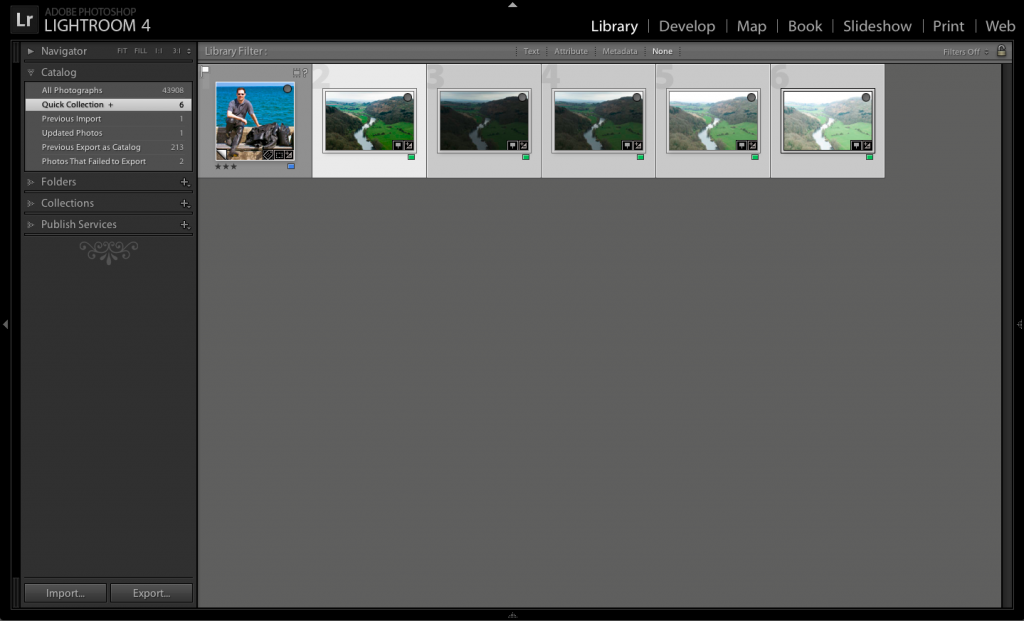
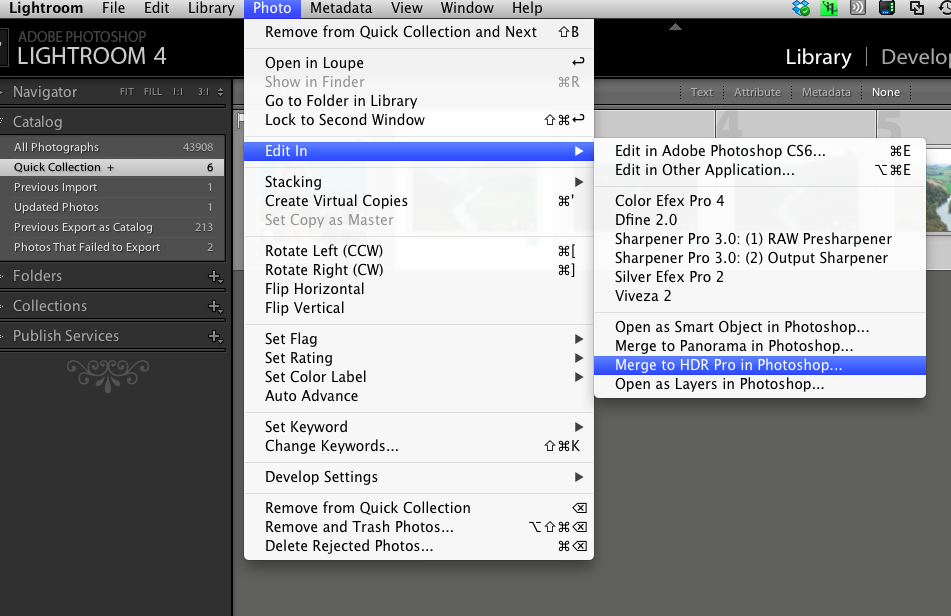
Select all the photographs in the bracketing set in the Library module.
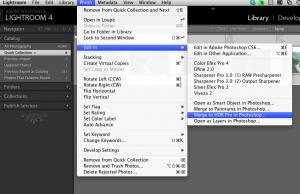 Then go to the Photo Menu, select Edit in, and then, Merge to HDR Pro in Photoshop. This will cause Photoshop to Launch (you will need CS6).
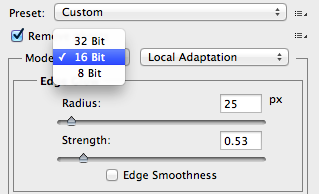
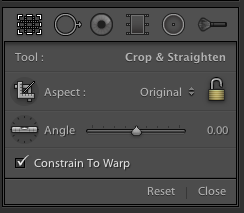
Once all the images how loaded you need to change a setting in the right hand menu panel within Photoshop CS6. I recommend you click on the button Remove Ghosts and then change the Mode from the default of 16 Bit to 32 Bit. Then click OK.
It will now process the selected files into a single TIFF file (it must be saved as a TIFF). If you shoot with a 24 megapixel camera or more and have a older computer this could take some time!
Then close Photoshop and when prompted to save click Yes. Photoshop will save the file and Lightroom will import it. You can then edit the resulting file with a number of advantages.
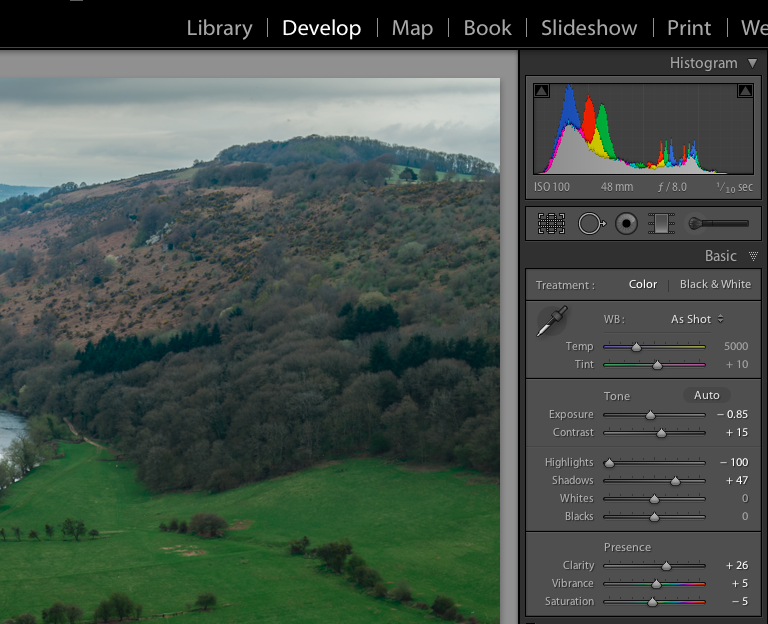
When you now edit the image you will find that there is far more data available then if it was a single image.
With the five set bracket I took I have plus/minus 10 stops available in the exposure control. This gives you the advantages of HDR but not the cartoony look.
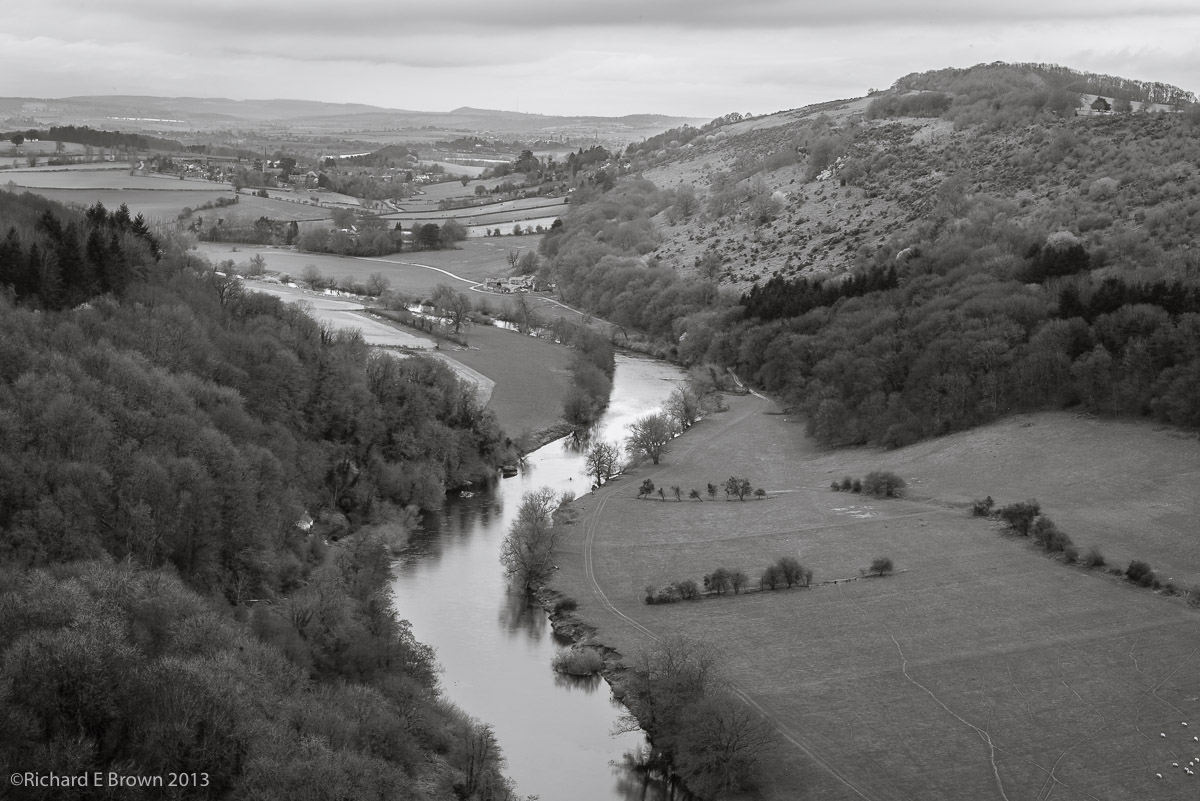
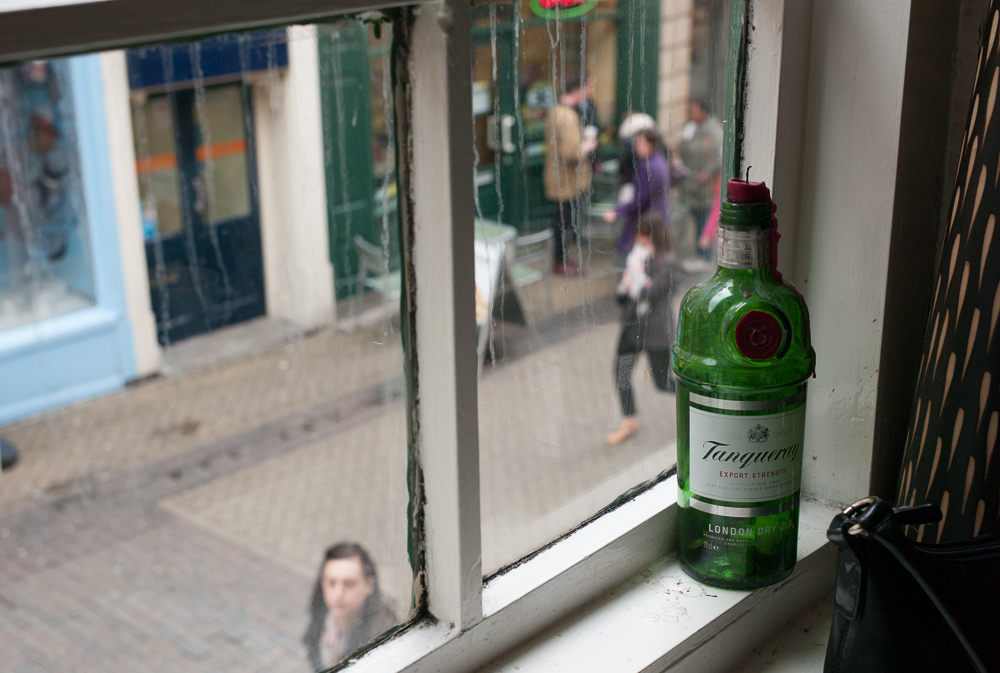
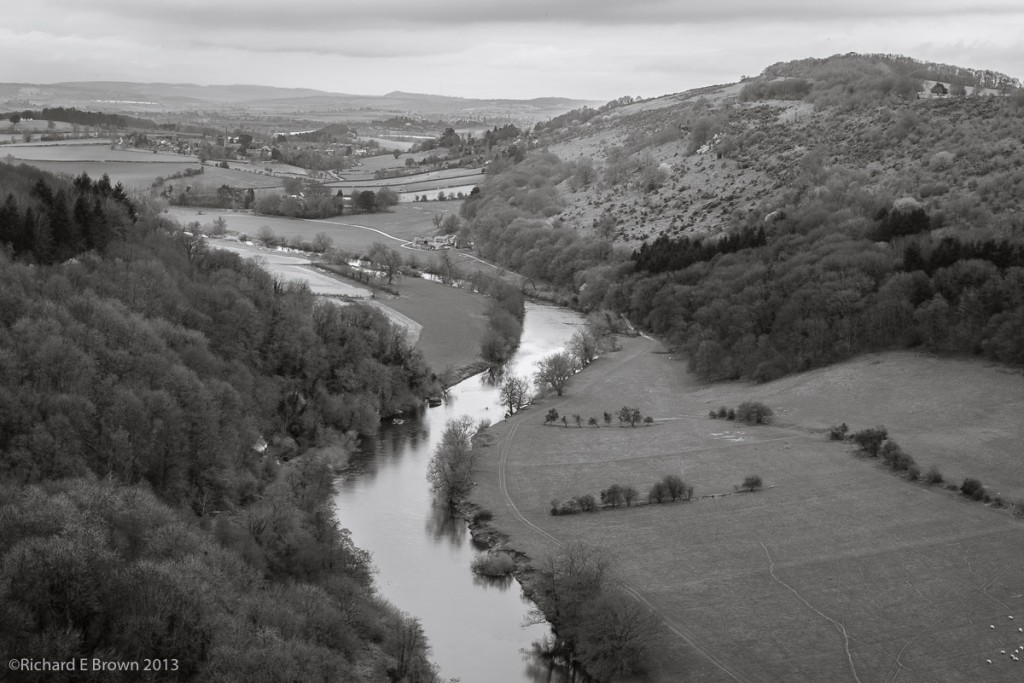 Here is the final image, turned into a Black & White with lot more detail available in the what was a blown out sky.
Now that I have learn’t this technique I’ll be re-visiting some of my older brackets and seeing if I can do a better job of post production. Here is a quick re-edit I did of a interior shot of the lovely and majestic Lincoln Cathedral.


 RAW processing has always been the preserve of the standard computer not the modern tablet which is viewed as a consumption device and not a device for actual work. I have for a while wanted a RAW processor for the iPad but have always been disappointed with what is available, even Apple’s own iPhoto for the iPad can not handle RAW files.


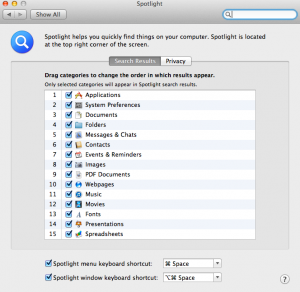
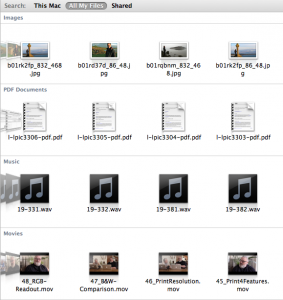 For those of us running OS X Mountain Lion the Spotlight function and the All My Files Folder can be very useful for finding documents.