People are often surprised to find out that I still use film.
I sometimes shoot 35mm film on my Nikon FM2 and my Leica M4 for fun.
I shoot landscapes on my medium format Hasselblad and my Large Format 4 x 5 Ebony, both of which I still use film.
Its a bit like an artist using watercolour or oils to paint with, some artists use one, some the other and still some, both. As a photographer I mainly shoot digital but film for me has a place too.
While the selection of films is gradually reducing, film use is growing, and some film manufactures are increasing their production.
Today Kodak came out of Chapter 11, they are back in business. Film users are worried but I think there is still hope. We have to admit film now is always going to a small niche product and I am not hopeful for colour but I think Black & White has a bright future.
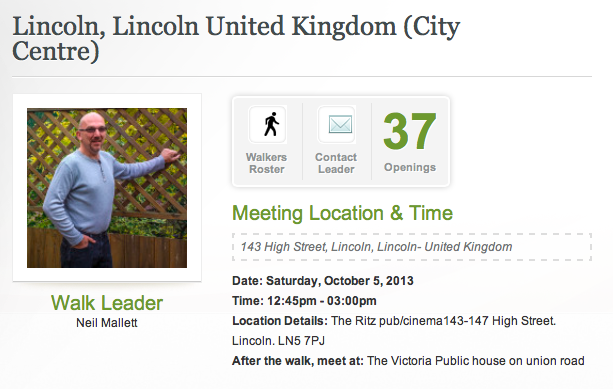
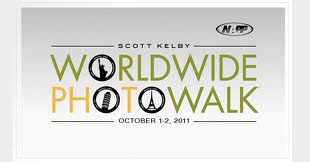
As I have already posted, its the Worldwide Photowalk 2013 soon and Lincoln is having a walk. The last few walks have been hosted in Lincoln by Richard Boom, this year Neil Mallett is taking us round, enrol and lets have a fun days photography.
Nikon D200
Nikkor 105mm f/2.8 G AF-S VR IF ED Micro
105mm, 1/180 Sec at f/7.1, ISO100
Post Processed in Adobe Lightroom V5
On a Mac MacBook Pro, OS-X 10.8.4
As with still cameras which have steadily increased in resolution, with have seen TV’s continually step up in recent years.
From CRT TV to Flat screen, then HD; in our consumer society there is always a need to make people upgrade. 3D was the next big thing, but while moderately successful in movie theatres was less so in homes. Now we have the next big thing 4K which has 4 times the resolution of HD.
I suspect we will see still cameras with 4K soon, we have already seen some mobile phones with 4K but I expect thats more marketing over usability.
One interesting aspect of this is going to be what happens with media and to broadcast. While Blue Ray can cope its likely we will need an updated format as we are close to its limits and that leaves no room for extras. Broadcast is even more of an issue, we would loose the majority of our channels as there is insufficient bandwidth to deliver 4K channels in the current numbers.
Interestingly Sony have come up with an interesting answer. Last year there first 4K TV coast $25,000, this year the current model is $5000. For deliver of content they have released a 4K media server at $700. Movies can come on either SD card or by download.
For many physical media is a thing of the past and it seems 4K may mean that for movies as well.
So on Tuesday I posted a nice photograph taken with a very cheap camera with a cheap lens. It was a good image and one I am proud of. So do we need all this exotic glass. Well the answer is yes and no. There are alternatives, I know a wildlife photographer who gets great results with his cheap telephoto, because he uses bait to get the wildlife to come a lot closer to him.
The top photograph is a mint flower, these are tiny flowers which you would think would need a good quality macro lens to photograph, and that is what I used but there are alternative techniques. Close up filters is one option. These magnifying filters screw to the front of your lens magnifying the image. These are more difficult to get hold off now but they can still be found. The other option is a reversing mount. With this you can connect a cheap 50mm lens backwards onto your camera. This enables you to focus a lot closer and get frame filling images.
With the bigger megapixel cameras now available another option is to crop to make the picture.
Nikkor built in zoom 6-24mm Aprox f/2.7 – 5.9
5.8mm, 1/75 Sec at f/8.5, ISO50
Post Processed in Adobe Lightroom V5
On a Mac MacBook Pro, OS-X 10.8.4
In its day back in 2005 the 6 mega pixel Nikon S3 Compact was a good compact camera, not stunning but it produced reasonable results. Now most people would consign this camera to the bin. The tiny sensor, poor resolution, high noise and distortion of its lens means that surely you cannot produce good images.
At f/8.5 the image is soft, with a sensor that small one should not really go beyond f/5.6 but back in 2006 when this was taken I was a bit of a novice at digital photography and more used to 35mm full frame film.
Technically everything is against this shot, the camera, the lens, the light and high contrast of the day, all compounded by my use of the wrong aperture which has softened and lowered the quality of the image.
Yet, I feel this image works and its a pleasing image that I like, the content has overcome the technology.
I always find it amusing when I see photographers with cameras costing thousands of pounds using cheap consumer zooms. The rule has always been spend the money on the glass not the camera.
Now some consumer zooms are very very good. The Nikkor 70-300mm is a good case in point, while a consumer lens and built to a price, it does seem a little flimsy in its construction compared to the pro glass but for its price it produces excellent results. Sometimes having super zoom so you can react and get the shot instead of having to change lens can be an advantage.
I see comments on forums saying Canon glass is better then Nikon or Olympus is better then Panasonic. Judging a lens one must consider the design criteria. Sharpness and Contrast are what people want from modern lens, Canon and Nikon prioritise one of the other and each manufacture has picked differently so the look from the lens is different. Depending on which you prefer you might prefer one manufacture over the other.
Also how a lens treats contrast and sharpness can make it suitable for different purposes. Many portrait photographers like the look of older lens, they seem to blow and soften the highlights in an extremely pleasing way and while you can do it in post production there is a trend now to trying to get it right in camera again, and some of the great classic portrait lens can be purchased quite cheaply.
Its making use of old lens that has made micro four-thirds so popular. Adapters are available now for most of the lens available and with the crop factor of that format, the cameras are using the sweet centre spot of the lens.
When your talking exotic glass then people immediately think about the Leica Noctilux 50mm. Over the years this lens has gotten faster and faster with the latest version being now f/0.95. The other lens thats worth mentioning in the Leica world is the new 50mm Apo-Summicron M which is f/2. Now that does not sound like a special lens but this 50mm was designed to be as close to perfect and modern design could make it. No matter what aperture you use its close to perfect. Leica said a few years ago after they had designed this lens that they would not put it into production as no one would buy it. At nearly six thousand pounds for an 50mm f/2 you would be hard to justify it, but Leica changed their minds and put it into production and its selling like hot cakes.
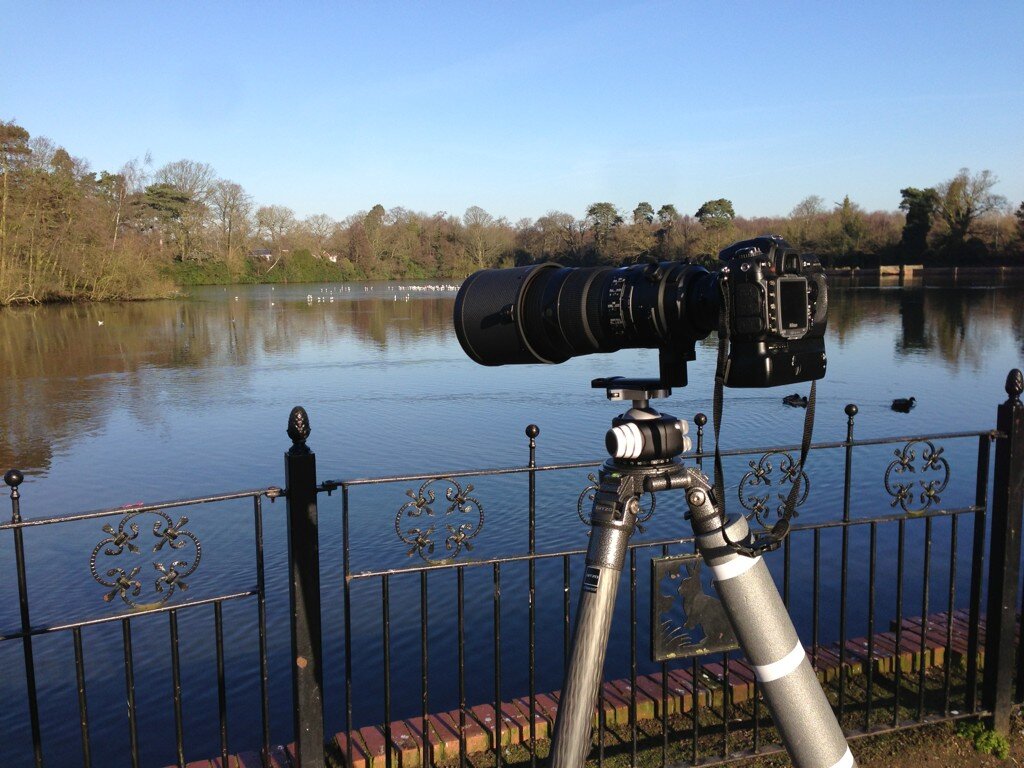
The other exotics that people think about are the telephotos. The 600mm and 800mm monsters, used by sports and wildlife photographers. These lens have a fantasic price and a fantastic weight to match. If you can afford one, then you also need to budget a couple of thousand for a matching tripod and gimbal head.
While Nikon make some very big lens that are special order, the only off the shelf big telephoto until recently was the 600mm, but now they have a new 800mm which comes with a matched teleconverter to bring it up to 1000mm.
The wildlife and landscape photographer Moose Peterson recently posts a fun little YouTube video about this lens which you might want to check out. If your interested in this kind of lens then remember to be sat down when you read out the price ;).
I have shared this one before with you before as a photograph of the month, but I thought I would share a little more information about this shot.
Technically it is very simple, I think it was shot at 1/60 at about f/8 on a Leica M4 with a Leica 35mm Summicron. The film was Ilford HP5 Plus and was developed in Kodak X-Tol developer. Its been many years since I last had my own dark room so I now send out my films and have then developed and scanned for me.
I see a time in the future that I may have to go back to doing this again myself as less and less labs are around to deal with film, particularly Black & White and none 35mm film such as 120 and 5 x 4 film which I also shoot. Lets hope its a long time before that happens.
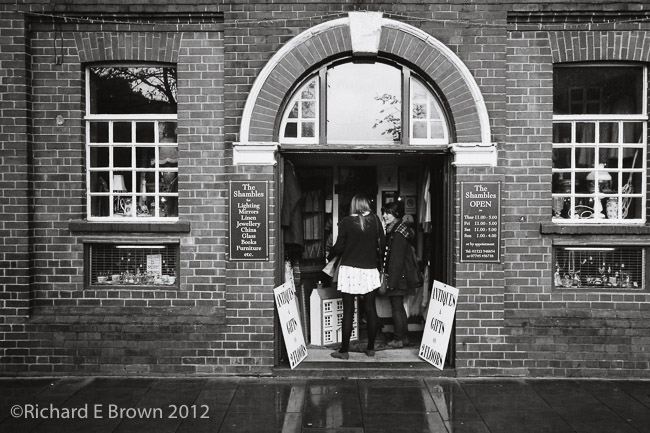
This is a local antiques shop near to the Bailgate in uphill Lincoln, I find it a interesting view point. So I setup opposite and waited for interesting people or interesting compositions to occur. Up hill Lincoln is a great area for photography and an area I return to about once a month.
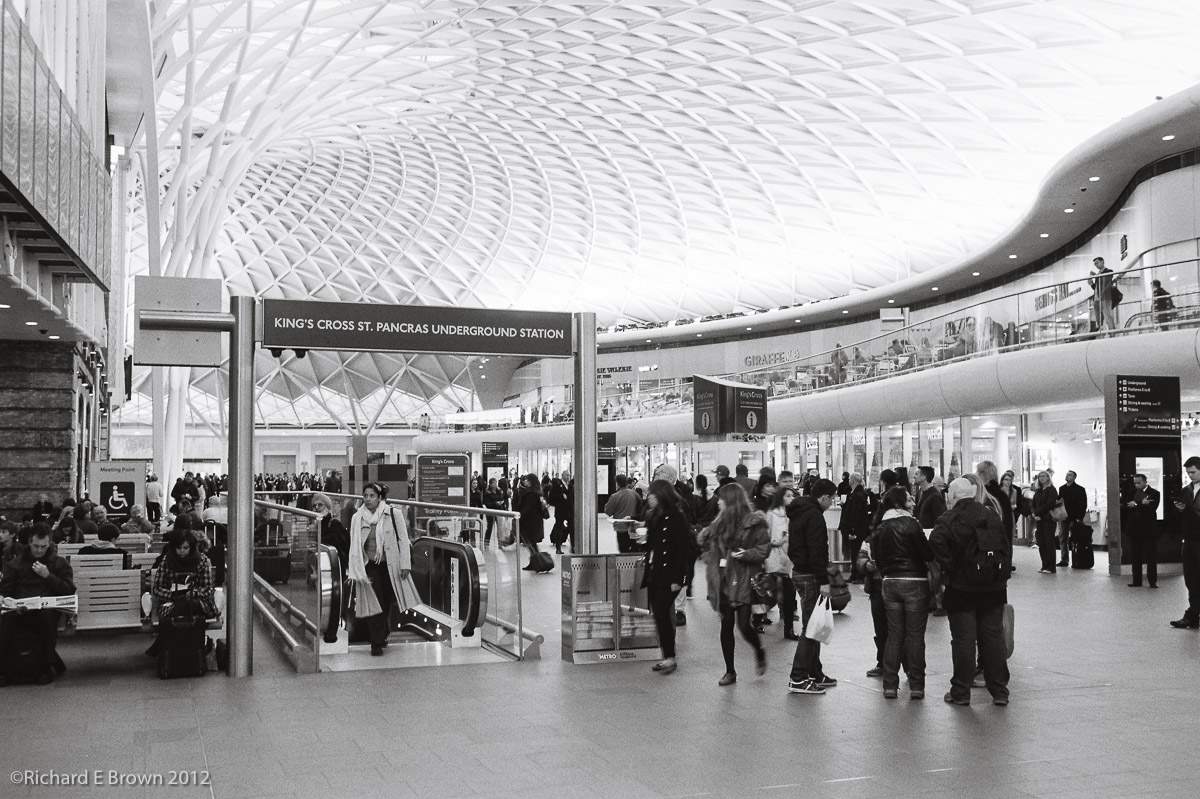
A Fun video about the current mirror-less range. Chris did beat me to this and posted it earlier in the year but I could not resist posting it too.
All the major players are now manufacturing mirror-less system. The new systems have been a huge hit in the far East. Recently on a trip to the Böd of Gremista to visit the Shetland Textile Museum, the museum had opened early to allow a coach load of Japanese tourists to visit. They were just leaving as we were arriving and every one of them had a mirror-less camera round there neck or in there hand.
Yet here in Europe and in the United States of America sales have been slow. All the major players have released there annual reports now and it shows mirror-less is not making any money. People still prefer there SLR’s. Part of the problem can be seen on the camera internet forums and with companies like Canon and Nikon.
People are saying mirror-less is a competitor and Canon and Nikon seem to see it that way too, releasing limited, crippled or models with issues that do not compete with there SLR ranges.
Mirror-less I see currently as a companion camera and not an alternative option, but there are getting better and because of the expense of manufacturing the mirror modules I see SLR’s adopting mirror-less technologies, this will improve camera makers profit margins.