

The Fuji X-Pro1 certainly made an impact when it was announced, but many of the reviews have been less then stellar. Two major concerns; processing the RAW files has proved difficult, lets hope Fuji engages with companies like Adobe and other software companies that produce RAW developers. The second concern has been the autofocus speed.
I am more hopeful for the latter, the Fuji X100 was also very poor at focusing, but regular firmware updates has since improved this and many other areas where the camera initially fell short.
One thing that many people wanted with the Fuji was for it to act as a cheap Leica M body. Well unfortunately focusing manual lens is difficult, if your after a cheaper body for your Leica M class then for now look at other cameras.
For two different views of the Fuji, check out:
If your after a body for your Leica Glass and cannot afford an M9, then the current top contenders are the Ricoh GXR, the Sony NEX-7 and do not discount the Leica M8 or the even better M8.2. While there are issues with the colour; Auto white balance is poor, and the over sensitivity to infrared can be a problem for colour shooters, unless you use filters, but this can be an advantage for Black & White fans.
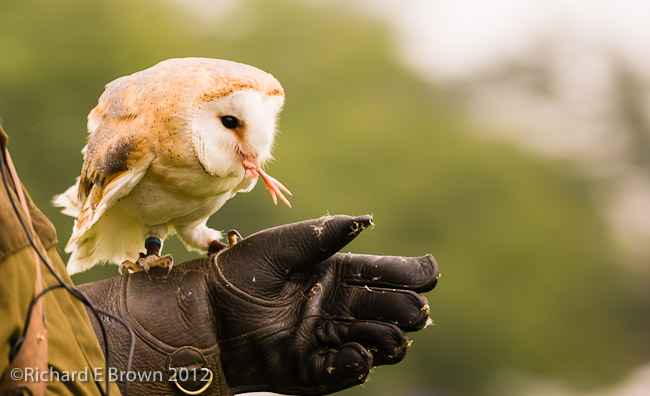


 With the recent spring weather as well as Landscapes I have been shooting some Wildlife with my Nikon V1. I am now getting to know all the issues with the camera.


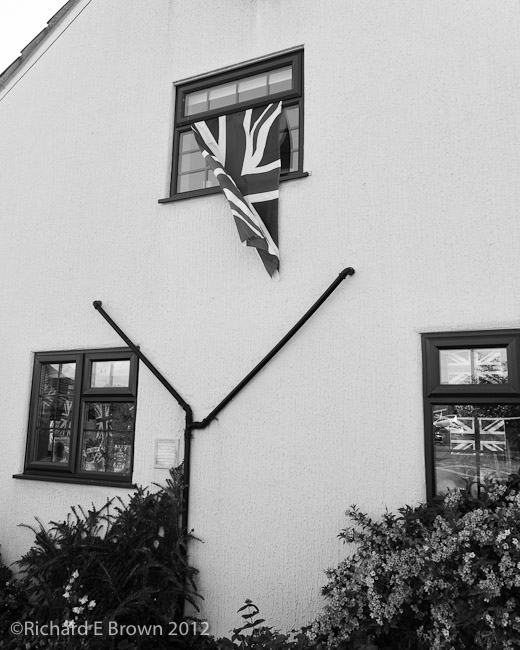


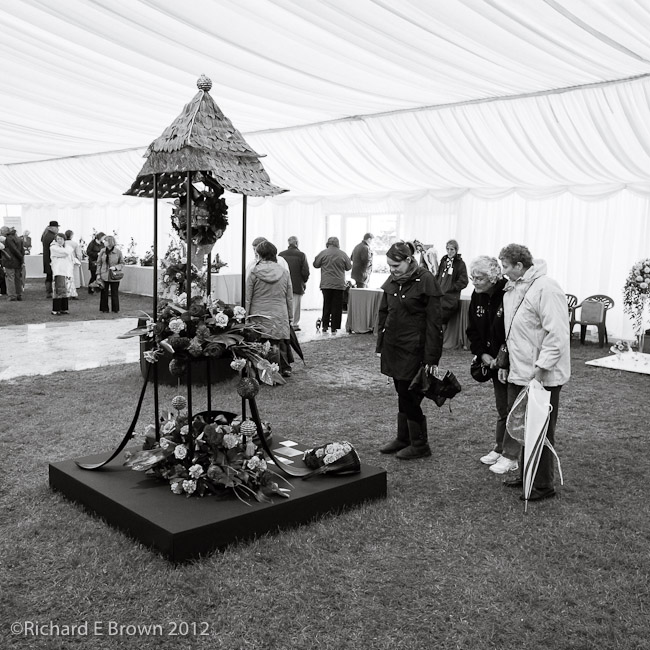
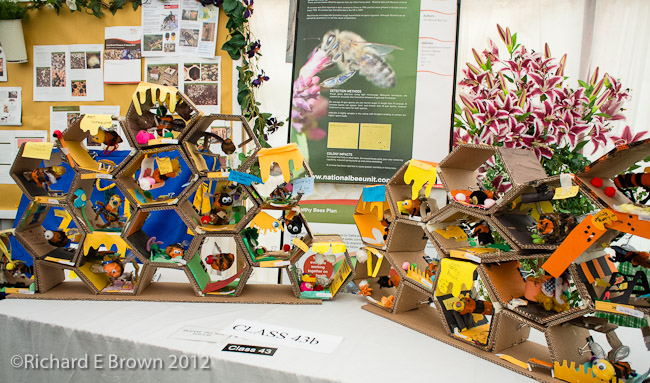
 This weekend we are celebrating the Diamond Jubilee, for us in the UK we are enjoying a four day weekend, as we get an extra bank holiday in order to enjoy the celebrations.