I read a number of blogs, and each one is focused on a particular subject.

Many are about photography, or about photographic gear. Others about Motorcycling, Flying and cooking.
My blog has a number of functions. Primary it’s like my diary, I look back over time and see what has happened, it’s also a record of my photographic and motorcycling trips.
I sometimes ask what do I want from my blog. Most blog readers want a targeted blog detailing and being focused on there interests.
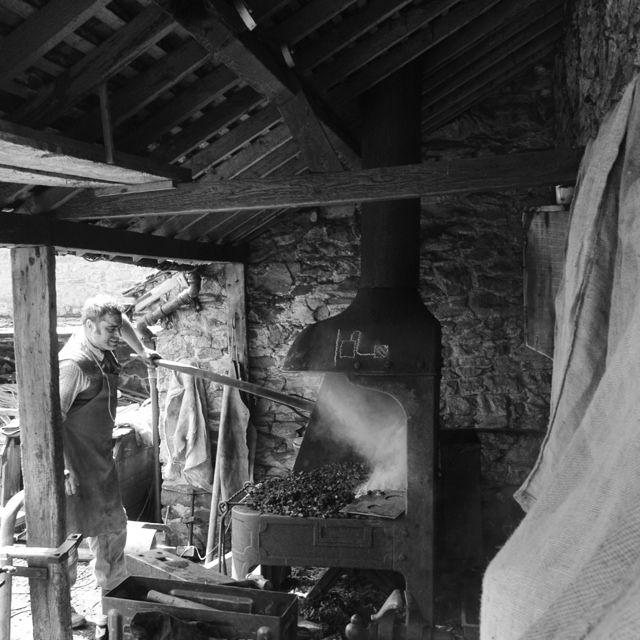
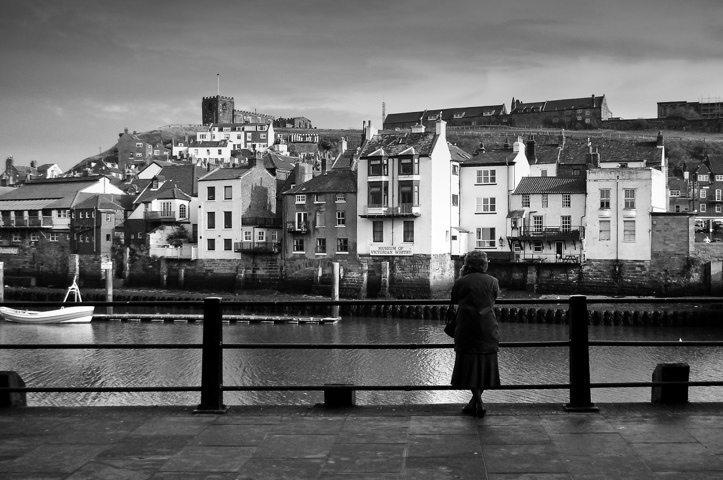
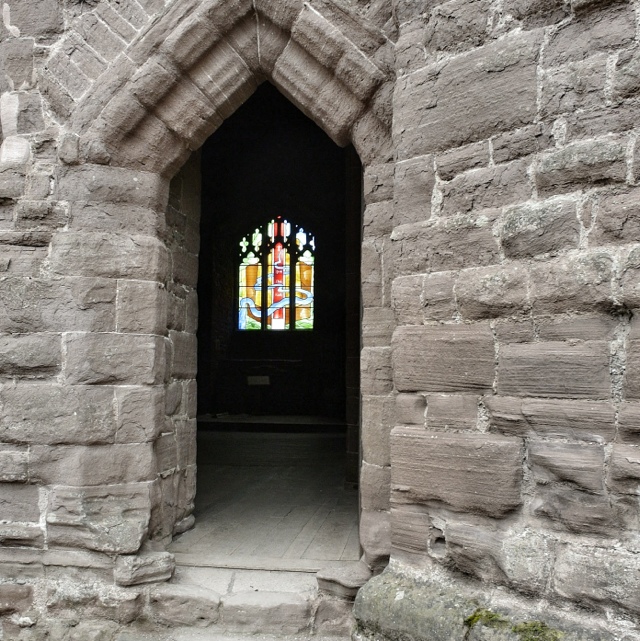
My blog while primary about photography does drift off sometimes onto other subjects. I hope you will continue to bear with me while I sometimes blog about subjects that may be off no interest to you.

 Last night one of my favourite live BBC Natural History program’s started. Springwatch.