Many people like Fuji because of their film presets, and while other cameras offer them, its been Fuji that have captured the imagination of photographers.
Nikon have custom picture controls and now with their cloud service its even easier to create and share your presets.
The shot above is a simple high contrast image with the preset Black and White Deep Tone applied. Great for dark and moody pictures like this.
Of course shooting RAW you can take an image anyway you want. The above image had the contrast lowered and just enhanced for Brook’s hair.
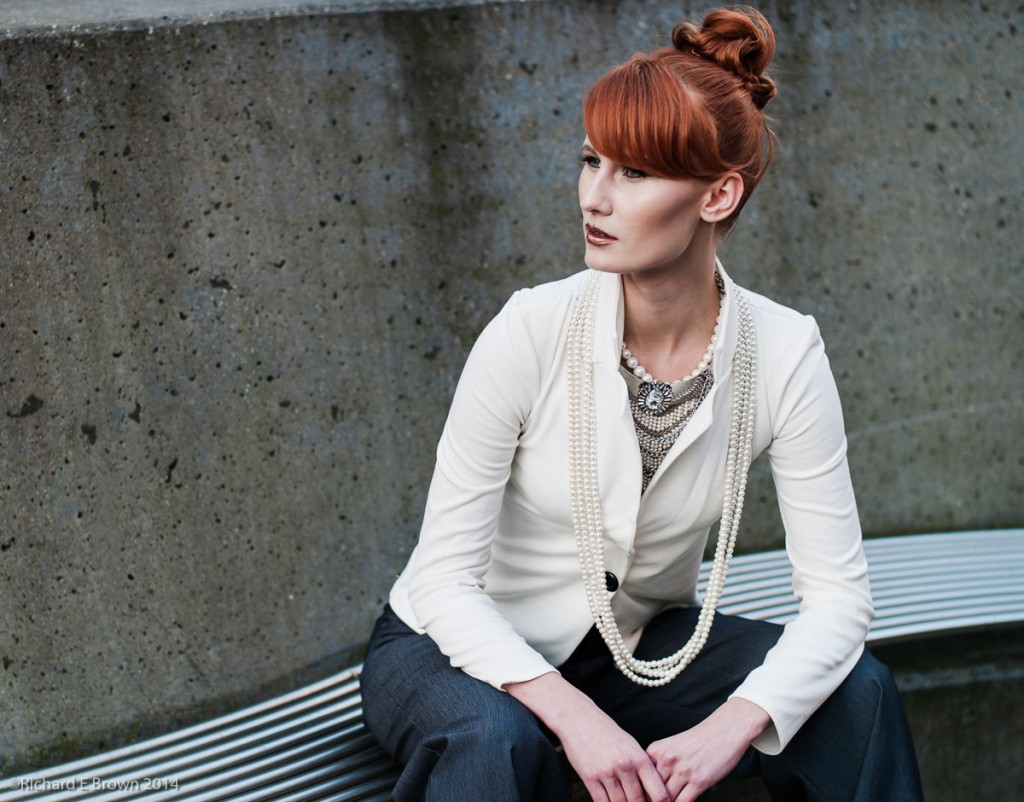
Of course in the studio lighting can be used to enhance or reduce contrast like in this image of Kimberly.
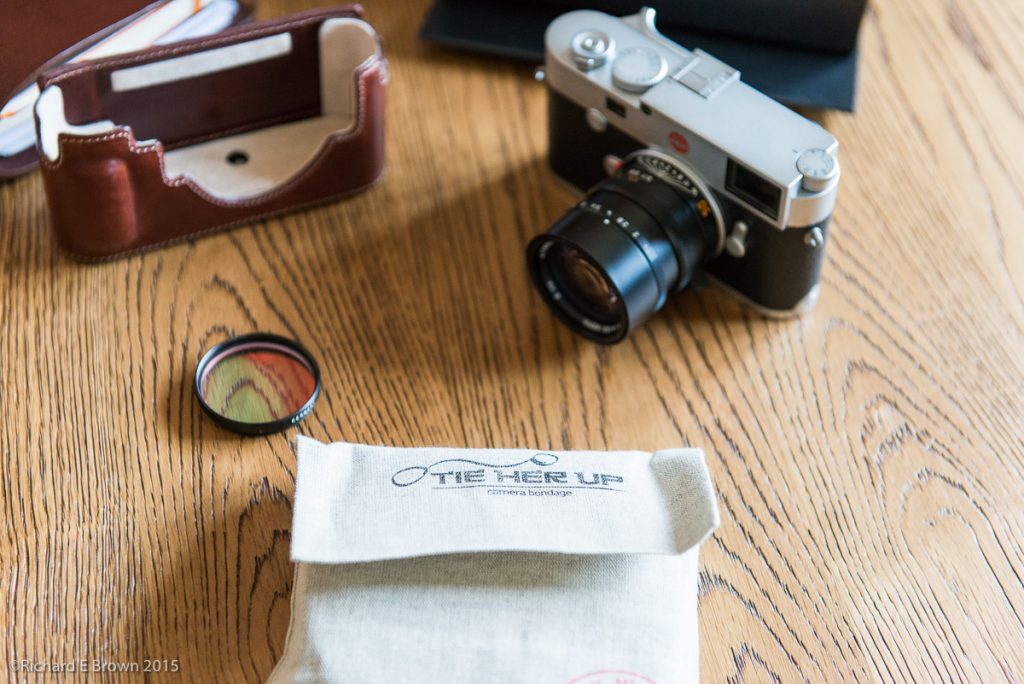
In the film days, filters were often used, an 81a or 81b to warm up an image a little. Graduated filters to bring down the exposure of the sky. Polarisers that cut glare and reflections, enhancing the colour.
Now with digital we can warm or cool an image with a few clicks. With the better dynamic range of todays sensors we can use graduated filters in software.
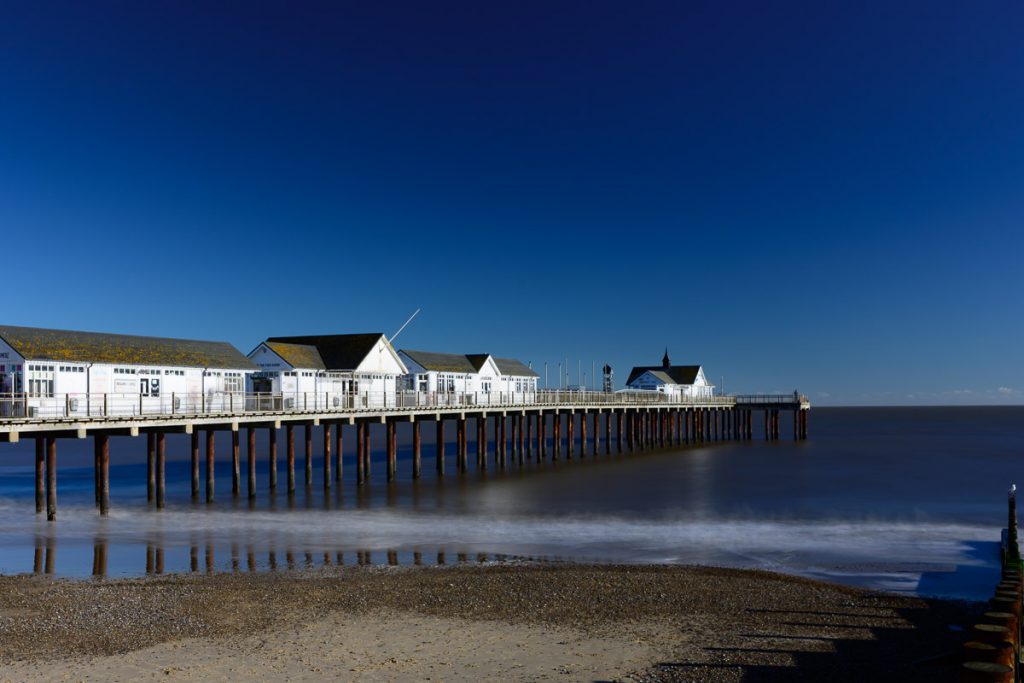
There are times that filters can still be useful. In this image I used a polariser to enhance the colour and a neutral density filter to slow down the shutter speed to a few seconds. This blurred the sea and made many of the people on the pier disappear.
If you photograph moving water, try using a neutral density filter shoot from half a second to about a minute and look at the results to find the shutter speed you prefer.
“f/8 and be there” is an expression popularly used by photographers to indicate the importance of taking the opportunity for a picture rather than being too concerned about using the best technique. Often attributed to the noir-style New York City photographer Weegee, it has come to represent a philosophy in which, on occasion, action is more important than reflection.” – Quote Wikipedia
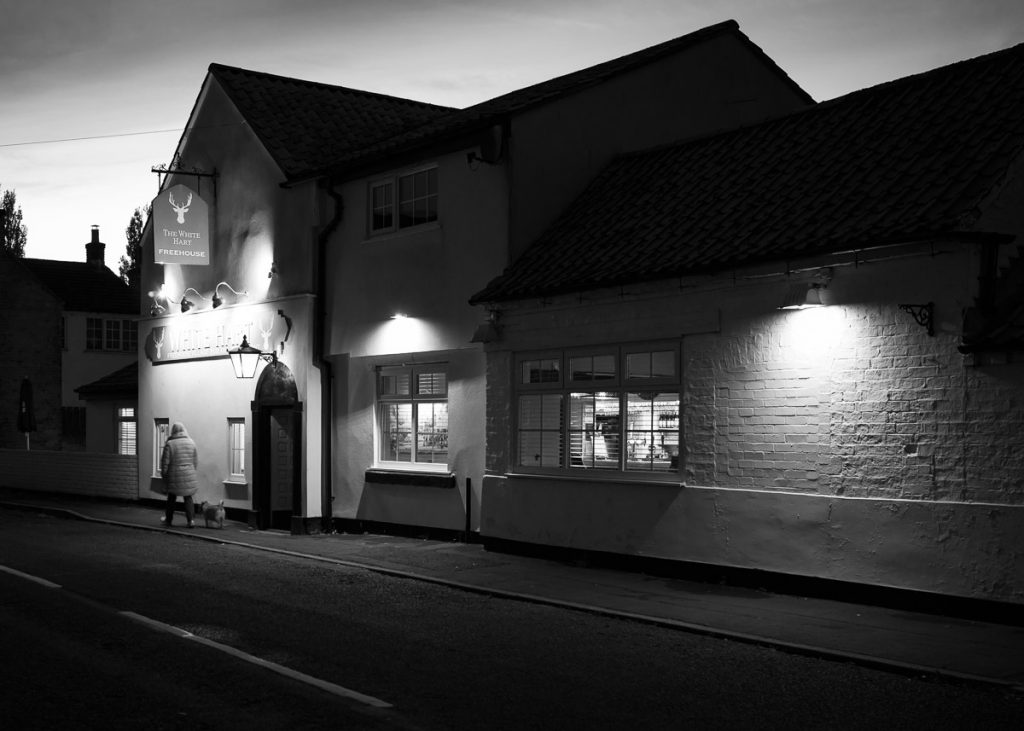
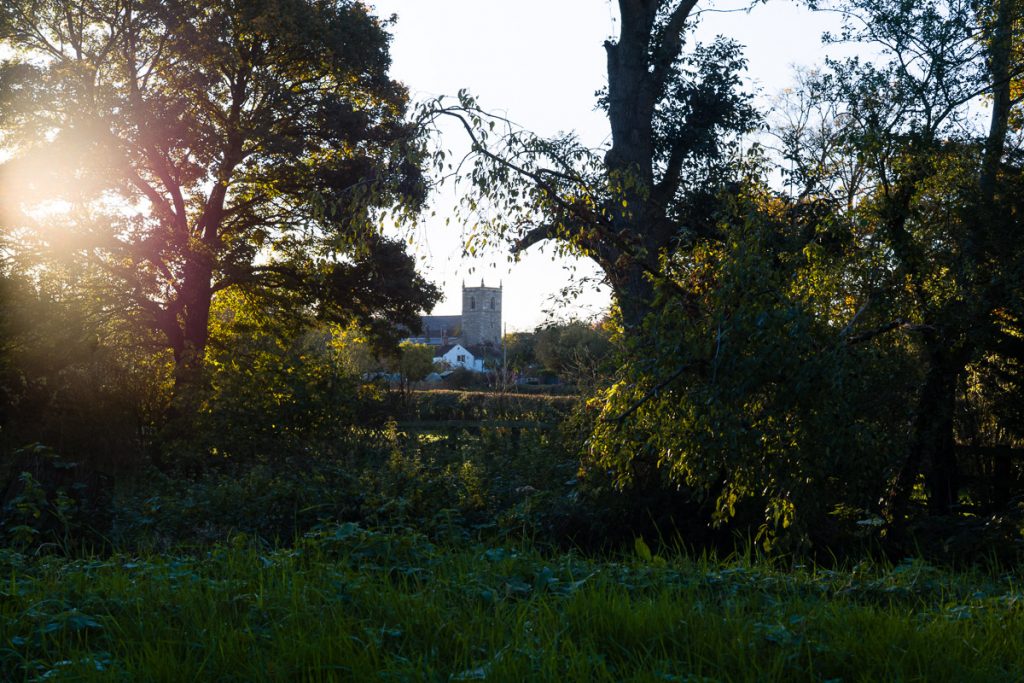
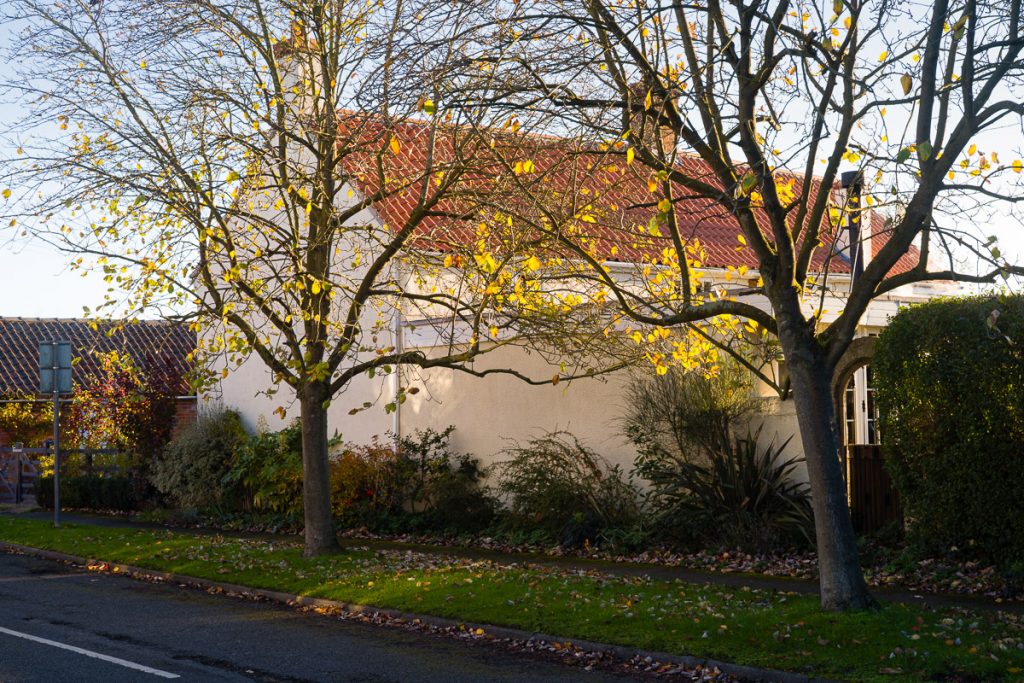
The photos in the post are not good, just snaps while walking the dog early one morning in a nearby village.
Zone focusing is something that is a bit of hit and miss for me. So I set myself a challenge this Sunday morning. I set the camera to f/11 with the depth of field scale keeping everything in focus from about 5 meters to infinity.
So instead of focusing I just snapped away.
A circuit of the village capturing the light.
Definitely something I need to practice, a bit hit and miss, but worth having a few more attempts.
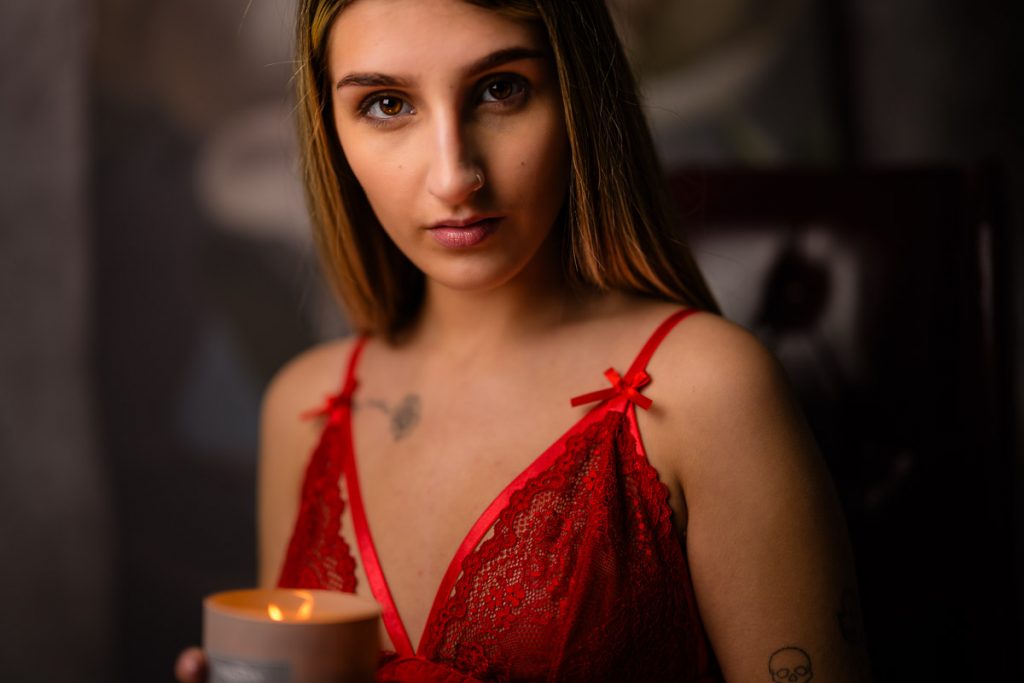
The whole idea with flash, especially flash in the studio it to fully control the light in the space.
That’s why most of my shots in the studio are taken at f/8 and 1/200 of a second at ISO64. This gets rid of any ambient light, just allowing the flash to light the scene.
But just occasionally you want to introduce another light source, here we have candle light and flash carefully balanced. Wide open, lowest ISO and I kept dropping the shutter speed till the candle looked right then lit the rest of the scene with flash. Tricky but easier when you tether to the computer.
Fuji camera are very popular and they have two key selling points. One is the more traditional ergonomics with lens aperture rings and a traditional shutter speed dial; and two is their film simulations.
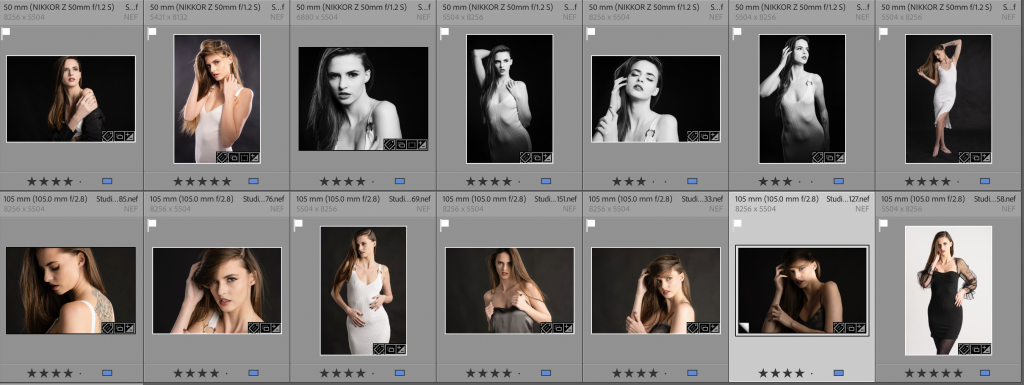
It’s something that Fuji pushes a lot, but the truth is many cameras have profiles. Now I shoot 99% with a Nikon Neutral profile which I use as a base, but often use Nikon Standard Monochrome with an Orange filter for black and white. If you are using profiles and using Adobe Lightroom, remember to ensure on your import settings is using camera settings and not changing it on the import.
As you can see here, with it set to camera settings you get your camera profile settings, I also have a number of custom ones I have created in Lightroom as well.
I see a lot of people selling presets for Lightroom on the internet but it’s very easy to create your own unique look and then create your own profile.
There are some settings I apply to every photo, one of these is copyright information. So beginning of each year I create some new default presets, This one Default2025 is for copyright information, I then have one for the main cameras so an M10 preset and a Z preset for example.
A bit of work at the start of each year, a new 2025 folder. structure and we are set for another year.
You have a camera, not the latest but still well capable. A selection of lens, flash, and more camera bags then you know what to do with, plus a few extra hidden in the back of a cupboard from your significant other.
What to buy next?
Well spend some money on trips out, flex those photographic muscles, maybe if your a wildlife photographer a trip to a local nature park, a holiday of a lifetime to somewhere you have dreamed off.
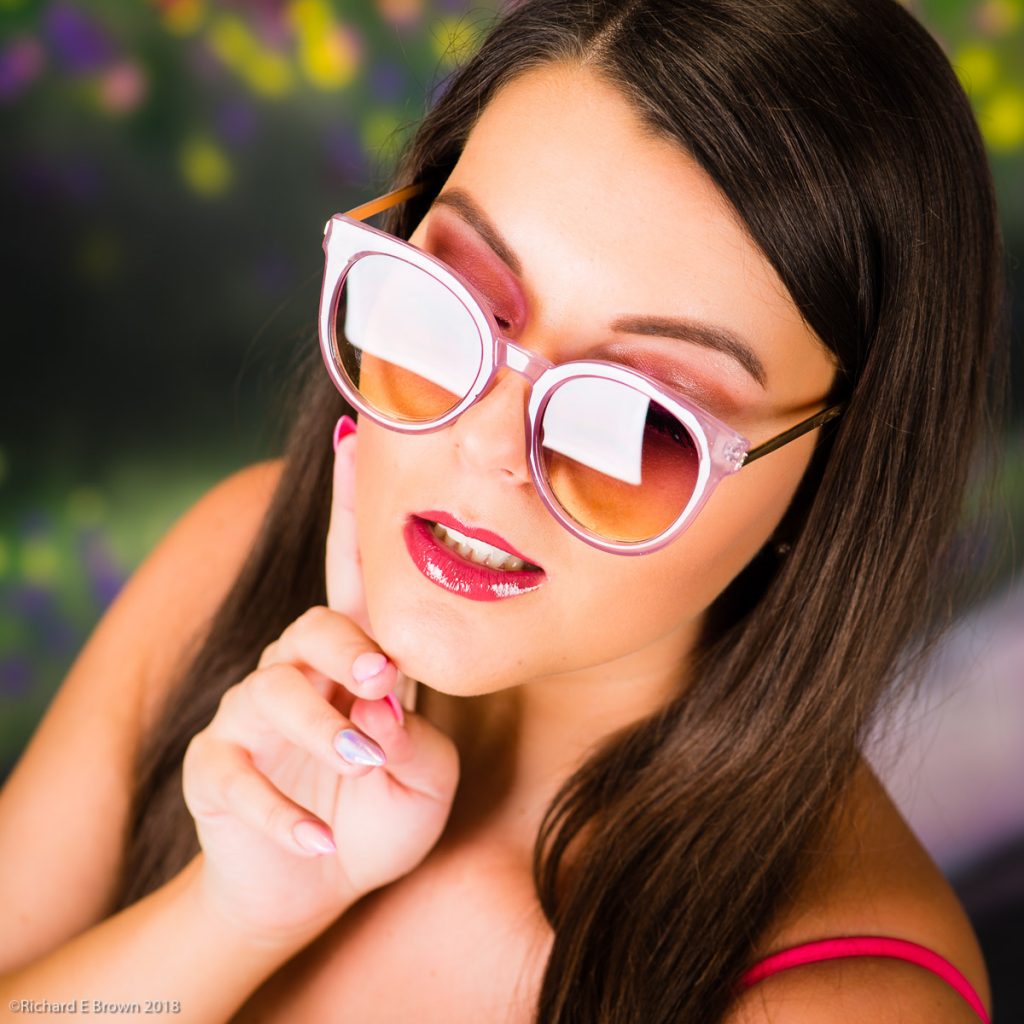
For the people photographers like me, get a mood board sorted with ideas, collect some cheap props.
I often take a bag of cheap sunglasses to the studio and let the model experiment.
Photography purchases to not have to be expensive. Just something that will get you out shooting.
If your looking at kit, then think about clothing if your into landscape or wildlife. Think about tripods and heads. For studio photographers investing in three C-Stands will enable lots of creativity and will last forever.
For me the list would be like this:
Props (hats, material, glasses)
Lighting Grip (eg C-Stands)
Backgrounds and gels
Reflectors
Modifiers
Flash Heads
Filters
Camera straps
Equipment bags
Cleaning equipment
Lens
Cameras
There is a lot you can invest in, to improve your photography before buying that new camera and lens. Also remember things like storage and backup for your files. I have a large NAS holding all my photography files, then a bunch of external drives holding backup copies. Then an external SSD for my Lightroom database, and backup jobs copying that database to two different computers and a cloud storage provider. But that’s a different post.
I have a couple of big shoots this month, so checking batteries, memory cards etc is on my mind. If you have a current camera then social media is quite good at notifying you if there is firmware update. Camera brands like Fuji got a good reputation with there continued support of older models and fresh firmware bringing fixes and new features where the hardware could support it. Its something that Nikon have been pushing as well with recent updates to the Z9 and Z8 but also the Zfc and ZF.
Its quite easy though to forget about your older generation cameras so do remember to check you manufactures website. I thought my Leica M10 was up to date but a quick check last week showed a new firmware. No real new features, then the M series are not built on there feature set, but there was a new firmware with support for lens profiles for new lens.
So do check. Its also worth checking your flashes but for some brands that can be difficult; that’s one thing I like about Profoto, turn on fire up the app and it will tell you if there is something new and its quick and easy to up date.
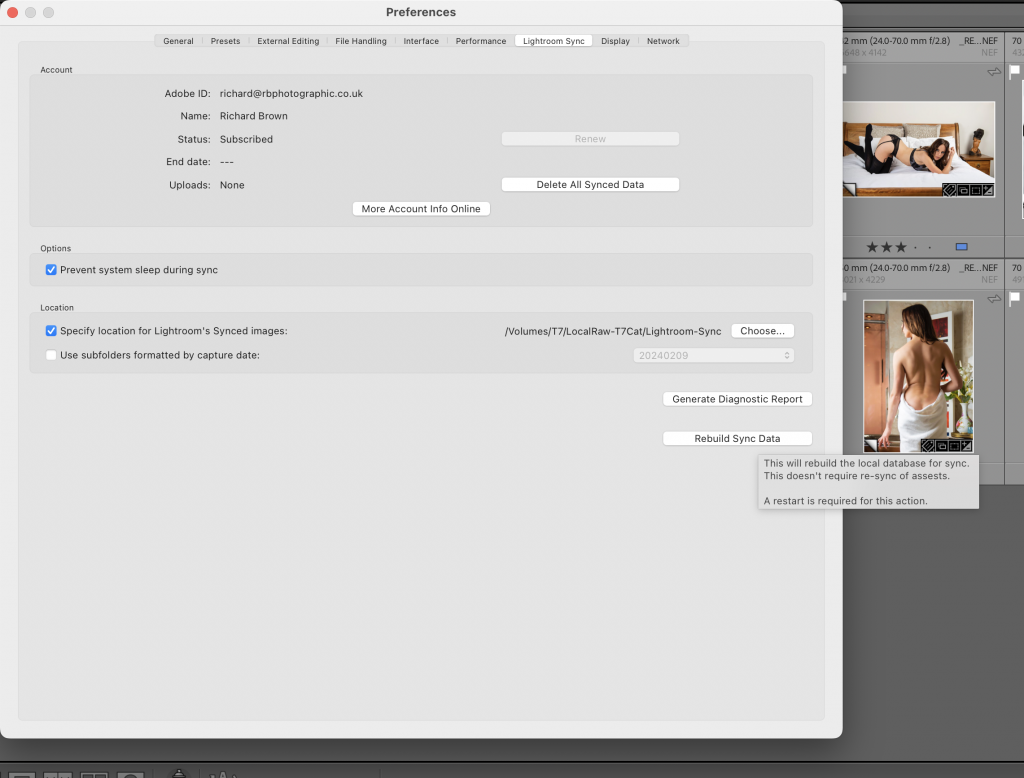
As you can see above, I have blogged about this before and normally just going into to here, then relaunching Lightroom Classic is enough to fix it, but not today.
Luckily there is a hidden button to fix this.
If your on a Mac while in preferences and Lightroom Sync, hold down the Option Key (Alt on Windows) and a Rebuild Sync Data button appears, click on this and your Lightroom will restart and sync will be back working again.