 If you are after a high end digital SLR camera body at a budget there are two options available to you.
- Buy secondhand the previous generation top of the range professional camera
- Buy new the current second best body the manufacture offers.
So today in early 2013 as a Nikon user what options are there and what are the pros and cons.
Well option one is a D3s, though in practice this is such a good camera that finding one second hand is near impossible so the D3 is the one to go for.
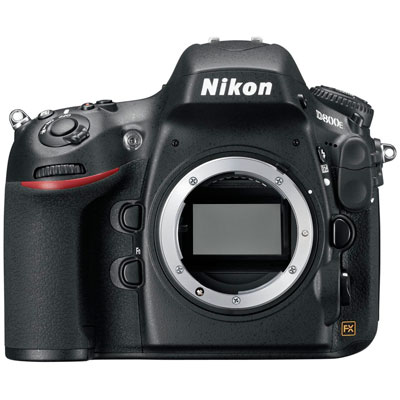
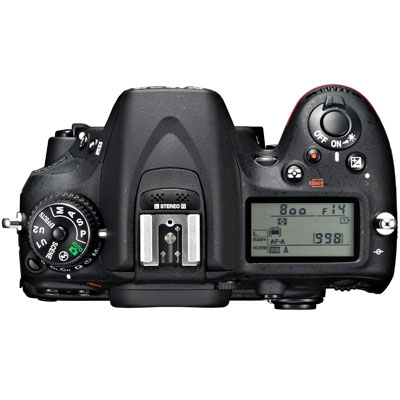
Option two is the current D800. This is a serious high resolution camera and with the same autofocus as the current D4.
So whats the major differences between them?
For a start they are both full frame, but there is a big difference in megapixels. The D3 is 12.1 MP. A decent size for most usage but if you crop a lot that soon comes down. The D800 is 36 MP, more then enough for anyone today and this will allow you to crop a lot if necessary.
So if you don’t need to crop much either is a good option but for those of you who like to crop a lot the D800 wins that round, otherwise there is not a lot in it so far.
 On noise levels the D3 wins but not by as much as you might expect, its another story if you manage to get hold of a D3s which is about a stop better then a D3 but this is only critical if you need high iso.
What about focusing. Well the D800 does have the latest system so this gives it an advantage but if your a sports or wildlife shooter this is not as big an advantage as you may think. The downside is the frame rates, the D3 can do 9 fps with focus and 11 fps with focus lock. The D800 can only do 4 fps, but this can be increased with the optional grip and using DX mode.
Buffer size is the same, at 16 frames, but you might be lucky and pick up a D3 that was sent back to Nikon for the buffer upgrade which the D3s had as standard at 32 frames.
Lastly to consider is weight, size and weather sealing. If you need a smaller lighter camera then its the D800, but remember you only get the better fps with the grip which makes it a bigger and heavier camera then the D3.
Ultimately I think its down to two things. Size & Weight and your type of photography.
If its mainly action or situations where you need the better, tougher build quality then go for the D3. If you into Portraits, Landscapes, and studio work; don’t need the built like a tank build quality of the D3 then the D800 is the better camera. Lastly there is also the consideration of how the two cameras feel in the hand. If you have big hands and use big heavy lens it might just feel better in the hand with the D3 then a D800.
What would I pick? Thats a tough question. The D800 would be excellent for my studio work and landscape work. I could also use it as a digital back for my Ebony Large format, with sifting and combining the images in Photoshop one could create huge high quality images. For my wildlife and action shots there is the D3, plus I like the feel of the larger bodies.
The brain says D800, the heart says D3.
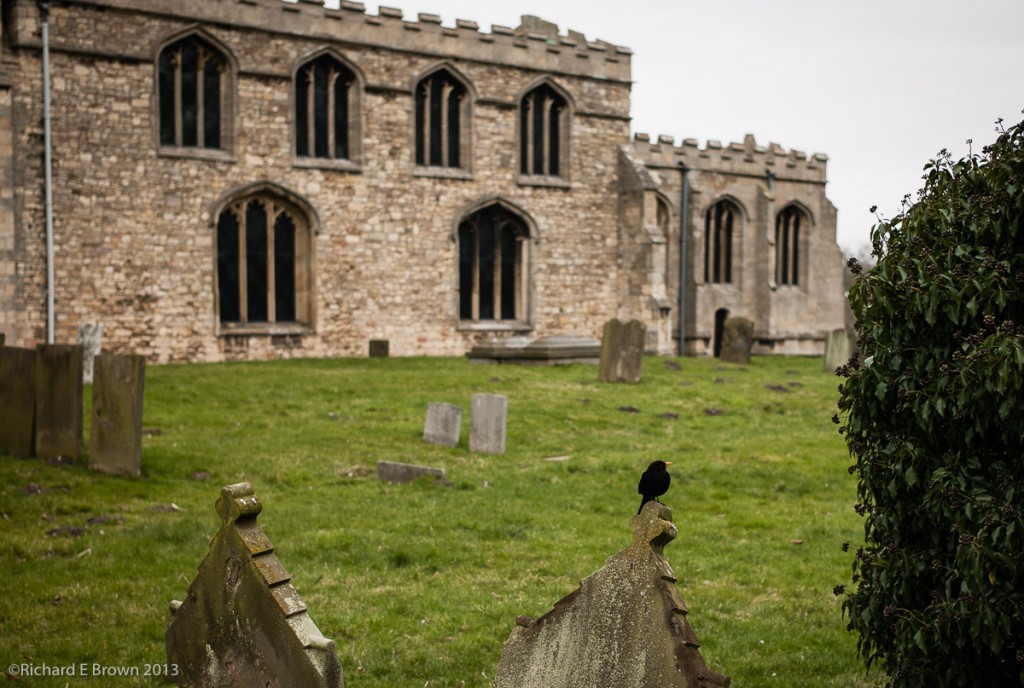
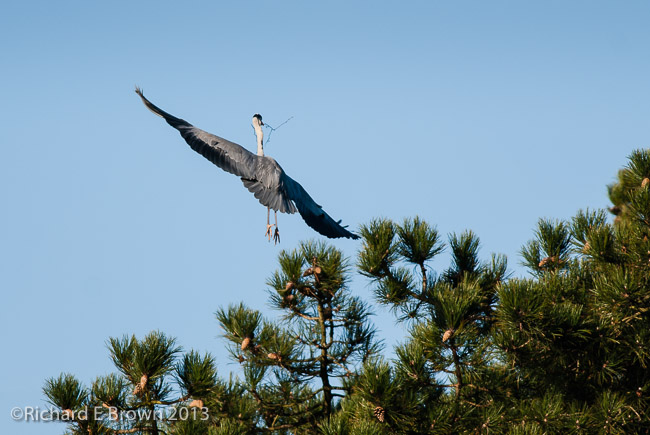 Some months choosing a picture to be my photograph of the month, can be quite difficult. In February I managed to get a good selection of quality wildlife shots as you can see from these two examples. In fact they are far better then January’s picture of the month.
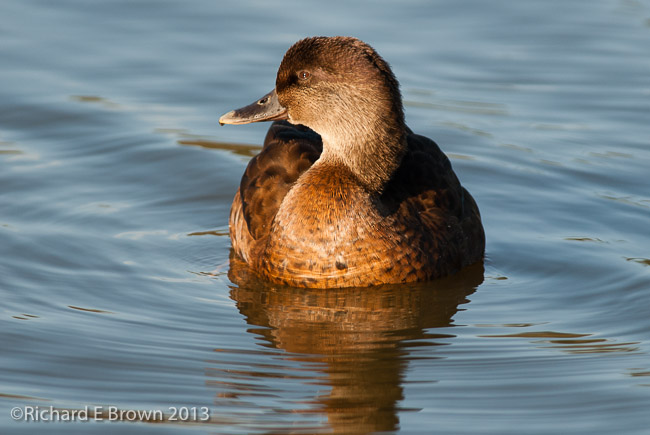
 Sunday morning with the weather being somewhat overcast, I decided not to go out shooting wildlife but have a lazy morning in. A late brunch consisting of home made Corn Fritters, Bacon, Honey and
 Leica M8
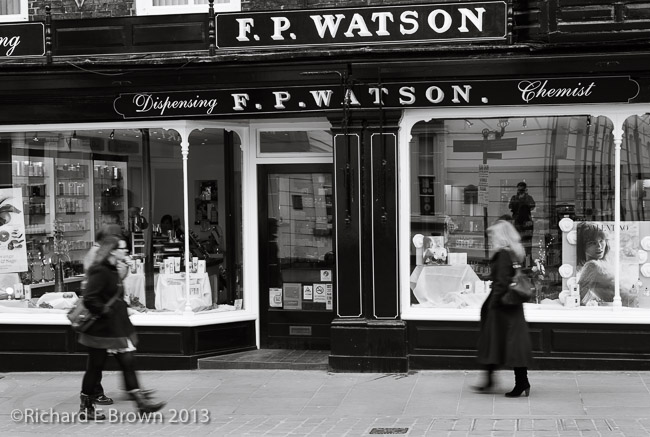
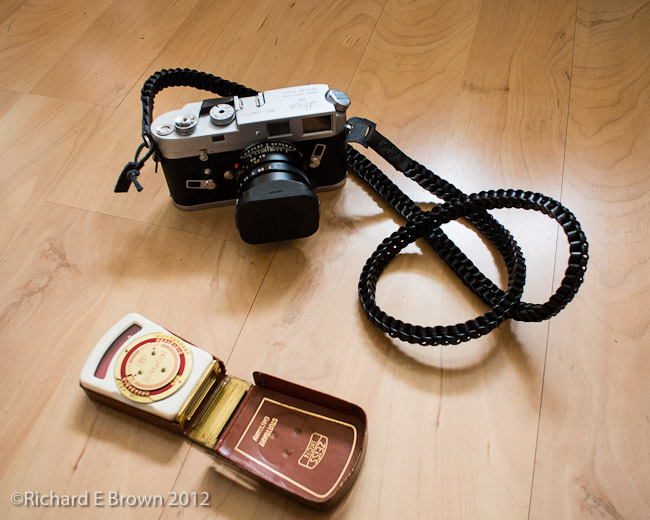 I have not been a Leica user for long. I wanted one for a long time but the cost put me off. Still over the last couple of years I have slowly been trying to buy some M Glass.
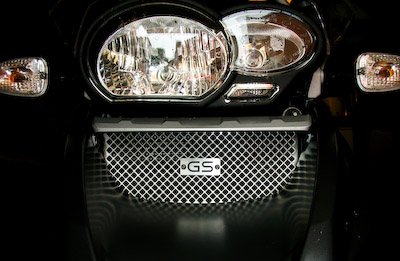
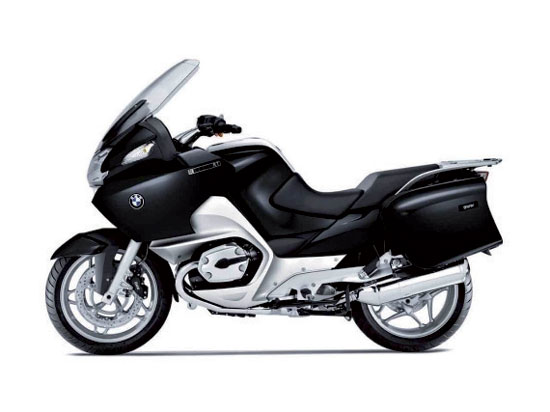 For touring Motorcycles I am alway surprised that a bigger heavy duty battery is not fitted.
 Yesterday Nikon announced the D7100, this is now there top of the range DX body.