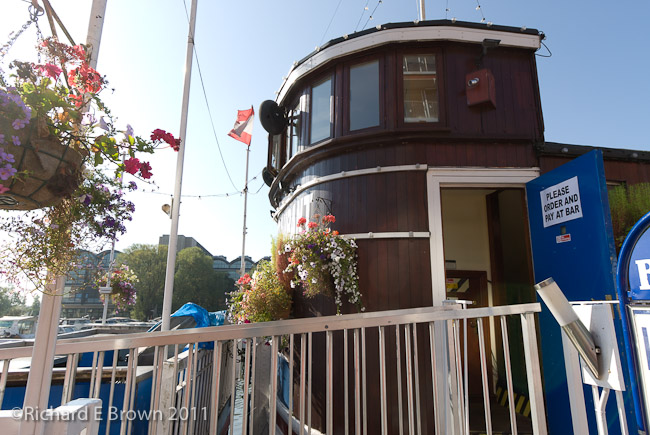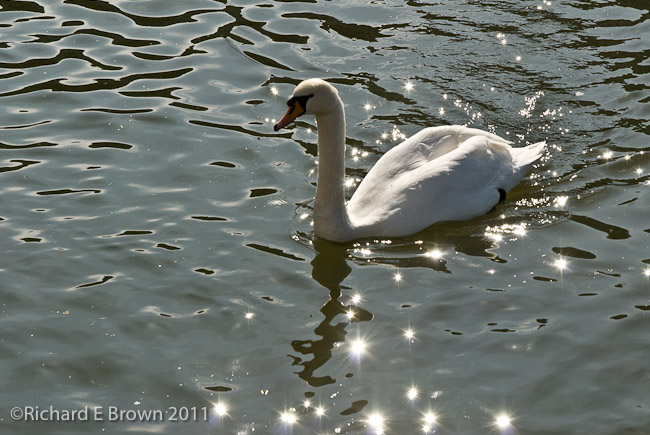
Last Saturday was the World Photowalk, and today I have been finishing my editing, these are a couple of shots that came close but no cigar.
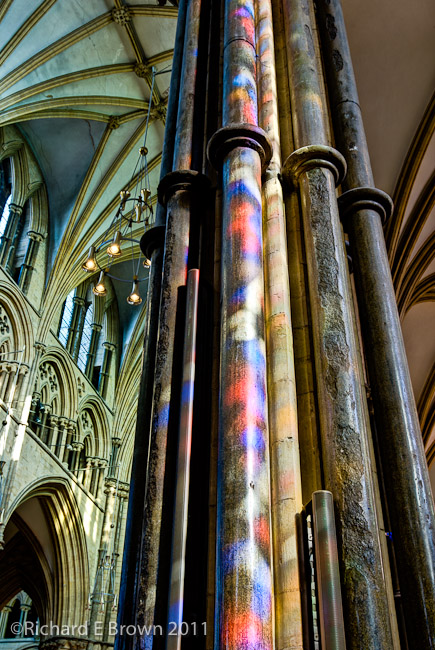
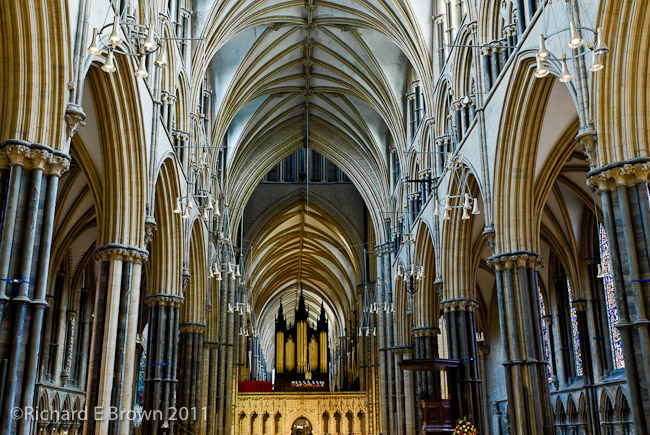
Have to admit, I do have a soft spot for the stone column which is illuminated in coloured light from the ancient stain glass windows.
If you have the chance to visit Lincoln Cathedral and please try as its one of the finest Gothic Cathedral’s in the world. Some of the more impressing and colourful stain glass is actually Victorian, as during the civil war, those damn Puritans shot out some of the more impressive windows. Far to ungodly and Catholic for them. Luckily the Victorians restored a number of them.