Leica M8
Leica 50mm f/1.4 Summilux-M
50mm, 1/30 Sec at f/1.7, ISO640
Post Processed in Adobe Lightroom V5.5
On a MacBook Pro, OS-X 10.9.4

Family, Photography and other misc news
Leica M8
Leica 50mm f/1.4 Summilux-M
50mm, 1/30 Sec at f/1.7, ISO640
Post Processed in Adobe Lightroom V5.5
On a MacBook Pro, OS-X 10.9.4
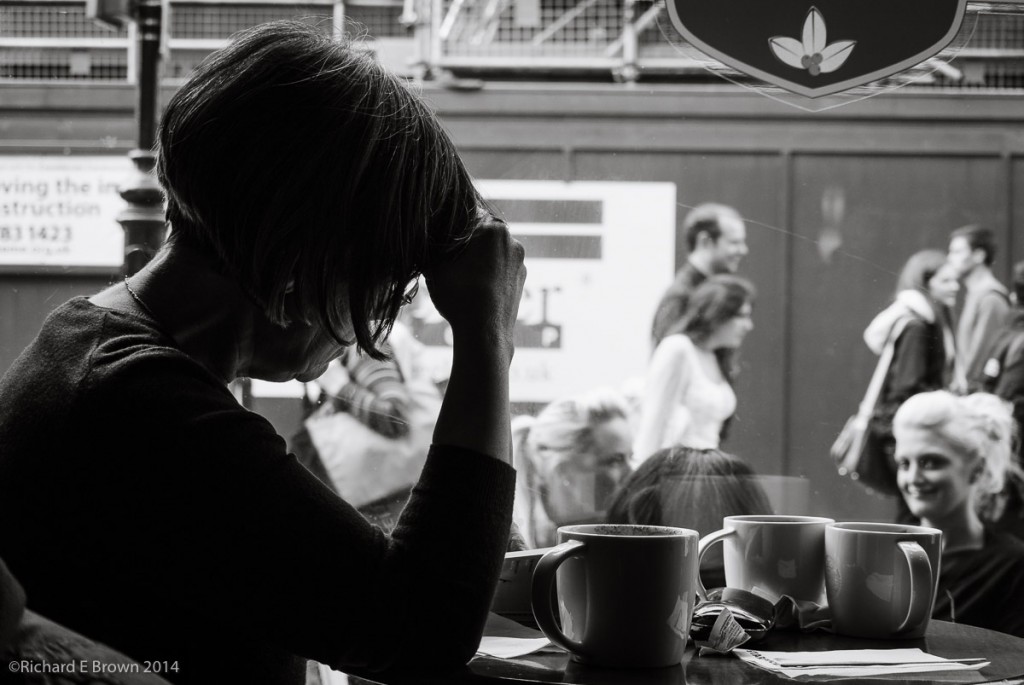
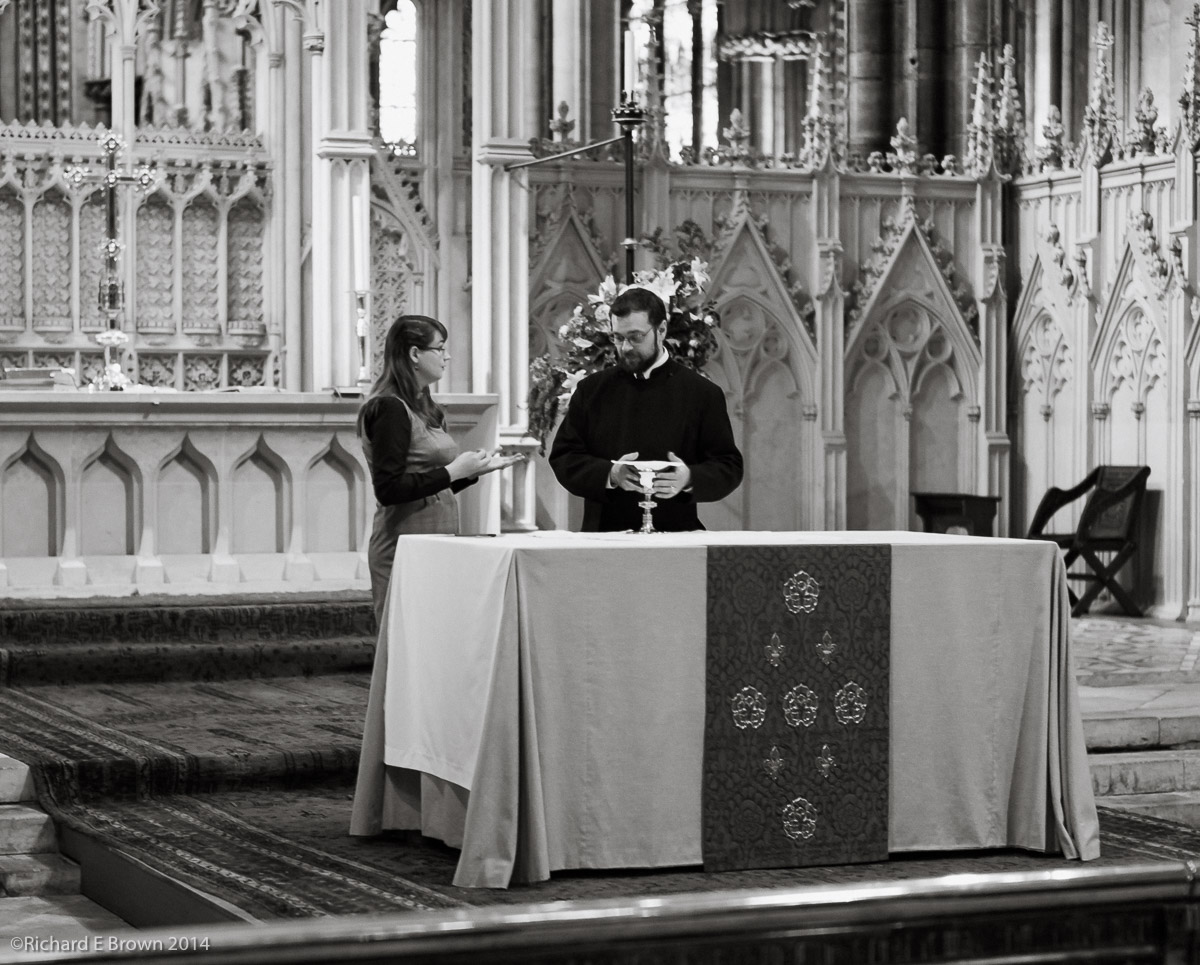
I am always on the lookout for tips to help and improve my photography and I caught this video about Headshots by Frank Doorhof and Peter Hurley.
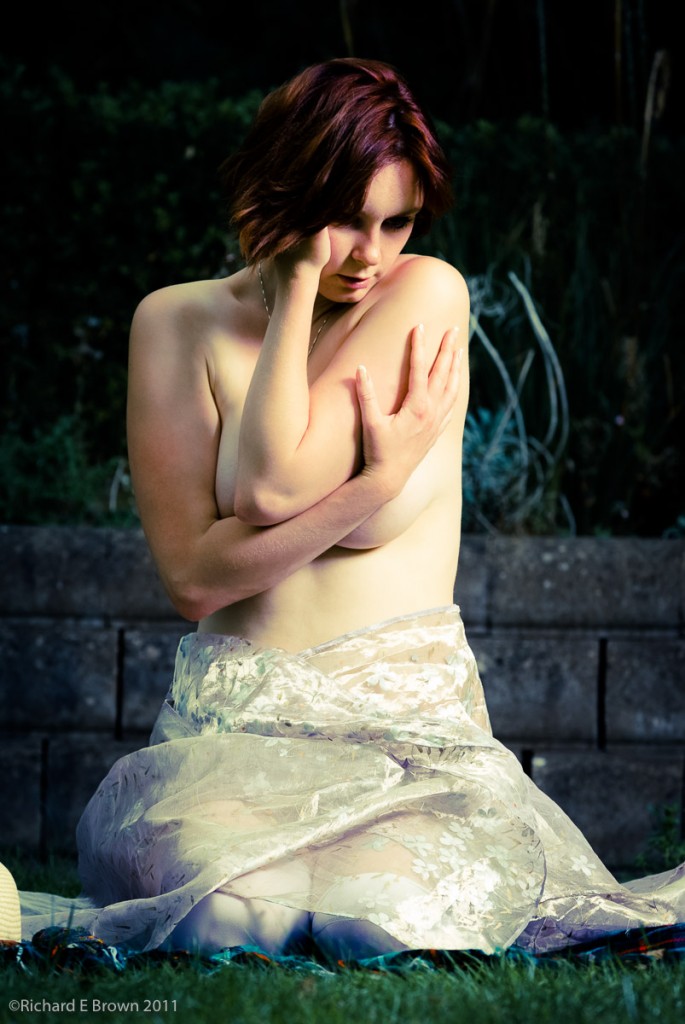
My head shots are generally quite different then those normal posed portraits you see, they are normally candids or more glamour focused but I am always after more tips to try out, whether on the street as above or in the studio as below.

 I am forever blogging that I am looking for the perfect compact camera. As one does not exist I keep considering areas that I am willing to sacrifice, such as ergonomic’s or image quality.
To this end I have spent a good part of this week in between gardening/house work and editing clients photographs investigating the high-end Leica options.
The options currently are:
When the Leica X1 was released it was exceptional and there was nothing like it except Sigma’s DX Foveon compact.
Since the X2 was released we now have lots of large sensor’ed compact and now CSC system cameras just as small.
The pro’s for these are image quality, lens quality, build quality is all very high,.
The cons: X2 is over priced for what you are getting and the Vario while stunning image quality from a great lens is just very slow. Here in the UK one would constantly be cranking up the ISO. Also neither have a viewfinder.
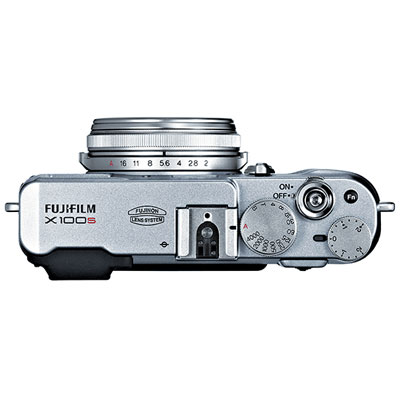 Its interesting that several Leica M shooters I know have gone for the either the Vario, or the Fuji X100s. I know one review who said the Vario on image quality but the X100s on practicality, the fantastic optical viewfinder, and faster autofocus won him over. One should note that the photographers that went for the Vario were also based in sunnier climates, though again if your out in the sun and want to use flash the X100s has some fantastic tricks like a built in ND filter and a leaf shutter for high flash sync speeds.
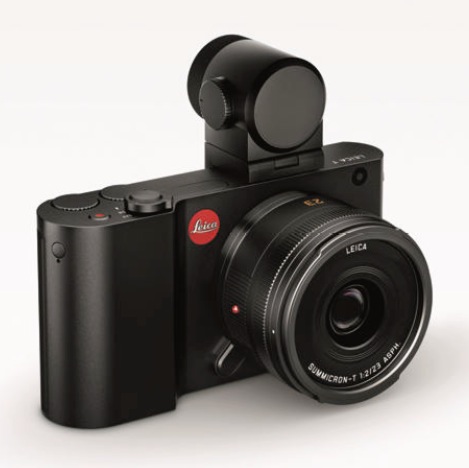 As Fuji have done such a good job borrowing some of the best bits from the Leica M, like the ergonomics and the viewfinder it would be nice if Leica could borrow Fuji’s implementation of the X100s’s viewfinder/evf combination and launch a Leica T Pro?
I have also recently spent some time getting my bicycle back into working order. I seem to struggle to find time for the gym so now try to cycle into Lincoln once a week which has made me think about cameras that would suite small bicycle bags. Certainly I would not want to be bothered with too many pieces; carrying a body and viewfinder would be too much. This is where an all in one design like the Fuji X100 score highly.
The last Friday in July is SysAdmin day.
A SysAdmin (System Administrator), is someone who looks after the backend IT Systems that we all rely on now.
If you know one show your appreciation.
 My 10 MP Nikon DSLR’s are now very out of date by most peoples thinking. What has prevented me from upgrading is not the cameras but the support infrastructure. New batteries (if on a paid shoot I will always have four batteries, two for each body), grips, Arca Swiss mounts and more importantly disk storage and new computers to handle the increased image size.
So while I keep looking at new cameras its not been too serious a look until I refresh my computer equipment.
So far on the short list is a secondhand Nikon D3s; very tempting as no new computer required and the stunning D800 or the new D810, which with their 36 MP RAW files would definitely require a new desktop and laptop computer.
It was while doing some recent research into the new camera that Thom Hogan brought up an interesting point; and that is the moving target of comparing image quality.
The best example of this is of course the Fuji X100s. When a camera is first released the major RAW processing software producers come out quite quickly with a new version of their software. Often though it is a few iterations down the road that they really understand the new camera and optimise there software for it.
The Adobe software was not great when dealing with the Fuji X100s files but now does quite a good job, this is not entirely Adobe’s fault, camera manufactures do not work well with the other software developers and want to push there own software.
Its generally only the medium format manufactures that seem to understand this and work well with the major software companies. This is something that Ricoh and Leica is quite good at too.
When I look at what I can do with a RAW file now in Adobe Lightroom V5 compared to the same image in Adobe Lightroom V1 is night and day.
Now reading some reviews on the D810 people are saying there is not much improvement, now there is some truth to this, once we reached 16 MP cameras the improvements have been quite small and there is a good case for saying that unless your a professional shooting for billboards then 16 MP is more then enough. Consider that 6 MP will print happily to A4 and how many photographers print much bigger.
But the other thing to consider is that we have had two years of softare companies improving there software and what it can do with D800 RAW files, while its a first attempt for the D810.
In another two years one will fine the image quality of the D810 to be far better due to improved RAW processing.
Finally one last comment; why do companies keep on going with propriety RAW files. DNG is an open standard, work with Adobe and lets make all are lives easier!

Hasselblad V System with 80mm Lens and Fuji Velva Film 50 ISO
Quite a while ago now a CMOS medium format sensor was announced. It attacted some attention as it would bring down the price of digital Medium format cameras.
I use a Hasselblad V System medium format camera and so far have always used to film due to cost.
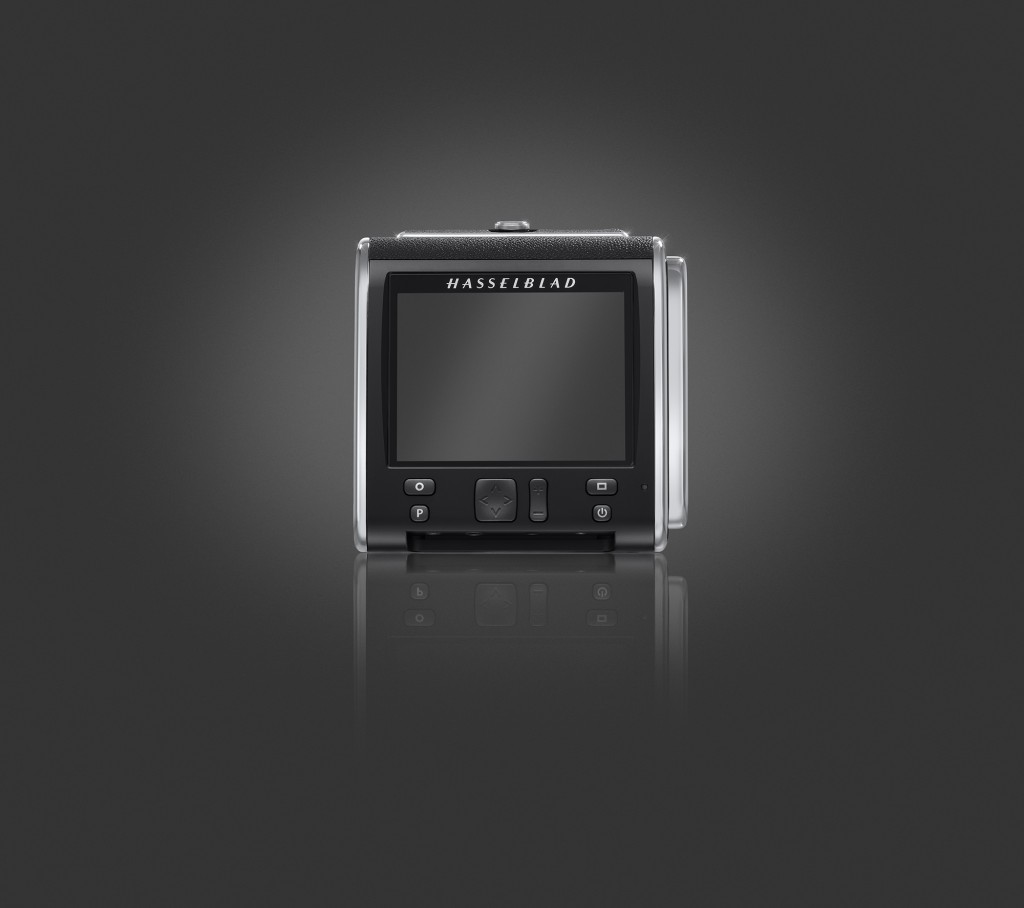
Today I spotted an announcement from Hasselblad of a new dedicated digital back for the V series, the CFV-50c, at 11,000 euro’s. whilst still not cheap its getting there. Maybe in five years I can get one secondhand.
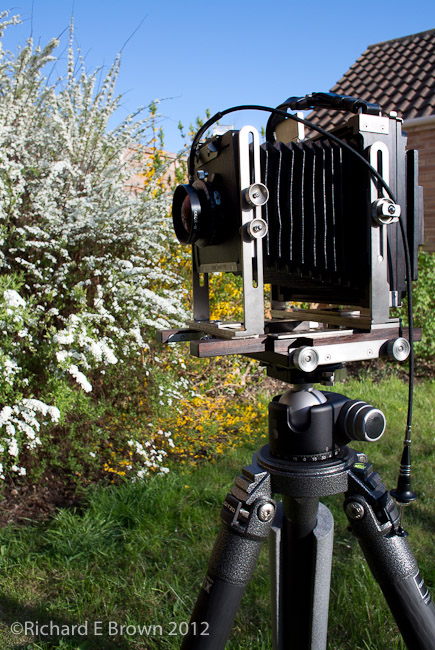
Tethered shooting is not something I do a lot, but it does have its uses, especially in controlled environments where you have time constraints to get the shot.
It used to be you had to have dedicated software for tethering, normally from your camera manufacture, and it not work well with your normal workflow.
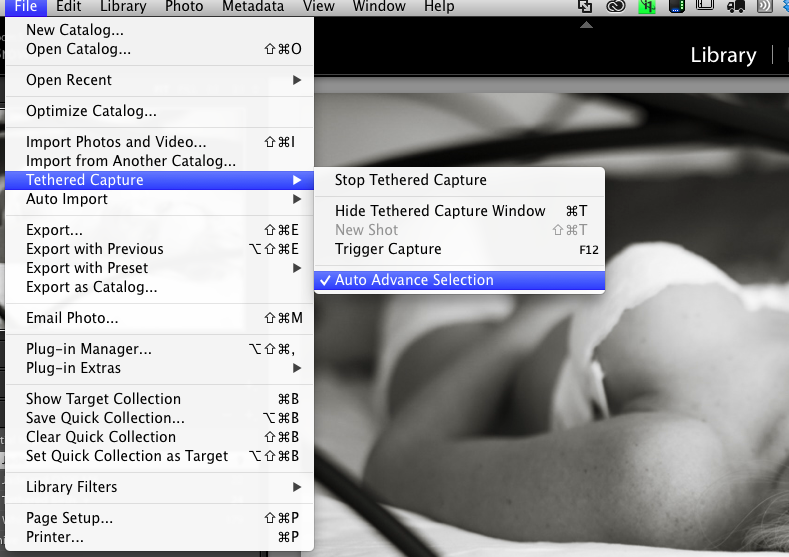
Now tethering is built into Lightroom. Its simple to start, just plug in your camera, launch Lightroom and go to File, Tethered Capture, and Start Tethered Capture.
You can define a preset so your photographs get the processing you want, so in this example they got my Black & White treatment plus a tone and import sharpening for people.
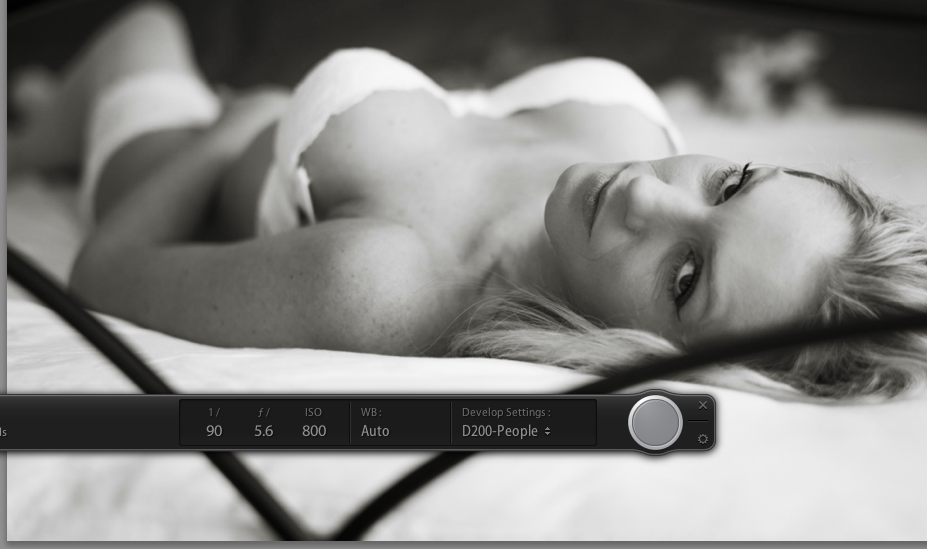
You can see you camera settings on the tether tool bar and even trigger you camera. I have in the past setup the camera to photograph birds in the garden and remote controlled my laptop to trigger the capture using the iPad.
Now a days this is old hat with most modern cameras with live view coming with an iPhone or iPad app.
The reason I had another go this weekend was that I wanted to test something I had read about on Scott Kelby’s website, using tethered shooting with Lightroom Mobile on the iPad.
The laptop and camera were setup for tethering and I also setup a target collection that was synchronised with Lightroom Mobile.
The theory was I could shoot and the photographs would appear on the iPad in Lightroom mobile which could be assessed by the client. In practice it was close but no cigar! The photos came into Lightroom but there was no way that I could find to get them into the collection that was being synchronised with Lightroom mobile, I had to stop shooting briefly, highlight the shots I wanted to be on the iPad and press the ‘B’ key to add them manually to the collection. Only then would they get synchronised across.
The process was also required the internet, as the photographs once on the laptop where then synchronised to Adobe’s cloud then back down to the iPad. A local network option would be nice.
I am not a huge tweeter but I do enjoy following a number of people on Twitter.
Most of this is done via the Twitter app on my iPhone and I occasionally tweet from my laptop direct via OS X.
Occasionally though I use Tweetdeck, I especially like being able to schedule a tweet.
I recently spotted this YouTube video on Tweetdeck and found it very useful, hope you do too.
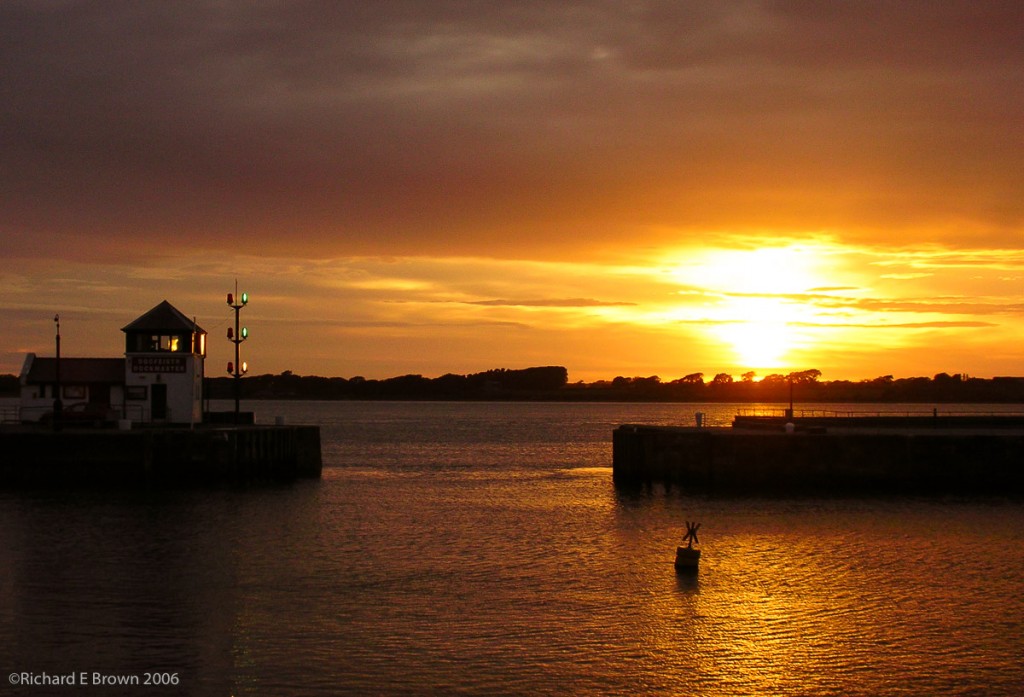
I often wax lyrical about golden light and the great light we have in the Autumn and Spring, well last night while I was in Yoga class the light through the window was just fantastic.
The day had been glorious and hot but there was thunderstorms forecast for the evening.
While I was in Yoga class and unable to take advantage the sky turned black while the hills turned a bright golden hue that was truly dramatic.
I bet as I am free tomorrow the light will not be like this.
Having a number of cameras ranging from Large Format, Medium Format, and smaller, I try to choose the camera that is right for the purpose. Travelling with a camera does place limits on what you can do. When travelling by car there is no real limit and on some of my trips to remote Scottish Islands I have taken the Large Format for landscape, the SLR and long lens for wildlife, then my Leica M as a carry everywhere camera.
We often go on holiday on the motorcycle and so on these occasions little cameras like the Nikon Series One the V1 are all we carry.
Quite often its the weight and size of the camera that drives what we carry.