It has been a long wait but finally Apple released the new Mac Pro today. Despite what people may tell you this is not a standard PC and no you cannot build one for $1000 despite what some people are claiming.

The high speed standard 265 GB SSD and processor come to more then that and then there is the EEC memory and the twin workstation class video cards. No this is a workstation and if you spec up a similar class of workstation from Dell or HP you will see that this is a well priced and well spec’ed machine.
Of course you may be asking will I be getting one. Well when I get round to next upgrading my cameras I will definitely need more horse power in the photography processing department.
So I see my future desktop needs either being met with a high spec MacBook Pro/Air or a maxed out Mac Mini. We will have to see what updates are planned. A Mac Mini is a little low spec’ed in the graphics department but processor and memory is a good choice. A high end MacBook Pro is close to the price of a low end Mac Pro so I will not say never.
Difficult choice, if only Apple would produce a Mac Mini with decent graphics.

Still until then i’ll keep looking at the Mac Pro and dreaming.
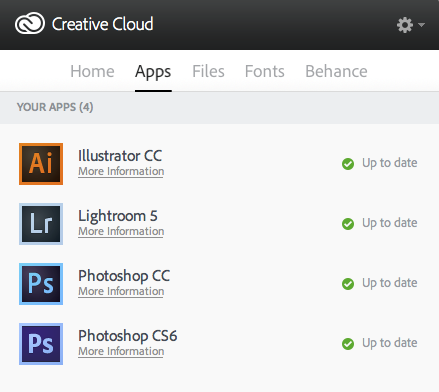
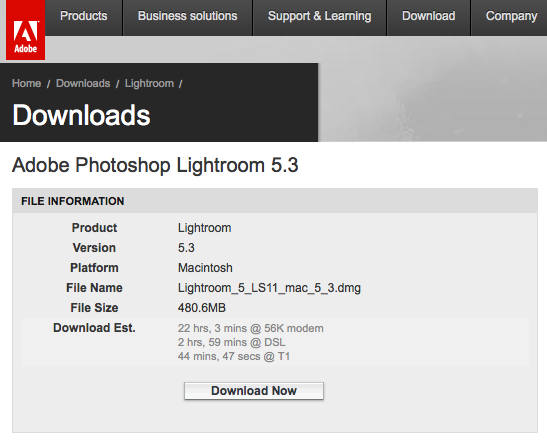 I have had a busy day today working at home (loving the new monitor). While I had the little Adobe reminder at the top of my screen it was not until tonight I checked to see what it was all about. Well it turns out Adobe Lightroom V5.3 is out today. Seems to be mainly new camera support so nothing new it actually interest me but good to see anyway.