PhotoRaw

Macbook Air -topRAW processing has always been the preserve of the standard computer not the modern tablet which is viewed as a consumption device and not a device for actual work.  I have for a while wanted a RAW processor for the iPad but have always been disappointed with what is available, even Apple’s own iPhoto for the iPad can not handle RAW files.

iPad Mini

The best solution has been SnapSeed but now I have discovered PhotoRaw. SnapSeed, while it claims to be a RAW processor is not, it actually allows you to edit the imbedded JPeg used for imaging previewing, which is how most apps like Apple’s own iPhoto for the iPad works.  Now for many this is not an issue, and for many of todays top cameras one can configure the size and nature of the jpeg.

While many of these are not a bad solution, I wanted the real deal for when I am away on photography trips traveling light with the iPad.  I also wanted a solution that did not impact too much on my normal work flow.

When shooting in certain situations I shoot RAW + JPG with the jpeg set to Black & White. When I import these into Adobe Lightroom I thus get the full colour RAW plus a Black & White image. I can then quickly compare and decide if I want a colour or Black & White final image and edit the RAW accordingly.

The problem is working like this is not an option on the iPad as it only sees the imbedded jpg.  Thus I only get to work with the Black & White image.  So if I want to work on the iPad I either needed to change my work flow and camera settings or find a better iPad app.

With the release of Adobe Creative Cloud, Adobe demonstrated Lightroom running on an iPad and syncing back to your normal Lightroom database via the Cloud.

While this looks good, it’s still early days and there is yet no release date. Well now I have PhotoRaw and for once this does exactly what it states, real RAW processing.  The initial import can be slow but once that is complete and the RAW has been rendered one can then do basic editing, export a jpeg of the size, quality and crop you want and at that point take it into, the iPad’s iPhoto, Snapseed or Photoshop Touch (insert your favourite editing software here), and do the final editing.  Like many iPad apps its not a single solution but requires other apps, and once back home you will have to re-import the RAW and re-edit potentially.

I’ll give it good test on my next major photo trip and post more on what I thought.  Long term I think if Adobe can pull off Lightroom on the iPad and seamless syncing back to the desktop with the Creative Cloud, then for professional travel photographers that will be the solution to go for if you can put up with Adobe’s monthly fees.

Lightroom V5 Horizontal and Vertical Adjust

A few people have mentioned to me that they could not find the new Horizontal and Vertical adjustment tool in Lightroom V5.

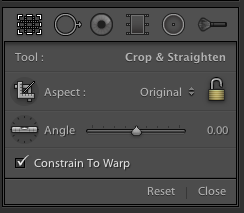
Lightroom V5 crop tool

When I first heard of this tool I immediately went into the crop tool menu (short cut just press the ‘r’ key) and looked for the new tool there.  As you can see above no new tool there, though you can see the new circular gradient tool, to the left of the adjustment brush.

Screen Shot 2013-05-19 at 19.25.35The new tool has been put in the Lens correction section.  If you want to see it in use then check out the post last week. So if you want to have ago, download the beta and have a play.

Shooting People – What Camera?

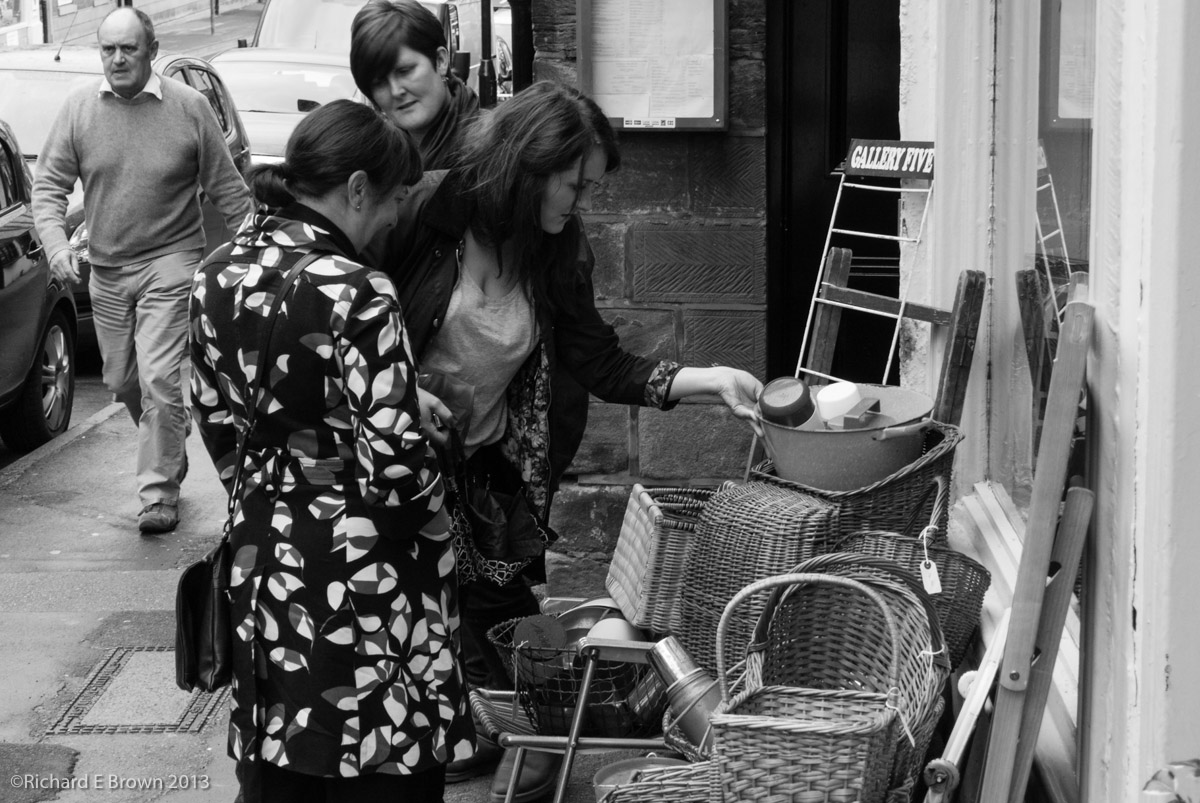
After Landscapes, I shoot people the most.

  • Weddings with my SLR’s.
  • Model Portfolio’s also with my SLR’s.
  • Portraits with my SLR’s.

I would guess that 90% of other photographers would also reach for an SLR for these subjects.  I suspect the other 10% are professional studio photographs shooting with their Hasselblad’s, Leica S’s and other digital medium format cameras.

Office

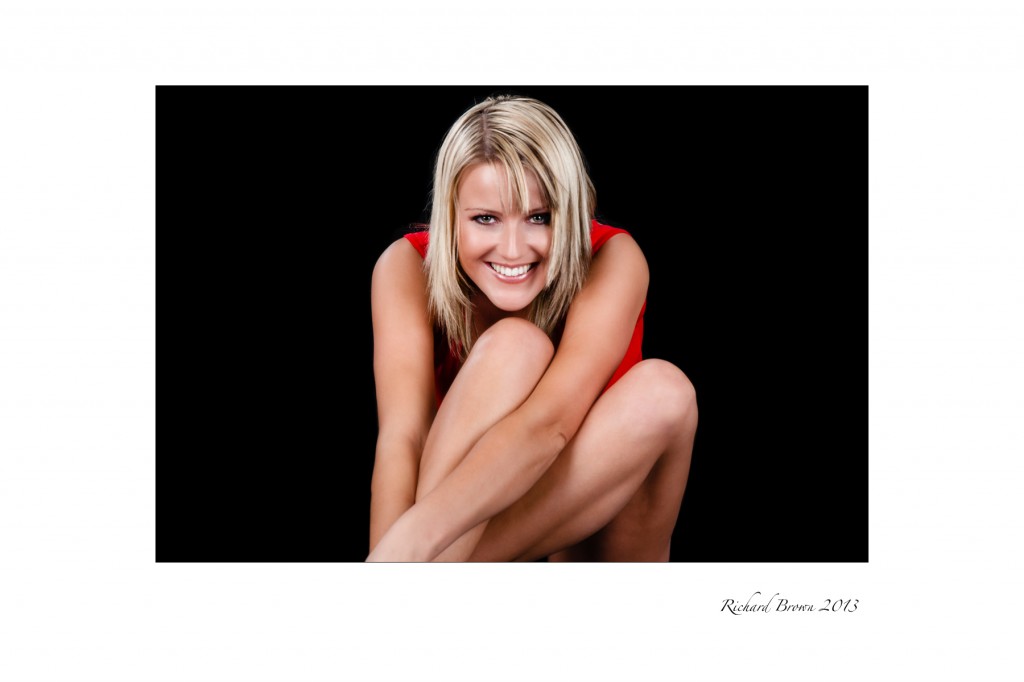
Well with the interest of mirror less cameras expanding, I have shot a recent studio portfolio with my small Leica M, and taken a risk and done some commercial portraits with my Nikon One and the other day with the Leica M.

I have been surprised at how well they can perform, most of the issues have been down to the picture taker and not the equipment.  Its certainly given me food for thought.


LR5 Beta Lens correction Modes

No Correction
No Correction

The Beta for Lightroom has been out for a few weeks now, and there are some nice touches. For those wondering yes you can buy it as usual and not have to subscribe to Adobe’s Creative Cloud.

Vertical Correction in LR5

The last couple of days I have been playing with the new Lens correction tool. In the new Beta its actually a lot more then that. You can as well as correcting for lens issues you can correct for verticals as seen above but also do level correction as seen below.

Level Correction in LR5
Full Correction in LR5

Full corrections are also available and finally Auto, which you can see below. It can prove quite useful for correcting architectural shots. It can prove more challenging when there are people in the shot or if the correction needed is extreme, but it is a useful additional tool to the photographers tool box.

Auto Correction in LR5

Now when the corrections are subtle things look fine as in the above example which has full corrections, but the software can attempt to go too far.

Lens corrections Only

This photography has some extreme angles.  This is what happens when you apply full corrections.

Full Corrections that break the image


Re Launch of RBPhotographic.co.uk

Originally this content was in a simple website written in a simple text editor. A few years ago I decided to try the WordPress application. I was very impressed and built this new site using WordPress.

I also have a website which I use to promote my Photography services, if you want a portrait, portfolio or for me to photography your wedding then www.rbphotographic.co.uk is where you can find out a little about these services.

It was also a simple website, with fairly static content. Well today I have also moved it over to WordPress. It’s proved to be a interesting learning curve, as for the main content I imported the contents of this site. I’ll post a things about the steps and issued in moving data between sites as I am sure there are others who will hit the same issues as I had.

Adobe Creative Cloud and No CS7

I don’t usually blog on Wednesdays but the garbage being written on the forums about Adobe’s creative cloud has driven me to my keyboard.

ccpost

So the big announcement at Monday’s MAX Conference was that Adobe will not be releasing a CS7.  Instead you will have to subscribe to Adobe’s Creative Cloud and their subscription based model. Basically instead of purchasing CS7 Photoshop or the the Suite you rent it, either by the month or year.

The internet forums, twitter and googleplus are full of outraged users.  CS6 will still be available for many its a great choice but for the latest version you will have to subscribe.

Most users are complaining about a) The Price, & b) The Cloud aspect.

The headline figure is £50.00 a month, well actually its £46.88 if your not already a photoshop user.  Thats pretty steep I would agree, but then again Photoshop costs £800 full retail and gets upgraded every twenty four months.  Thats over £33 a month for just one package.

The problem with the rumours, half truths and rage about Adobe is just that, half truths.  Yes the full plan is £46.88 but that gets you every single Adobe Suite Product.  That is very good value.  If you just want Photoshop then you go for the single app subscription, which is just £17.58.

There are also offers available for people who are already registered users.  I contacted Adobe and they offered me a single app subscription for just £8.73 and for all apps £14.29.  If you use two or more apps from the suite that is great value.

There is a problem for Photographers who just user Photoshop and Lightroom, the suite offering for those two is far to expensive, you are better off subscribing to just Photoshop and purchasing Lightroom as normal, and Adobe have confirmed it will still be sold retail.

The Adobe Photoshop Manager did recently admit in an interview that they are looking again at the offerings for Photographers so hopefully they can come up with something a little better.

Lets now address the second complaint, the cloud aspect.  People are saying that the applications now run in a web browser and will only work on a fast internet connection.  Well that is wrong.  You download it from the cloud and install and use as normal so no change.  The license checking is a little different.  If you subscribe for a year then the software needs to check back to Adobe to see if your subscription is current every 99 days.  If you subscribe by the month then I believe its 37 days.

With some of the tablet demos and syncing between Lightroom and iPad’s that Adobe have demonstrated then I think its not going to be long before people think the subscription to Adobe’s Creative Cloud is essential.  Lets hope then can do a good deal for people who just want Lightroom and Photoshop.

Of course if Adobe ramps up the price too much next year my view on the price will be very different.

More details on the Cloud at ‘The Grid” of the Cloud syncing and iPad editing for Lightroom.


HDR Editing in Adobe Lightroom

Hartsholme Lake - SLR - HDRHDR – High Dynamic Range, is a useful technique when the dynamic range of the scene is beyond that of the sensor or film you are using.

Traditionally the one uses dedicated HDR like PhotomatrixPro, but recently I found a method of producing a more realistic method of producing a HDR image by doing the editing in Lightroom.

University in HDR

One can use HDR carefully and produce natural looking results like in the photograph at the top of this page. Often now you see HDR used to produce over the top cartoony images like in my shot of the University of Lincoln.

My workflow is generally as follows:

  • Image Capture
  • Initial import to Lightroom
  • Initial Edit
  • Export to HDR Program
  • Process in HDR Program
  • Export Back to Lightroom

I generally shoot a five stop bracket, using auto bracketing. These photographs are then imported into Lightroom and I do basic key wording, copyright information and correcting for lens issues and basic import sharpening.

The five shots are then selected and exported to TIFF into my HDR Program. I use PhotomatrixPro. The HDR processing is now done and the resulting single file exported back to Lightroom. I can then do my usual processing and cropping back in a program I am more familiar with.

Well I did not spot it until recently (thanks to Matt Kloskowski) but you can now export the shots to Photoshop combine them and then re-import and do the processing back in Lightroom. Now Photoshop can do HDR but until CS6 third party programs have been better. This technique though just uses Photoshop to combine the images, which are then exported back to Lightroom and you can do the processing back in the program I am mist familiar with.

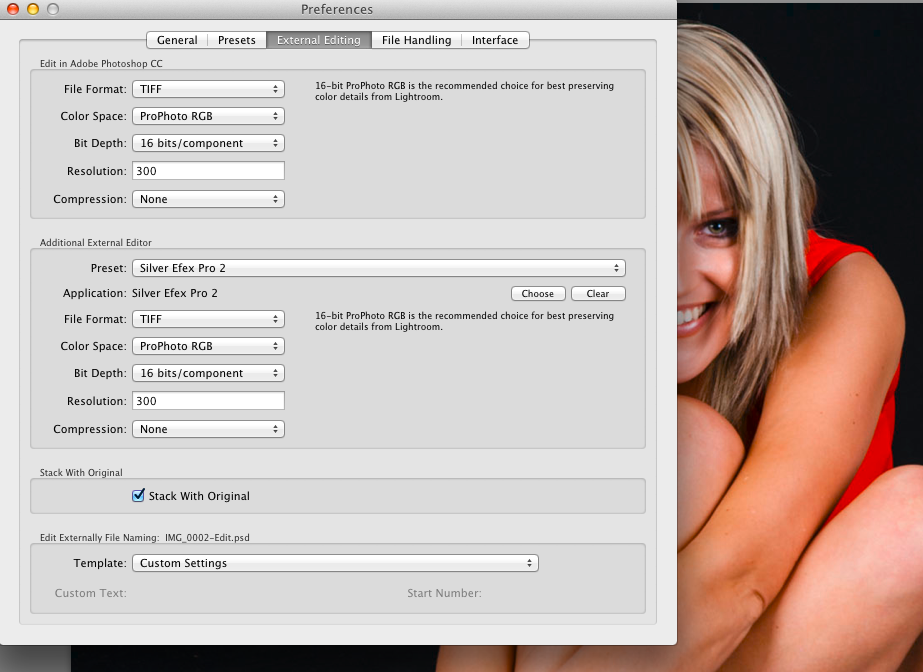
So how do you do this? Well for a start you need Lightroom V4.1 at least, V4.0 and before could not do it.

Screen Shot 2013-05-03 at 13.42.13

Select all the photographs in the bracketing set in the Library module.

Screen Shot 2013-05-03 at 13.48.00Then go to the Photo Menu, select Edit in, and then, Merge to HDR Pro in Photoshop. This will cause Photoshop to Launch (you will need CS6).

Once all the images how loaded you need to change a setting in the right hand menu panel within Photoshop CS6. I recommend you click on the button Remove Ghosts and then change the Mode from the default of 16 Bit to 32 Bit. Then click OK.

Screen Shot 2013-05-03 at 13.55.12

It will now process the selected files into a single TIFF file (it must be saved as a TIFF). If you shoot with a 24 megapixel camera or more and have a older computer this could take some time!

Then close Photoshop and when prompted to save click Yes. Photoshop will save the file and Lightroom will import it. You can then edit the resulting file with a number of advantages.

Screen Shot 2013-05-03 at 14.09.32

When you now edit the image you will find that there is far more data available then if it was a single image.
Screen Shot 2013-05-03 at 14.10.10

With the five set bracket I took I have plus/minus 10 stops available in the exposure control. This gives you the advantages of HDR but not the cartoony look.

Symonds YatHere is the final image, turned into a Black & White with lot more detail available in the what was a blown out sky.

Now that I have learn’t this technique I’ll be re-visiting some of my older brackets and seeing if I can do a better job of post production. Here is a quick re-edit I did of a interior shot of the lovely and majestic Lincoln Cathedral.

Lincoln Cathedral

Spring Photo Trip – What worked.

So how did the trip go? Well as you have seen in my previous blog entries the main photographs I wanted was of Tintern Abbey and of Symonds Yat.

Tintern Abbey

The Tintern Abbey shoot was very challenging, getting a clear shot of the Abbey was difficult. For the Abbey shot I used the Ebony 45S large format camera. For the rest of the day I used the Leica M8, as its so small and light but performs extremely well.

Symonds Yat

The photographs I took from Symonds Yat Rock were all either with the Nikon DSLR’s or again the Ebony. The above shot was a HDR composite taken with the Nikon D200 and 24-70mm f/2.8. I bracketed widely because the light was very flat at the start of the day. I thought HDR might lift the shot and make it more interesting.

The bird photography was a little disappointing but you cannot make the birds perform as you want, only set yourself up in the best spot and wait. This time it did not work but maybe next time.

The shots in the garden of the bird feeder went well, but then using bait to bring the birds to the exact spot could be considered cheating.

Bird Life-2

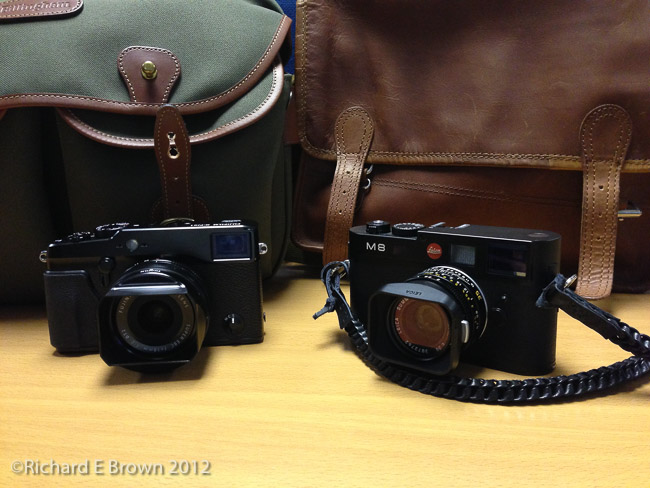
Camera wise, I took quite a lot of equipment with me, the Ebony kit, the SLR kit, the Leica kit and the Nikon Series One kit. Of these I used them all except for the Nikon Series One.

With the exception of the bird photographs, all of my photographs could have been taken with small mirror-less or SLR camera. With the amount of walking we did a small camera outfit is possibly the way to go and while a camera like the Leica is idea if you can put up with manual focusl, the cost of such an outfit is outside the range of many photographers and many people today like autofocus. If I had to buy a single camera after this trip then something like the Fuji X100s or the Fuji X Pro1 would be top of my list. If you shoot wildlife then there really is no choice but an SLR.

So in my opinion for your next holiday pack a Fuji X100s but if your into your wildlife you will need your big heavy SLR.

Wildlife in the Garden

Bird Life-3

After the previous days attempts at wildlife I gave myself an easier task today.  If your after starting out then the biggest tip I can give you is to get the wildlife to come to you.  The cottage in which we are staying for a few days in the South West has a lovely garden and lots of bird feeders scattered around.  I filled up one of the feeders then sat myself down in a comfy chair with the camera setup on a tripod in front of me.

It was not long before the birds started to ignore me and came to feed on the freshly filled bird feeder.  If you have a mirror-less camera or an SLR with a zoom lens that can reach to the equivalent of 300mm on a 35mm camera then on a bright and sunday you can get shots like these.

Bird Life-2