If you are after finding out how many shutter activations your Leica M8/M8.2 has then you can check the exinf information within the DNG, I am told it is buried in there somewhere. Not very useful if your checking out an M8 in a shop and want to know.
There is a way to find out but it involves getting into the Leica Service Menu. To do this you have to follow the following steps:
4 times right arrow button
3 times left arrow button
1 time right arrow button
INFO button
Scroll down to body debug data, press set then scroll down to NUMEXPOSURES.
My M8 now has 5240 and according to Lightroom 2643 of these are mine, so in the last year I have put on half the activations its had since it was made.
Once in this menu you can also get at other interesting options. The M8 uses Compressed RAW files, they are compressed from 14 bit to 8 bit and its not lossless. To get lossless compression you have to have an M9 or M240. Once you have been in the service menu another option is available, not just jpg or DNG but also jpg+raw, this produces a real 14 bit raw file.
The downside of this is few programs can read it, you have to process it and create a packaged 14 bit dng; a program like m8raw2dng and a quick trip to the command line will soon create one. Once created this can be imported into your favourite raw processor. The other downside is that you lose the colour profile and editing is far harder. So while you get an image with better image quality but the time taken to edit the file increases enormously.
I may blog about it some more, if I get the hang of it.
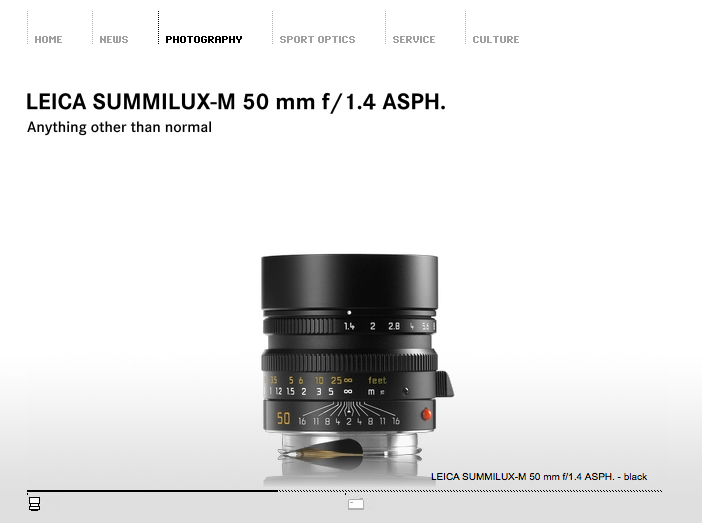
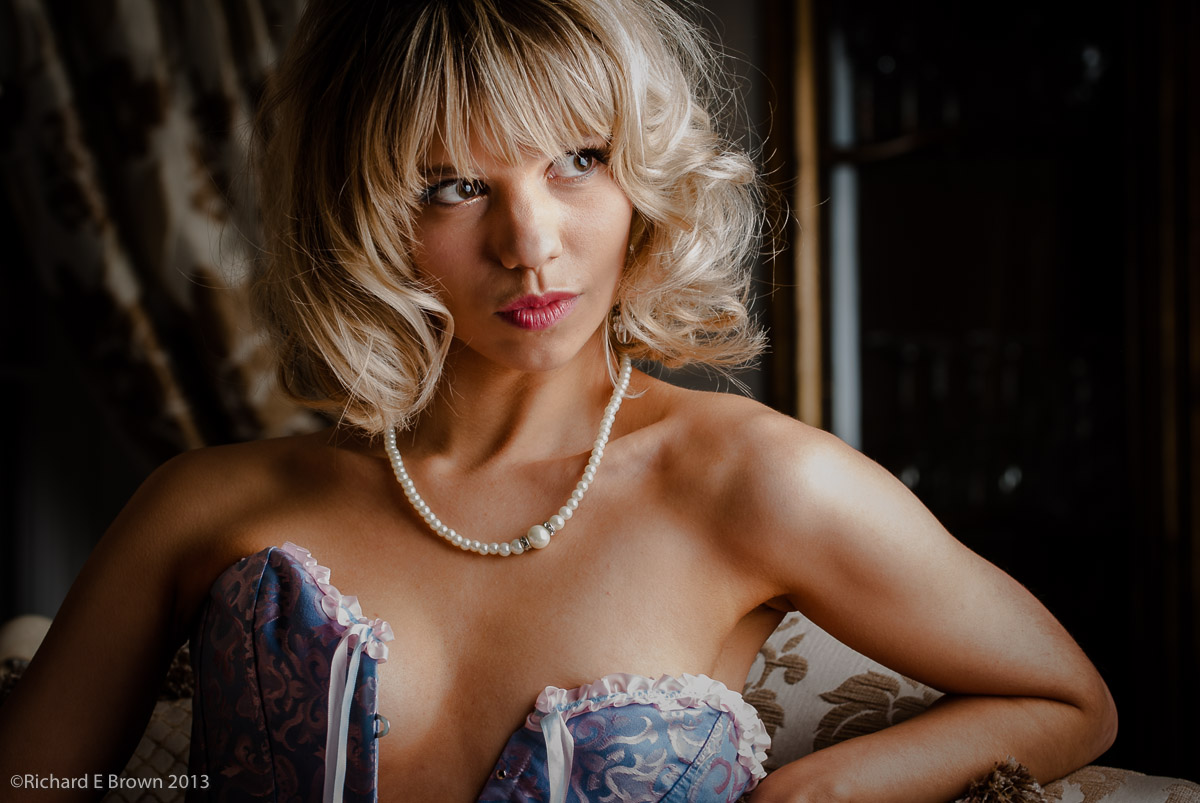
Well its taken some finding but I finally own a Leica 50mm Summilux ASPH Lens. A full frame f/1.4 50mm standard lens. I wanted the latest model but not at Leica new prices, I also wanted it boxed with a leather case.
One did appear a few months ago but we were in the middle of moving house and I just good not justify buying an expensive lens while purchasing a new home. Its taken another three months to find another one but finally I have one.
I have not done much with it yet, a few low light snaps of my lovely wife and the above shot at a local coffee shop. I am loving the out of focus details, and I look forward to trying it out in decent light and in the studio.
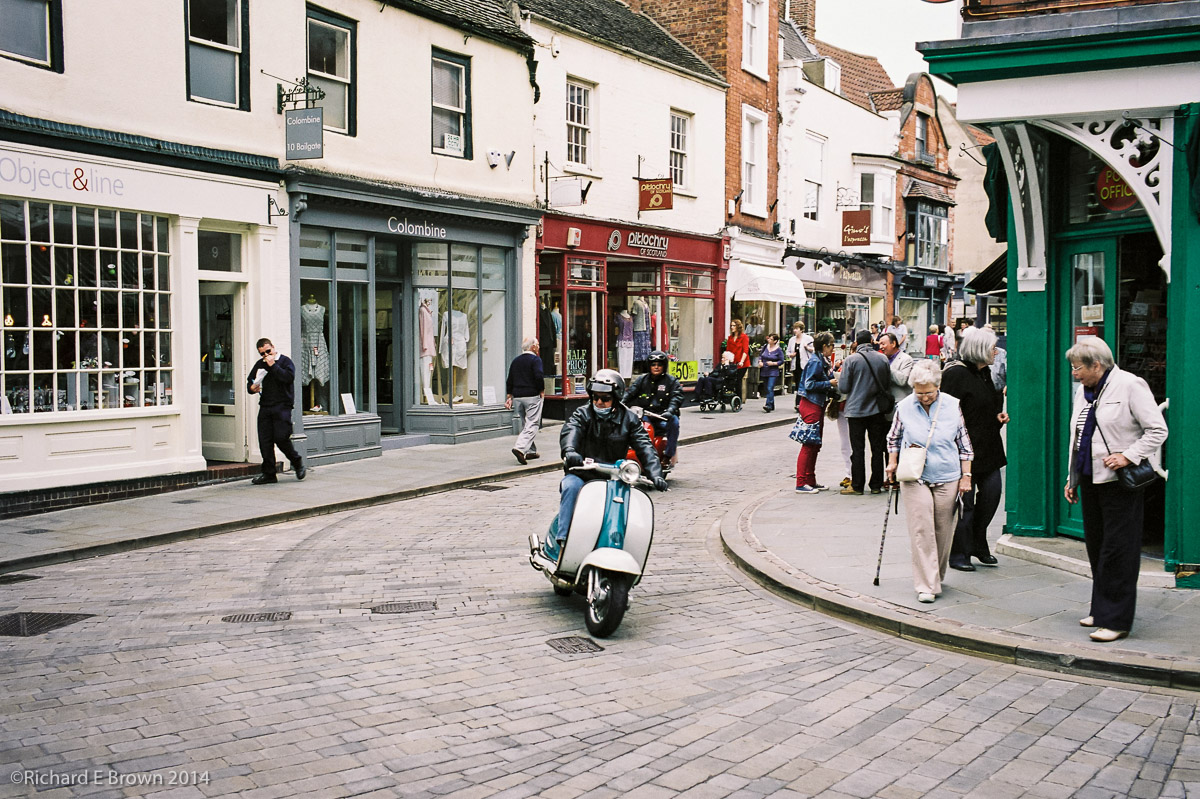
Street Photography with a Nikon V1 and 10mm f/2.8 lens
Last week I hand another chance to spend sometime handling the new Sony A7 (not the A7R). The previous time was at a show and the model there was not acting quite as I expected. This time the A7 performance more as I expected and its handling and size impressed me more.
As more photographers get their hands on this camera we are starting to see what this camera can really do. The image quality is certainly impressive and while not cutting edge on speed of autofocus its certainly well up there with the A7 being faster then the A7R.
Despite it being a mirror-less camera its a lot noisier then you would expect and many SLR’s are quieter, also when the light levels drop its interesting to hear that some photographers are reporting there is definitely a few 100ms delay between whats appearing on the EVF and the actual scene, meaning that the decisive moment can be missed, though its not an issue in brighter lighting conditions.
Its biggest limitations currently seem to be the system behind it and lens available. I know of at least one Leica Photographer moving to the Sony Alpha 7R as the camera for his Leica Glass.
A major advantage of the Sony is image quality and cost, if you have Leica glass its a body many thousands of pounds cheaper then the Leica alternative. Many prefer the EVA over a rangefinder viewfinder and many also prefer now focus peaking to rangerfinder focusing. Others will still prefer the optical viewfinder and greater then 100% view of the rangerfinder, and no sensors except the Leica’s are truly optimised for Leica Glass.
Still £1700 for the Sony verses £5100 for the Leica M (240) or £3900 for the Leica M-E, even going second hand its £1500 for a M8 and £2500 for a M9.
That kind of savings can buy a number of very nice lens.
For me the jury is out. I prefer optical finders, I like the greater then 100% view of a rangefinder and I am willing to practice regularly to keep my rangerfinder focusing skills in practice. Still I look forward to reviewers like Sean Reid to put forward there thoughts to using Leica glass on the new Sony Alpha 7 and 7R. Michael Reichmann has also posted his thoughts on using the new Sony with Leica glass here at Luminous Landscape.
Oh and do not forget to budget for extra batteries and a battery charge for the Sony. Sorry but WHAT! The battery charger is an optional extra, come on Sony if I am spending £50 on a point and shoot then yes I may not be surprised that it does not come with a battery charger but a £1700 camera! Get real Sony.
Still the camera feels well built has most of key functions quick to hand and feels good in the hand which for me is very important. Most EVF’s I have found lacking, I like the one in the Nikon V1 but hate what on paper is a better EVF on the Sony NEX 7, while the EVF on the Sony NEX 6 is OK. I found the one on the Sony Alpha A7 to be very good and also liked the easy diopter adjustment as my close up vision is not what it once was!
If your after image quality, want full frame and a small mirror-less design its definitely at the top of tree. Lets see what kind of system Sony can build around it.
If you are on a budget and want to get into that street photography scene then a second hand Nikon V1 and 10mm f/2.8 lens or the Ricoh GR compact make a good option and are well worth considering at a fraction of the cost of any rangefinder.
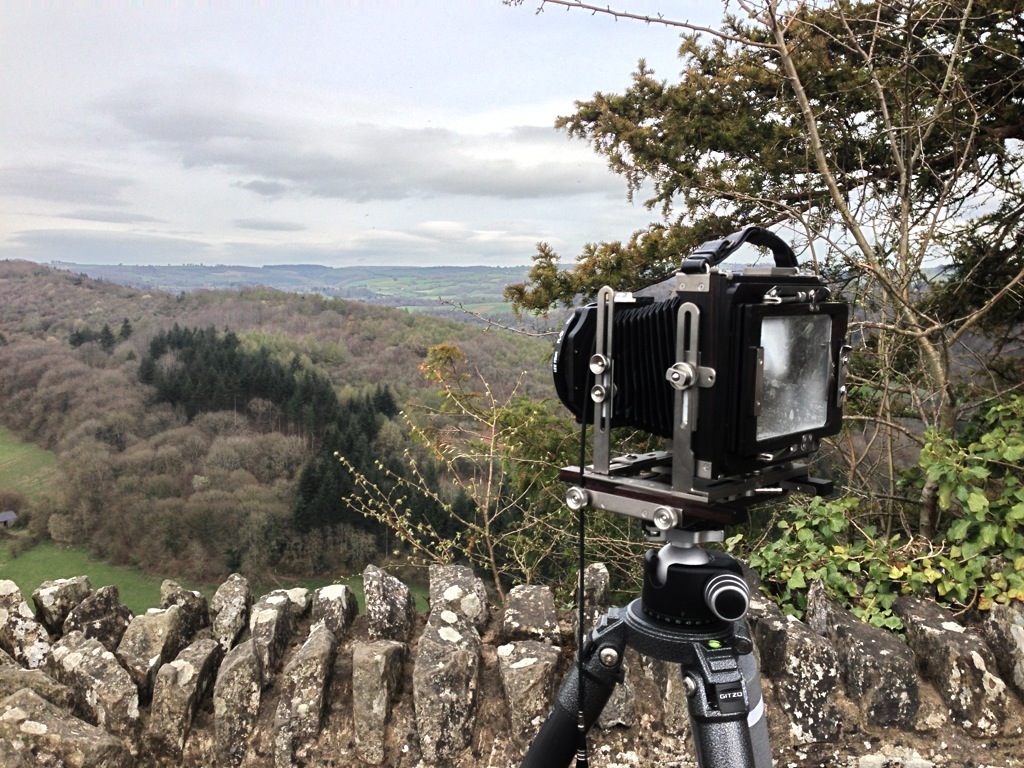
In some ways 2013 was a light year for landscape work but it was more down to the fact that most of my work was film, Large or Medium Format. Exploring a new location and coming back with two exposed dark slides of Large Format film is like coming back from a shoot with your digital SLR’s with two 64 GB memory cards full ;).
Most of my film work for 2013 has yet to be scanned, Santa while getting me a wonderful Adobe RBG wide Gamut NEC monitor for picture editing, he seemed to have forgotten a new scanner, of well, maybe next year.
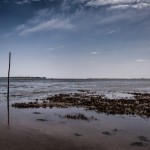
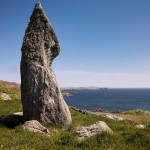
I found it interesting that most of the above shots were taken with my Leica and the for Leica the budget Elmar 24mm f/3.8, its been the camera I generally walk around with, being small light and close to film frame 35mm. Yes I know in technology terms my digital M8 is ancient, its an original M8 with the M8.2 upgrades applied, so the sensor is back from 2006. Even when it was released the camera was known for its noise above the base ISO and shooting above 640 ISO is not a good idea, its colour can be inaccurate due to its over sensitivity to infra-red but these negatives are overcome from the fantastic lens available and the way the M8 handles tones, especially with Black & White. If your after a stunning Black & White camera that uses Leica Lens and can put up with the Range Finder experience its definitely worth considering. The other option is the new Sony Alpha A7, if you as wide as 24mm then you should consider the A7, if you only shoot from 35mm then go for the A7R.
With its discounts available in America, many American Photoshop users are members of NAPP – The National Association of Photoshop Professionals. For those of us in the UK it’s not so good value.
Then there is Kelby Training. A great website full of excellent video training from some of the best Photographers and Photoshop trainers on the planet.
Well this week they announced the merger, so anyone who is a member of NAPP now gets full access to Kelby Training, and Kelby Training members get access to all the benefits of NAPP membership.
Chris Allsopp a local Lincoln Photographer pointed out that the Travel Photographer of the year had been announced. See the BBC’s website for more details, there are some fantastic images here.
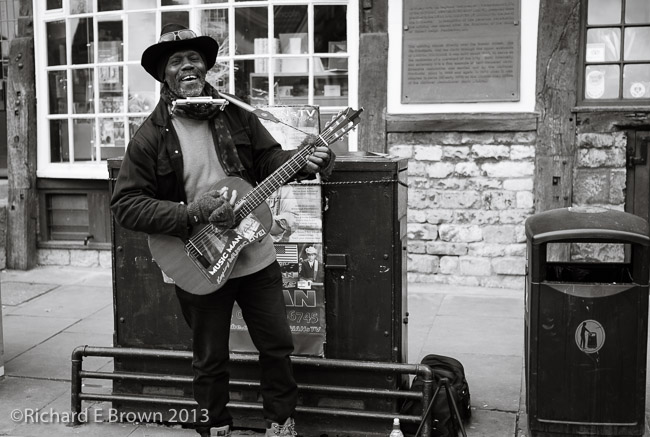
There are a number of interesting characters around Lincoln, one of them is the Music Man who can often be seen playing on the approach to Steep Hill or Castle Square.
It was sad to hear he was attacked and robbed by two people on New Year’s Eve. Hopefully its not going to put him off. If you take any photographs of buskers remember to drop some money in the hat, they are doing their art for your art.
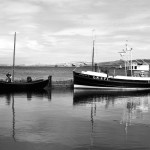
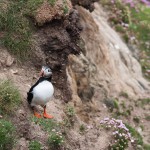
So we are now in 2014 and I thought it was time to review some of the photographs that I took last year.
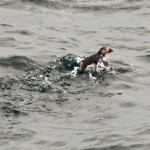
The first part of the year definitely had wildlife as its focus. We visited the Shetland Islands and took a lot of great wildlife photographs. I am still trying to get the definitive Puffin photograph but these are pretty good I think.
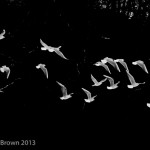
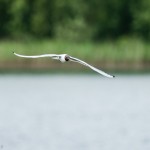
During the year I made a number of visits to a couple of local parks and Whisby Nature Reserve, one of the goals was to practice shots of birds in flight. This is a tricky area and an area in which the traditional SLR shines, in fact it would be hard to get images with any other camera system, modern mirror less are getting closer but are not there yet.
Its been a good year for wildlife photography helped by visiting great locations such as the Shetland Islands, if your wildlife shots are lacking then try visiting a local zoo or park, book a training course you may be surprised what you can learn and come back with.
Well its Thursday and everything is back to normal, we are at work but that does not mean I am not thinking about what to plan for the coming year.
One of the photographers I admire is Joe McNally, I love his location portraiture, this year he is giving a seminar in the UK and I already have my place booked and paid for.
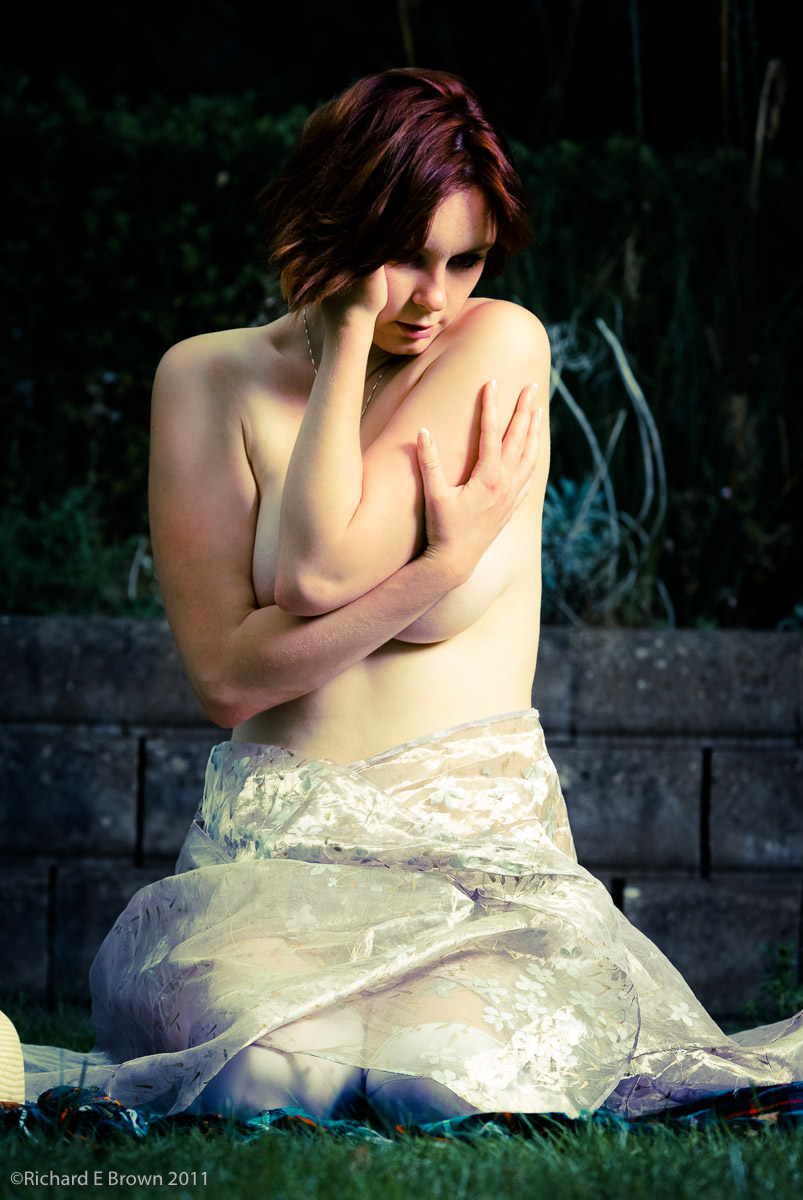
I also want to try more outdoor portraiture and art nude work, I have not done much to date but the few times I have tried it I have always come back with fantastic images.
My focus each month is still going to be street photography. I have a number of images in my head it just needs the right people in the right place, so I’ll keep trying.
Once Spring starts to arrive i’ll also be heading out to local parks and Whisby Nature Reserve with my SLR and long lens to capture more birds in flight.
Last year was a bit light on studio work so i’ll be wanted to get back into the studio and try a few ideas I have come up with.
At home we have major plans with the new house. Within the house a priority is a wood burning stove to make winter nights more cosy, as well as new doors and windows. Not a priority for this year but next i’ll be wanted to setup my home studio and home darkroom so I can develop medium and large format film and scan it myself.
Outside we are planning a veg plot, bees and chickens. So lots to do and exciting times ahead.
 The downside of this is few programs can read it, you have to process it and create a packaged 14 bit dng; a program like m8raw2dng and a quick trip to the command line will soon create one. Once created this can be imported into your favourite raw processor. The other downside is that you lose the colour profile and editing is far harder. So while you get an image with better image quality but the time taken to edit the file increases enormously.