Great video showing Lincoln at its best.
Visiting Melrose
After our day in Jedburgh, we decided to hit the road, but ever so briefly and visit Melrose. We made a quick stop first, just on the outskirts of Jedburgh to visit a quilt shop. Caroline was restrained and only bought one kit, well we had limited luggage space on the bike ;).
A quick ride out and we were soon at Melrose.
It was a hot day and we left the helmets and gloves with the bike when we parked up. We then quickly found a air conditioned tearoom to cool down and relax.
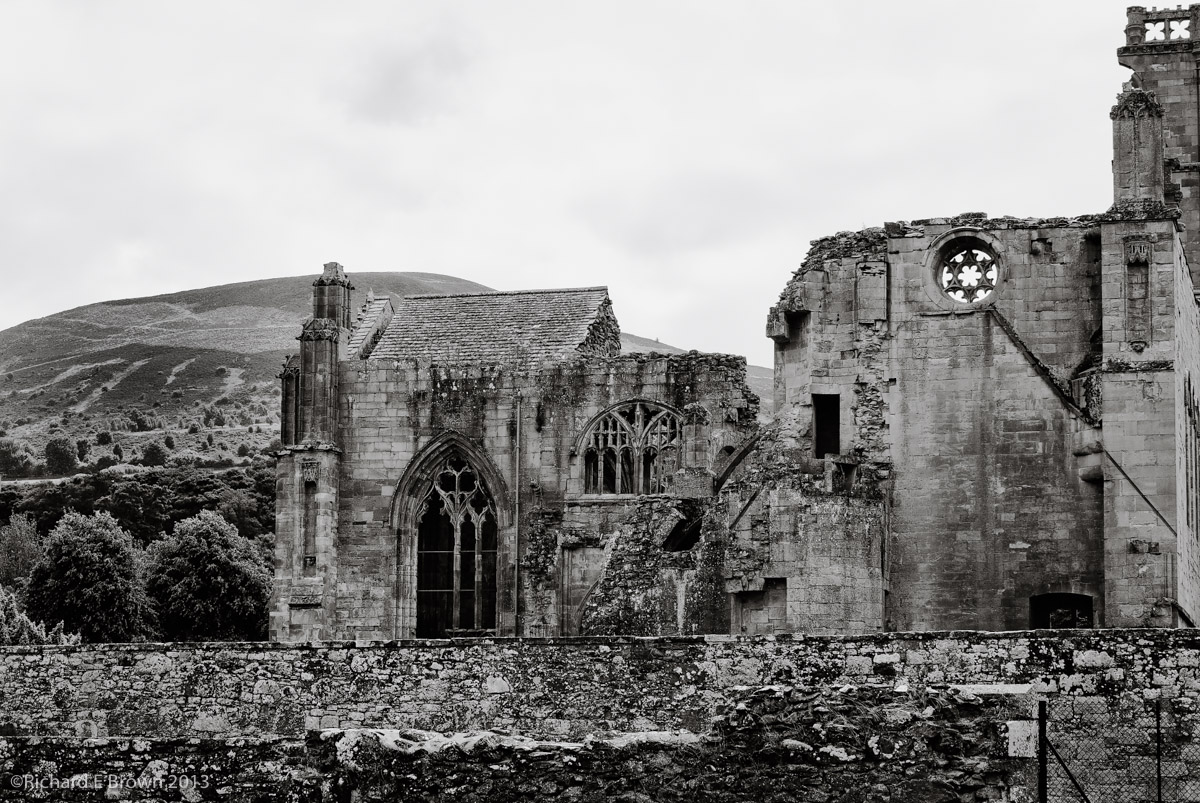
Sandwiches, Bannock Cake, and petit cakes, with Caroline having a pot of tea was lunch dealt with; it was now time to visit Melrose Abbey.
The lady at the till kindly offered to look after our jackets while we went round the Abbey.
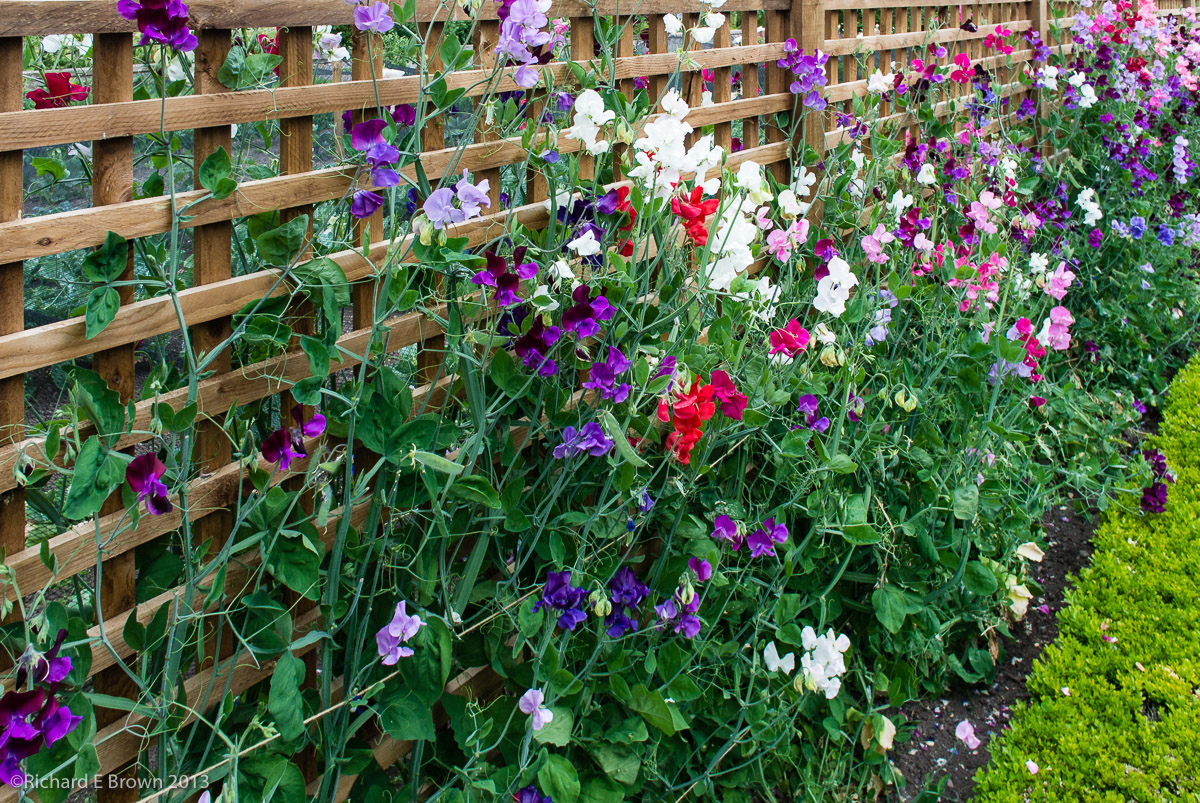
After the Abbey we visited the local gardens.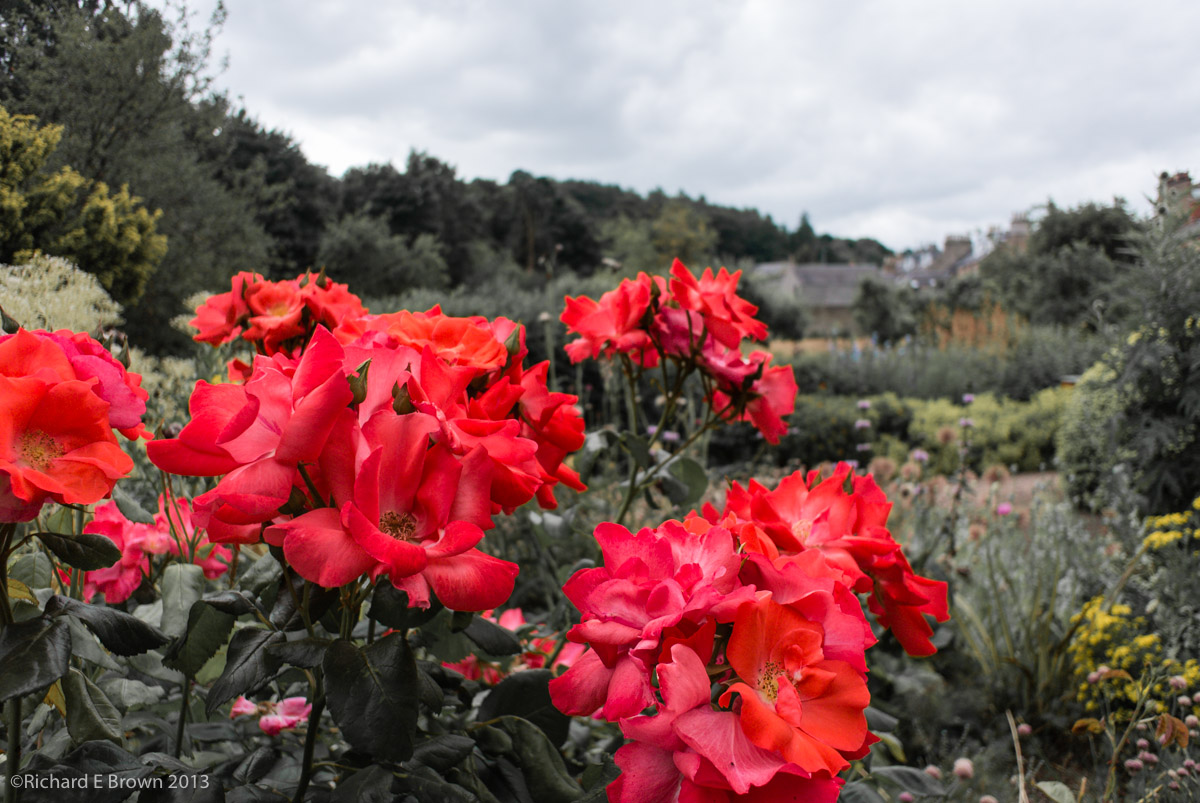
The gardens were used to produce dried flowers. They still had a drying room and a lady there demonstrated some of the techniques they used.
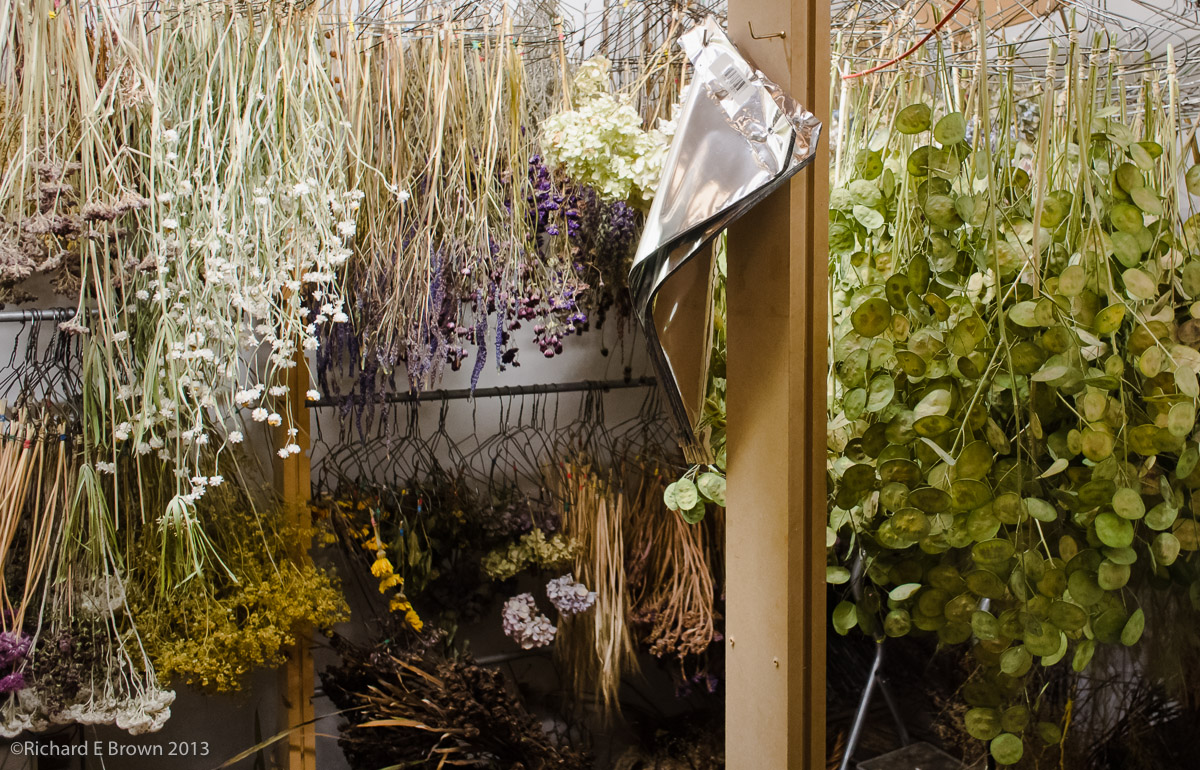
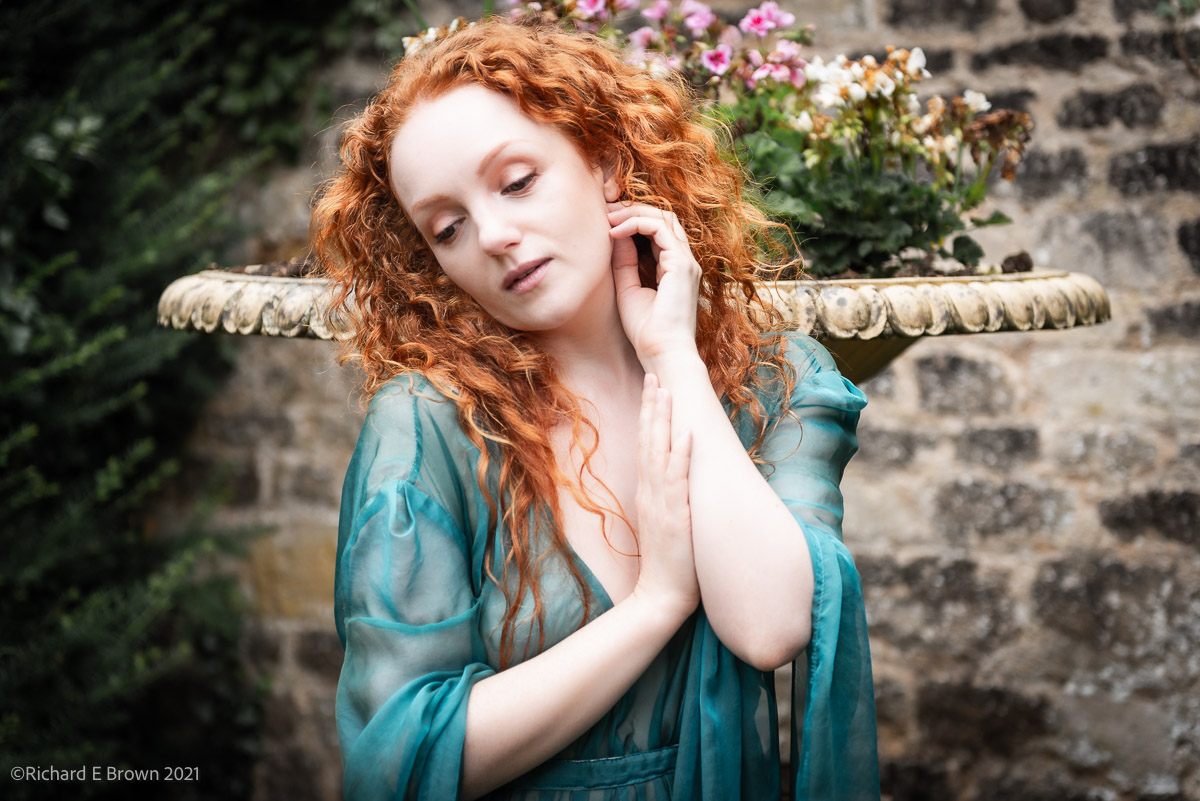
Wondering round the gardens, taking in the views and taking photographs. As we were on the bike I just had the Nikon V1 with me. Walking round the gardens it proved to be an excellent choice.
With my biker jacket hung over one shoulder I only had one hand to operate the camera, but the V1 can easily be operated with one hand as long as you do not need to change modes.
 One handed operation and being able to quickly change settings is something to consider in small cameras.
Melrose was a great day out, if a little warm. Heading back to Jedburgh we went via Kelso as that is another place we want to spend some time in the future. As we rode through the town, the bunting was out and crowds lined the streets. There was even groups of men and women on horse back. Like the recent event in Jedburgh the riders were going to ride the boundaries of the town. With its cobbled streets the town is definitely on our list for another longer visit.
Out and about in Jedbourgh
Our second day saw us having a break from the motorcycling riding, and spending the day having a good look around the local town of Jedburgh.
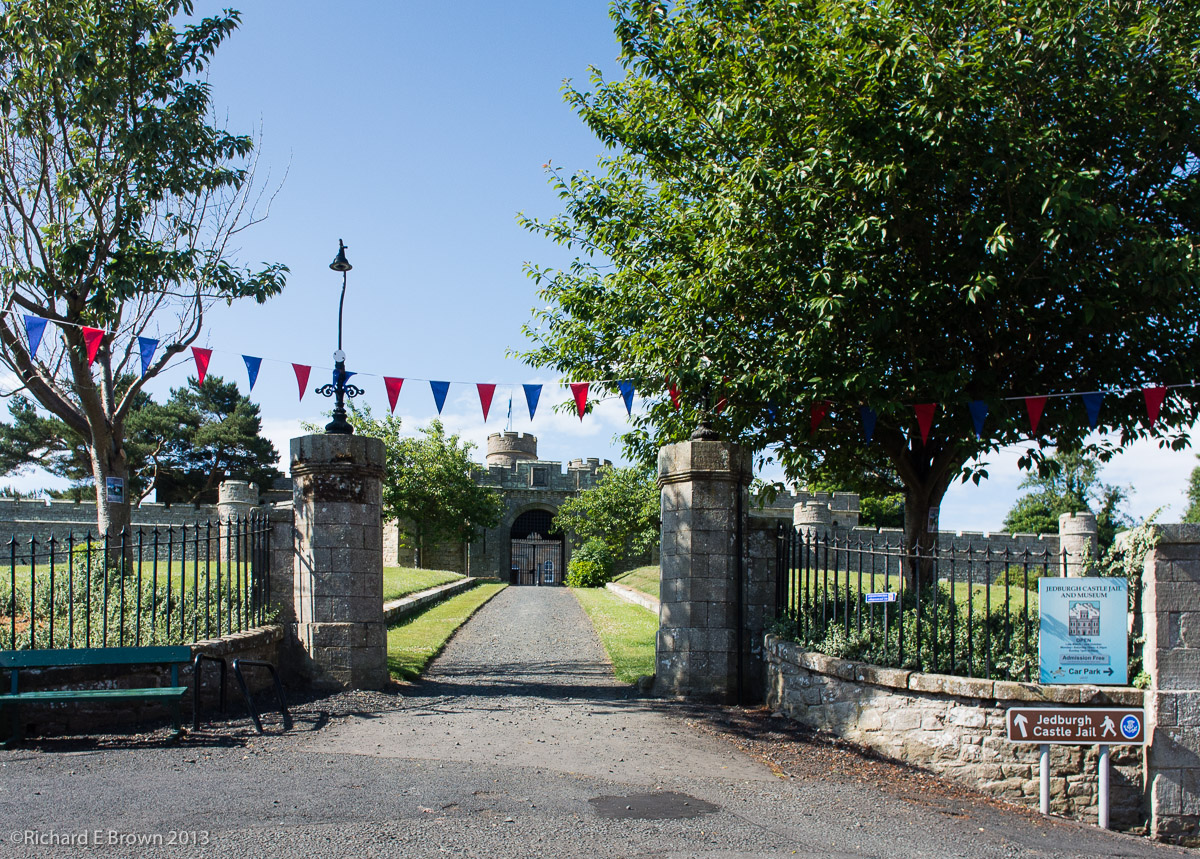
We have stopped in Jedburgh a number of times, but just used it as a stopping off point on the way to either the highlands or to the Western Isles, but with its magnificent old Abbey we kept saying we aught to stop a while and have a good look around, so this was are day for it.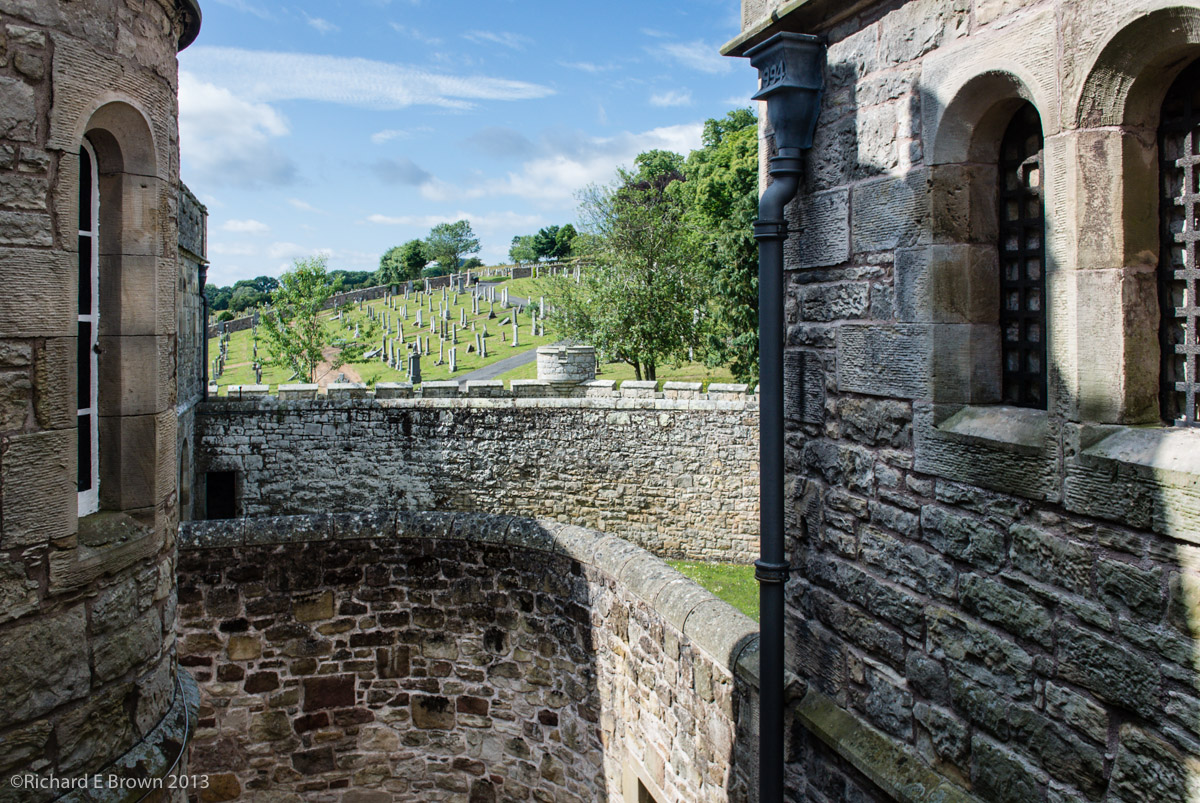 The weather once again was wonderful, so dressed in ‘smart’ polo shirt, shorts and sun hats we headed off to explorer. Our first stop was at the castle. This had been a prison in the victorian era but was now more of a museum.
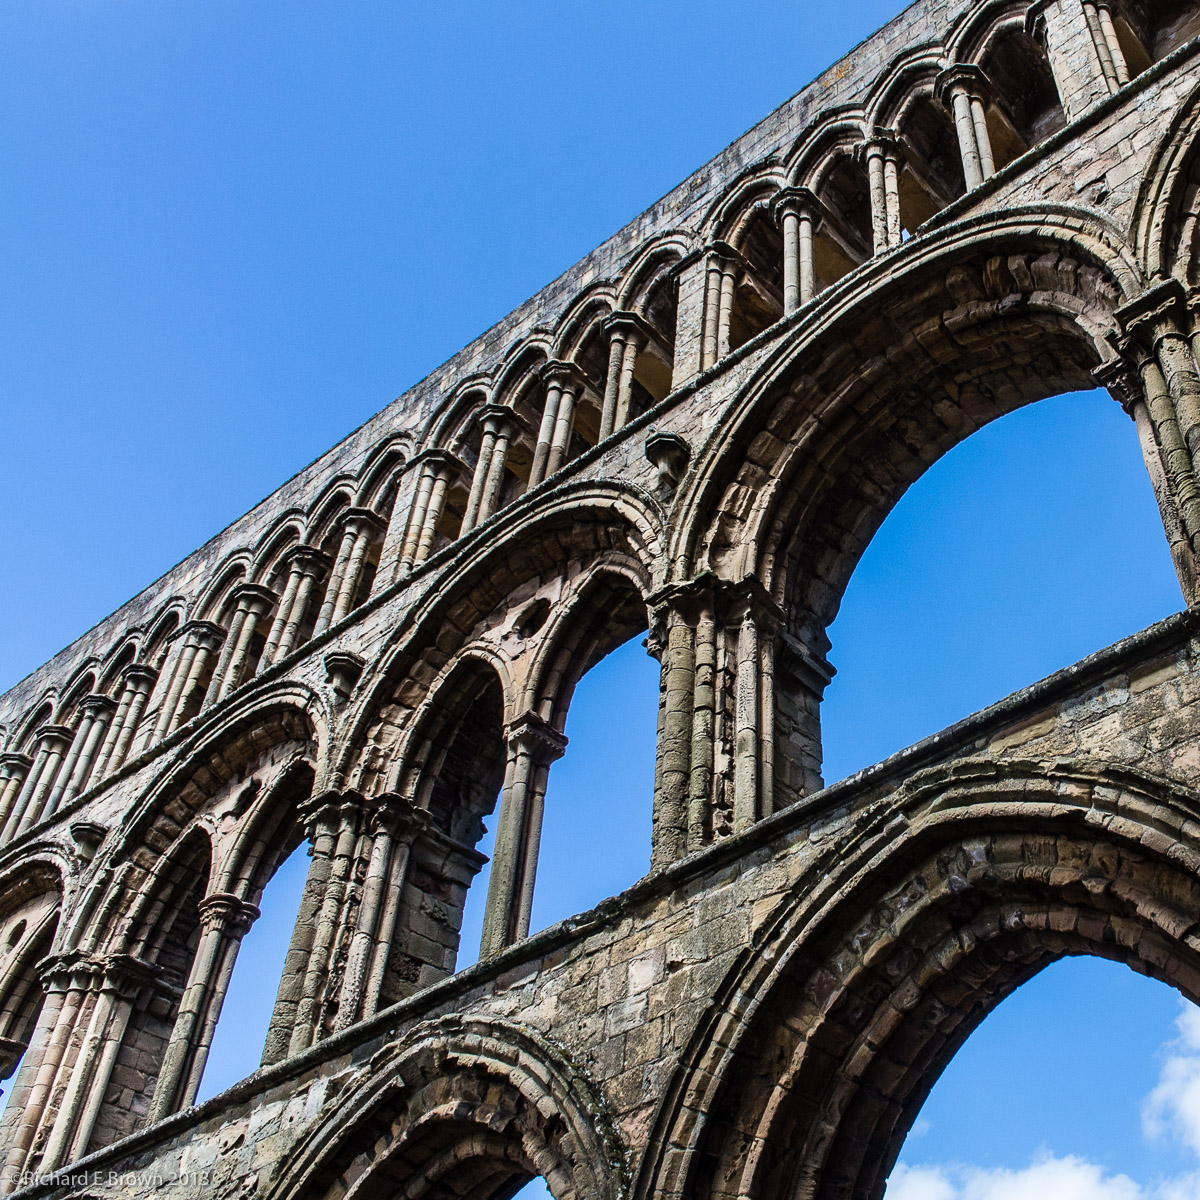
With the castle prison well explored and photograph we then headed off to the Abbey. The abbey was quite well preserved and was used as the parish church until one was built.

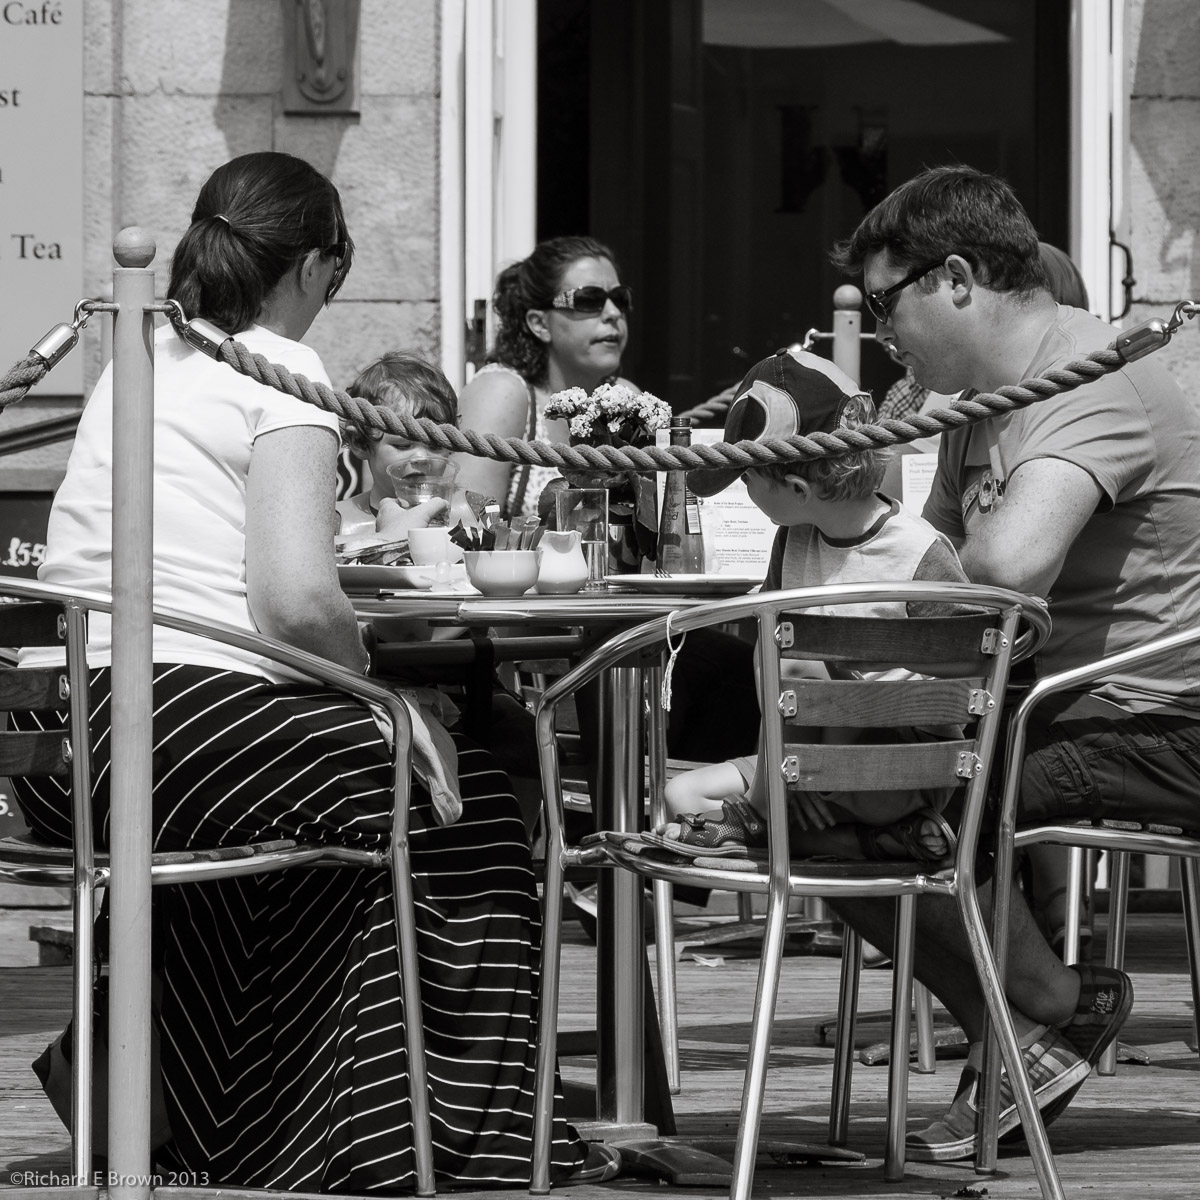
Jedburgh is well worth a visit with some find buildings and I came away with a good selection of photographs.
Travelling to Jedburgh
With panniers, top box and tank bag loaded on the big GS, we started our holiday. There was a risk of showers so we had waterproofs packed into the tank bag and a couple of light fleeces and a flask of cold water.
The trip though Lincolnshire was fairly straight forward. I was heading for the Humber Bridge, now a much more used option on the bike as they have now made it free for us Bikers. Tolls are a major issue on a bike. For some reason the majority of toll booths are on a slight slope. Try holding a bike upright with the back brake on, trying to take off your gloves, find the toll money and not drop a heavy well loaded bike. Once paid, you then have to put the gloves back on, re-adjust the cuffs of your jacket while a growing queue of cars builds behind you. Waving bikes through and not having them pay just makes far more sense.
We stopped for a biscuit and drink of water at the County Park on the north side of the river then made a quick stop at the local supermarket to fill up with fuel.
We then headed off across country to pick up the A19 round York and the only real traffic of the journey. We then took the A64 before turning off towards Castle Howard for Lunch. 
With the warm weather, the stop at Castle Howard was the perfect time to shed a few layers. I was down to just a Polo Shirt and my BMW Rallye Jacket with the Gore-Tex liner removed. No risk of rain now, though we did have about thirty seconds of the lightest drizzle you can imagine while crossing the River Humber.
The roads across the Pennines were great fun, with the fully loaded bike the pace was steady but there was a lot of other bikers on the road, tourers like us taking it steady to the ‘Power Rangers’ on there ‘Rice Rockets’ 😉
The final road to Jedburgh was a major roller coaster ride. The A68 is fairly straight but it goes up and down like you would not believe. Living in Lincolnshire you learn to approach blind summits with a degree of care. While famous for being flat the wolds have some great hills and a ninety degree turn directly after a blind summit is not unknown.
We had one last break at a village pub late in the afternoon where we enjoyed a pint of cold lemonade before we finally arrived in Jedburgh.
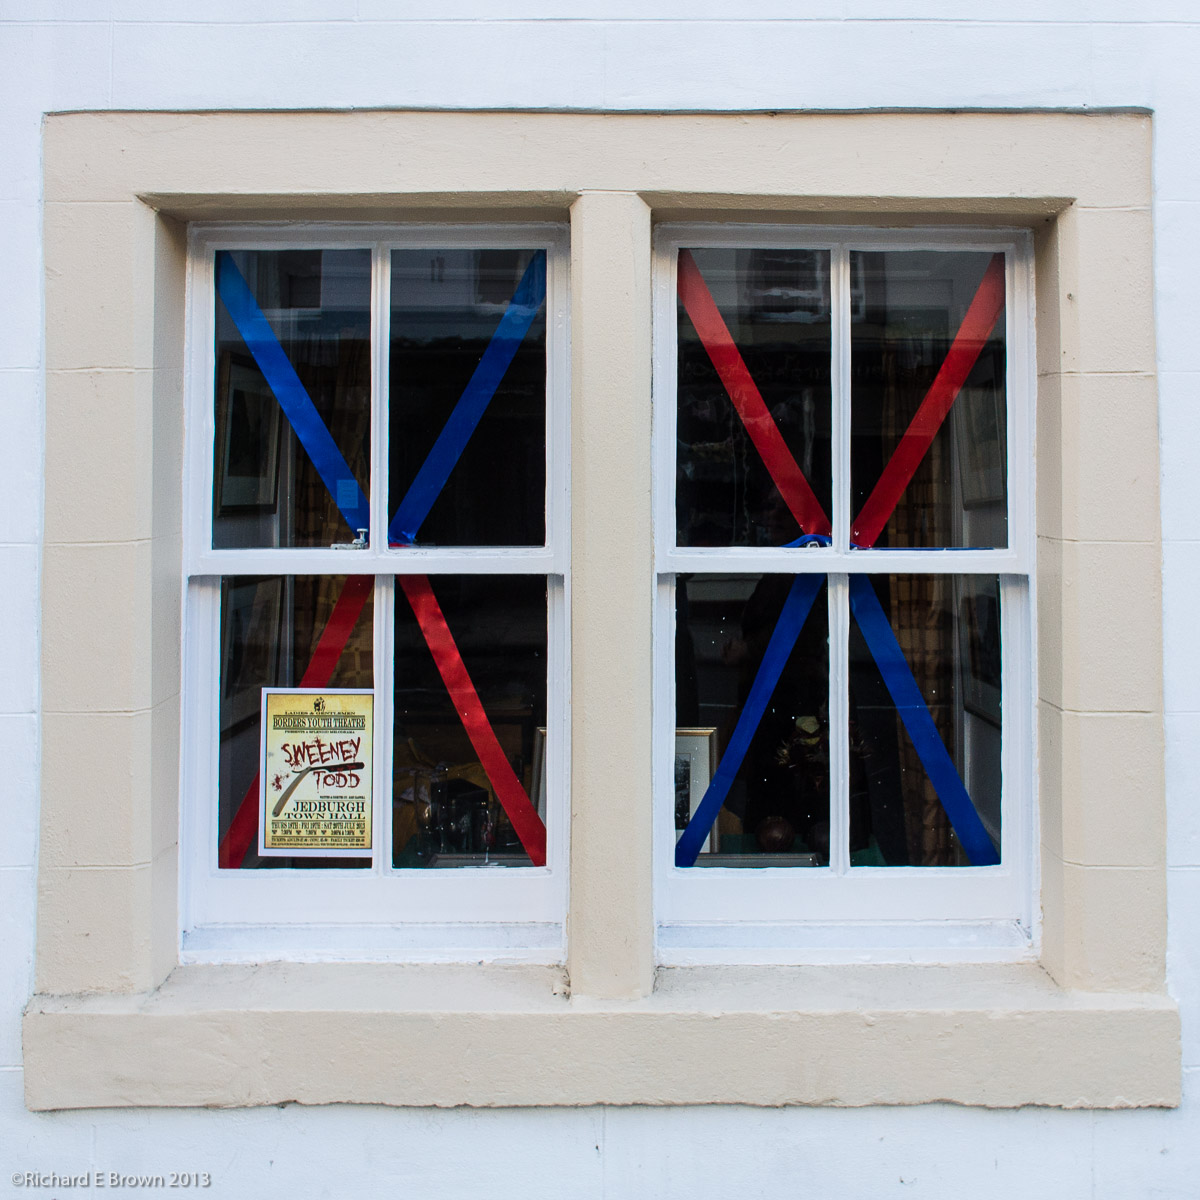
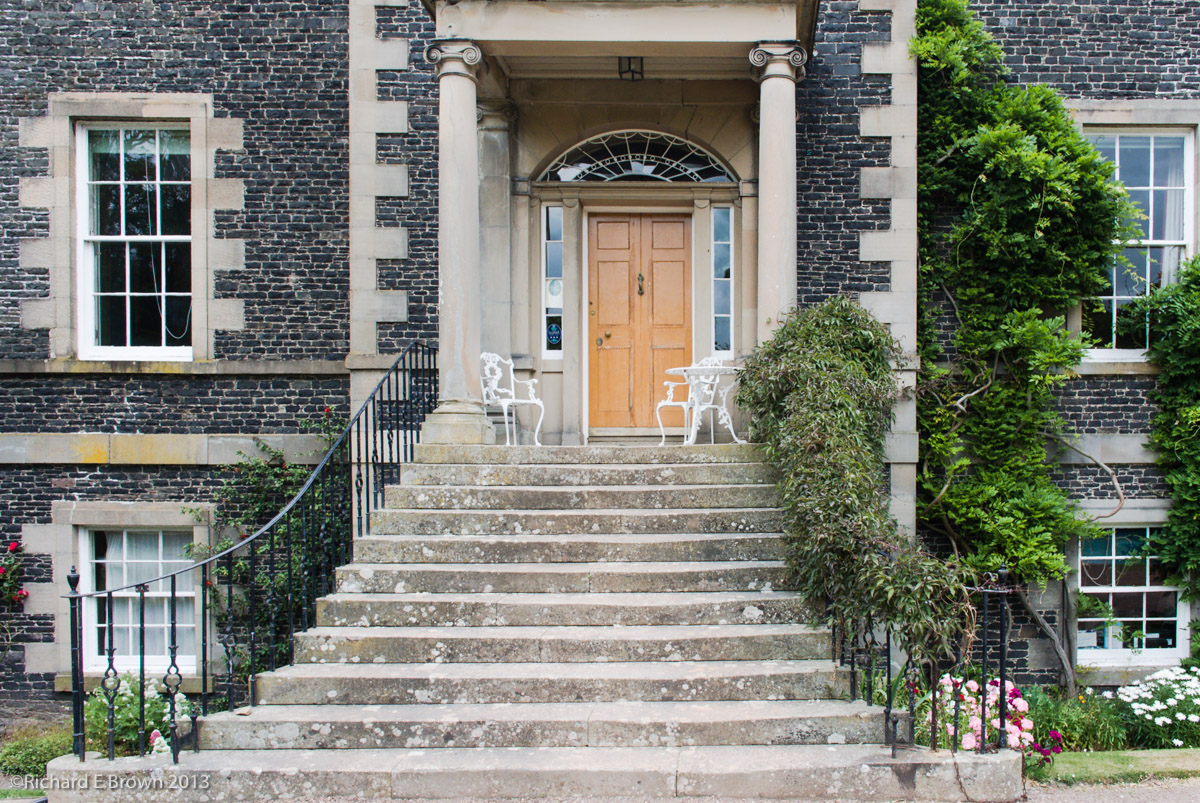
We arrived to find the town had been decorated in our honour 😉 In the days before it had been the Jedburgh festival. The B & B owner had kindly removed his car from the garage so we could park in there. After unpacking we had a quick shower then headed into town to find something to eat.
Jedburgh had one of the finest Indian Restaurant’s in Scotland and was very well regarded. It was now under new management but it still served a fine meal.
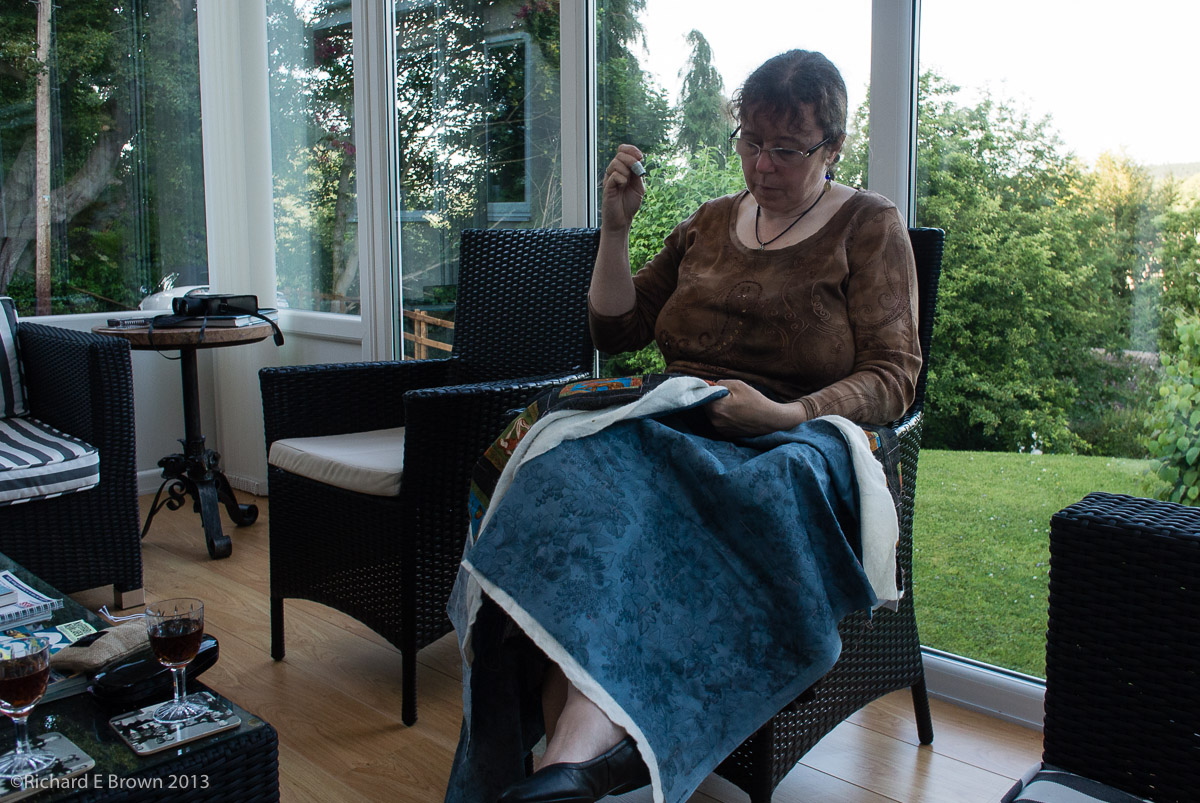
We then headed back to the Bed and Breakfast and relaxed in the conservatory. Caroline had managed to find a way to pack some sewing; a half finished patchwork quilt that she could quilt in the evenings. As we relaxed we enjoyed a evening drink courtesy of the owner of the Bed and Breakfast.
Bike Trip – Scotland and North Yorkshire

This week the UK is having something of a heat wave. It sounded like the perfect excuse to put a few miles on the GS. We are away for a week, travelling through the Yorkshire Wolds, the Pennines and the Borders, with us ending up in Scotland for a few days.
Camera wise I am travelling extremely light. Just a Nikon Series One V1 and the 10mm f/2.8 pancake lens, and the telephoto zoom 30-110mm.
The week is mainly about the biking and exploring an area of Scotland we have travelled through on the way to the more popular areas, but never spent any time looking at what the borders have to offer.
In Camera JPeg or RAW
There is a lot of comments recently about shooting raw or shooting jpeg. I am a great believer as I have mentioned before in getting it right in camera. But some of my images require post production to get the best out of them. I shoot RAW but sometimes I also shoot jpeg as well as RAW to give me a comparison.
http://ottokite.wordpress.com/?p=3193#comments
In the link above is a good video looking at the alternatives to my point of view.

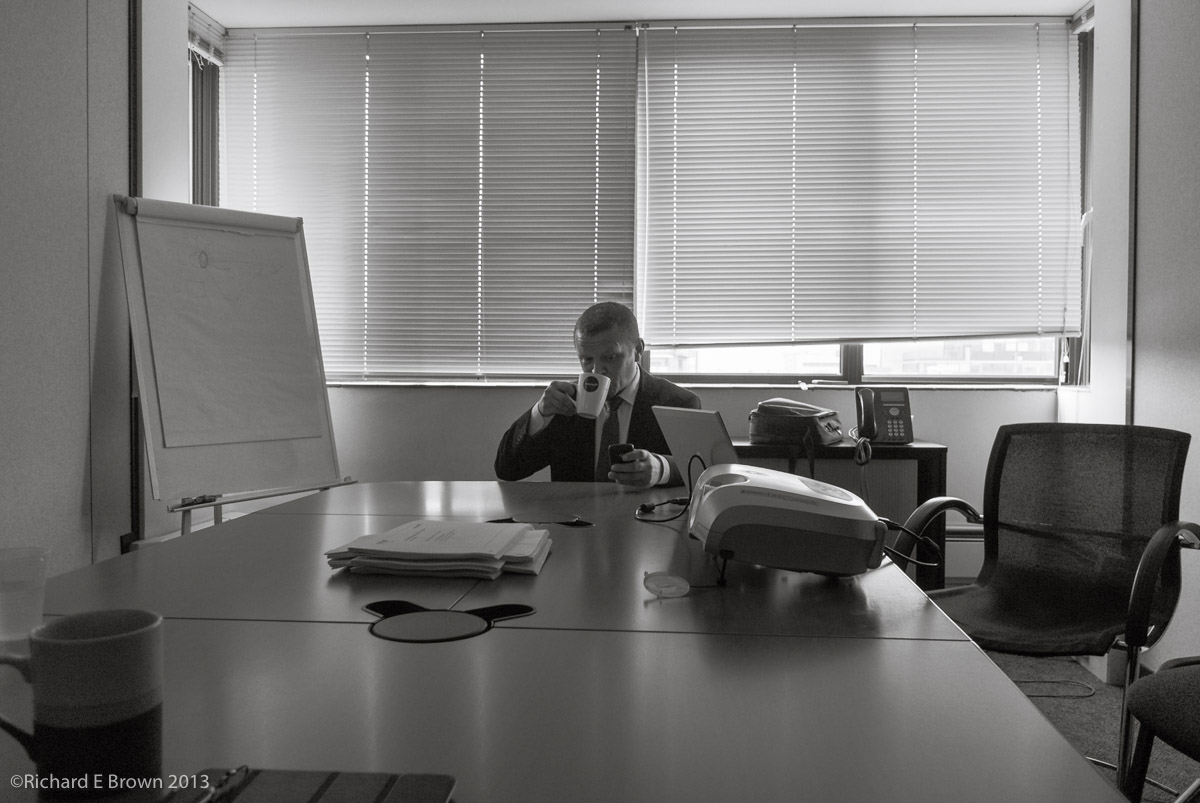
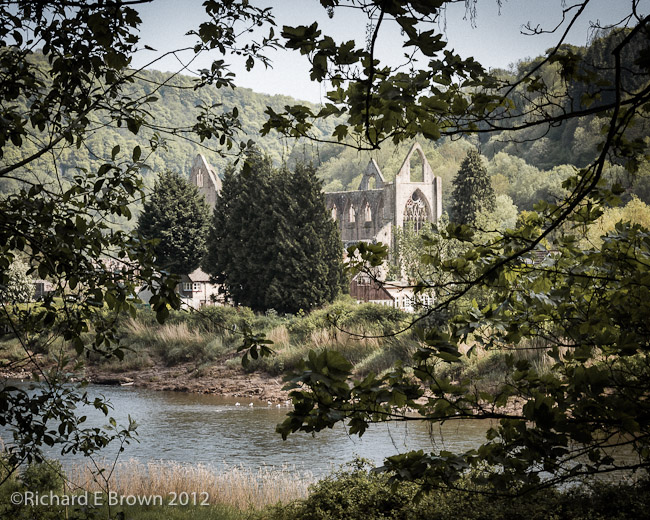
The above shot is a raw processed in Lightroom V5. I had also shot jpeg on the Nikon V1. The in camera jpeg looked great, I had tweaked the Black & White to mimic an orange filter which looked great. As soon as I took the raw photo into Adobe Lightroom the raw looked worse then the JPeg. It took some work to get it to look as good as the jpeg, but having the raw gives me more options.
RAW or JPeg? For me RAW, but sometimes JPeg as well to act as a guide.
If you prefer to shoot Jpeg and it does give some post production work flow advantages if the Jpeg is right and does not need editing; then I would advise shooting RAW and JPeg. Just so you have the RAW to fall back on.
28mm field of view – Nikon Series One and other Options

As you might have realised, I am quite taken with the Ricoh GR V and the Fuji X100s. Both of which I have tested recently. I prefer the X100s, due to its optical viewfinder and direct controls, but I prefer the sensor of the older Fuji X100 and the Ricoh GR.
The Ricoh is one of the most customisable compacts available and the latest version with its large DX sized sensor and no AA filter is great value. Its size means one can always carry it with you.
I have two issues with it. It has a 18.3mm lens (28mm field of view on DX) and it has no viewfinder. The X100s has one of my favourite fields of view at 35mm (equivelant to 35mm film/sensor size), but having a Leica M4 and M8 (with the M8.2 upgrades) and a Leica 35mm Summicron lens, means the X100s does not really bring me anything new.
Its a compact I want for when I do not want to carry a ‘real camera’. But what compromises am I willing to put up with?

Looking at the current options, I like the Ricoh, the Nikon Coolpix A, the Sony RX-100, the Sony RX-1 and the Canon S95. But while I want a compact I still want the performance of a ‘real camera’. Its the Ricoh GR V, Nikon Coolpix A, Sony RX-100 and Sony RX-1 that fill that need.
The Sony RX-1 is a killer of a camera, it rivals the Leica M, and the Nikon D800E with a form factor that can fit in your pocket, but in truth its overkill. Hand holding a camera like this is a waste. It should be on a heavy series 5 Gitzo tripod to make the best of its performance. That kind of makes its lightness and compact size pointless. There is also the price. I can buy some serious Leica M glass for the price of a Sony RX-1. So why have I dismissed the very good Canon S95, well its a compact and a very good one, but its still got that small compact sensor, and I want something better. With that in mind one comes to the sony RX-100. This is a great little camera and the newer version just announced is even better. Its a real rival to my Nikon V1 with a sensor the same size.
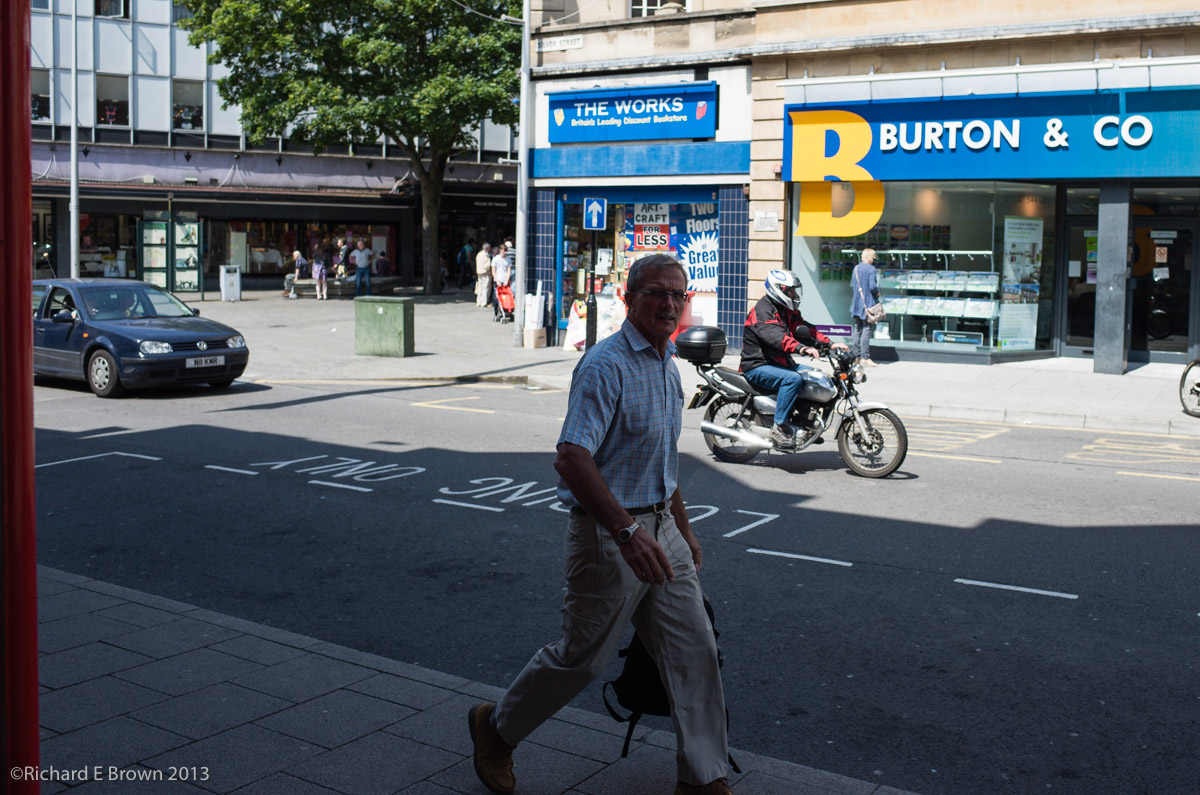
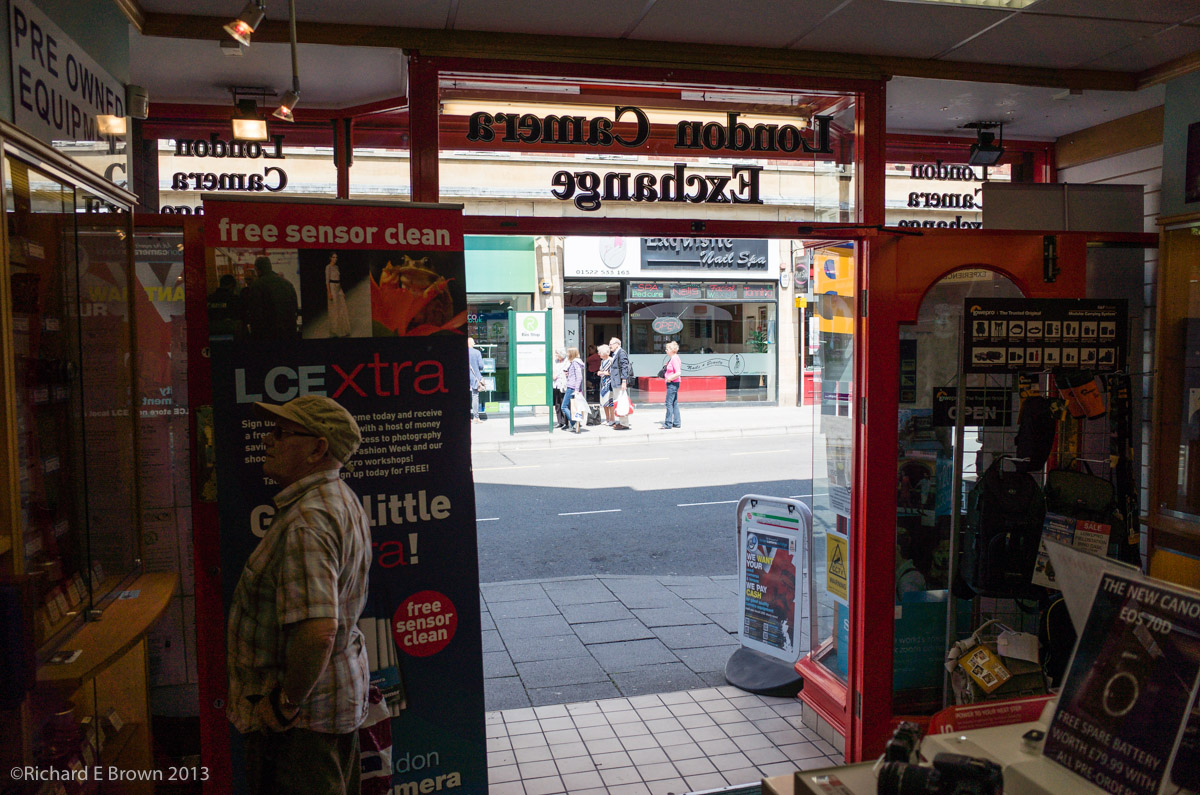
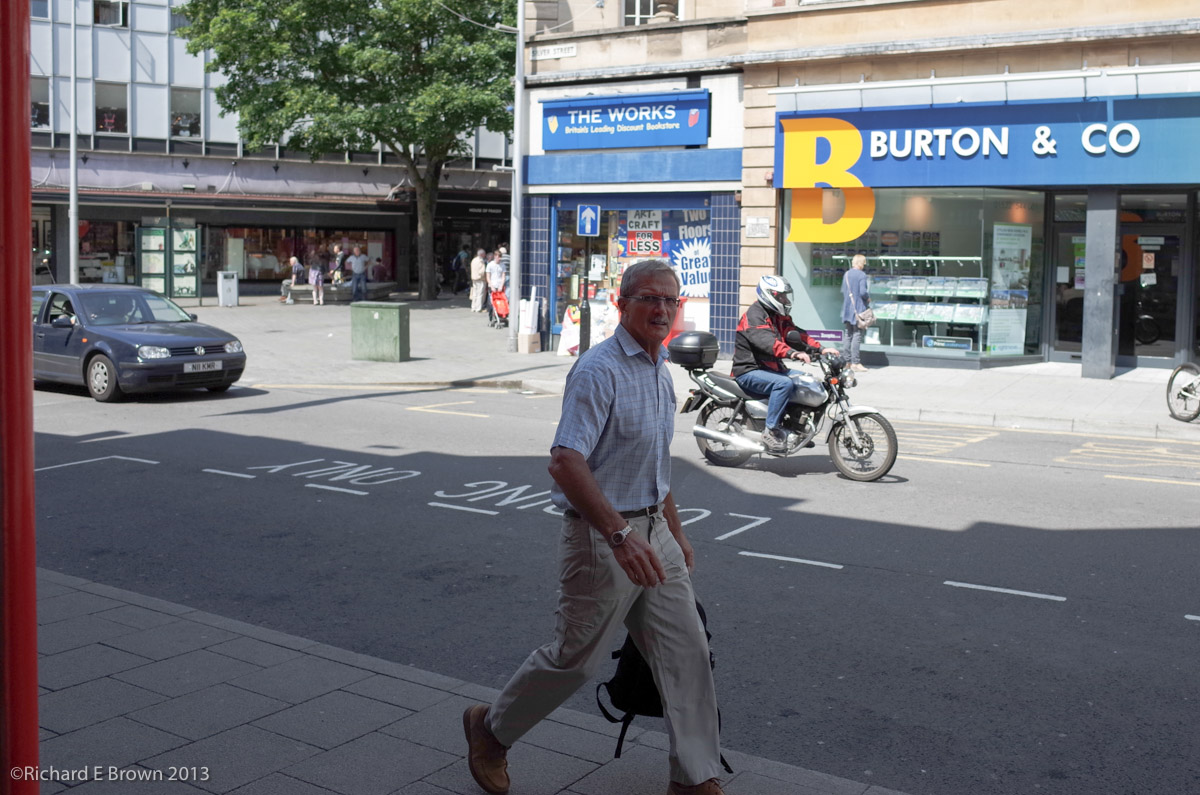
Oh yes the Nikon V1 my current ‘compact camera’. Well last Friday after handling the Ricoh and the Sony RX-100 I hit the streets and took the shoots you see above. As you can see its a great camera and with its interchangeable lens very flexible. I fitted the Nikon Series One 10mm f/2.8 lens. This gives the same field of view as the Ricoh, i.e. 28mm FOV on a 35mm sensor size, I have to give the focus speed award to the Nikon V1 its simply stunning for a compact camera. The Nikon V1 and V2 has issues and there are things to do with the handling that I hate. Nikon did fix a few issues in the V2 but not enough of them, certainly not enough to make me think about upgrading, but it can certainly produce the goods. The Nikon V1, but even with the 10mm f/2.8 lens fitted is larger then the Ricoh. The Ricoh is smaller, more pocketable and with its controls, a lot easy to use. With the bigger sensor it offers a number of advantages, but can I live with the 28mm field of view.
Well this shooting session was in a way a test.
a) could the 28mm field of view do the kind of street of shooting I do, when I usually use a 35mm field of view, and
b) do I actually need it? Will the Nikon V1 with its 10mm f/2.8 do the job.
Well these shots confirmed two things:
- The V1 is a great camera capable of capturing great shots with wonderful image quality, and its interchange lens makes it a very small flexible interchangeable lens system. In many ways a great alternative to cameras such as the Micro FourThirds systems and the Sony Nex. For the money its one of the fastest focusing quick reacting cameras money can buy with image quality far better then many of its larger sensored rivals.
- When you need to change a setting quickly its one of the most frustrating cameras money can buy and you really wonder why you wasted your money on such a limiting system, when cameras such as the compact Ricoh GR V can offer the enthusiast photographer more for less money.
Its a real Jekyll and Hyde camera, and for now my choice of compact camera, but I hear the Ricoh calling to my photographers heart.
Oh and can I live with a 28mm field of view? Well its a little early to tell but the shots above do seem to indicate that I can work well on the street with that focal length.
Still all of this is a very good excuse to hit the streets some more and shoot with the Nikon V1, but I better keep out of camera shops that stock the Ricoh, especially if I have my credit card with me!
Ricoh GR V – Large sensor goodness in a Compact
You might have wondered where I was leading with the last post on bigger is better, well here is a demonstration that we can have a small body and a big sensor.
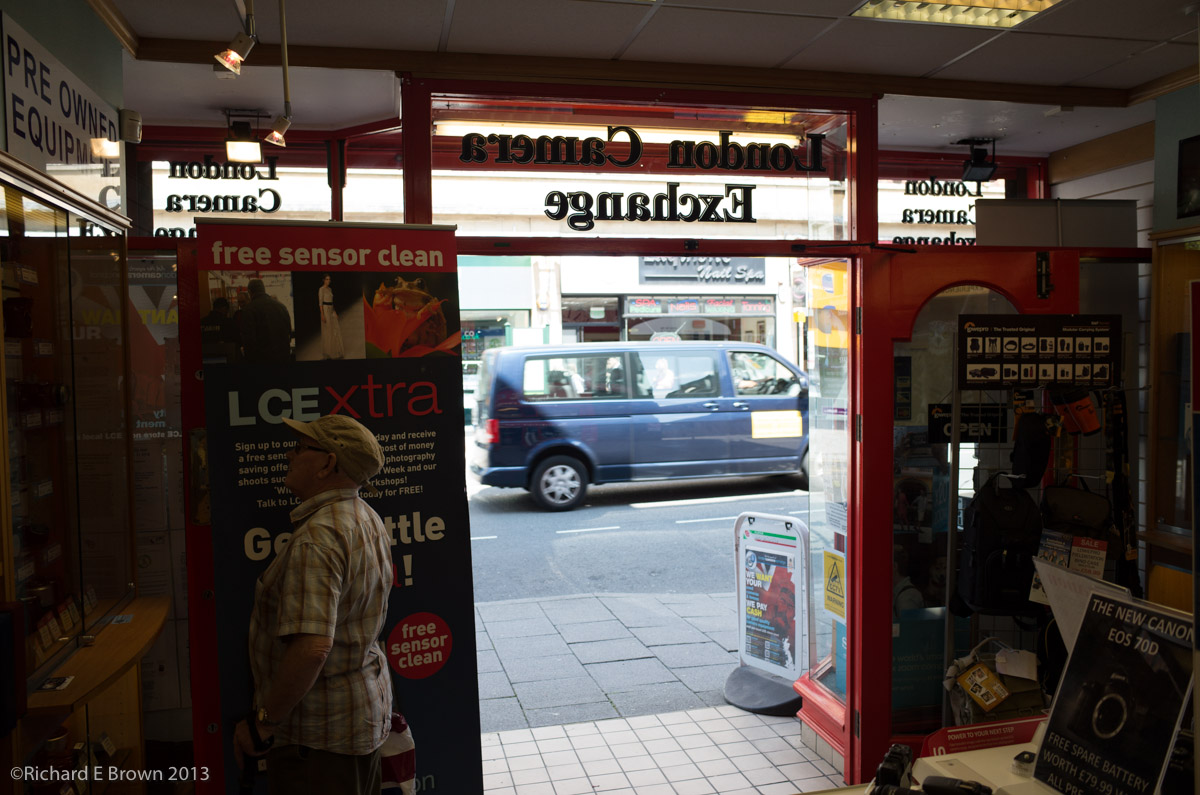
Yesterday I had the opportunity to test the Ricoh GR V. This compact, fits into your pocket but has a huge SLR sized DX sized sensor.
The controls are excellent and the compromises are few. The biggest issues for me are the lack of view finder and the fixed 28mm lens. If you want more range then the new Sony RX-100 may be a better option with it being slightly smaller and incorporates a 28-100mm zoom lens which starts at f/1.8. The compromise is the sensor is smaller and the image quality not up to the Ricoh, but its close.
I had to admit, the camera felt great in the hand, its slightly rubbery grip felt good in the hand. I would have no worries carrying this in my hand all day.
In good light the speed and responsiveness was excellent and even in the high contrast mixed light of the shop, it handled well.
As a bit of a test I metered for the highlights outdoors in the top shot and massively underexposed the inside. Then with lots of use of the shadow and black sliders in Adobe Lightroom I tried to recover the back underexposed inside of the shop. As you can see, while a little noisy, its done a great job. I don’t believe the Ricoh GR V is officially supported yet by Lightroom or Adobe Camera RAW, so things are likely to improve but as its shoots DNG’s I could at least do something with the files. Why is it so few camera manufactures adopt open standards for RAW, it really makes life easier.
If your interested here is an out of camera jpeg, I have lightened it slightly.
All in all a stunning camera, would I buy one, not sure if could I live with the fixed 28mm lens on a compact.
Today i’ll go out and do some shooting with my Nikon V1 with the 10mm f/2.8 lens, this is close to the Ricoh in field of view, are they to similar? We will see.
Size Matters
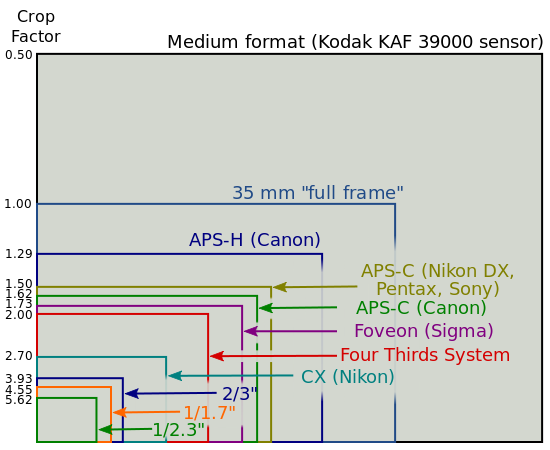
People want small light cameras. They want zoom ranges from 24-300mm and a aperture starting at f/1.8. They also want high quality images, high iso performance and the ability to use shallow depth of field. All of this should fit in a man’s shirt pocket.
I have to admit I would like this to, unfortunately I also understand the laws of physic and modern optics and understand why all cameras are compromises.
Image quality is generally linked to sensor size as is depth of field. Small fast lens cannot cover a large sensor area, thus we have the conflict and its thus we have to make compromises.
What would your compromise be?
Carry Everywhere Camera – but which one
 I have a number of cameras for various purposes.
From my SLR’s which I use for wildlife, weddings, portraits and sometimes landscapes.
My Medium Format and Large Format cameras get used for my personal Landscape work.
But what about the carry everywhere camera. Well currently; sometimes its Leica M8 or M4 and sometimes my Nikon Series One V1. The V1 with the lens ranging from 10mm to 110mm gives great flexibility, but its frustrating to use in some situations.
I still keep looking for a carry everywhere camera. Currently these duties are spilt between my iPhone and the Nikon V1. I keep thinking about the Fuji X100, or the new breed of large sensor’ed like the Ricoh GR V. Both of these are less flexible then Nikon V1 but offer better image quality. There is the Sony Rx-100 with the same sensor as the Nikon Series One. Then there are the smaller sensored compacts like the Panasonic LX-7 and the Canon S95. These have sensors even smaller then the Nikon V1. The small sensor of the Nikon Series is one of the biggest criticism of the system. The sensor is smaller then the Micro FourThirds system but still larger then most compact sensors. The shot at the top of this article was shot with the V1, so as you can see it produce some lovely images.
Below are some crops comparing three of my cameras:
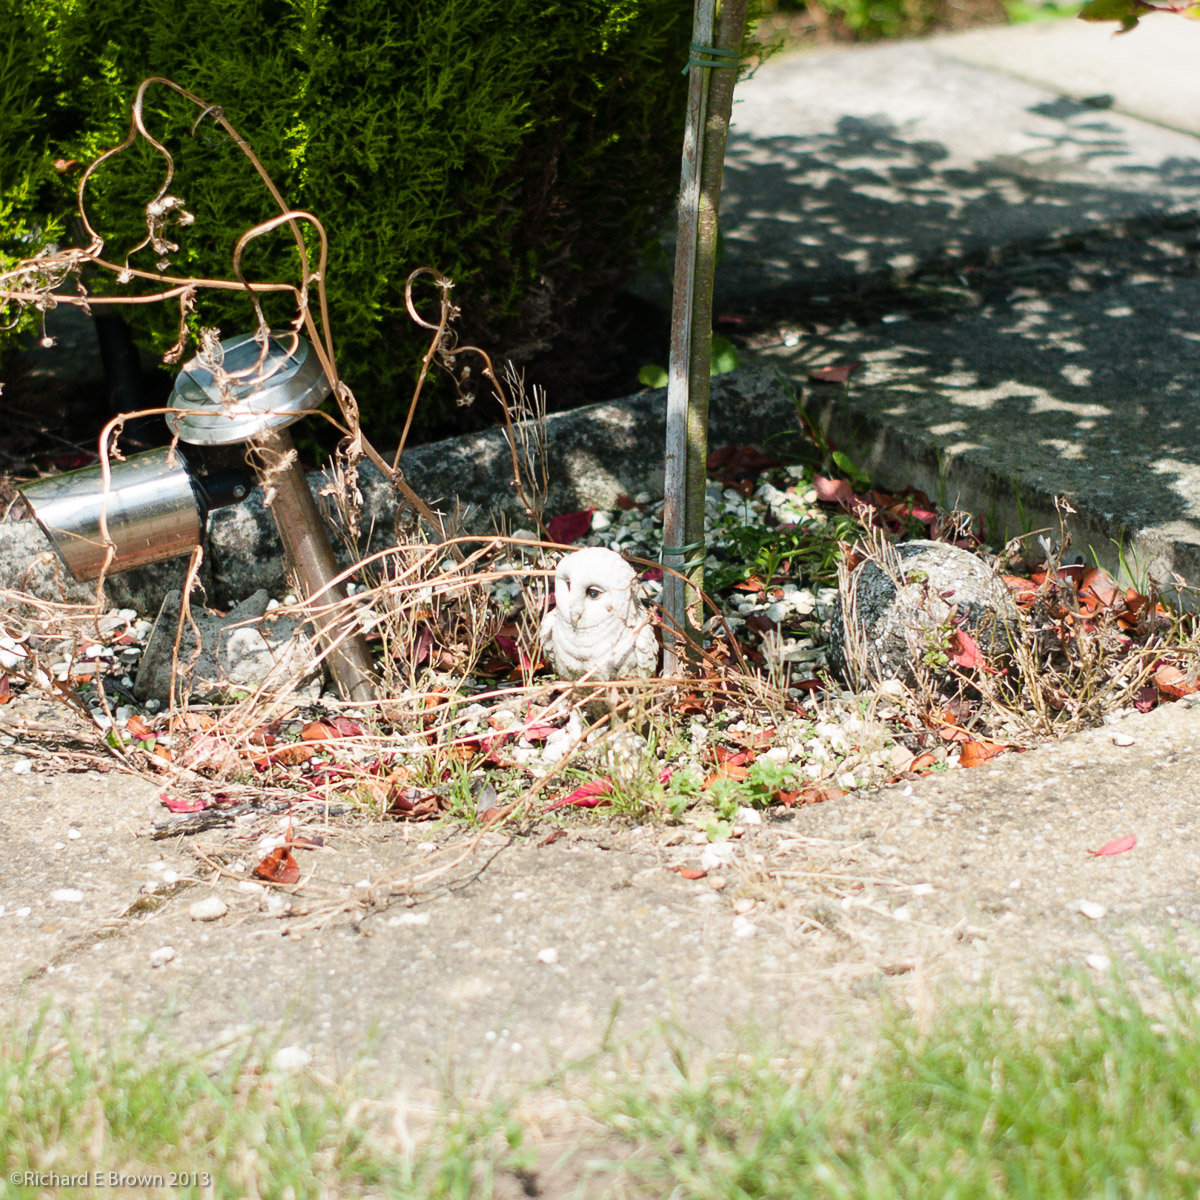
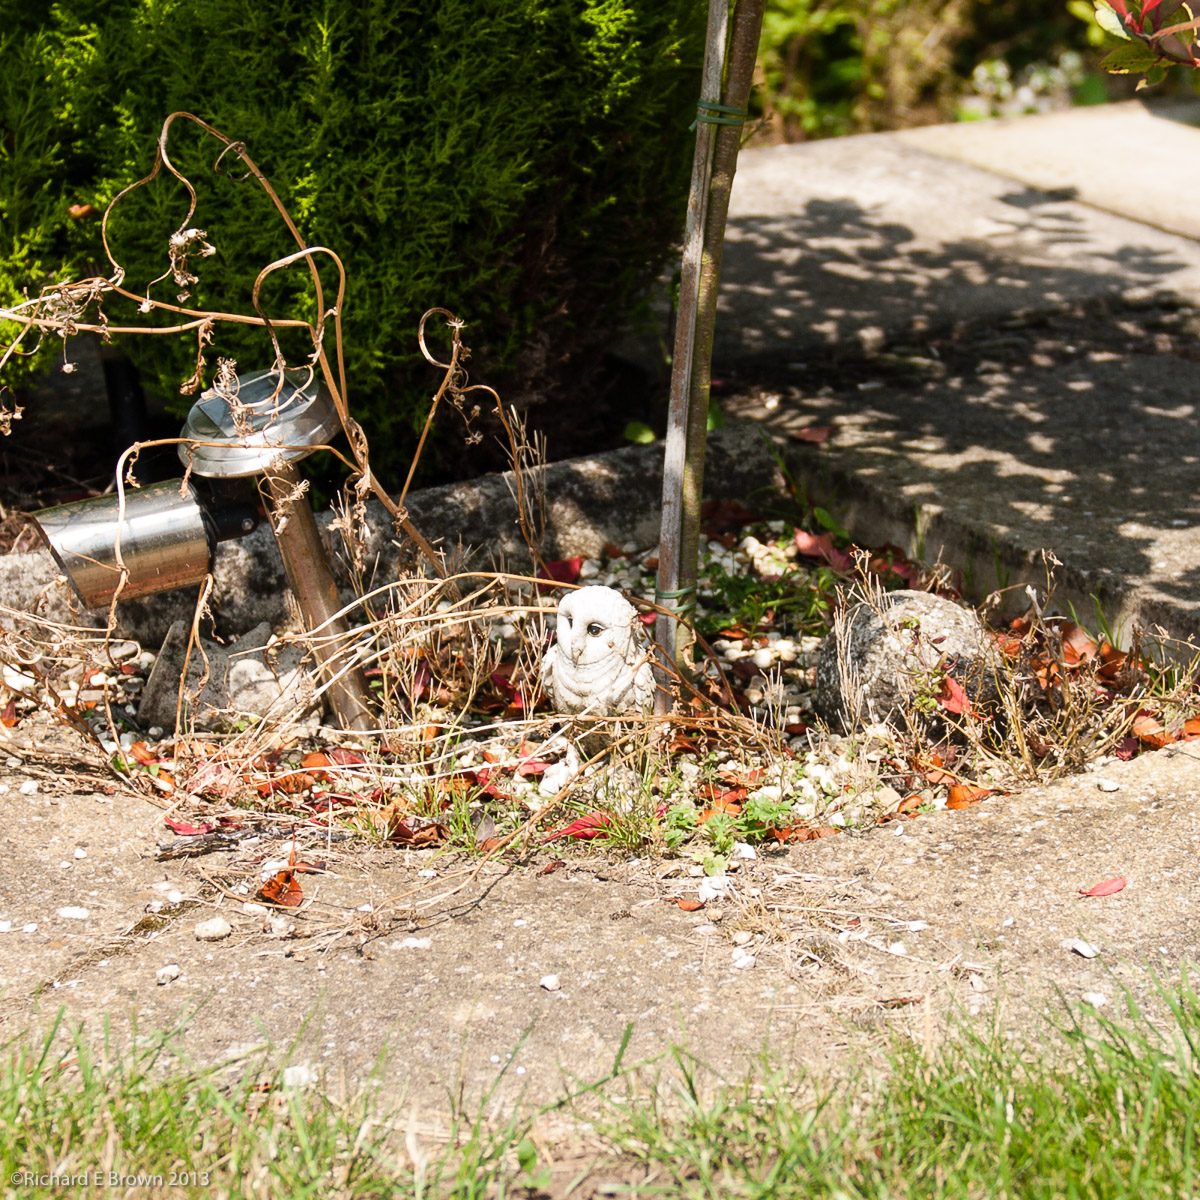
I was shooting a few test images at the weekend under the harsh midday sun. These were taken with my Leica M8 and 35mm Summicron, Nikon D200 SLR and 24-70mm f/2.8, and the Nikon V1, shot at the equivalent of 35mm field of view for a 35mm film/sensor.
Under the bright if hard light all three cameras have done a great job. With the manual focus Leica, I think I have missed focus slightly but all three images look pretty good.
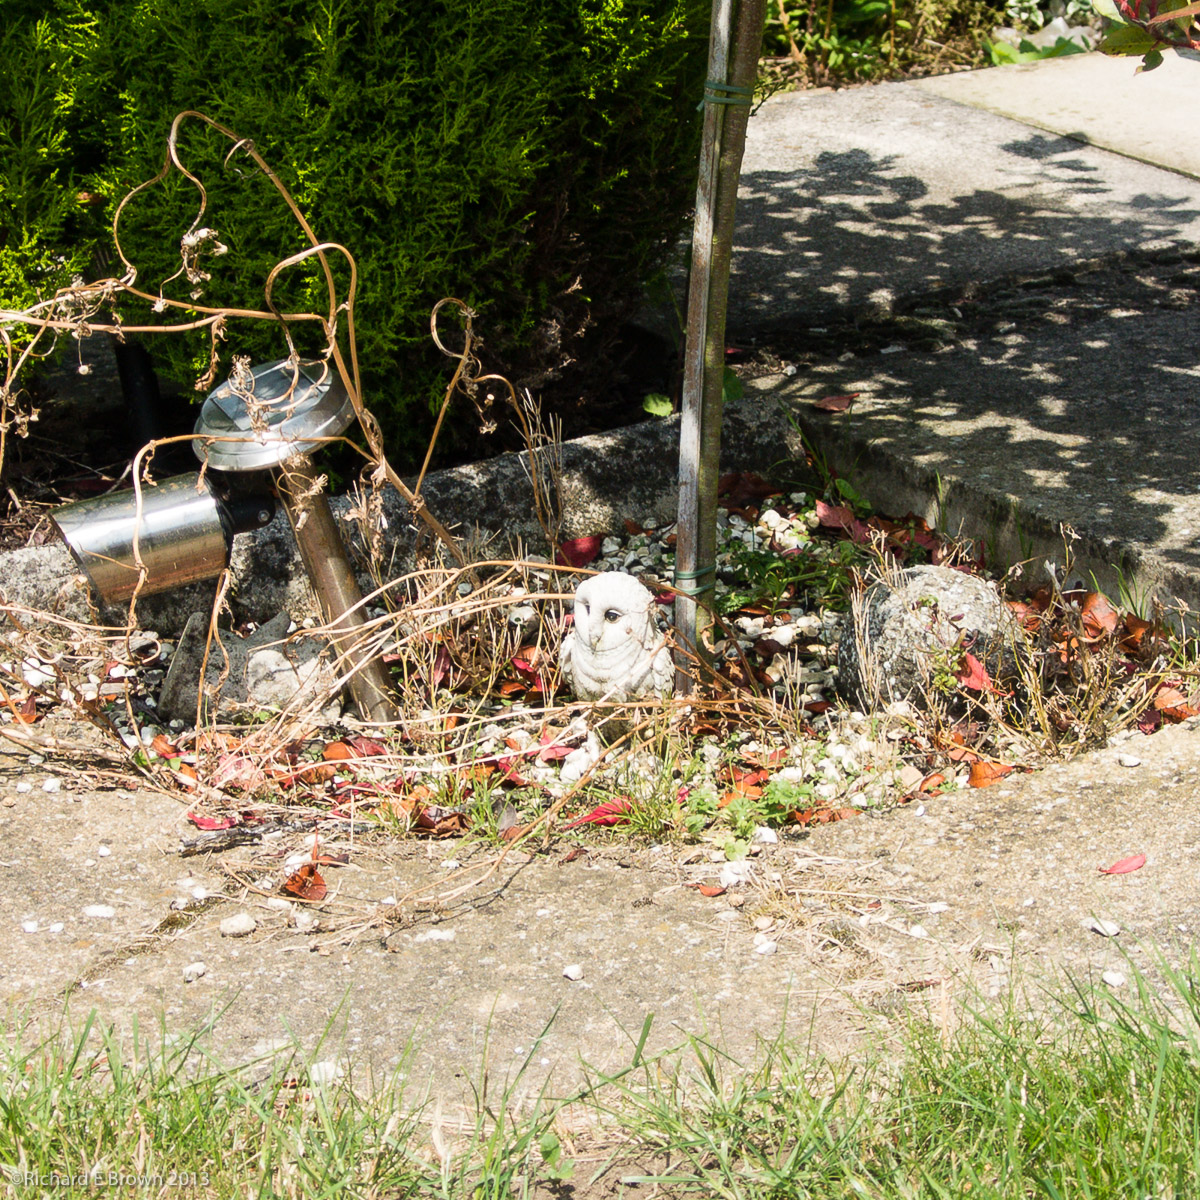
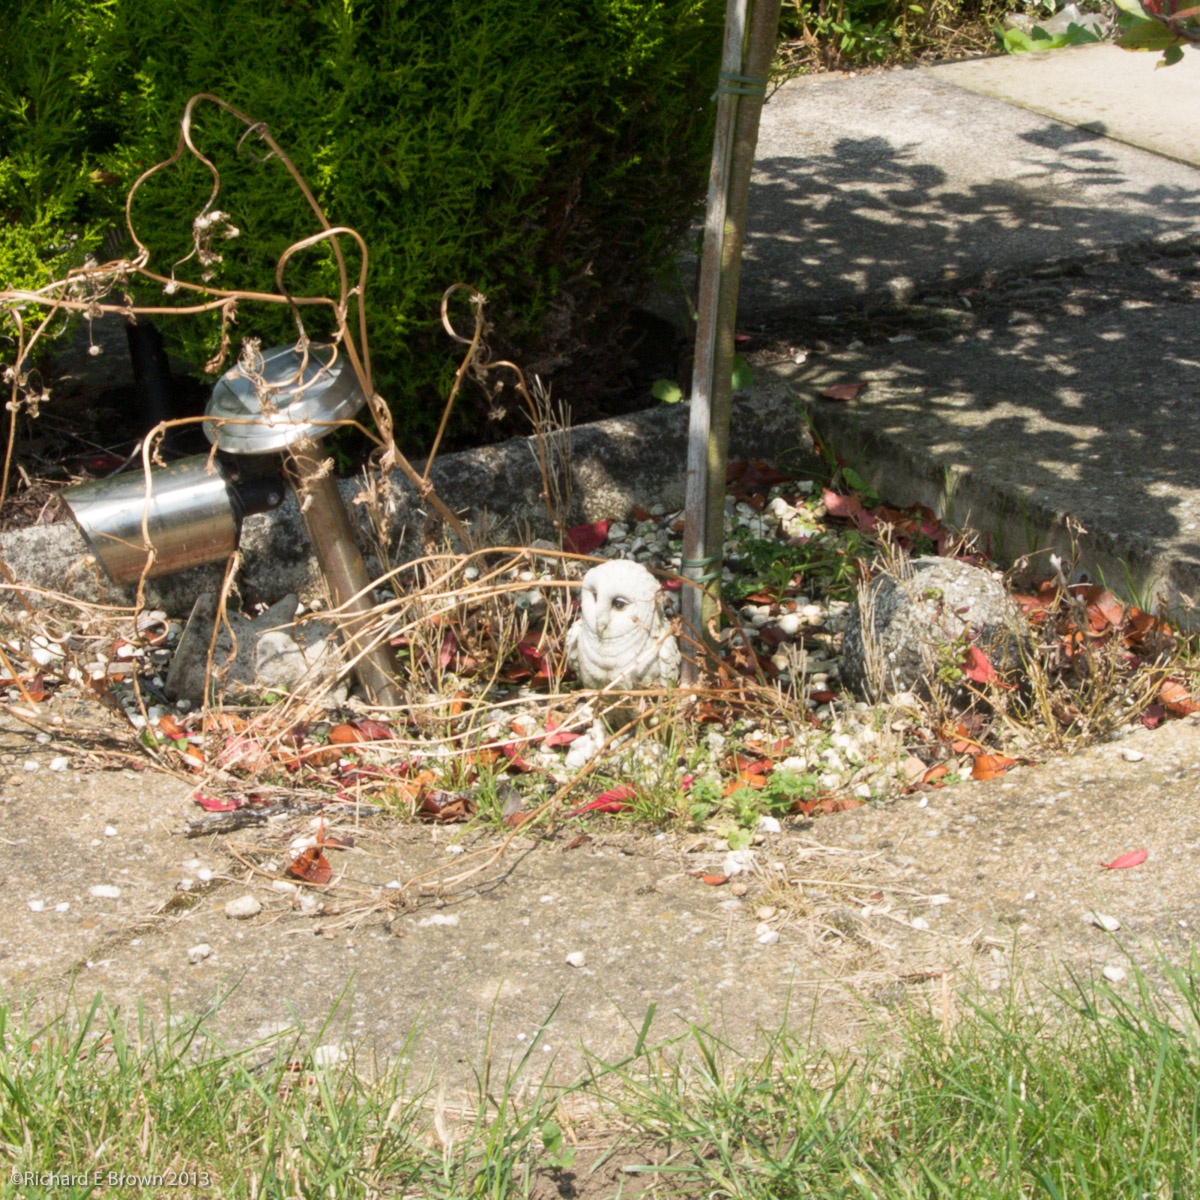
I also shot the same tests at f/8. It was here that the Nikon V1 looked noticeably soft in comparison. After f/5.6 diffraction sets in and the image quality starts to suffer.


Below is a shot taken with the Leica. If one ignores the cameras, the shot at the top is a great shot, as is the shot below. It shows that a camera when used to its strengths can produce excellent images. The old adage its not the camera but the photographer is certainly true.
 Its also true that the best camera is the one thats with you. Thats why I am thinking so hard at the moment about small compacts, its finding one where the limitations do not limit me.